

What is SLA 3D printing, and how does resin printing work?
On this page
- Resin printing (SLA) at a glance
- How SLA 3D printing works: a laser hardens liquid resin, one layer at a time
- Supports, washing and curing: three steps every resin part needs
- Detail: the finest of any process we offer
- Surface: smooth, and ready for paint after a primer
- Weak points: brittle, and not for sun or heat
- Size and lead time: 4 to 7 working days for a normal part
- When another process suits better: filament, nylon or a mould
- Frequently asked
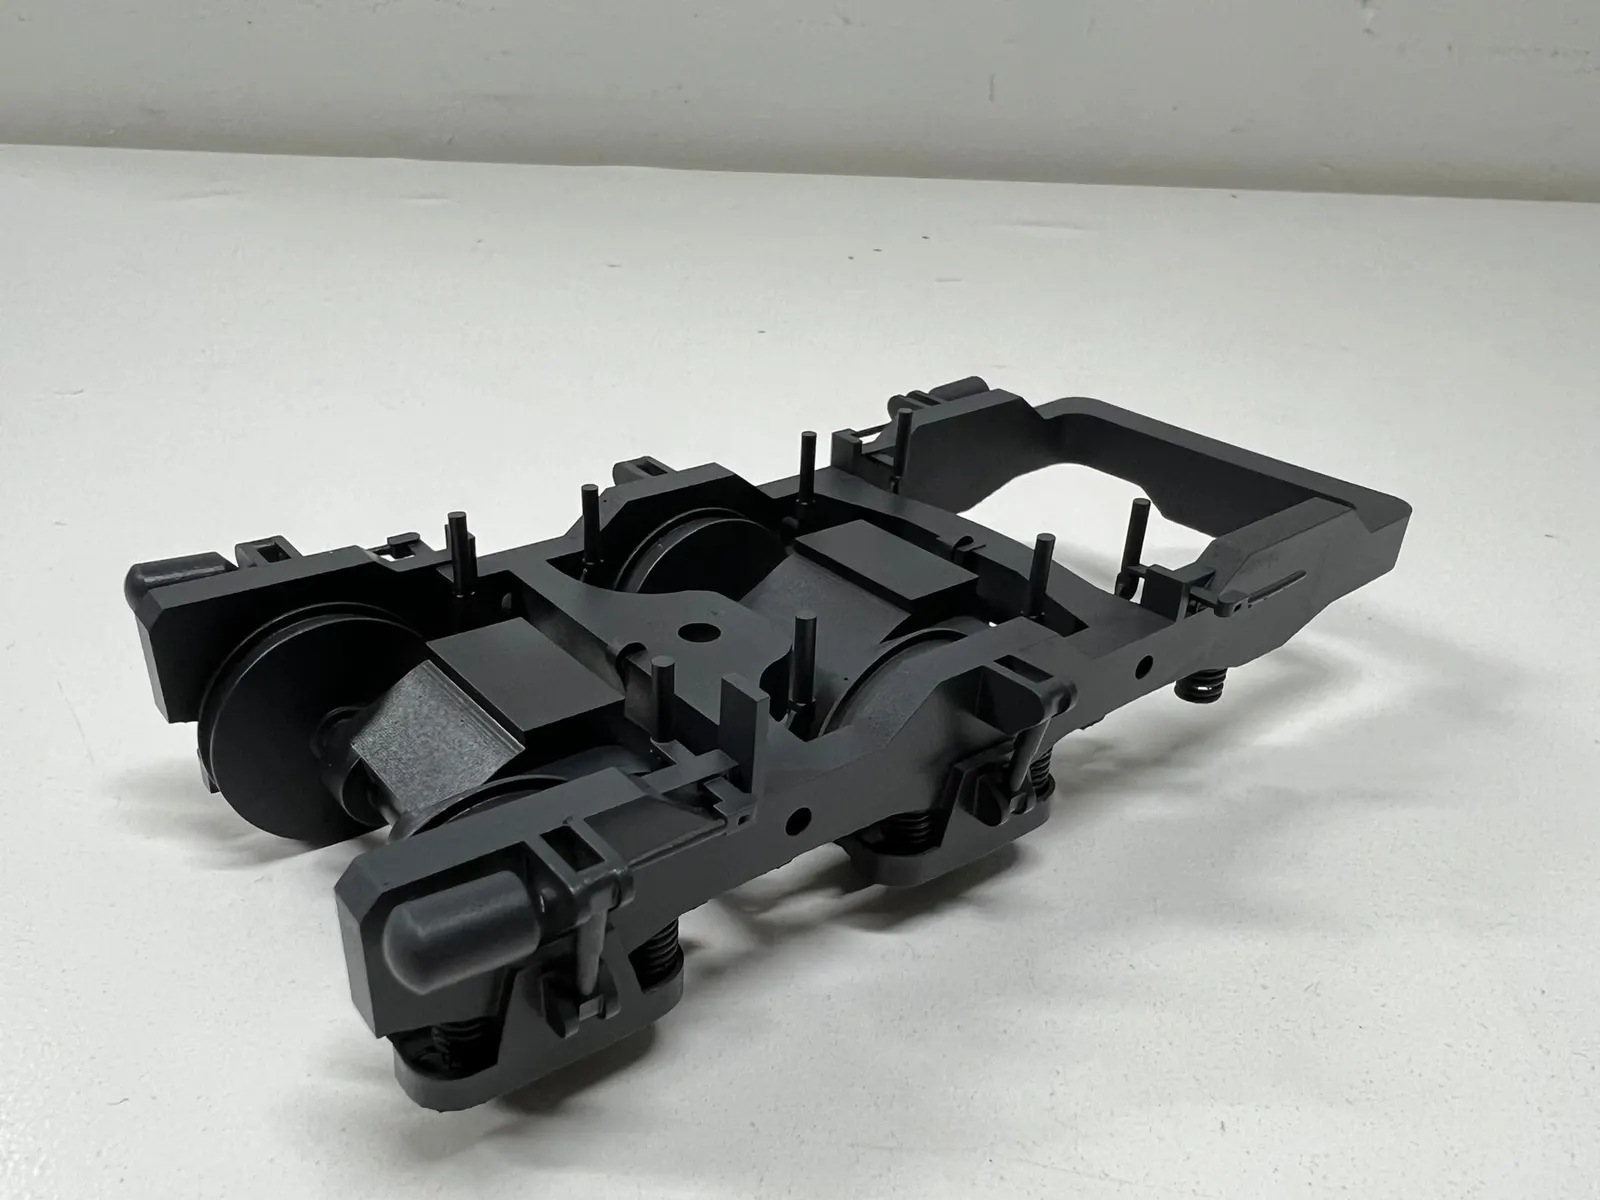
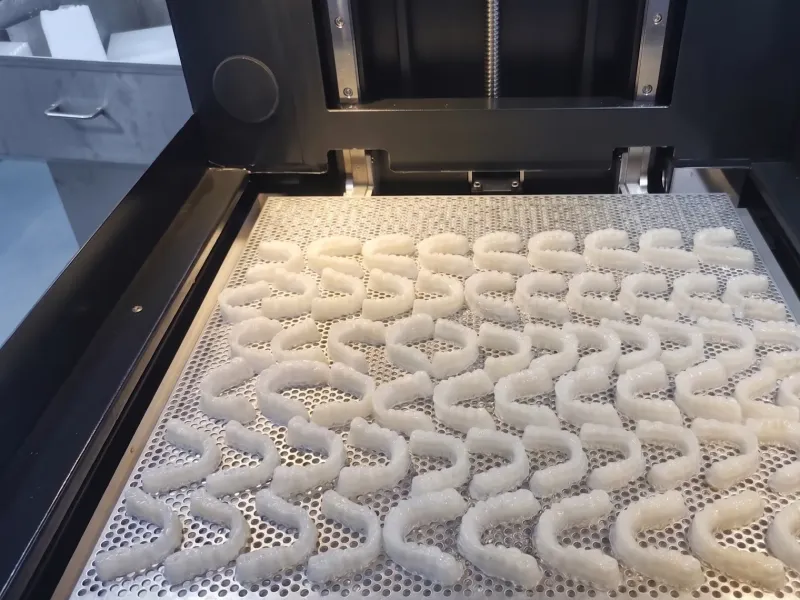
SLA 3D printing (stereolithography) is a 3D printing process that uses a UV laser to harden liquid resin, one thin layer at a time, into a solid part. It gives the finest detail and smoothest surface of any process we offer in Singapore, but the parts are brittle and belong indoors.
Resin printing (SLA) at a glance
| What you want to know | Resin printing (SLA) |
|---|---|
| How it makes a part | A UV laser hardens liquid resin, one thin layer at a time |
| Layer thickness | 0.08 to 0.1 mm |
| Materials | Standard, tough, clear, castable, high-temperature and flexible resins |
| Largest single piece | 1700 x 800 x 600 mm (clear resin 800 x 800 x 500 mm) |
| Finest detail | Raised or recessed detail from 0.5 mm, letters from 2 mm tall |
| Accuracy as printed | ±0.3 mm up to 100 mm, then ±0.3% of the length |
| Surface | Smooth, with almost no visible layer lines |
| Lead time for a normal-size part | 4 to 7 working days |
| Best for | Figurines, display and scale models, masters for moulds, clear parts |
| Not for | Clips that flex, parts that take knocks, anything left in sun or heat |
Lead time is counted in working days from a confirmed quote, for a part about 10 to 15 cm across. Large resin parts take longer, so check with us.
How SLA 3D printing works: a laser hardens liquid resin, one layer at a time
Resin printing belongs to the family the ISO/ASTM 52900 standard calls vat photopolymerisation: a vat of liquid resin that turns solid where ultraviolet (UV) light hits it, as Loughborough University’s summary explains. Charles Hull patented the process as stereolithography in US patent 4,575,330, filed in 1984.
- Slice: software cuts your 3D model into layers 0.08 to 0.1 mm thick.
- Trace: the laser draws the first layer into the resin, and the resin hardens wherever it passes.
- Repeat: the build plate moves by one layer and the laser draws the next on top, until the part is whole.
Some resin printers flash a whole layer at once with a projected image instead of a laser. The idea is the same: light turns liquid into solid.
Supports, washing and curing: three steps every resin part needs
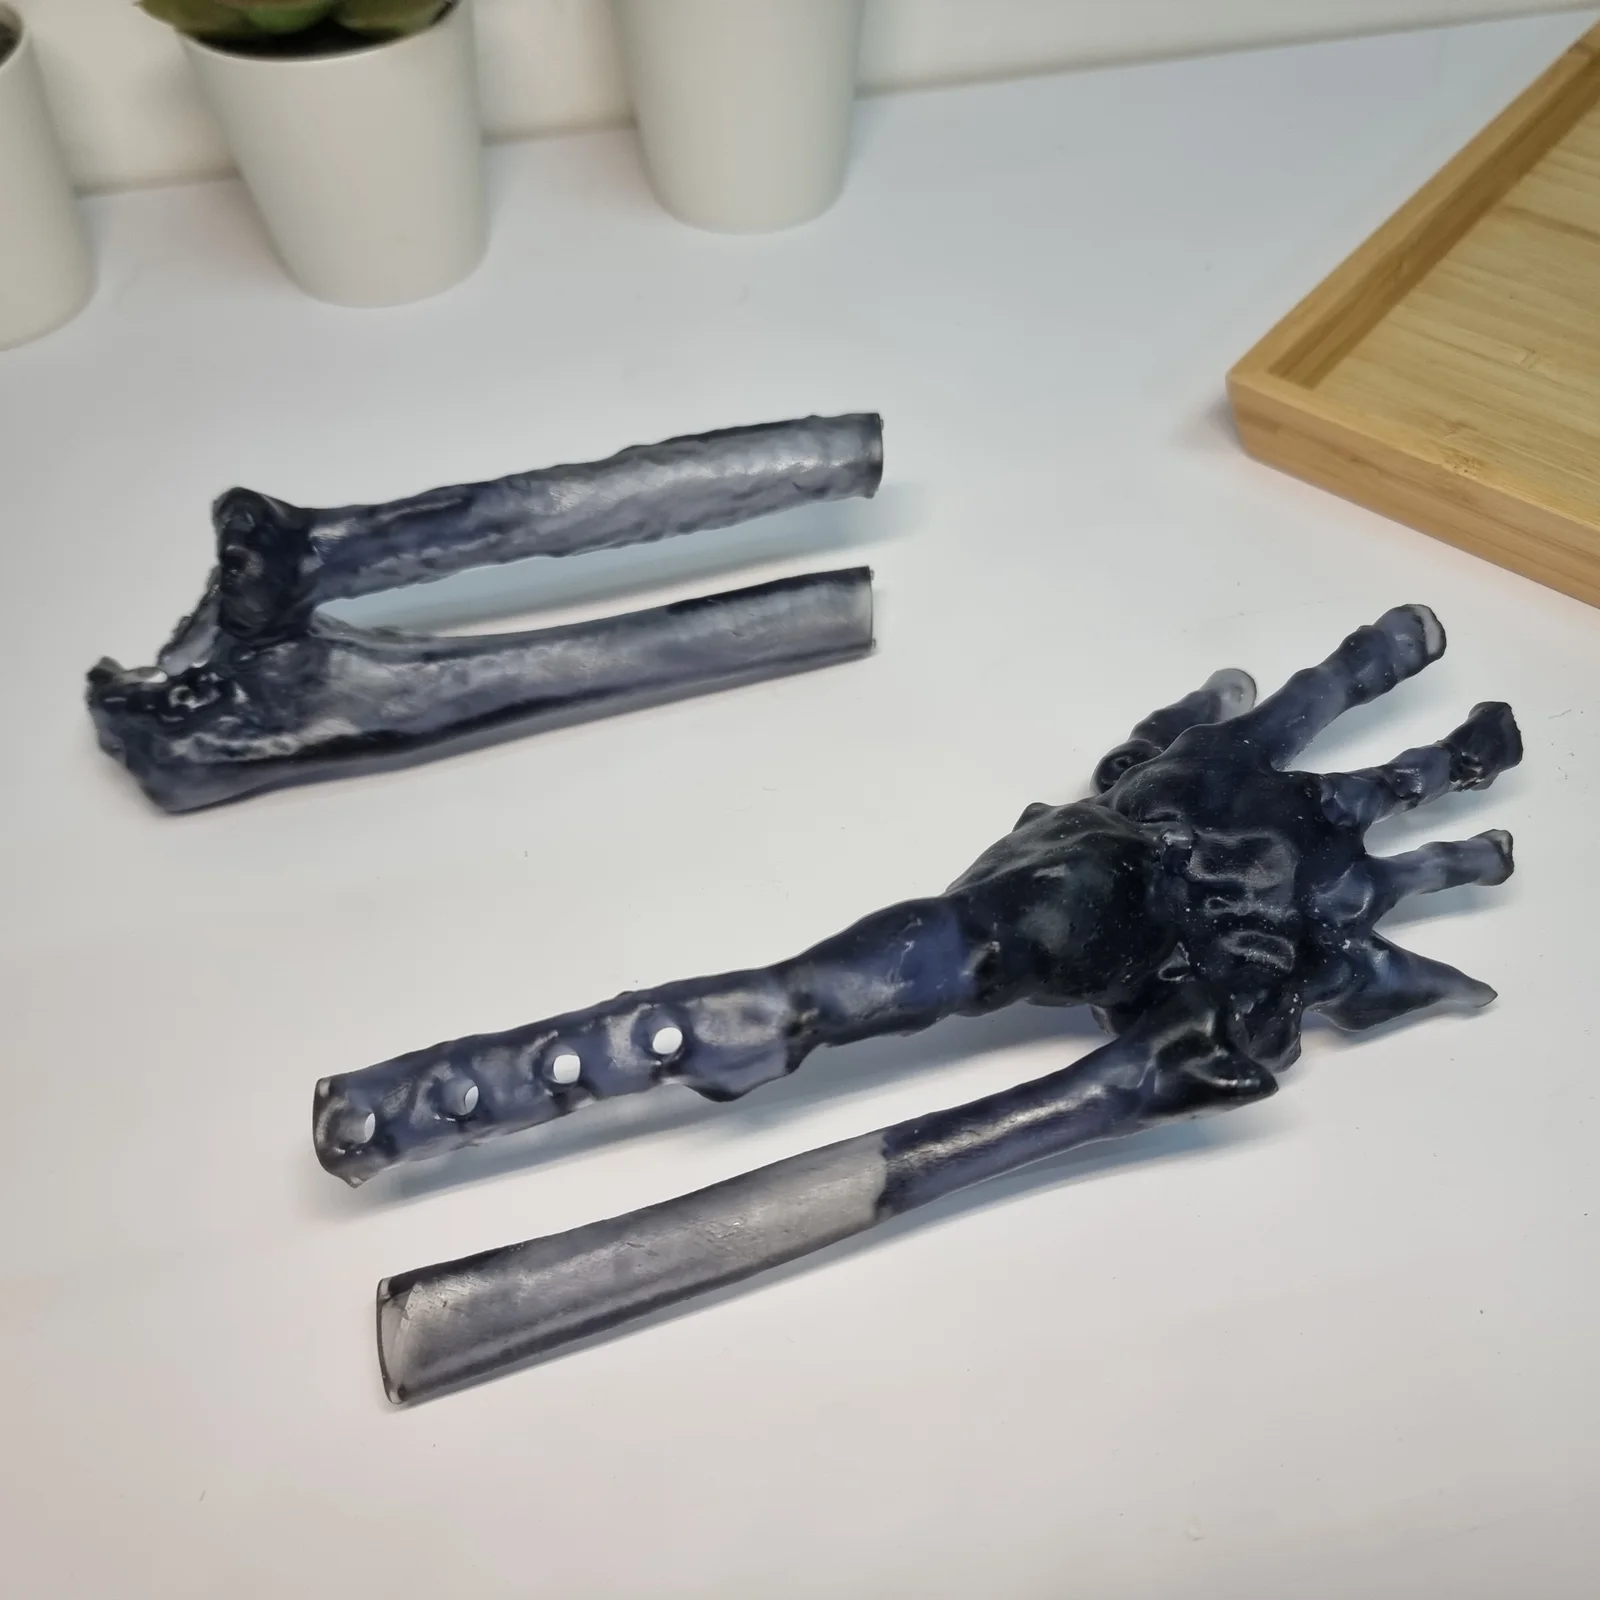
A resin part is built hanging upside down from the build plate, so it needs supports: thin struts that hold it up while it prints.
- Supports: each strut leaves a small pimple where it touched. We clip them off and sand the spots, but that face is never quite as smooth as one with no supports. Tell us which face shows and we put the supports on the others.
- Washing: a solvent rinses off the liquid resin still clinging to the part.
- Curing: UV light finishes hardening the resin, so the part reaches full strength.
All three are included in the lead time. Hollow parts and other faults you can fix in the model before it prints are covered in resin print defects.

Detail: the finest of any process we offer
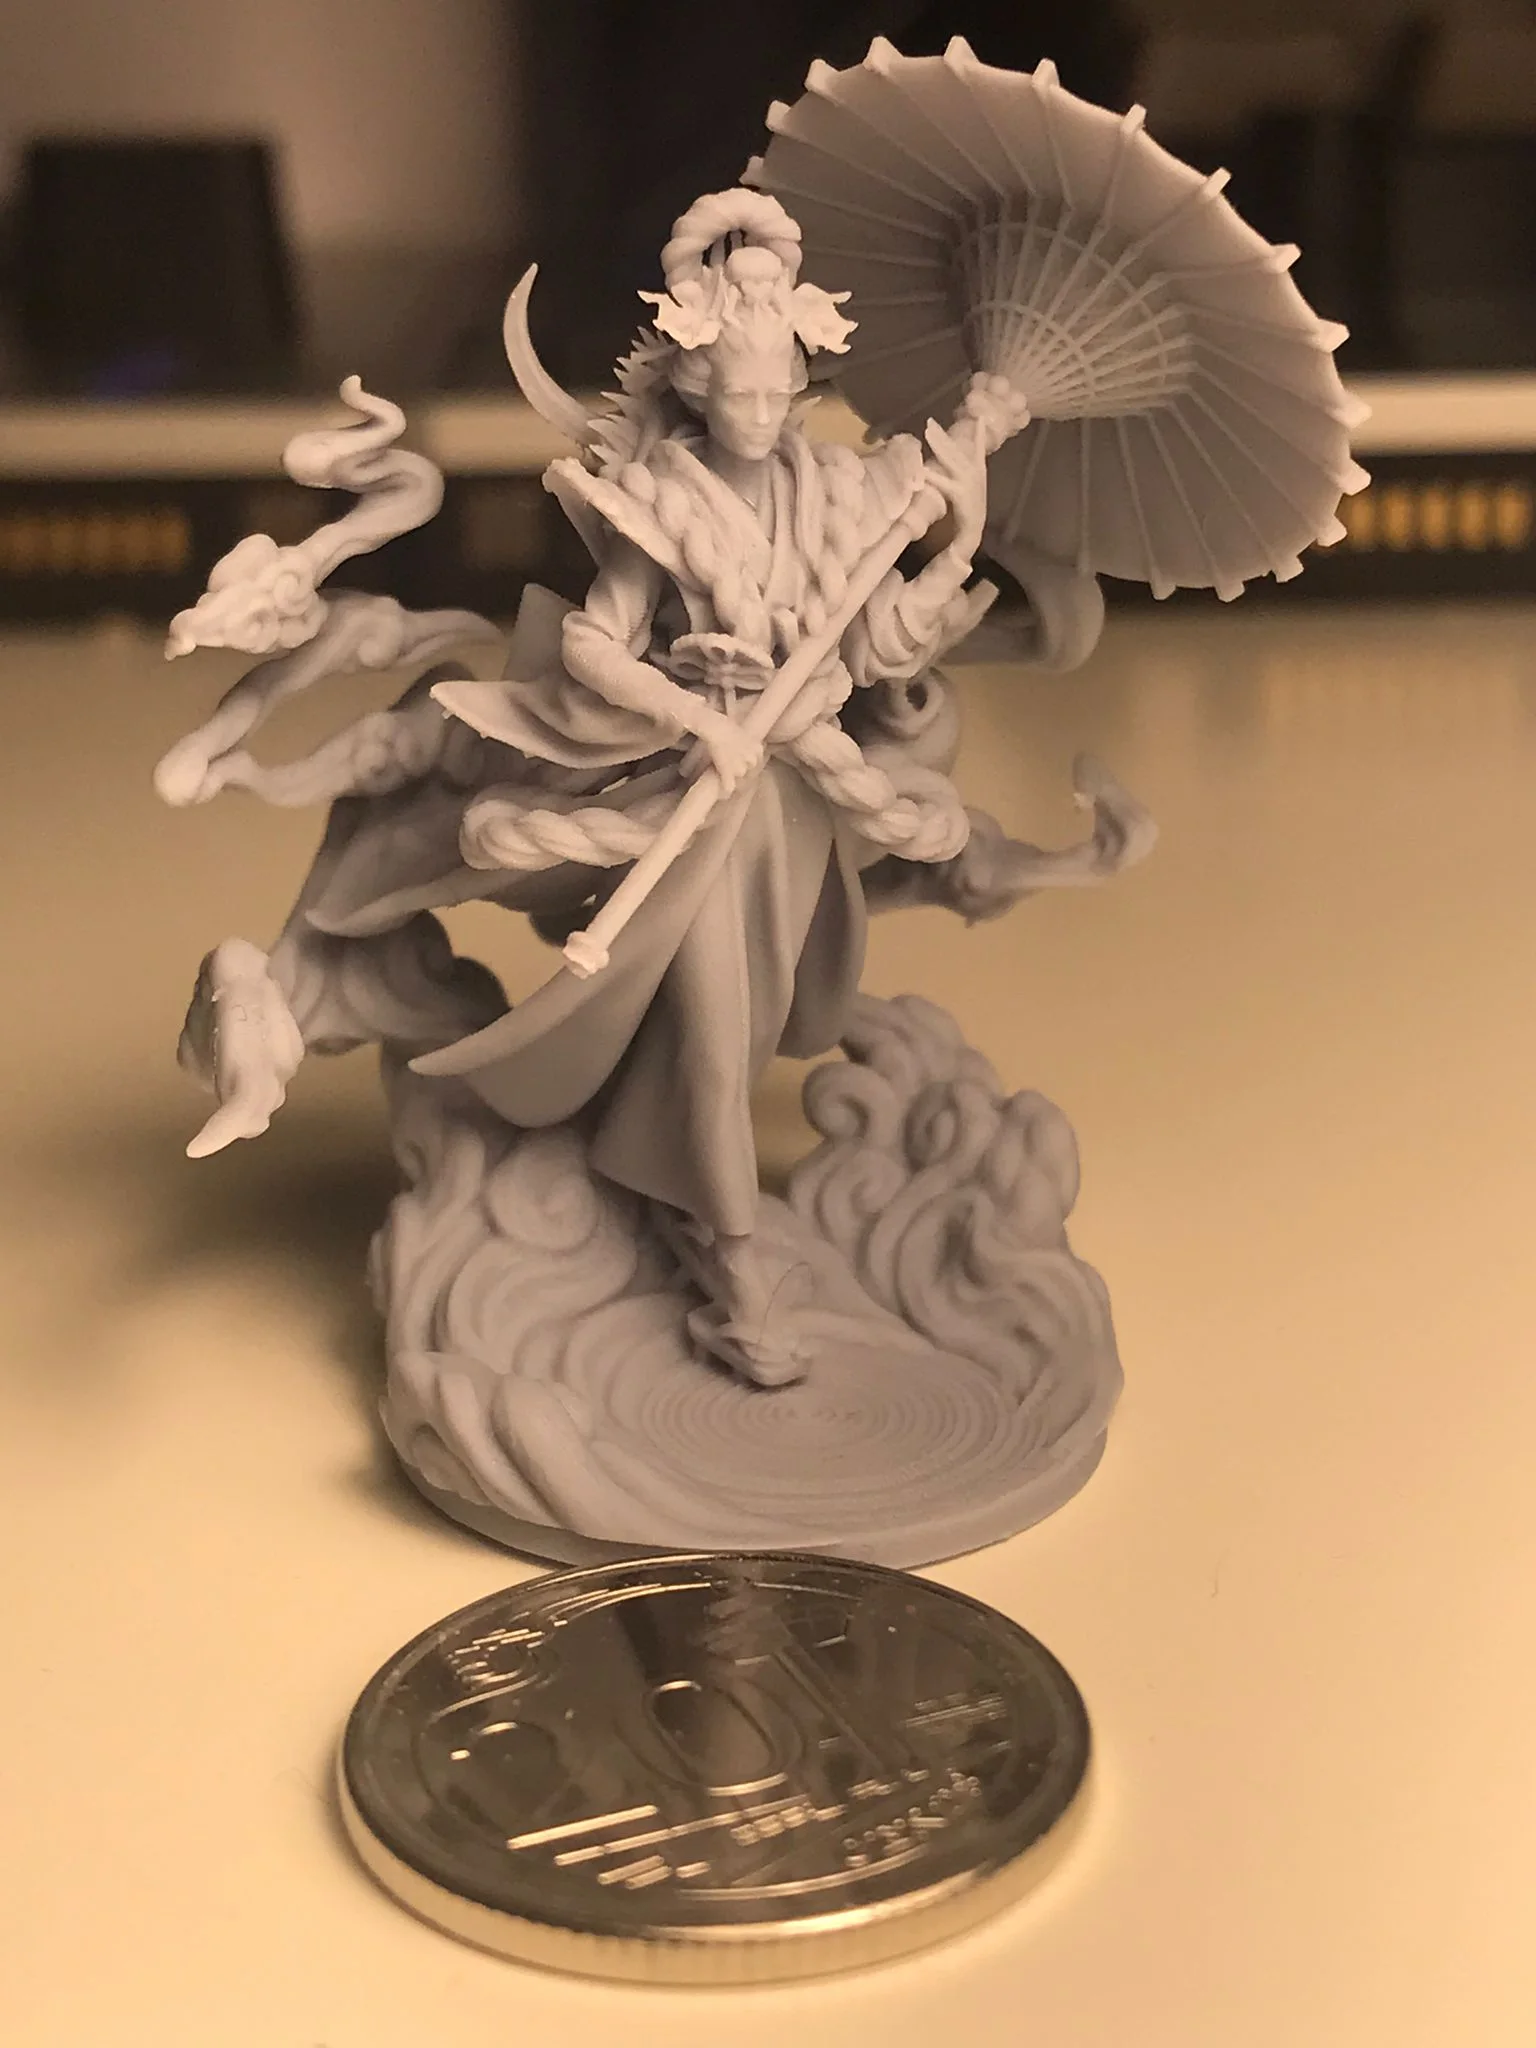
Because light, not a nozzle, draws each layer, resin holds detail that filament loses. Raised or recessed detail prints from 0.5 mm, and letters read from 2 mm tall, against 5 mm on filament. Accuracy is ±0.3 mm on parts up to 100 mm. The full list of fits and gaps is in 3D printing tolerances and clearances.
Which resin to choose is a separate question. In short, standard resin suits most parts, and tough, clear, castable, high-temperature and flexible resins each do one job better. The resin types guide explains each one.
Surface: smooth, and ready for paint after a primer
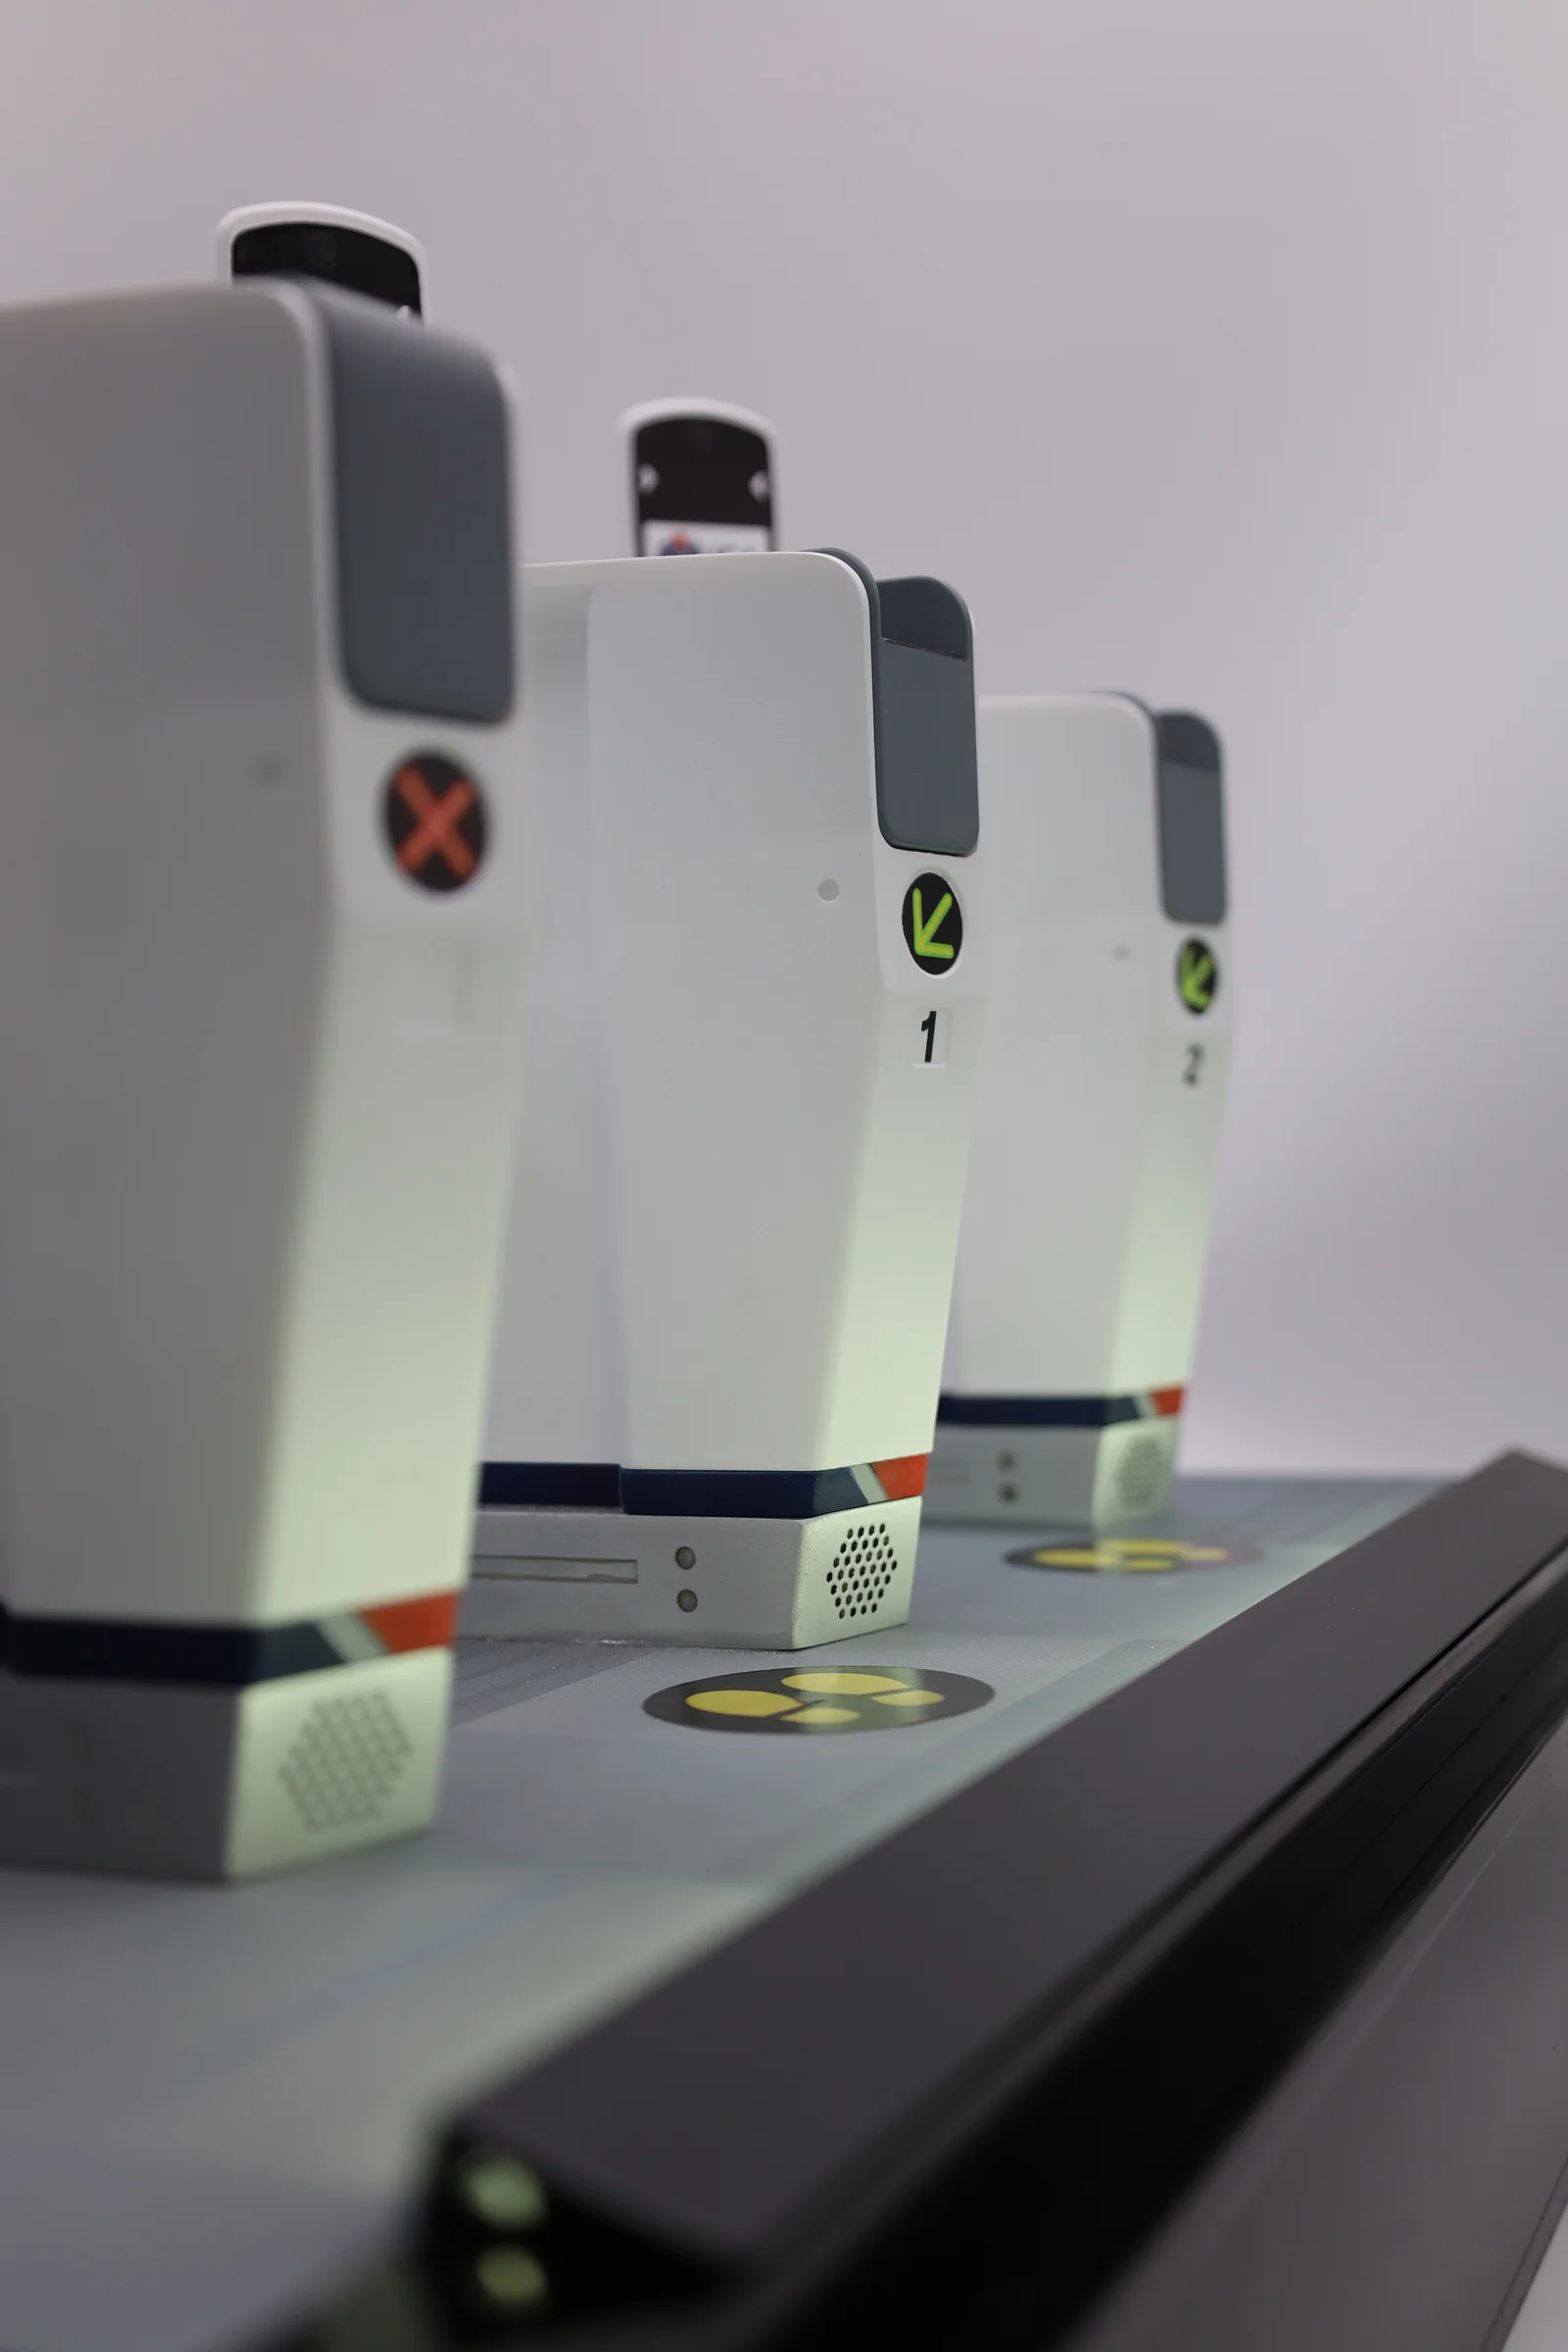
Resin comes off the printer smooth, with almost none of the layer lines filament leaves. Getting it ready for paint is quick: a light sanding where the supports were, then a primer, then the colour. That is why our trophies and figurines start as resin prints. Resin also takes electroplating to a chrome, gold or copper finish better than most printed plastics.
A primed and painted part takes 12 to 18 working days in all.
Weak points: brittle, and not for sun or heat
- Brittle: standard resin chips or snaps where plastic would bend. A tough resin copes with handling and simple clips, but a part that flexes many times needs nylon.
- Sunlight: UV light makes resin change colour and go brittle, and clear resin yellows and hazes over time. Resin is an indoor material.
- Heat: the data sheets for standard resin give no safe working temperature, so keep it away from heat. A high-temperature resin is made for fixtures that sit near warmth.
How every material copes with Singapore heat and sun is in 3D printed parts in heat, sun and outdoors.
Size and lead time: 4 to 7 working days for a normal part
One resin piece can be up to 1700 x 800 x 600 mm, or 800 x 800 x 500 mm in clear resin. A bigger part, or one with fine pieces that print better on their own, is printed in sections and joined, with pegs and sockets so the pieces line up. Large-scale 3D printing covers how that works.
A normal-size part, about 10 to 15 cm across, takes 4 to 7 working days. Express is 3 to 5 working days and Super Rush is 1 to 3. Large resin parts take longer, so tell us your deadline.
When another process suits better: filament, nylon or a mould
- Filament printing (FDM) is cheaper, prints bigger pieces and is tougher. Use it for prototypes, jigs and large parts where a few layer lines do not matter. See what FDM is.
- Nylon powder (SLS or MJF) makes tough parts that flex, clip and take knocks, with no supports. See SLS or MJF.
- Silicone moulding casts copies from one resin master, usually 20 to a few hundred parts per mould. Past about 1,000, injection moulding takes over. See 3D printing, silicone moulding or injection moulding.
Every process side by side is in FDM, SLA, SLS, MJF or metal.
Frequently asked
What is SLA 3D printing?
SLA (stereolithography) is a 3D printing process that uses an ultraviolet (UV) laser to harden liquid resin, one thin layer at a time, into a solid part. It gives the finest detail and the smoothest surface of the common printing processes, which is why it is used for figurines, display models and masters for moulds.
How does resin 3D printing work?
A resin printer builds the part from a vat of liquid resin that hardens where UV light hits it. The light traces one layer, the build plate moves by one layer's thickness (0.08 to 0.1 mm), and the next layer is traced on top. Afterwards the part is washed to remove liquid resin, its supports are taken off and it is cured under UV light to full strength.
Are SLA resin prints strong?
SLA prints are hard and stiff but brittle: standard resin chips or snaps where a plastic part would bend. A tough resin copes with handling and simple clips. A part that has to flex many times, take knocks or carry load is better in nylon powder (SLS or MJF).
Can SLA prints be painted?
Yes, SLA prints take paint very well, always over a primer. The surface needs only light sanding to clear the support marks, then a primer, then the colour. A primed and painted part takes 12 to 18 working days in all.
Do resin prints turn yellow in the sun?
Yes, sunlight makes resin parts change colour and go brittle, so resin is an indoor material. Clear resin also yellows and hazes over time. If a part will sit in a window, a car or outdoors, say so when you send the file and we suggest a better material or finish.
How long does SLA printing take?
SLA printing takes 4 to 7 working days for a normal-size resin part, about 10 to 15 cm across. Express is 3 to 5 working days and Super Rush is 1 to 3. Large resin parts take longer, so check with us if you have a date to hit.
How big can an SLA print be?
One SLA resin piece can be up to 1700 x 800 x 600 mm, or 800 x 800 x 500 mm in clear resin. A bigger part is printed in pieces and joined, with pegs and sockets designed in so the pieces line up.
Is SLA better than FDM?
SLA is better than FDM for detail and surface, and FDM is better for cost, size and toughness. Choose resin (SLA) when the part is looked at up close, painted or moulded from. Choose filament (FDM) for prototypes, jigs and large pieces where a few layer lines do not matter.
Related
-
 GuideWhich SLA resin should you choose for your part?
 -
 GuideWhich resin (SLA) print defects can you fix in the design?
 -
 GuideFDM, SLA, SLS, MJF or metal: which 3D printing process suits your part?
 -
 ServiceSLA 3D Printing
 -
 ServiceIndustrial 3D Printing
 -
 ServiceSilicone Molding & Vacuum Casting
 -
 ProjectCO2 Rail Concept Train Scale Model
 -
 ProjectICA Automated Border Clearance Gate Model
 -
 ProjectCoin-Sized Princess Miniature