

Which resin (SLA) print defects can you fix in the design?
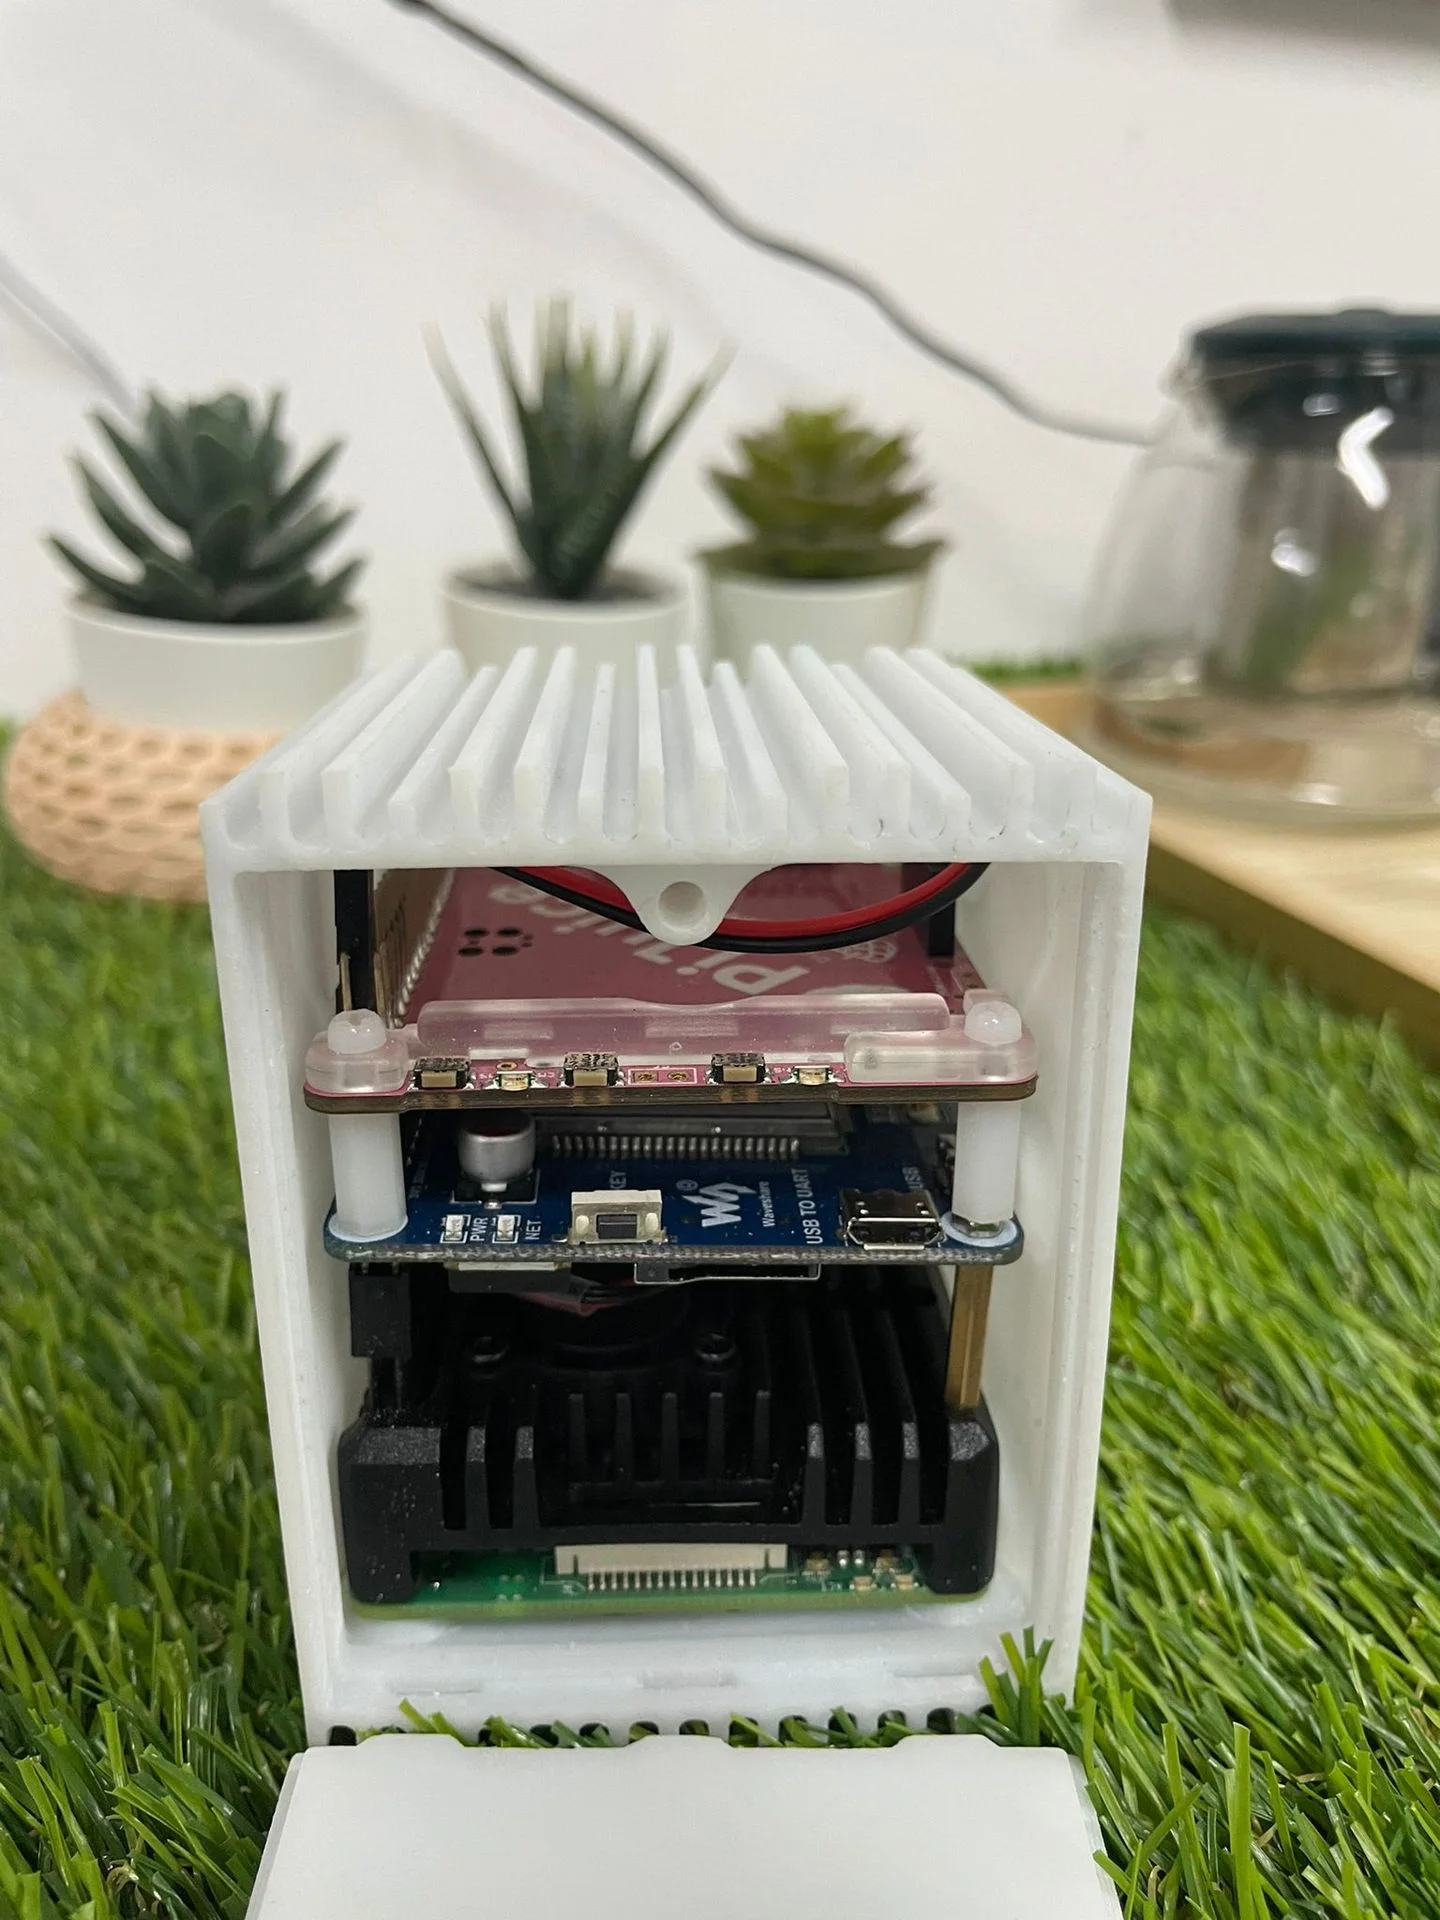
Six resin print defects start in the file, not the printer: hollow parts that crack, cups that blow out, thin walls that bend or snap, support marks on the face that matters, holes that close up and clips that snap. Any of them can ruin a part printed in resin by stereolithography (SLA), however well the printer is set up. Below is each one, why it happens and how to change the model, or have our studio redraw it for you.
A print that fails partway, a sticky surface or layers that split are printer-side problems, covered in common problems with 3D printed models. Every process’s figures sit side by side in the design rules table.
Hollow parts that crack
What you see: a hollow part splits or bulges, or liquid resin seeps out of a crack, sometimes long after it was printed.
Why: large resin parts are often hollowed to save resin and weight. If the hollow is sealed, the liquid resin inside cannot be washed out. As it cures or seeps, it cracks the shell from the inside.

Fix it in the design: give a hollow part a 2.0 mm shell and at least two drain holes of 5 mm, 10 mm on big parts. Put one at the lowest point and one at the highest, so the resin runs out and air can run in. Rather not hollow it yourself? Send it solid, say it should be hollow, and we place the holes.
Faces that blow out (cupping)
What you see: a hole bursts through a thin wall, a dome or the floor of a cup, or the part tears off its supports partway through the print.
Why: a resin part is built upside down, hanging from the build plate. That is the platform that lifts it out of the tray of liquid resin, called the vat. After every layer, the printer peels the part off the bottom of the vat. In a cup that opens towards the plate, each new layer closes off the bottom and traps a pocket inside. Every peel tugs on that pocket like a suction cup, until a thin wall gives way. That is why it is called cupping.

Fix it in the design: put a vent hole of 5 mm through the floor of any cup or hollow that opens towards the build plate, or let us turn the part so the cup opens the other way. Tell us which face shows, so the vent stays off it. A hollow that is closed all round is a hollow part, so it needs drain holes instead.
Thin walls that warp or snap
What you see: a fin, a blade or a thin wall comes out bent, warped or broken off, or fine lettering blurs into the surface.
Why: resin is cured from liquid one layer at a time and peeled off the vat after each one. The part is then washed and cured again under UV light. A thin wall, above all one standing free at one edge, can warp in that process or snap off in cleaning.

Fix it in the design:
- Walls: at least 1.0 mm where the wall joins the rest of the part.
- Standing on its own: at least 1.5 mm for a wall free at one edge, such as a fin or a blade.
- Handled or glued: 2.0 mm, and 3.0 mm on big parts.
- Detail and text: raised or recessed detail of 0.5 mm or more; text with a stroke of 0.5 mm, raised or recessed by 0.5 mm, letters at least 2 mm tall.
Support marks on the face that matters
What you see: small pimples or rough spots across a face you wanted smooth, where the supports were clipped off.
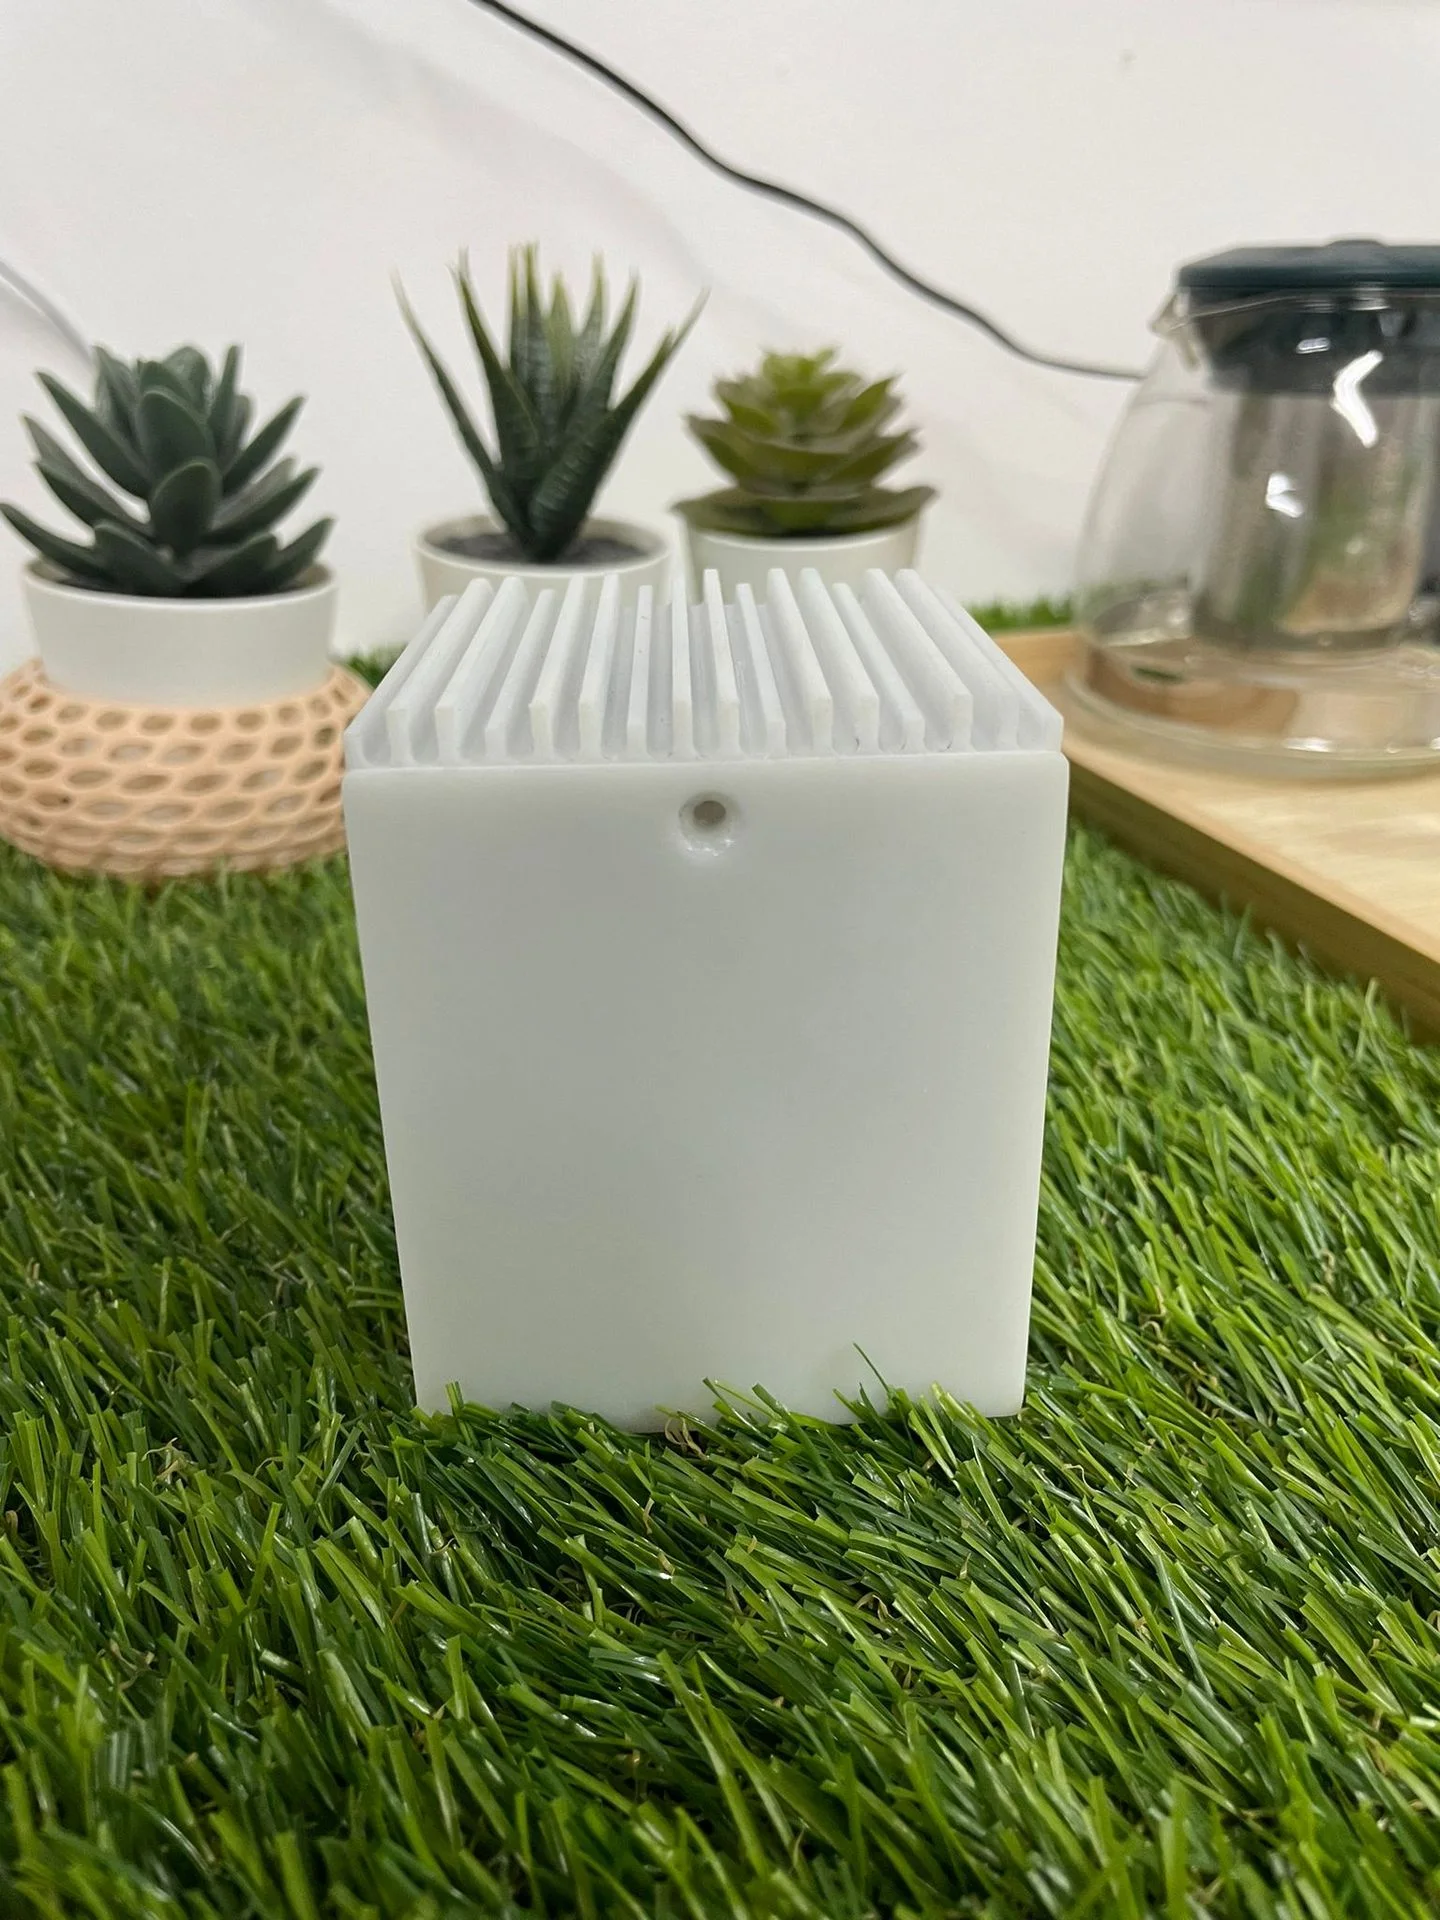
Why: a resin part hangs upside down from the build plate, so most parts are built on supports. Supports are thin struts that hold the part in place, and we add them. Each one leaves a small mark where it touches. We clean the marks up, but that face is never quite as smooth as one that had no supports.

Fix it in the design: decide which face shows and tell us. We turn the part so that face is within 45° of vertical, where resin finishes cleanest, and put the supports on the others. Avoid making every face a show face: a back, a base or an inside wall gives the supports somewhere to go.
Holes and fits that close up
What you see: a small hole has filled in, a pin won’t go in, or two parts that should slide together bind.
Why: resin prints fine features, but liquid resin left in a small hole can cure there. Each layer also cures a touch beyond its edge. So small holes close up, and a hole drawn to the pin’s exact size won’t fit.

Fix it in the design: the gaps below are on each side, so the hole is bigger than the pin by twice that.
- Smallest hole: 1.0 mm.
- Smallest pin: 1.0 mm, or 1.5 mm if it stands more than 10 mm tall.
- Push fit: 0.1 mm each side.
- Moving fit: 0.25 mm each side, for a part that turns or slides.
- Press fit, or a face that must fit exactly: ask us, because it depends on the resin and the part.
As printed, plan on ±0.3 mm up to 100 mm, then ±0.3% of the length beyond that. For screw threads, design a hole for an insert or ask us. Every fit, for every process, is in 3D printing tolerances and clearances.
Clips that snap
What you see: a snap arm or clip breaks the first time it flexes, or cracks at the corner where it meets the body.
Why: most resins cure hard and brittle. The ABS-like resins look and feel tough, but they chip or snap rather than bend, so a clip that has to flex and spring back is the wrong job for them.

Fix it in the design:
- Snap fits only in tough resin: say in the quote notes that the part has a clip, and we print it in a tough resin.
- Round the corner where the arm meets the body, so the load spreads instead of concentrating at one point.
- Flexes many times, or a living hinge? Print it in nylon powder instead: the figures are in nylon powder print problems you can fix in the model.
- Not a clip at all: screws or an insert hold a resin part together without flexing it.
Which resin suits which job, including the tough ones, is in the resin types guide.
Parts too big for one print
The largest single resin piece is 1700 x 800 x 600 mm, or 800 x 800 x 500 mm in clear resins, so a big clear part is split sooner. Anything bigger is printed in pieces and joined. Pegs and sockets in the joints make the pieces line up. Large-scale 3D printing covers how that works.

Frequently asked
Which resin print defects come from the design?
Six resin print defects come from the design, and each is fixed by changing the model, not the printer. They are sealed hollow parts that trap resin and crack, cups that blow out (cupping), walls thinner than 1.0 mm that warp or snap, support marks on the face that shows, holes under 1.0 mm that close up and clips that snap because the resin is brittle.
Why do resin prints crack or warp?
A resin print that cracks, sometimes long after printing, usually has liquid resin trapped inside a sealed hollow, so give it a 2.0 mm shell and at least two drain holes of 5 mm (10 mm on big parts). Put one hole at the lowest point and one at the highest, so resin runs out and air runs in. A print that warps usually has walls that are too thin: keep them at least 1.0 mm where they join the part and 1.5 mm where they stand on their own. Send a part solid if you prefer, and we hollow it and place the holes.
What is cupping (the suction cup effect) in resin printing?
Cupping is suction inside a cup or hollow that opens towards the build plate, and a 5 mm vent hole through the floor of the cup stops it. The trapped pocket pulls like a suction cup every time the printer peels off a layer, until it blows a hole in a thin wall or tears the part loose. We can also turn the part so the cup opens the other way.
How thin can a wall be on a resin (SLA) print?
A resin (SLA) wall should be at least 1.0 mm where it joins the rest of the part, 1.5 mm where it stands free at one edge, and 2.0 mm on anything handled or glued (3.0 mm on big parts). Thinner walls may print, but they are the ones that warp or snap in washing and handling. Text needs a stroke of 0.5 mm and letters at least 2 mm tall.
Why do small holes close up on a resin print?
Holes under 1.0 mm tend to fill with resin that cures in place, so 1.0 mm is the smallest we design to. For parts that fit together, leave 0.1 mm each side for a push fit and 0.25 mm each side for a part that turns or slides. A press fit depends on the resin and the part: ask us.
How do I avoid support marks on a resin print?
Tell us which face shows: we put the supports on the others and turn the part so that face is within 45° of vertical, where resin finishes cleanest. Every support leaves a small mark that we clean up, so the aim is to keep them where nobody looks.
Are resin prints brittle, and can they snap fit?
Resin parts can snap fit only in a tough resin, because the ABS-like resins are brittle and a snap arm tends to break the first time it flexes. If a clip has to flex many times, or the part needs a living hinge, nylon powder printing suits it better.
What is the largest resin part you can print in one piece?
The largest single resin piece is 1700 x 800 x 600 mm, or 800 x 800 x 500 mm in clear resins. Anything bigger is split into pieces and joined, with pegs and sockets designed in so the pieces line up. Tell us the overall size and we confirm.
A part you printed for me has one of these defects. What now?
Tell us, with a photo if you can. A person checks every file and every part before it leaves us, so it should not happen. Where the fault is in the printing, we typically reprint it free, case by case; a defect that was in the file is one the check should have flagged, so we look at it the same way.
Can you check or fix my file before it prints?
Yes, a person looks over every uploaded file before it prints and flags anything that will not print as drawn. If it needs more than a tweak, our design service can redraw the model so it prints properly, or build one from a sketch or a sample if you have no file.
Related
-
 GuideHow do you prepare a 3D model so it prints properly?
 -
 GuideHow much clearance do 3D printed parts need to fit together?
 -
 GuideWhich SLA resin should you choose for your part?
 -
 ServiceSLA 3D Printing
 -
 ServiceIndustrial 3D Printing
 -
 ServiceConcept to Fabrication
 -
 ProjectResin-Printed Bone Model
 -
 ProjectUnderwater ROV Scale Model
 -
 ProjectICA Automated Border Clearance Gate Model