

How much clearance do 3D printed parts need to fit together?
On this page
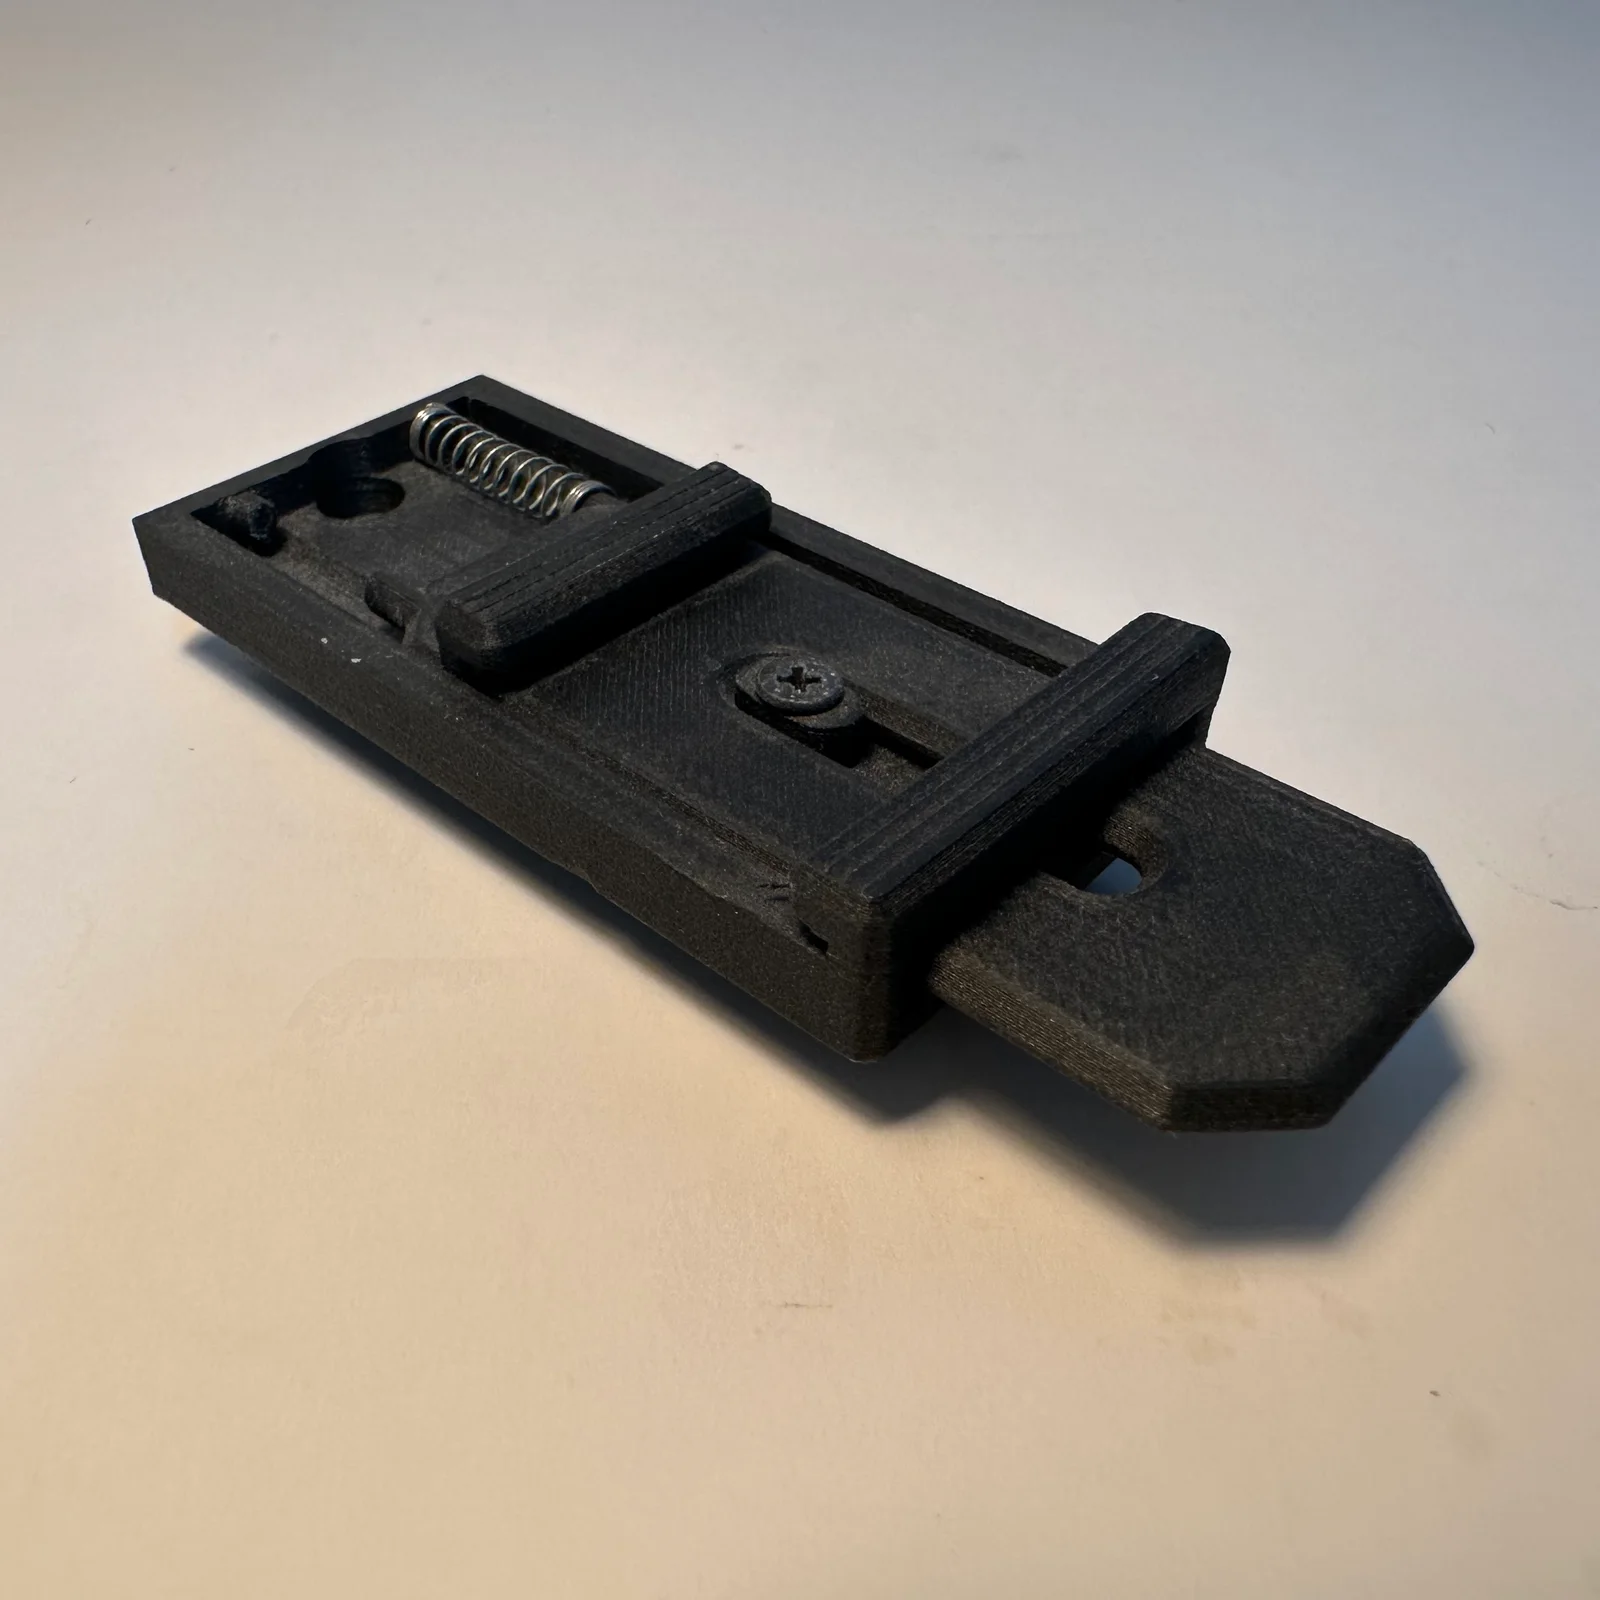
On a filament print, parts that push together need a gap of 0.2 mm on each side, and parts that move need 0.5 mm on each side. That gap is the clearance you draw; tolerance is how close to the drawing each part prints, so the clearance has to cover the tolerance of both parts. Below are the figures we design to for filament printing (fused deposition modeling, or FDM), resin printing (stereolithography, or SLA), nylon powder printing (selective laser sintering, SLS, and Multi Jet Fusion, MJF) and metal printing (selective laser melting, or SLM), plus heat-set insert hole sizes.
3D printing tolerances and clearances by process
Tolerance is how far a printed size can land from the size in your file. Clearance is the gap you draw between two parts so they fit. Every gap below is for each side: a pin in a hole has a gap on both sides, so the hole is bigger than the pin by twice the figure. All figures in mm.
| Filament (FDM) | Resin (SLA) | Nylon powder (SLS, MJF) | Metal (SLM) | |
|---|---|---|---|---|
| Tolerance as printed | ±0.3 to 100 mm | ±0.3 to 100 mm | ±0.3 to 100 mm | ±0.2 to 50 mm |
| Press fit: pressed in, stays put | pin 0.05 tighter than the hole | ask us | ask us | machine the faces |
| Push fit: in by hand, out again | 0.2 each side | 0.1 each side | 0.25 each side | machine the faces |
| Moving, or printed already assembled | 0.5 each side | 0.25 each side | 0.35 each side | 0.3 each side |
Past those lengths the tolerance becomes a percentage: ±0.3% on filament, resin and nylon, and ±0.4% on metal. Nylon is ±0.5 mm in its printed height. On nylon, moving gaps on faces larger than 20 mm² need 0.5 mm each side.
In plain words: a 50 mm filament part can come out anywhere from 49.7 to 50.3 mm, and a 200 mm part, where the percentage takes over, from 199.4 to 200.6 mm. Two parts drawn to exactly the same size rarely fit, because one can print a little big and the other a little small. The clearance has to cover both.
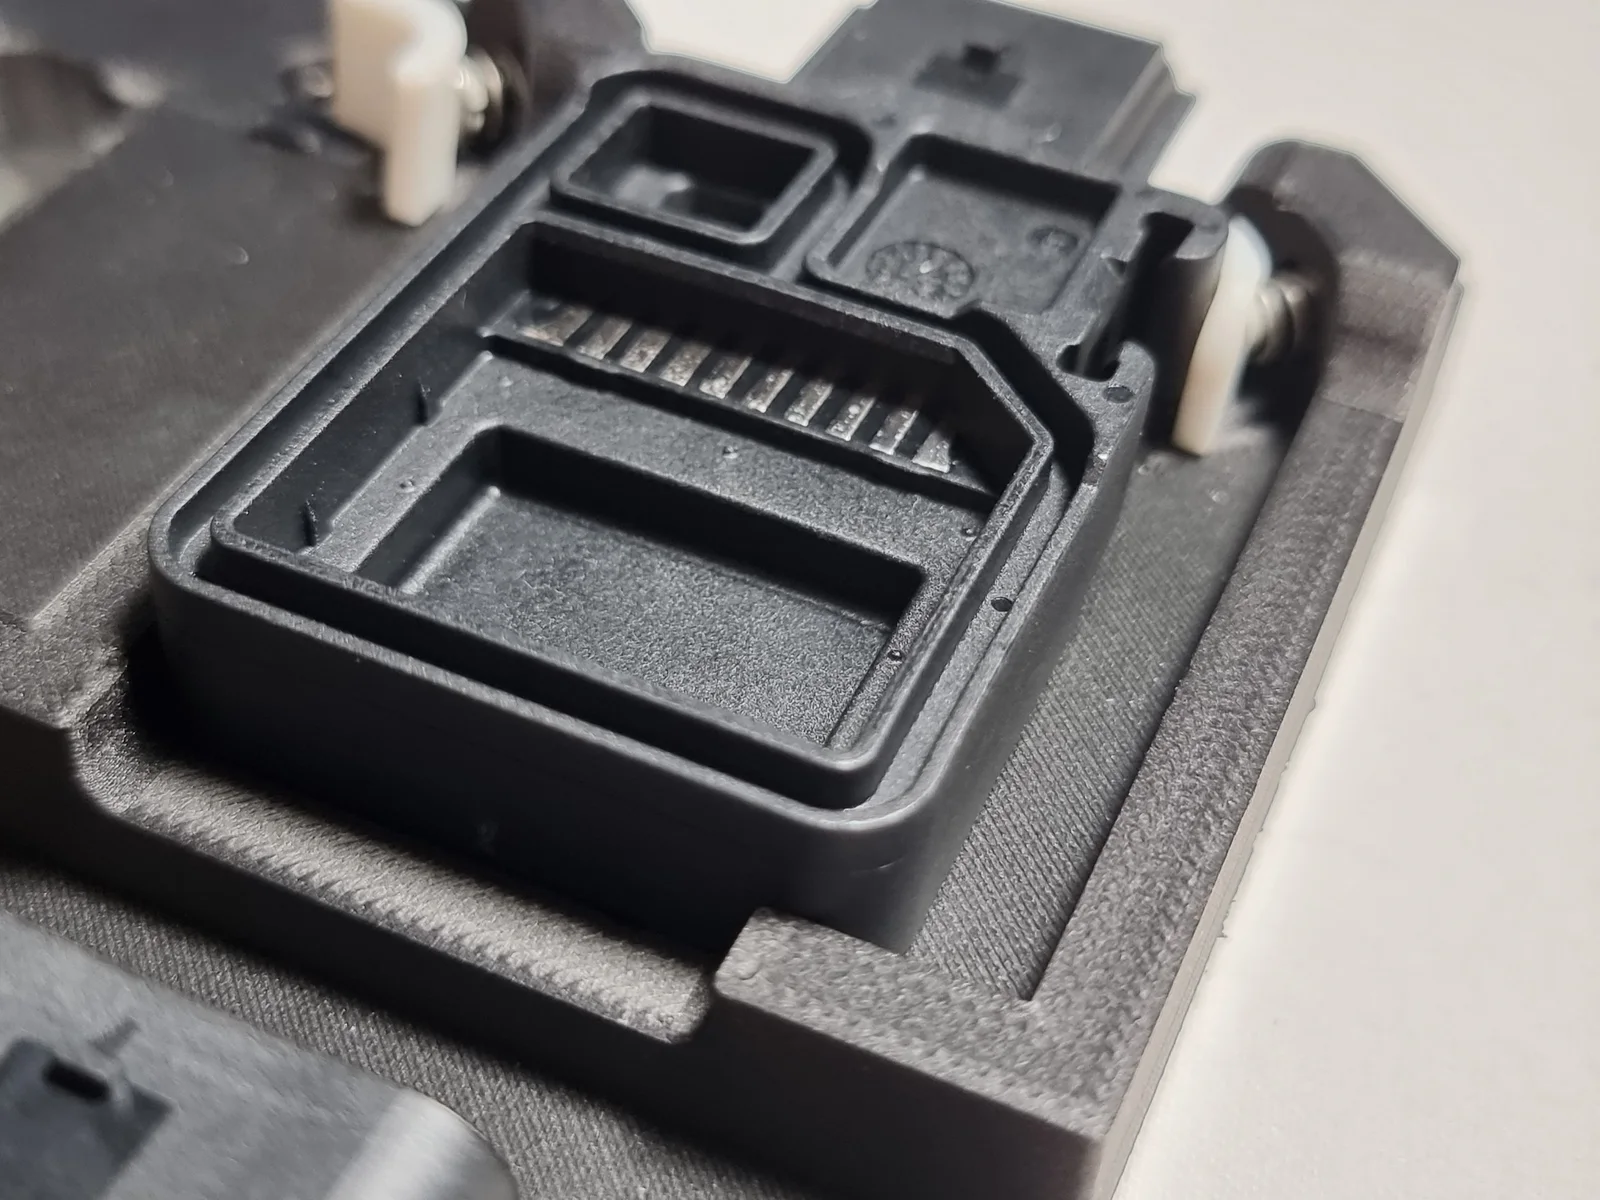
Press, push and moving fits
A fit is how tightly one part sits in another. Engineers name three kinds, and the table maps onto them:
- Moving fit = a clearance fit with a generous gap: always free to move.
- Push fit = a close clearance fit (a sliding fit): a snug gap, in by hand.
- Press fit = an interference fit: the pin is bigger than the hole.
A worked example on filament: a 5 mm pin needs a 5.4 mm hole to push in (5 mm plus 0.2 mm on each side). To turn freely, it needs a 6 mm hole (5 mm plus 0.5 mm on each side). Parts printed already assembled (print-in-place), such as a hinge or a gear on its axle, take the moving gap. Keep printed filament pins at least 3 mm across, with a fillet (a rounded corner) where they meet the part, or they snap off.

Why 3D printed holes come out small
Holes on a filament print come out a little small, and a hole printed on its side can’t come out perfectly round. The reasons are in holes that print tight. What to draw:
- A hole on its own (for a cable, a light or a screw to pass through): draw it 0.1 to 0.3 mm over size, or have it drilled to size after printing.
- A hole for a part that fits in it: the gaps in the table already allow for the hole printing small, so a 5 mm pin gets a 5.4 mm hole, not more. The result still depends on the printer, the material and how it is oriented. A fit that matters is worth a test print or a hole drilled to size.
- Print critical holes upright, with their axis pointing up: they come out rounder.
- Smallest holes we design to: 2.0 mm on filament, 1.0 mm on resin, 1.5 mm on nylon, and on metal 1.0 mm upright or 1.5 mm on its side.

Heat-set insert hole size and screw threads
Don’t tap a thread straight into plastic or drive a machine screw into a plain printed hole: the thread strips after a few turns. For screws below M8 (a metric screw 8 mm across) on filament or nylon, draw a hole for a heat-set insert. That is a small brass sleeve, threaded inside and ridged outside, which we press in with heat. Resin can take an insert too, or ask us. Metal prints are tapped after printing.
The hole sizes for the inserts we fit, in mm:
| Size | Hole across | Hole depth | Wall around it, at least |
|---|---|---|---|
| M2 | 3.2 | 5.5 | 1.3 |
| M3 | 4.0 | 7.2 | 1.6 |
| M4 | 5.6 | 9.6 | 2.1 |
| M5 | 6.4 | 11.0 | 2.6 |
The plastic around an insert is what holds it, so a thin wall splits or lets it pull out. Draw the hole, not the insert.

We supply and fit the inserts: add them in the instant quote under Advanced Settings. Magnets, nuts and bearings sealed in mid-print are in embedding hardware in 3D prints.
Snap fits on 3D printed parts
A snap fit is a springy arm that bends as two parts go together and clicks over a ledge to hold them. Whether one lasts depends on the material:
- Filament: we prefer magnets, screws or slotted holes. The rail in the photo at the top slides on a screw in a slotted hole, and a steel spring pushes it home, so there is no printed clip to wear out. If you want a snap fit, expect a test print or two. How to orient it is in parts that snap along the layers.
- Nylon powder: the best for clips. Snap arms 2.0 mm thick or more, and a living hinge (a thin strip that bends like a hinge) 0.5 mm thick and 5 to 10 mm long, which lasts tens of bends.
- Resin: snap fits only in a tough resin, one made to behave like ABS plastic; standard resin is too brittle.
Splitting and joining large 3D prints
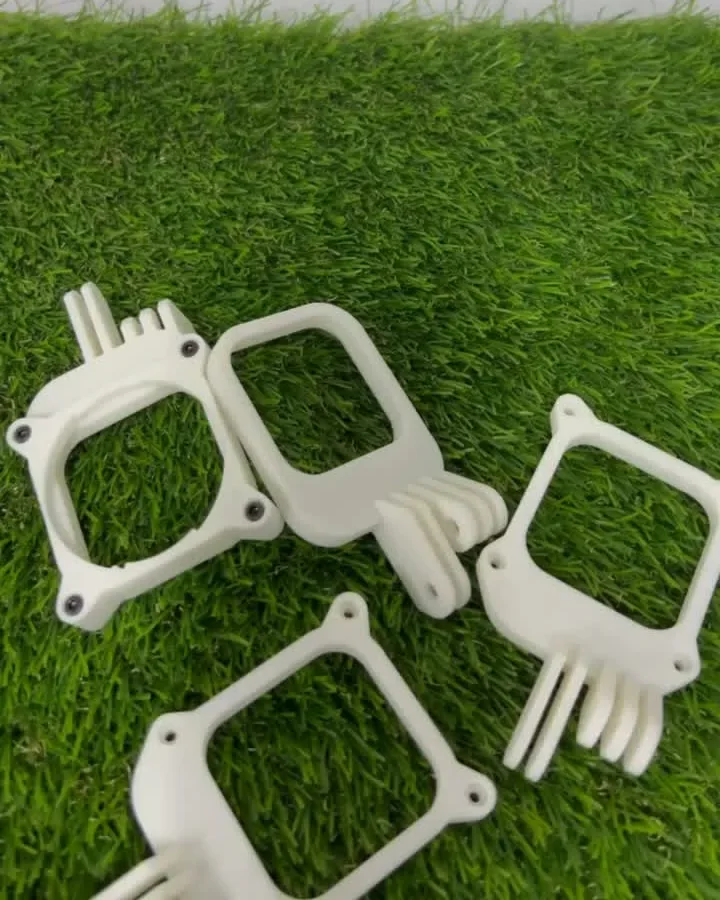
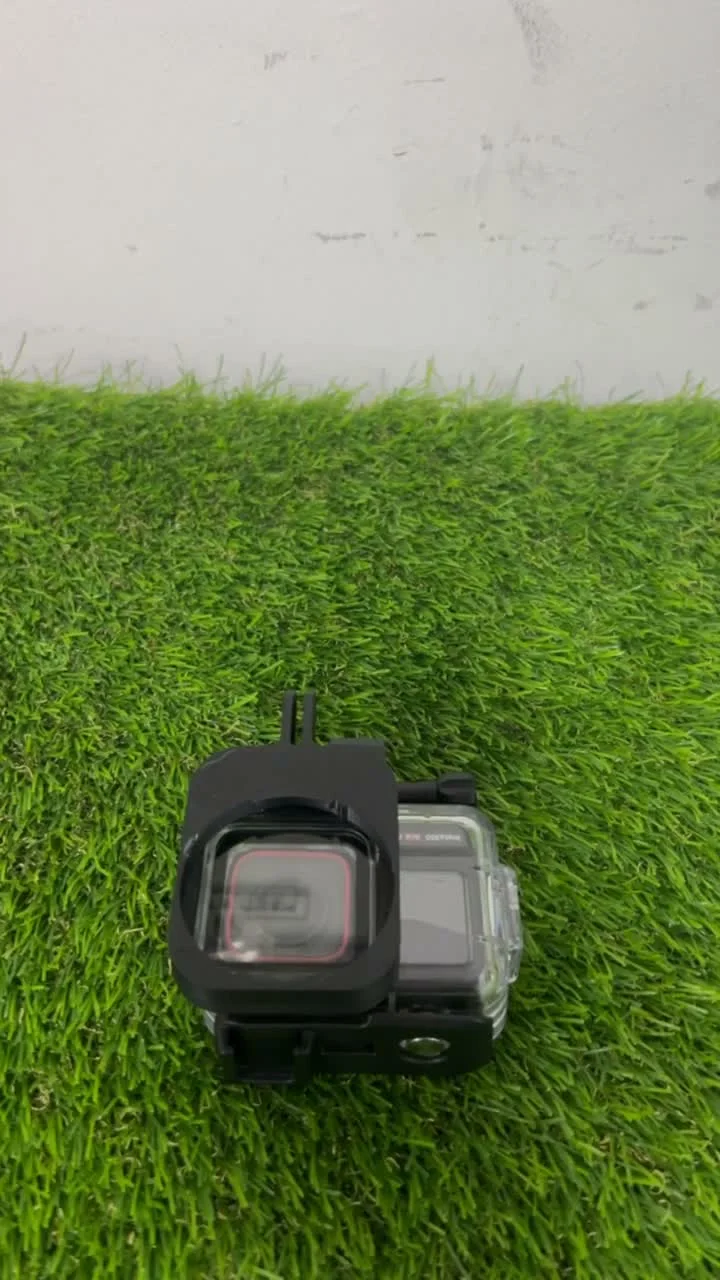
A part too big for one print, or easier to print in pieces, is split and joined. The joint has to line the pieces up, not only hold them:
- Pegs and sockets at a push fit, 0.2 mm each side, so the halves line up by themselves.
- Screw bosses (raised posts for a screw, ideally with an insert) for pieces that carry load or come apart.
- Glue, usually two-part epoxy, for a joint that never opens; a peg still lines it up first.
- Magnets for a lid or cover that comes off by hand.

How big a single piece can be on each process, and how big builds are made in sections, is in large-scale 3D printing.
Paint and plating take up room
A finish adds thickness to every face it covers, including the faces that fit together. Electroplating adds 0.05 to 0.2 mm to each surface, so a plated hole shrinks by twice that and a plated pin grows by twice that. A coat of paint adds its own thickness too.
- Mask the faces that fit: tell us which faces sit against another part and we tape or plug them, as in overspray on 3D printed parts.
- Or allow for the coating in the gap, when the mating face has to be finished too.

More on plating is in electroplating for 3D prints.
When to machine instead
Printing holds the tolerances above; some faces need more. A bearing seat, a sealing face or a hole for a dowel pin should be finished after printing:
- Filament: we drill or ream the hole to size (reaming finishes a drilled hole to an exact width).
- Metal: we leave 0.5 mm extra on the faces that must fit and machine it off.
- Resin and nylon: ask us.

If most of the part has to be that exact, it may be better cut whole from a block: CNC machining holds much tighter tolerances than printing. Metal printing against machining is weighed in metal 3D printing vs CNC machining.
Frequently asked
What is the difference between tolerance and clearance in 3D printing?
Tolerance is how far a printed size can land from the drawing, ±0.3 mm up to 100 mm on filament, resin and nylon; clearance is the gap you draw between two parts so they fit. The clearance has to be bigger than both parts' tolerance put together, or two parts drawn to the same size can jam.
How much clearance do 3D printed parts need?
Filament parts need 0.2 mm of clearance each side to push together and 0.5 mm each side to move. "Each side" means the hole is bigger than the pin by twice that, so a 5 mm pin needs a 5.4 mm hole to push in and a 6 mm hole to turn. Resin needs half that (0.1 and 0.25 mm); nylon powder needs 0.25 and 0.35 mm.
What is the difference between a press fit and a push fit?
A press fit on filament is drawn 0.05 mm tight, the pin bigger than the hole, so it has to be pressed in and stays put. A push fit leaves 0.2 mm each side, so it goes in by hand and comes out again. On resin and nylon, ask us before relying on a press fit; on metal, the faces are machined.
What clearance do moving or print-in-place parts need?
Moving parts need 0.5 mm each side on filament, 0.25 mm on resin, 0.35 mm on nylon powder (0.5 mm on faces over 20 mm²) and 0.3 mm on metal. Any less and parts printed already assembled can fuse together, so tell us which parts must move and a person checks the gaps before it prints.
Why do my 3D printed holes come out too small?
Filament holes print small because each line of plastic spreads a little as it is laid, so draw a hole on its own 0.1 to 0.3 mm over size. The fit gaps already allow for this, so a 5 mm pin still gets a 5.4 mm hole. How much a hole closes depends on the printer, the material and how it is oriented.
What hole size does an M3 heat-set insert need?
An M3 heat-set insert needs a hole 4.0 mm across and 7.2 mm deep, with at least 1.6 mm of plastic around it. Other sizes: M2 3.2 mm, M4 5.6 mm, M5 6.4 mm. Draw the hole, not the insert, and mark it in your file; we supply and fit the inserts.
How accurate is 3D printing by process?
Filament, resin and nylon powder prints land within ±0.3 mm up to 100 mm, then ±0.3% of the size beyond that; nylon is ±0.5 mm in its printed height. Metal holds ±0.2 mm up to 50 mm, then ±0.4%. A face that has to be more exact than that is drilled, reamed or machined after printing.
How do I design a 3D printed snap fit that doesn't snap off?
In nylon powder, make the snap arm 2.0 mm thick or more; nylon is the best printed material for clips. In resin, use a tough resin, not standard resin, which is too brittle. On filament we prefer magnets, screws or slotted holes, and a snap fit there usually needs a test print or two.
How do I join a part printed in sections?
Pegs and sockets with 0.2 mm each side line the pieces up, then glue, screws or magnets hold them, depending on whether the joint ever opens. A flat butt joint with no peg slides out of line, so draw something that locates the halves, or ask us to split the model for you.
Will paint or plating change how my parts fit?
Yes: electroplating adds 0.05 to 0.2 mm to every surface, so a plated hole shrinks by twice that. Paint adds its own coat too. Tell us which faces fit against something and we mask them, or allow for the coating in the gap.
Related
-
 GuideHow do you prepare a 3D model so it prints properly?
 -
 GuideWhich filament (FDM) print defects can you fix in the design?
 -
 GuideHow do you put metal threads or magnets in a 3D print?
 -
 ServiceIndustrial 3D Printing
 -
 ServiceProduct Development & Prototyping
 -
 ServiceCNC Machining
 -
 ProjectGoPro Lens Snap Adapter
 -
 ProjectElectronic Parts Holding Jig
 -
 ProjectFlow Meter Panel Mount