

Which nylon powder (SLS and MJF) print problems can you fix in the design?
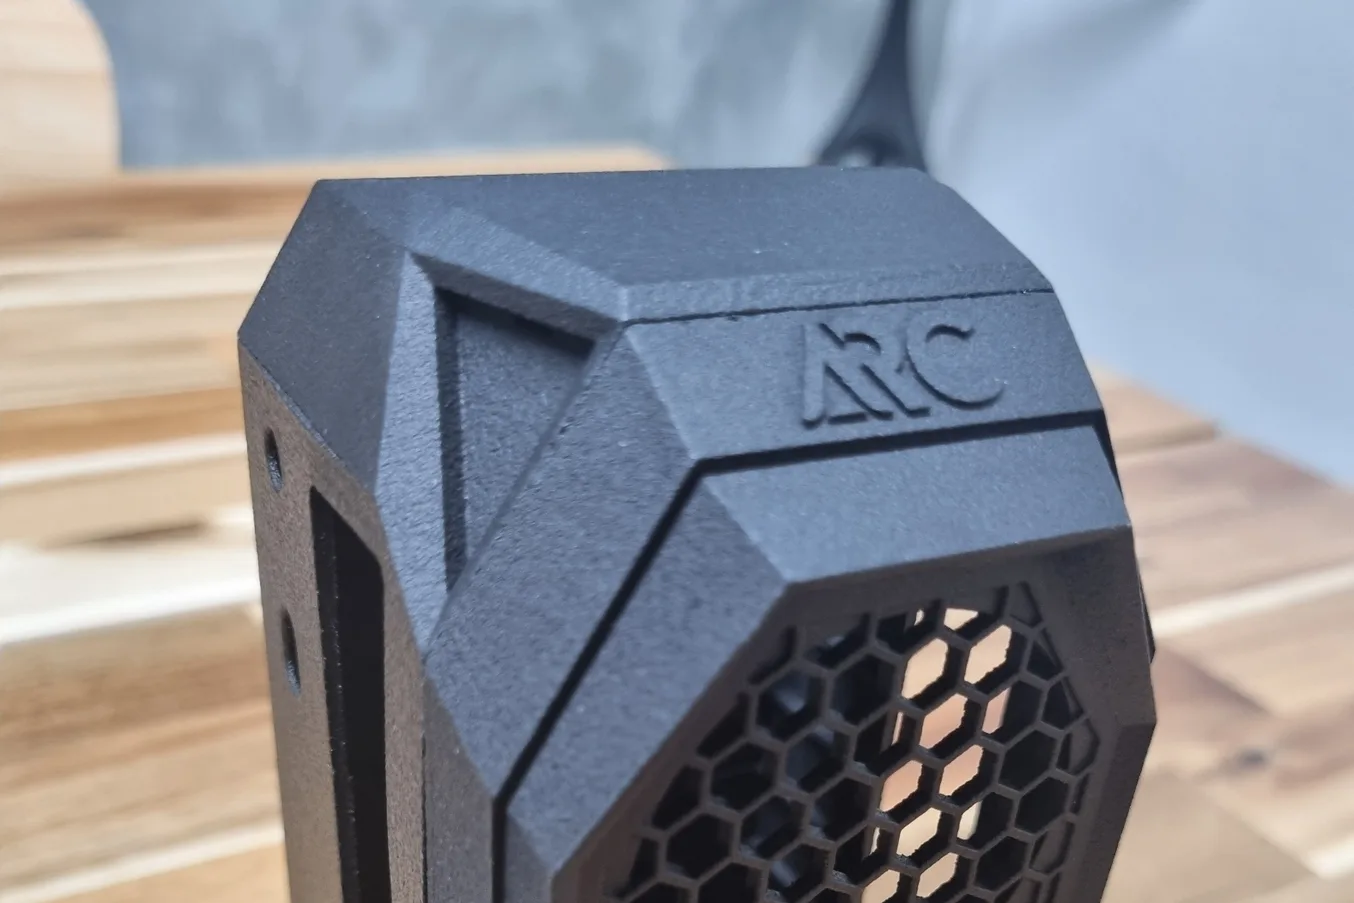
Five nylon powder printing problems start in the file, not the printer: hollow parts full of trapped powder, large flat panels that warp, print-in-place parts that fuse together, living hinges that crack and fine detail lost in the grain. They apply to both selective laser sintering (SLS) and Multi Jet Fusion (MJF). Both melt PA12 or PA11 nylon powder layer by layer, in grey, black or white. The loose powder holds the part up as it prints. So there are no supports and no overhang limit to design around.
Below is each problem, why it happens and how to change the model. Or have our studio redraw it for you. The numbers in one place:
| Rule | Nylon SLS and MJF |
|---|---|
| Wall | 1.0 mm minimum; 1.5 mm if thin and standing alone; 2.0 mm if handled |
| Holes and pins | 1.5 mm or more |
| Gap, moving parts | 0.35 mm each side |
| Gap, parts that push together | 0.25 mm each side |
| Text | 1.0 mm stroke, letters 5 mm tall |
| Accuracy | ±0.3 mm to 100 mm |
A rough or patchy surface and other printer-side problems are covered in common problems with 3D printed models. The SLS and MJF design guidelines sit beside every other process in 3D printing design rules for every process.
Hollow parts full of trapped powder
What you see: a hollow part comes back as heavy as a solid one, because its inside is still packed with loose powder.
Why: the part prints buried in powder, so every cavity fills with loose powder that never melted into the part (unsintered powder). A closed cavity gives that powder no way out. It stays there for good.

Fix it in the design: give a hollow part a 2.0 mm shell and at least two escape holes of 5 mm, at opposite ends, so air goes in one and powder pours out of the other. Draw them where they will not show, such as the underside or a hidden face. Nylon is priced by weight (see pricing), so a hollow part that empties properly is lighter and cheaper than a solid one.
Large flat panels that warp
What you see: the ends or corners of a large flat panel curl up, so a lid rocks or a cover won’t sit flat.
Why: a big flat area cools unevenly inside the powder, and the larger and thinner it is, the more it curls. A thick lump next to a thin skin makes it worse, because the two cool at different rates.

Fix it in the design: make large flat panels 2.5 mm thick, add ribs across the back, and keep the thickness even. Turning the edges down, so the panel becomes a shallow tray rather than a flat sheet, stiffens it too. Tell us how big the panel is and what it covers, and we check the wall and the ribs when we look at the file.
Print-in-place parts fused together
What you see: a hinge, chain or set of gears printed already assembled (print in place) comes out as one solid lump that will not turn.
Why: powder keeps the pieces apart while they print, but only if the gap between them is wide enough. In too narrow a gap the powder fuses to both faces, or packs in so tightly it can’t be cleaned out.

Fix it in the design: leave 0.35 mm on each side between moving pieces. On a large face (bigger than 20 mm², about the size of a 4.5 mm square), leave 0.5 mm. The hole is wider than the part by twice the gap, so a 10 mm pin needs a hole 10.7 mm across. Separate parts that push together need 0.25 mm on each side. A press fit depends on the part and the load, so tell us what must fit and we confirm the figure. Fits for every process, and how to split a part into pieces that join, are in 3D printing tolerances and clearances.
Living hinges that crack
What you see: a hinge made of the part itself (a living hinge) cracks along the fold, either the first time it is bent or after a while in use.
Why: a hinge that is too thick stretches its outer face further than the nylon will go. Nylon is tough and bends a long way, but even a well-drawn living hinge tires after tens of bends, not thousands.

Fix it in the design:
- Hinge: 0.5 mm thick and 5 to 10 mm long.
- Direction: the hinge must not bend across its layers. We set the orientation, so tell us which way the part opens.
- Lifetime: a lid opened a few times in its life suits a living hinge. A lid opened all day does not, so use a pin hinge printed in place instead, with the gaps from print-in-place parts fused together.
- Snap arms: 2.0 mm thick or more. Test-fit one before you order a batch: a clip that works on screen still needs trying.
Fine detail and text lost in the grain
What you see: hairline lettering, a fine texture or a thin pin comes out blurred, broken or missing.
Why: nylon powder leaves a matte, slightly grainy surface, coarse enough to swallow hairline detail. A very thin feature also has too little material to survive having the powder cleaned off it.

Fix it in the design:
- Text: a stroke of 1.0 mm, raised or recessed by 0.5 mm, in letters 5 mm tall or more.
- Other detail: raised or recessed detail down to 0.5 mm, or 1.0 mm if it has to be read.
- Walls: 1.0 mm, 1.5 mm for a thin wall standing on its own, and 2.0 mm for anything handled.
- Holes and pins: 1.5 mm or more.
Logos have their own rules in how to put a logo on a 3D print.
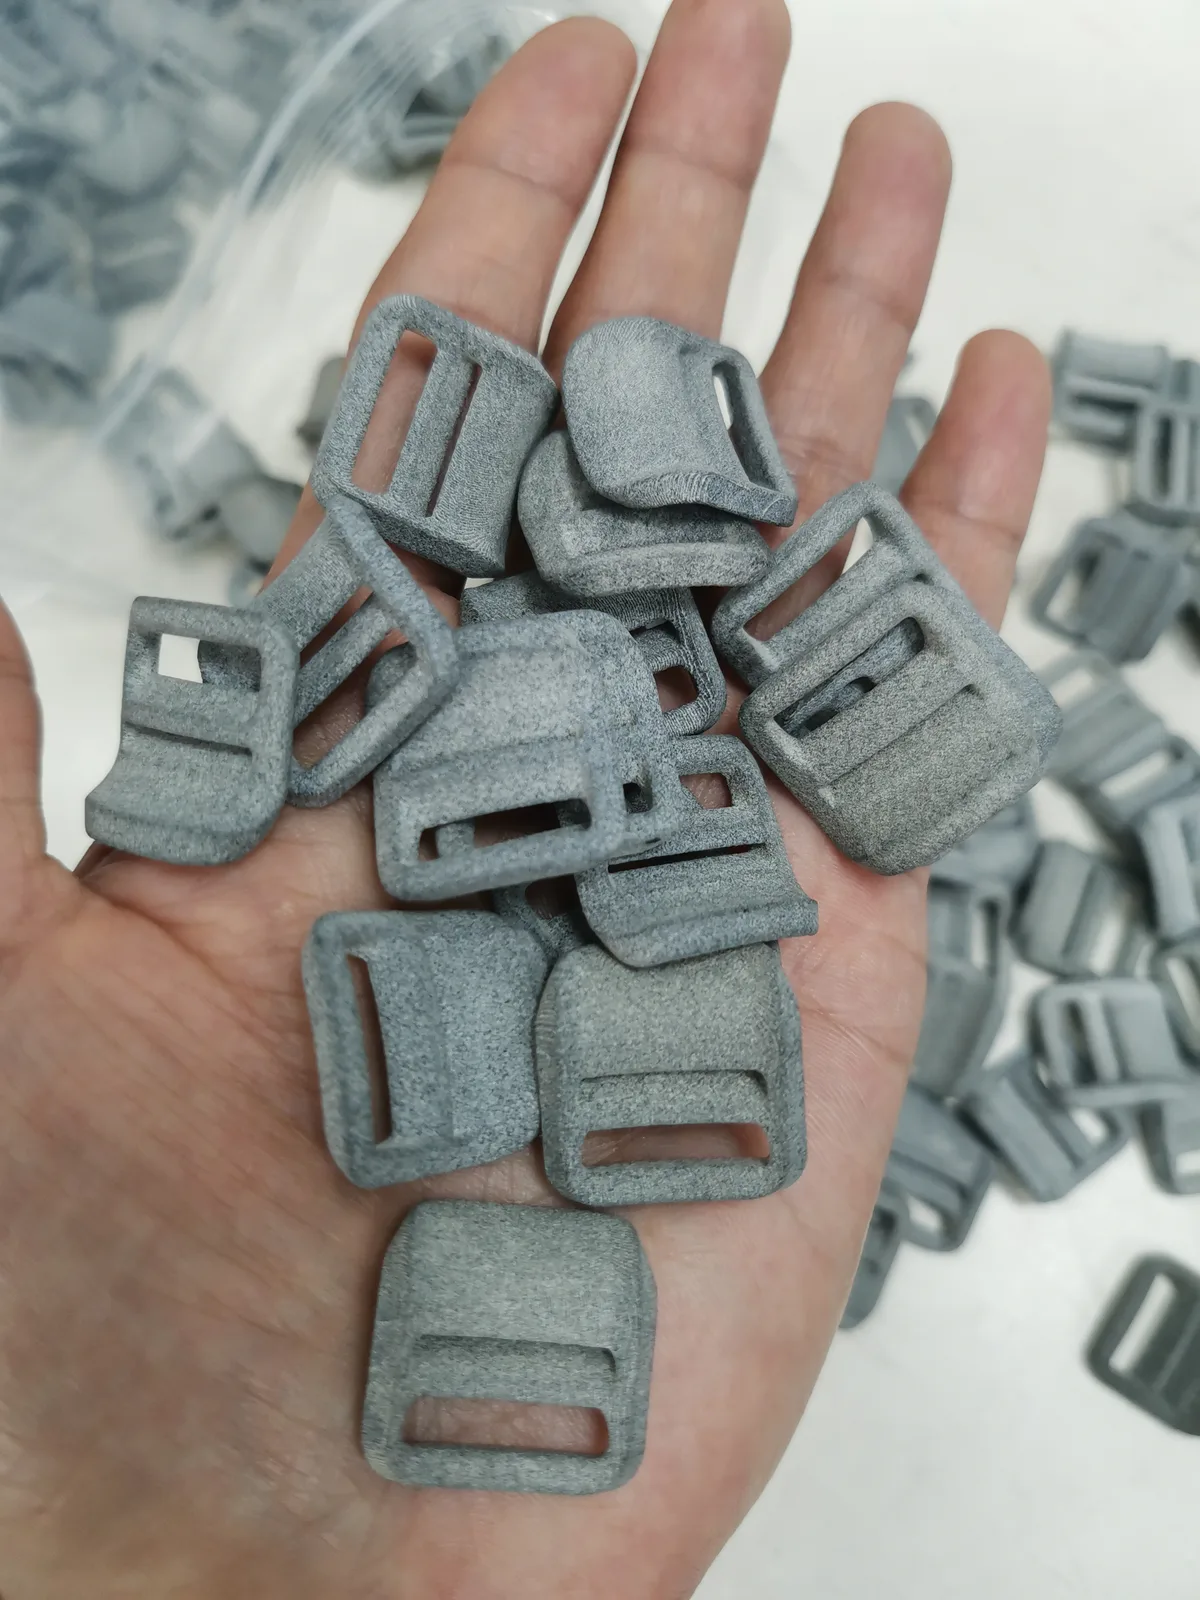
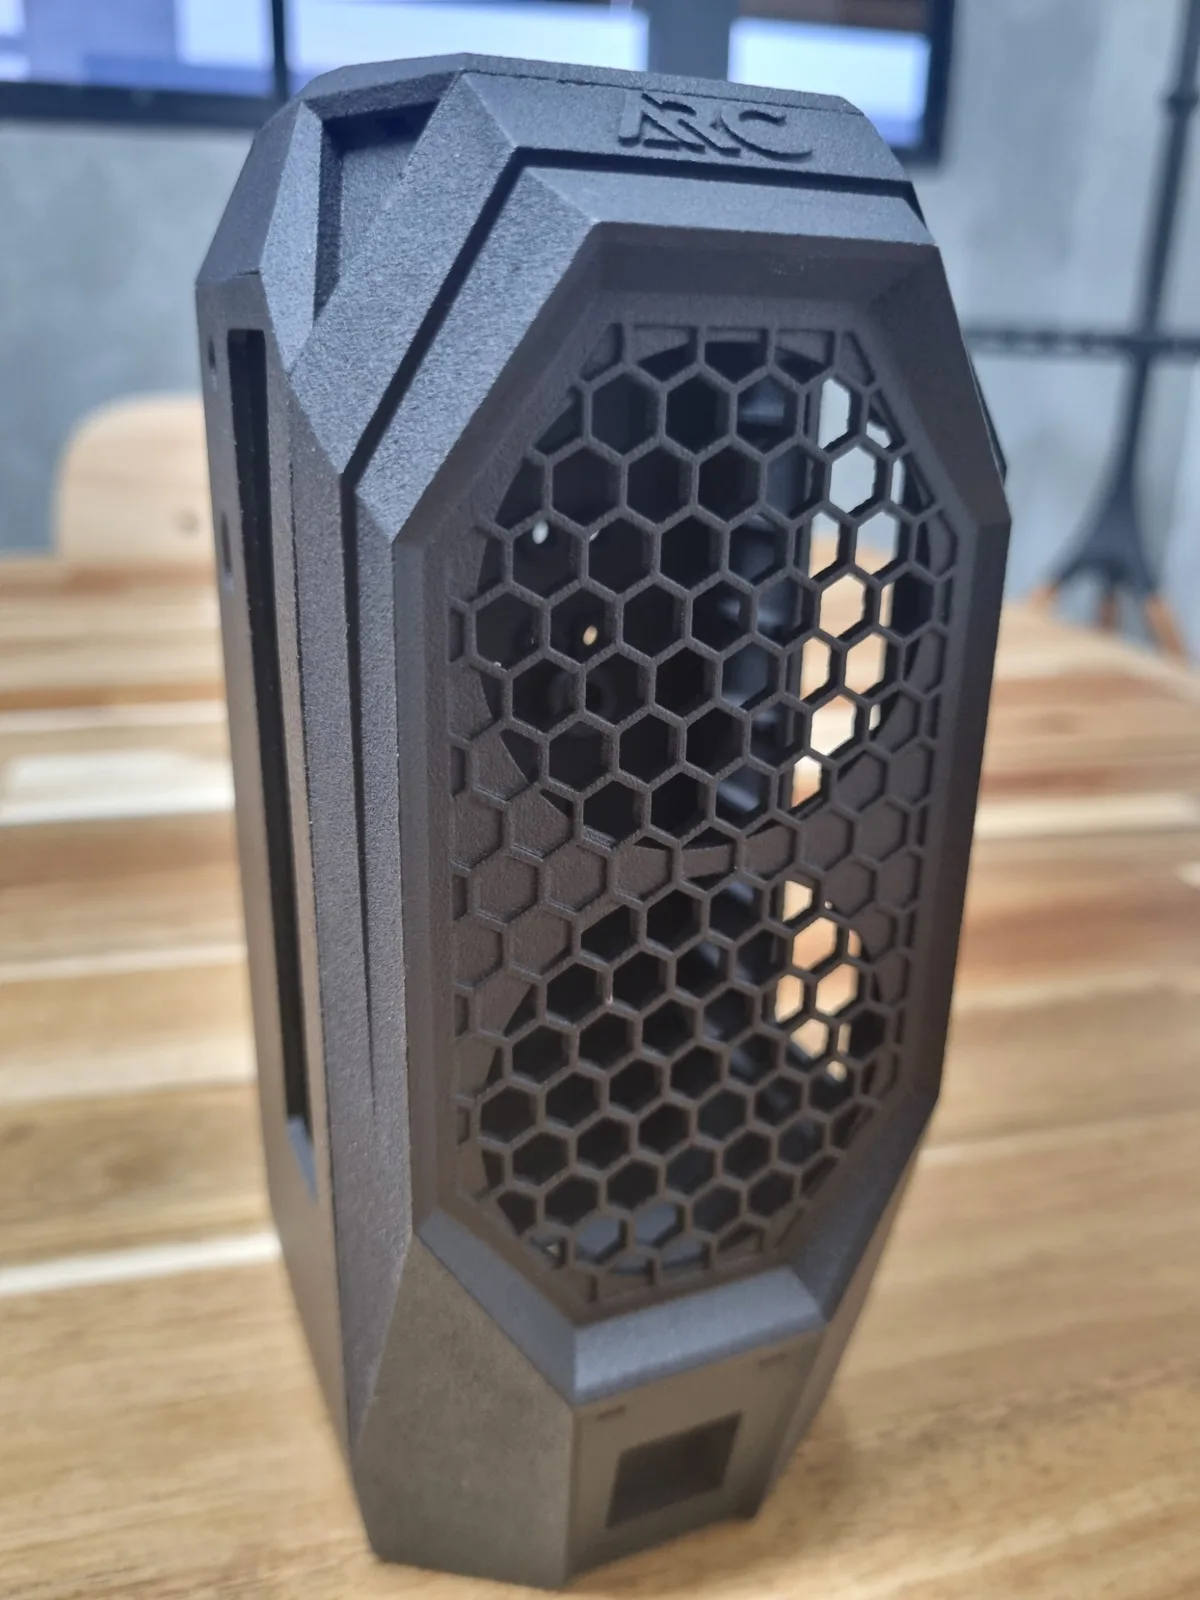
Size limit and tolerance
The largest single nylon piece is 670 x 360 x 550 mm. A bigger part is printed in sections and joined. Design the joints in from the start rather than cutting a finished model apart: how big a 3D print can be shows how.
As printed, expect ±0.3 mm up to 100 mm, then ±0.3% beyond that, with height at ±0.5 mm. So a 200 mm part holds ±0.6 mm. Results depend on the printer, the material and how the part is oriented. If a fit has to be tighter, tell us which face and we confirm what can be held.
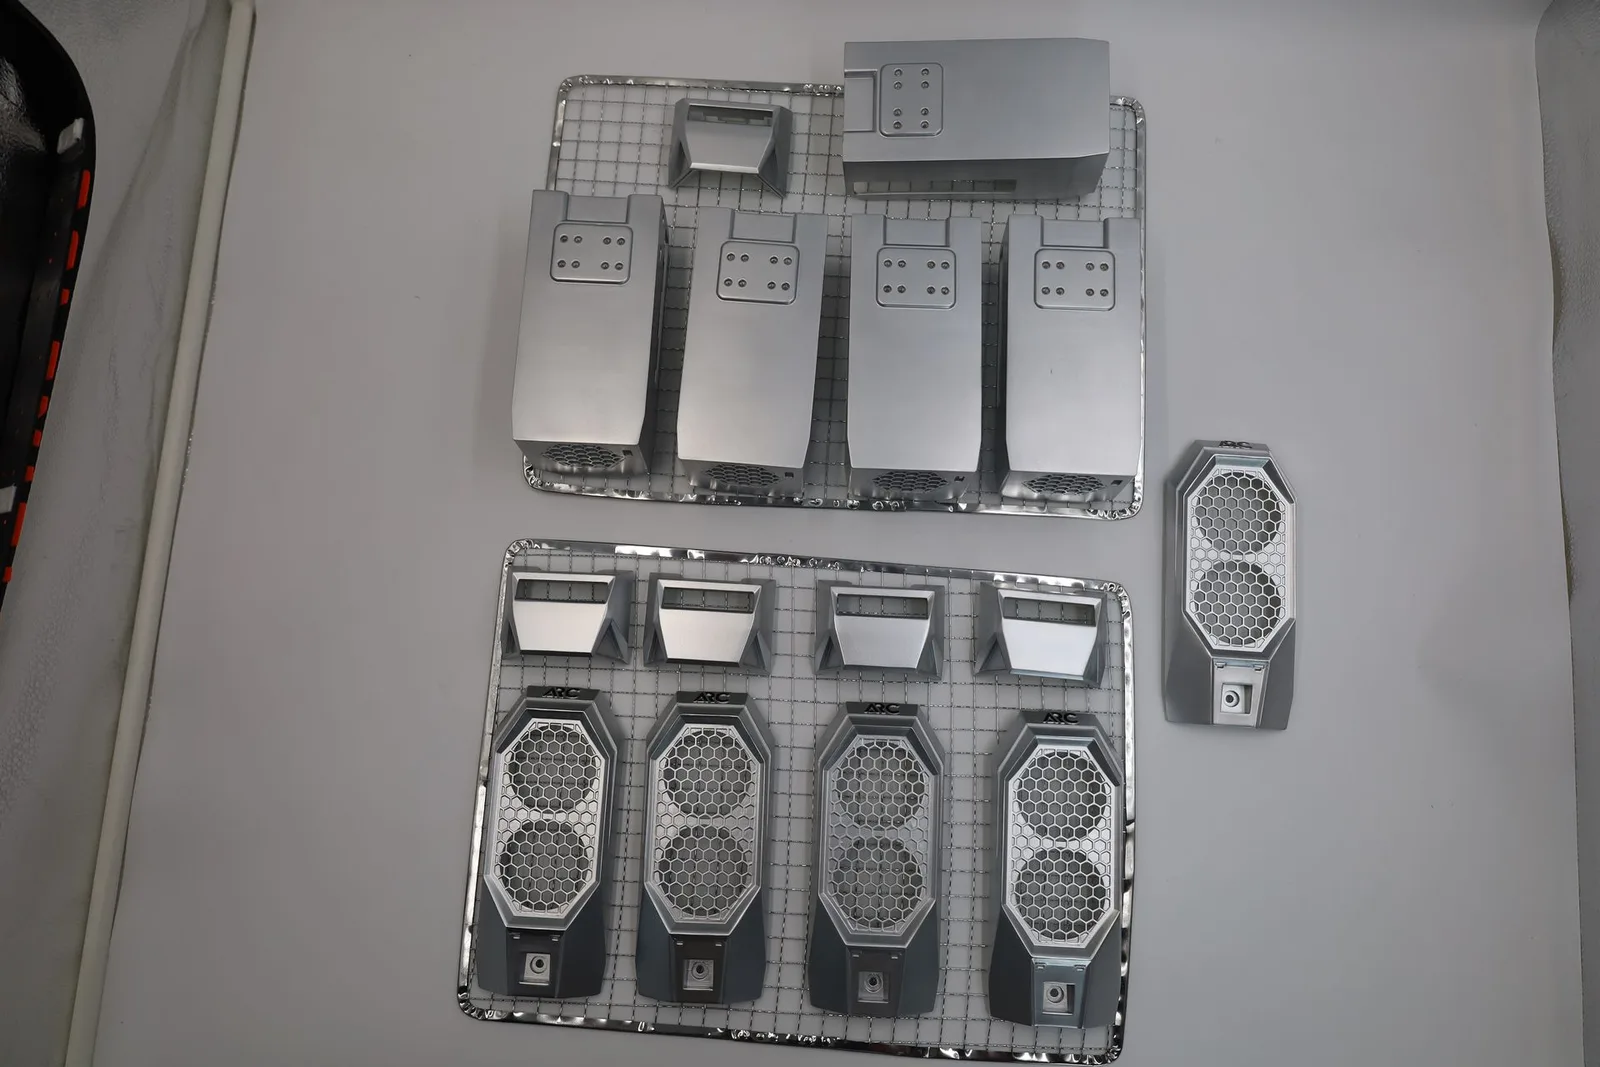
Frequently asked
Which nylon SLS and MJF defects come from the design?
Five nylon SLS and MJF problems start in the file, not the printer: hollow parts that trap powder, large flat panels that warp, print-in-place parts that fuse, living hinges that crack and fine detail lost in the grain. The rules are the same for selective laser sintering (SLS) and Multi Jet Fusion (MJF), so you do not have to choose; we pick the process that suits the part.
How big should escape holes be, and how many do I need?
Give a hollow nylon part at least two escape holes of 5 mm, at opposite ends, in a 2.0 mm shell. Air goes in one and the loose powder pours out of the other. Put them on the underside or a hidden face; a part with no holes keeps its powder, and its weight.
How do I stop a large flat nylon part warping?
Make a large flat nylon panel 2.5 mm thick and add ribs across its back. Keep the thickness even, with no thick lump beside a thin skin. Tell us how big the panel is, and we check the wall and the ribs before it prints.
How much clearance do print-in-place parts need so they do not fuse?
Leave 0.35 mm on each side between nylon parts printed already assembled, or 0.5 mm on large faces (over 20 mm², about a 4.5 mm square). So a 10 mm pin that must turn needs a hole 10.7 mm across. Separate parts that push together need 0.25 mm on each side; for a press fit, ask us.
Can nylon print a living hinge, and how thick should it be?
Yes, a nylon living hinge works at 0.5 mm thick and 5 to 10 mm long. It flexes tens of times before it tires, not thousands, so it suits a lid opened now and then. For a lid opened all day, use a pin hinge printed in place, and make any snap arm 2.0 mm thick or more.
What is the minimum wall thickness for SLS or MJF, and how small can a pin or hole be?
Design nylon walls to at least 1.0 mm, 1.5 mm for a thin wall standing on its own and 2.0 mm for anything handled (2.5 mm on big flat panels). Pins and holes need 1.5 mm or more. Thinner features have too little material to survive the powder being cleaned off.
How small can text and fine detail be on a nylon print?
Give lettering a 1.0 mm stroke, raised or recessed by 0.5 mm, in letters 5 mm tall or more. Other raised or recessed detail can go down to 0.5 mm, or 1.0 mm if it has to be read. The grainy nylon surface softens anything finer.
How accurate is a nylon print, and how big can one piece be?
A nylon print holds ±0.3 mm up to 100 mm, then ±0.3% of the length, with height at ±0.5 mm. The largest single piece is 670 x 360 x 550 mm, and a bigger part is printed in sections and joined. Results depend on the printer, the material and how the part is oriented, so if one dimension must be exact, tell us which and we confirm what can be held.
A part you printed for me has one of these defects. What now?
Tell us, with a photo if you can. A person checks every file and every part before it leaves us, so it should not happen. Where the fault is in the printing, we typically reprint it free, case by case; a defect that was in the file is one the check should have flagged, so we look at it the same way.
Can you check or fix my file before it prints?
Yes, a person looks over every uploaded file before it prints and flags anything that will not print as drawn, such as a sealed cavity that traps powder or a gap too tight to turn. If it needs more than a tweak, our design service can redraw the model so it prints properly, or build one from a sketch or a sample if you have no file.
Related
-
 GuideHow do you prepare a 3D model so it prints properly?
 -
 GuideHow much clearance do 3D printed parts need to fit together?
 -
 GuideFDM or SLA or SLS: Which is Right for You?
 -
 ServiceSLS 3D Printing
 -
 ServiceIndustrial 3D Printing
 -
 ServiceProduct Development & Prototyping
 -
 ProjectArc CPU Case
 - ProjectSpring-Loaded Quick-Release Rail
-
 ProjectGoPro Lens Snap Adapter