

Custom Raspberry Pi GPS enclosure
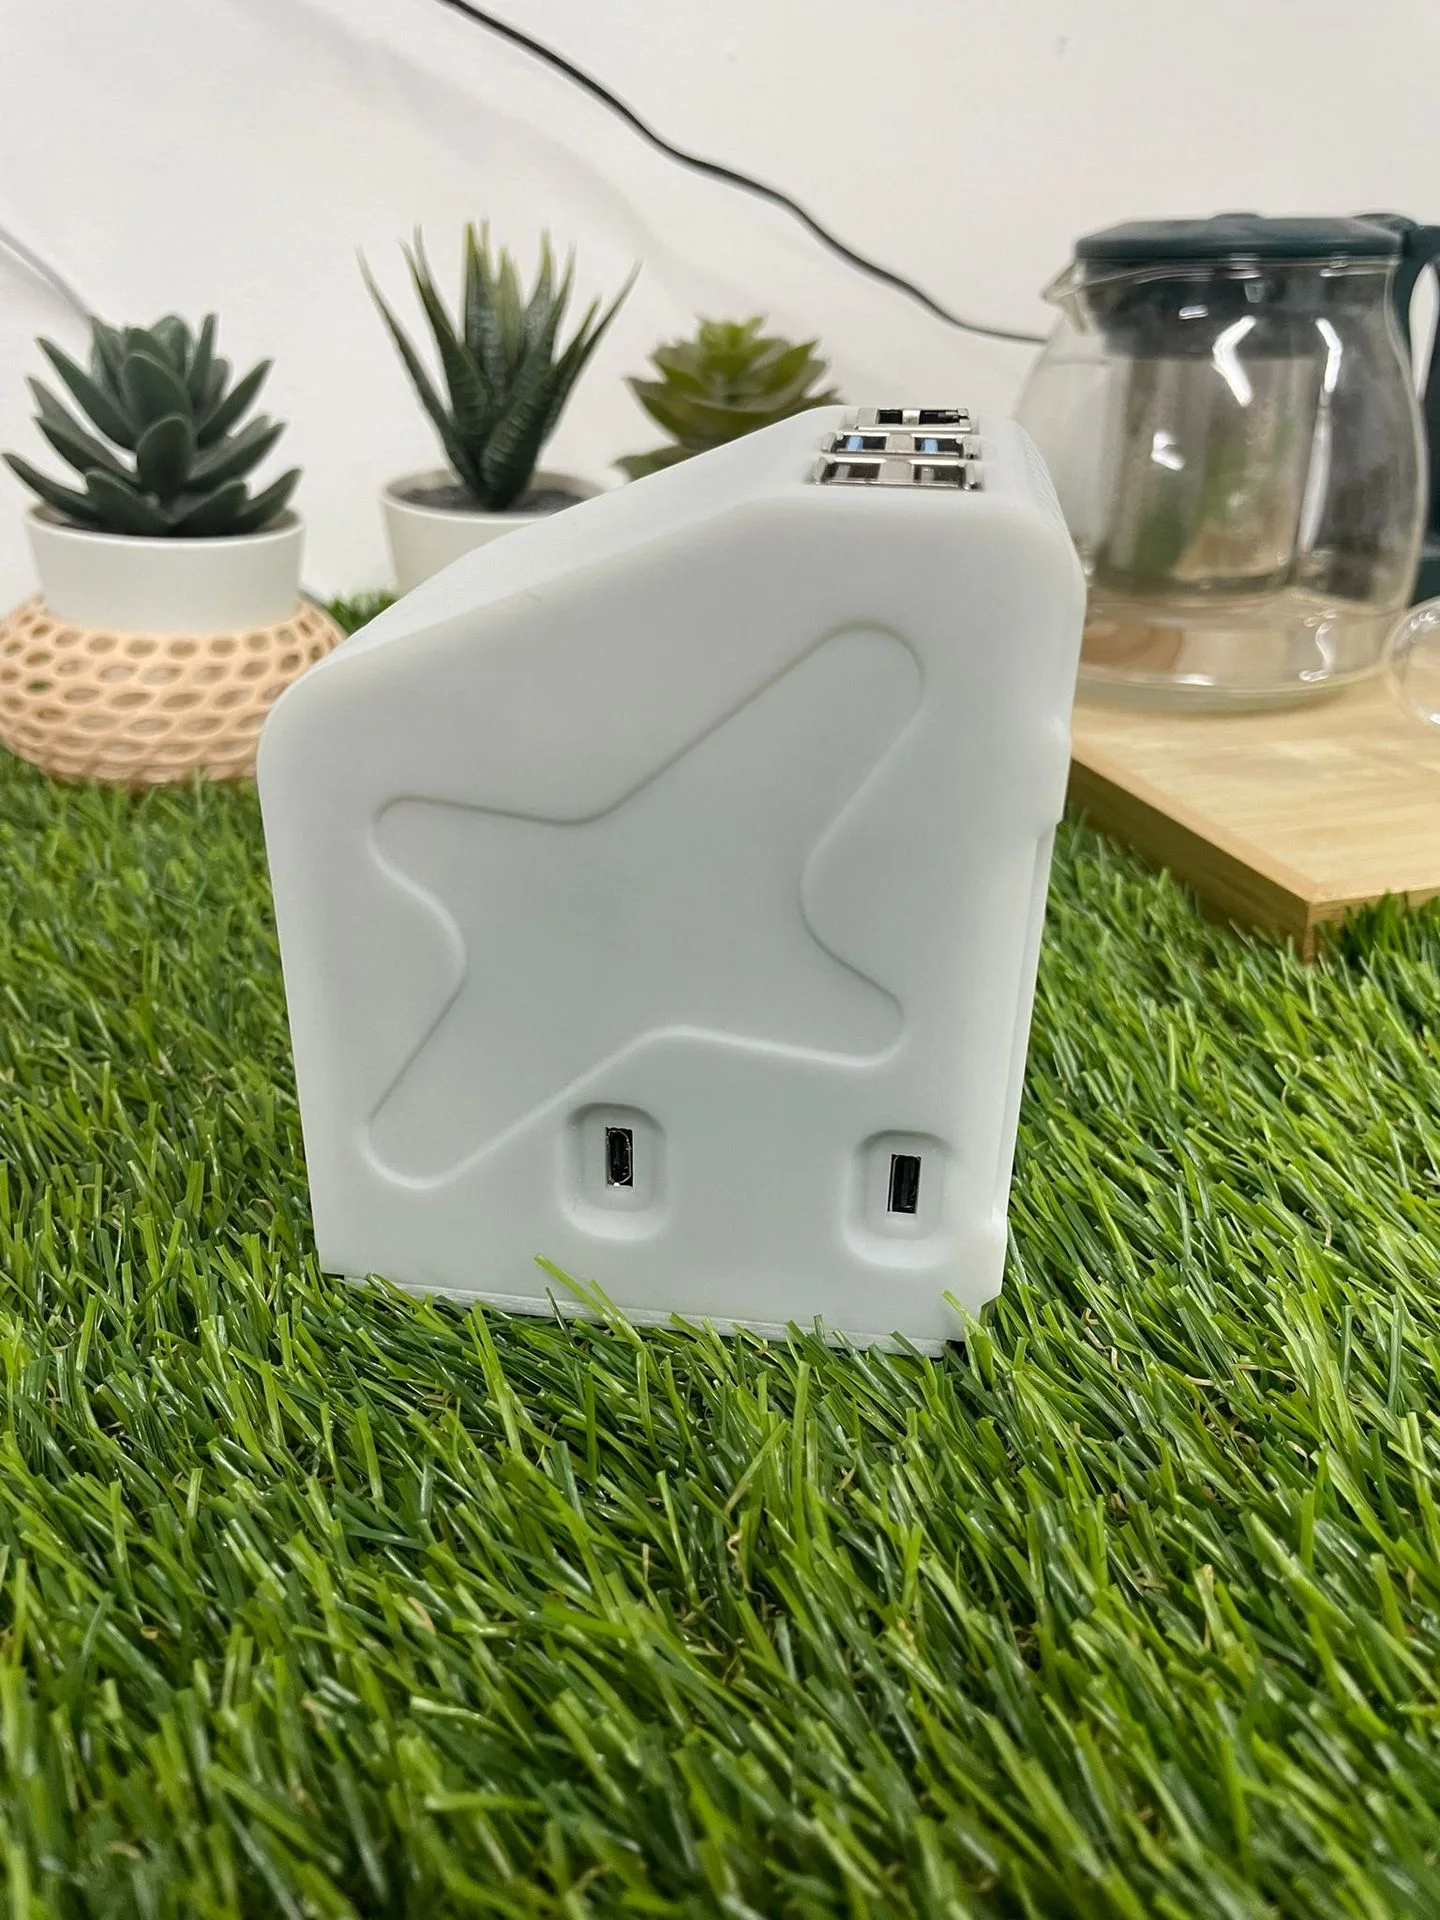
Our own design: a white enclosure for a Raspberry Pi GPS build, with cooling fins, an embossed aeroplane and a front that folds down.
- What it holds
- A Raspberry Pi, a GPS board and a battery board
- How it was made
- An FDM test print first, then the final shell in white resin
- Ports
- USB openings in the side, reachable with the case closed
What we brought
What we can do
We design cases around your boards
The shell follows this exact stack, with standoffs for each board and openings where the ports sit.
How we look after you
We test the fit before the final print
A quick FDM test print checked the boards, door and openings before the white resin shell was made.
What you get
A case that looks like a product
Cooling fins, an embossed aeroplane and a fold-down front make a bare board stack look finished.
Gallery
The whole project at a glance. Drag or swipe to browse; tap a picture to enlarge it.
1 / 7
-
The finished piece
-
The cooling fins and embossed aeroplane.
-
The closed front.
-
The front folds down for the boards.
-
Design and prototypingThe yellow FDM test print.
-
ProductionThe test shell, final shell and boards.
-
Build and assemblyThe boards on standoffs inside.
The build
How we built it
5 steps, from the brief to the finished piece. Pick a step to jump to it.
The brief
Step 1 of 5
- Inside
- A Raspberry Pi in a heatsink case, a GPS board and a battery board
- Access
- USB ports usable with the case closed, boards reachable from the front
- Airflow
- Open fins across the top
At Additive Inn, our 3D printing studio in Singapore, we set out to turn a bare Raspberry Pi GPS stack into something that looks like a finished product, with every port still in reach.
Design and prototyping
Step 2 of 5
The shell follows the stack, with fins across the top for airflow, an aeroplane embossed on the side and two USB openings set into it. The front folds down to reach the boards. A yellow FDM test print checked the fit first.
Production
Step 3 of 5
Once the test print fitted, the final shell and front door were printed in white resin for smooth walls and crisp fins.
Build and assembly
Step 4 of 5
We mounted the boards on standoffs inside the shell, lined their ports up with the openings and closed the front over the stack.
The final build
Step 5 of 5
The finished enclosure turns a bare board stack into one tidy white unit for a desk. The front folds down to reach the boards, and the USB ports work with the case closed.
More product development
See all product development →-
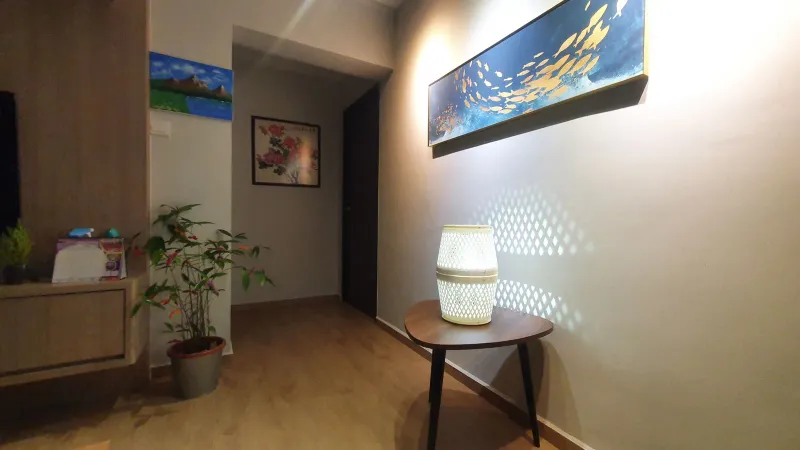 Apollo Envirotec Air purifier lamp for Apollo Envirotec An air purifier that doubles as a lamp for Apollo Envirotec: we designed the housing around its electronics and printed each prototype in our studio.
-
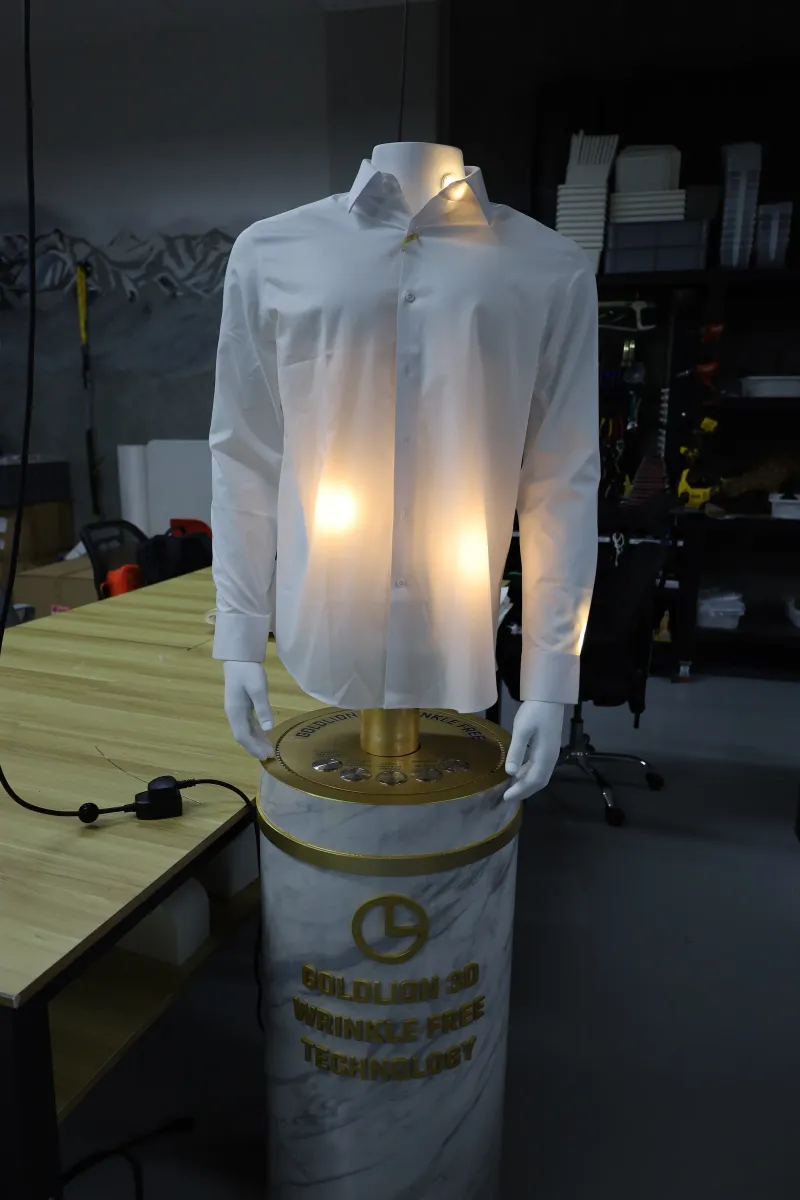 Goldlion Goldlion interactive shirt display A life-size Goldlion shirt display that turns on a marble and gold plinth, with lights inside the torso and a button for each claim.
-
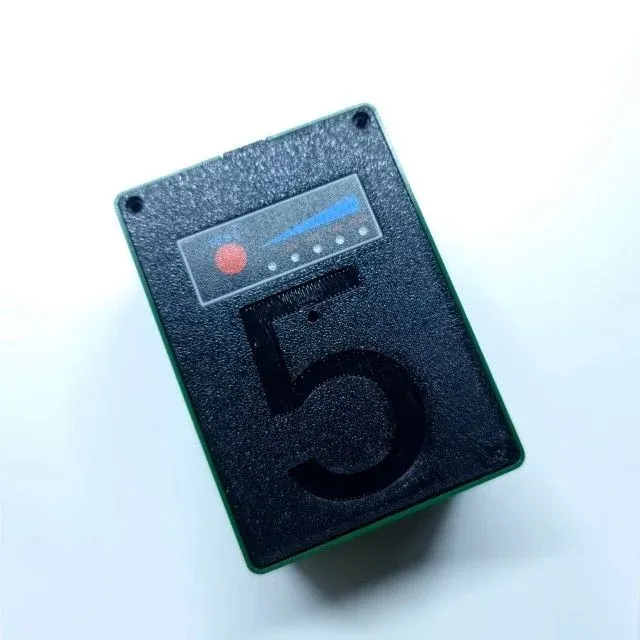 3D printed electronics enclosure (FDM) Our own hand-sized case for a battery-powered sensor board, designed around its parts and FDM printed in our Singapore studio.