How to prepare 3D files for 3D printing
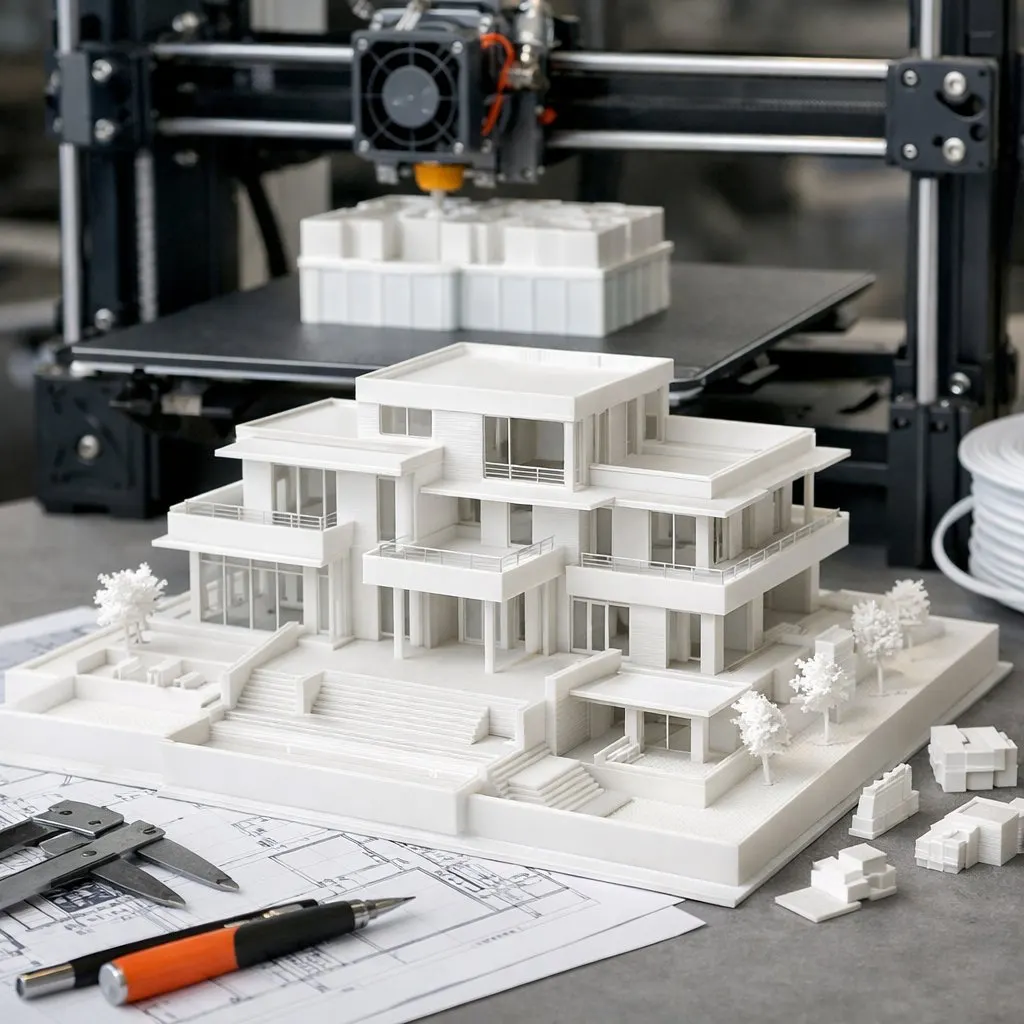
In 3D printing, the journey from concept to physical product starts with a well-prepared 3D file. Understanding the details of file preparation is critical to producing high-quality prints. We will cover everything from supported walls to tolerance levels virtually to ensure your projects move smoothly from digital to physical.
Design-rule terms to know
Every process has its own limits. These are the file-prep details that decide whether a feature prints cleanly:
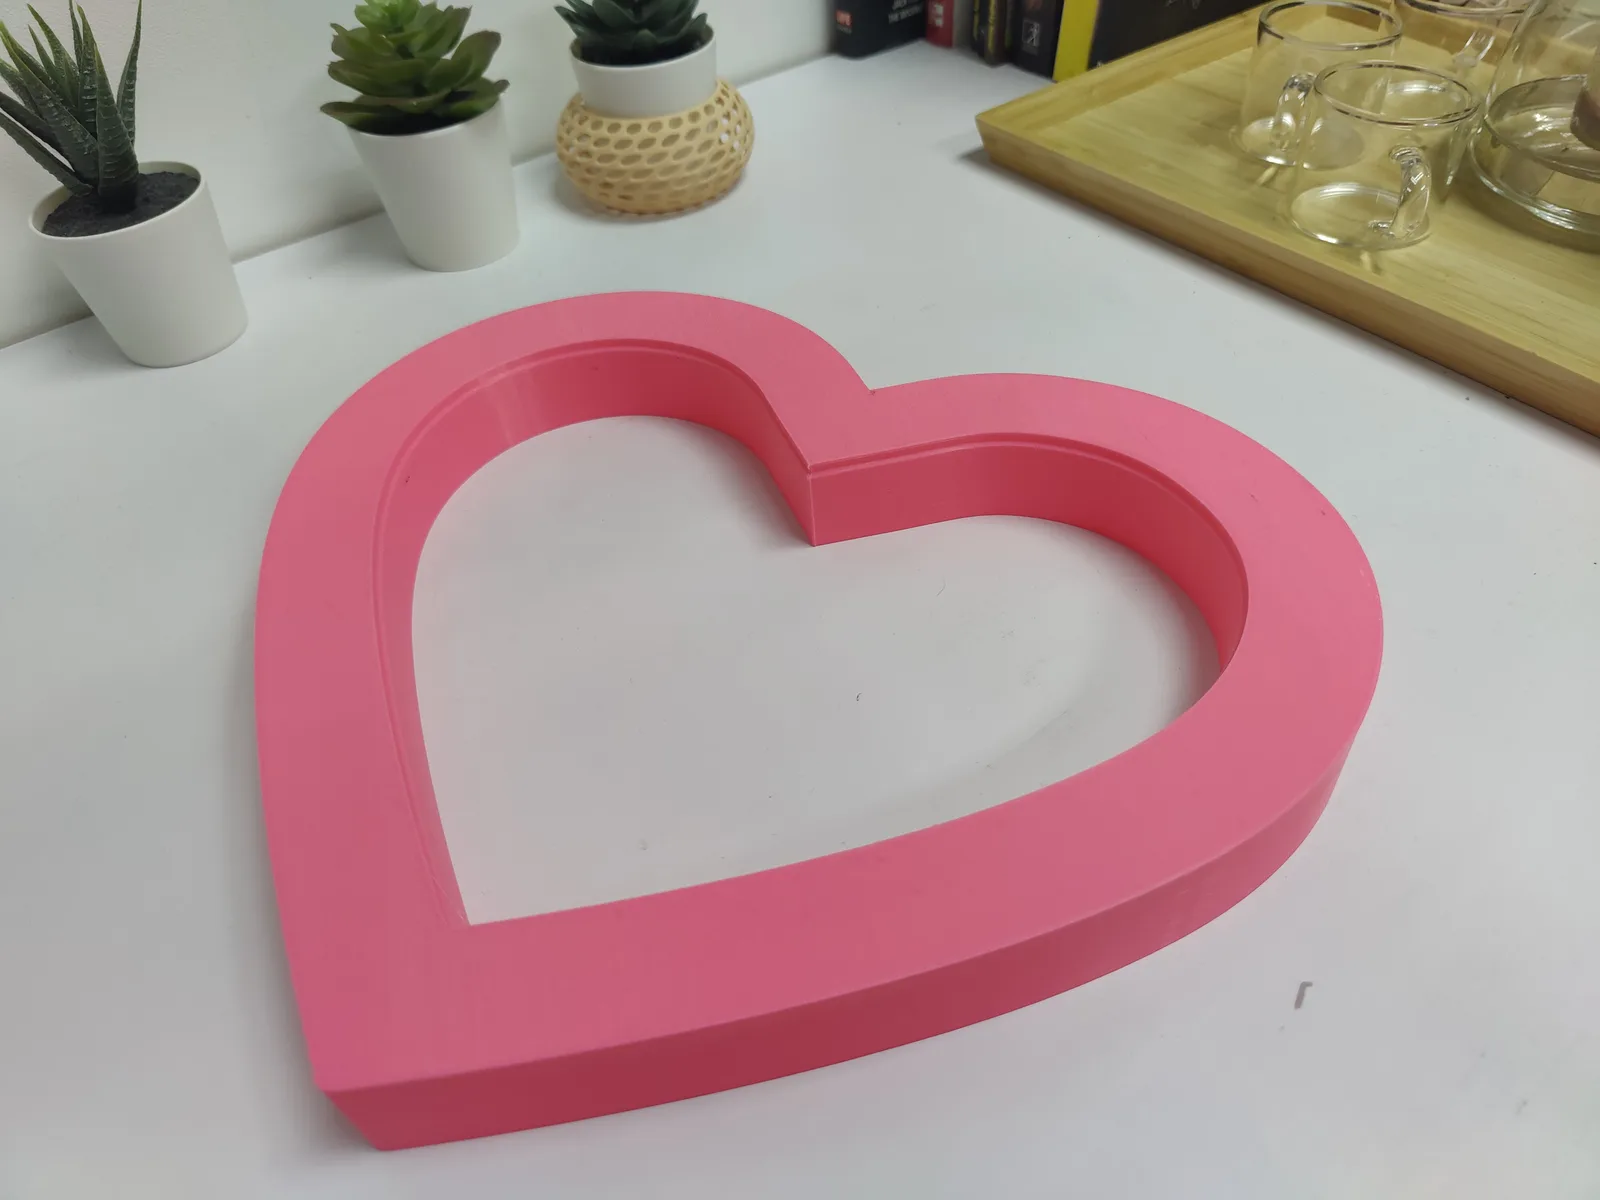
1. Supported walls: Walls that are connected to the rest of the print on at least two sides
2. Unsupported Walls: Unsupported walls are connected to the rest of the print on less than two sides
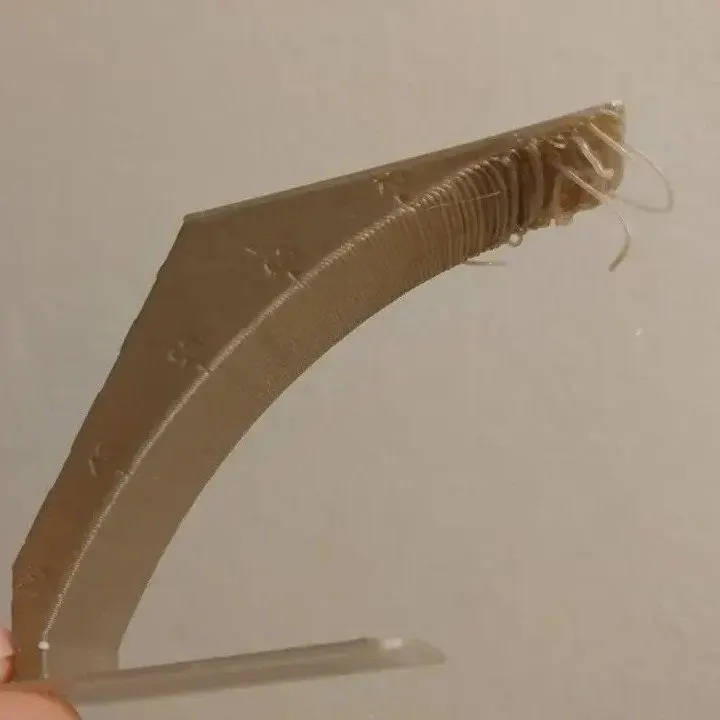
3. Support & overhangs: The maximum angle a wall can be printed at without requiring support
4. Embossed & engraved details: Features on the model that are raised or recessed below the surface
5. Horizontal bridges: The span a technology can print without the need for support
6. Holes: The minimum diameter a technology can successfully print a hole
7. Connecting/movement parts: The recommended clearance between the moving or connecting parts
8. Escape holes: The minimum diameter of escape holes to allow for the removal of build material
9. Minimum features: The recommended minimum size of a feature to ensure it will not fail to print
10. Pin diameter: The minimum diameter a pin can be printed at
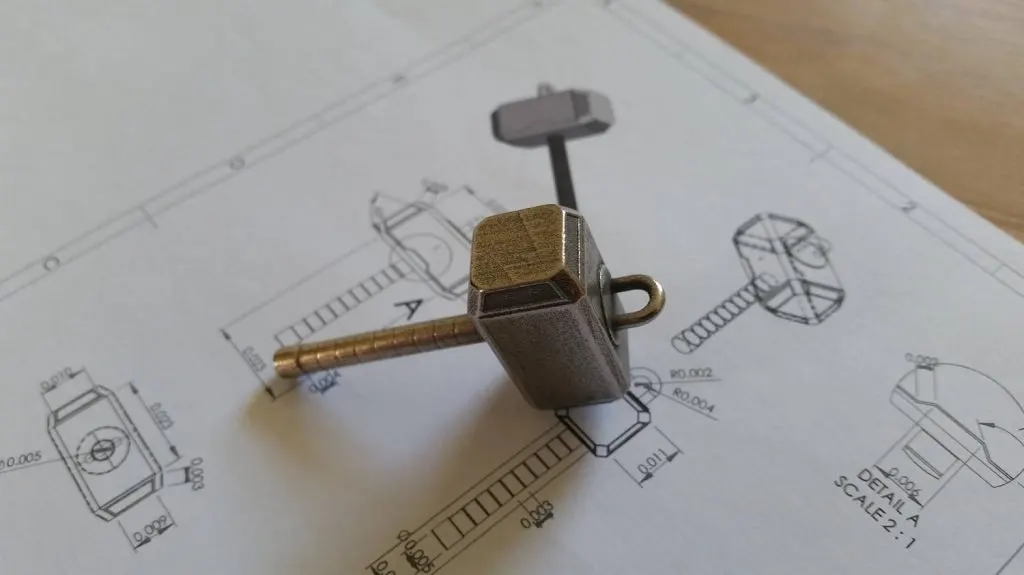
11. Tolerance: The expected tolerance (dimensional accuracy) of a specific technology
Process limits at a glance
Typical minimums for the three processes we run. Send your file and our preflight tool checks these automatically:
| Design feature | FDM | SLA resin | SLS nylon |
|---|---|---|---|
| Min wall (supported) | 0.8 mm | 0.5 mm | 0.7 mm |
| Min hole diameter | 2 mm | 0.5 mm | 1.5 mm |
| Embossed / engraved detail | 0.6 mm wide, 2 mm high | 0.4 mm | 1 mm |
| Max unsupported overhang | 45° | supports needed | none needed |
| Clearance, moving parts | 0.5 mm | 0.4 mm | 0.4 mm |
| Min feature size | 2 mm | 0.2 mm | 0.8 mm |
| Typical tolerance | ±0.3 mm | ±0.2% | ±0.3% |
Frequently asked
How do I prepare a 3D model for printing?
Five-step checklist: (1) make sure the mesh is watertight (no holes), (2) confirm units are millimetres, (3) thicken walls to at least 0.8mm for FDM or 0.5mm for SLA, (4) follow the 45° rule on overhangs (steeper needs supports), and (5) export as STL or STEP. Our preflight tool flags issues before you order.
What thickness should walls be for 3D printing?
Minimums per process: FDM 0.8mm (1.6mm for structural strength), SLA resin 0.5mm (1.0mm for handle-ability), SLS nylon 0.7mm. Anything thinner prints but is fragile. Tall thin walls (e.g., 0.8mm × 50mm tall) need internal ribs for rigidity, which we can add during design review.
Why does my 3D print fail at slicing?
Slicing failures usually mean (1) the mesh isn't watertight, since gaps confuse the slicer, (2) overlapping geometry from boolean operations, (3) flipped face normals (insides where outsides should be), or (4) units are wrong (the model is microscopic or kilometric). Run a mesh-repair tool (e.g., Meshmixer) before exporting STL.
Related