Filling & Sanding: What It Does and What It Can't
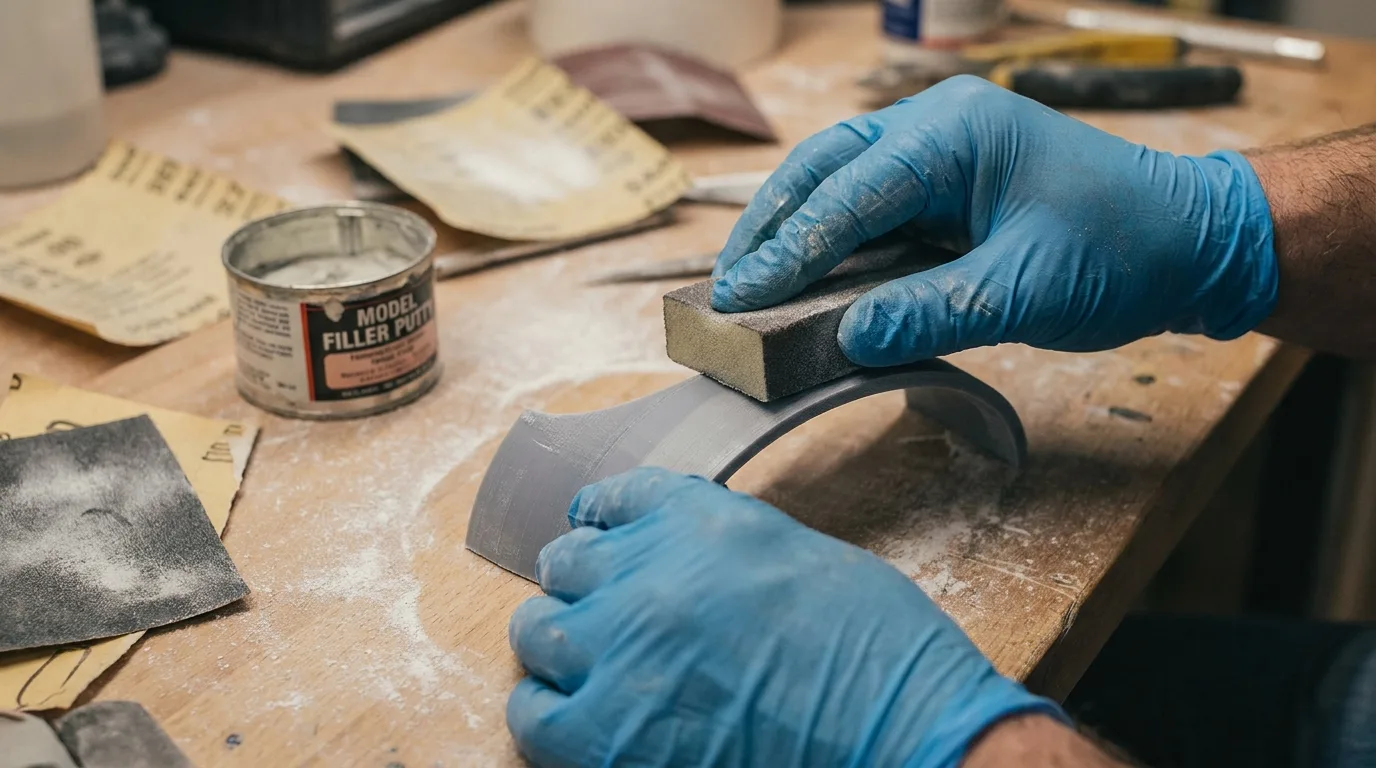
Filling & sanding is the most-picked finishing option in our quote tool, and the most misunderstood. It’s often chosen as a shortcut: print cheap in FDM, add sanding, expect a flawless SLA-grade surface for a fraction of the price. That’s not what the option does, and we’d rather you know before you order than after you unbox. Here’s the process in detail, what it genuinely delivers, and where its limits are.
The process: putty, block, grit, repeat
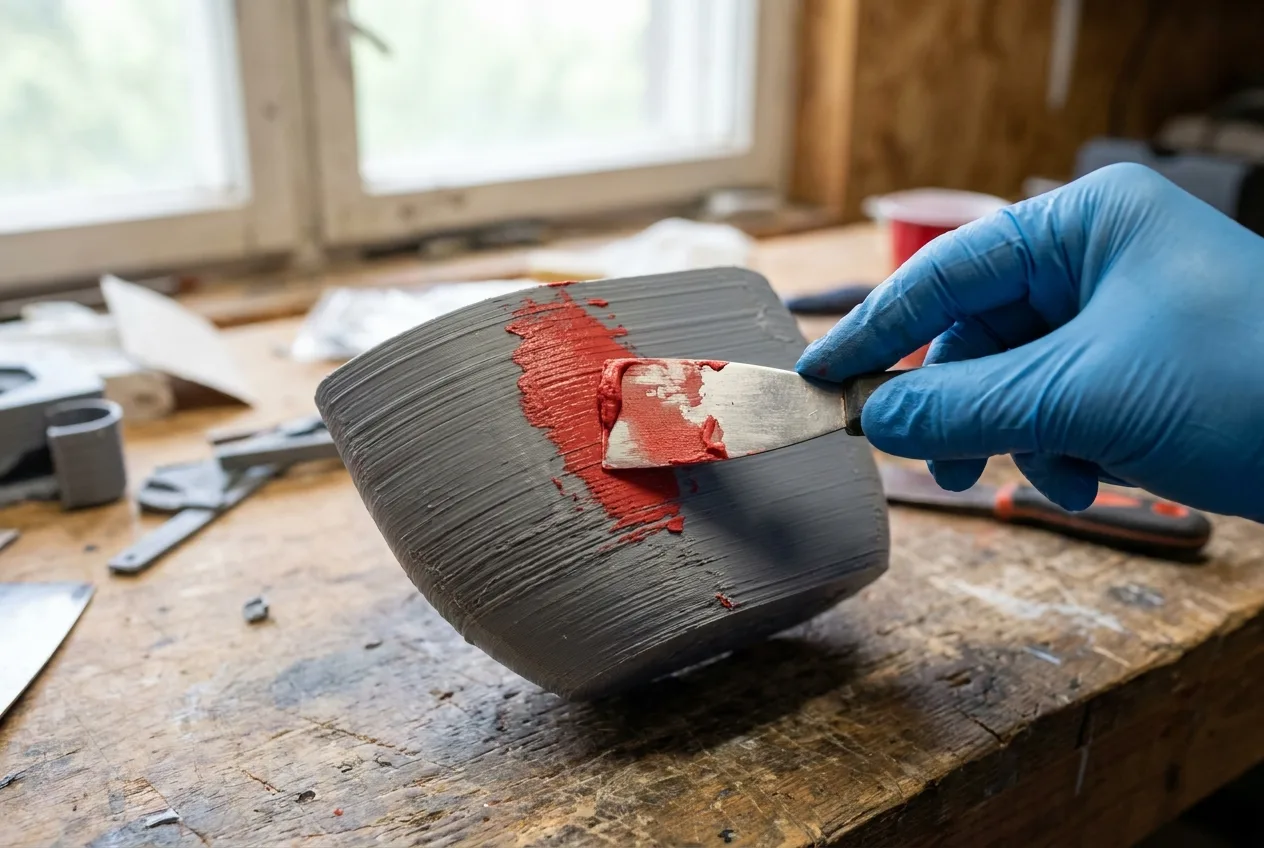
An FDM print comes off the machine with layer lines (fine ridges left by each pass of the nozzle), plus a seam line and, sometimes, marks where supports touched. Filling & sanding attacks those in rounds:
- Fill. Spot putty is worked into the layer valleys, seams, and support scars. It bridges the low points so the surface can be levelled instead of just thinned.
- Block-sand. The part is sanded with a firm block, coarse grit first, so the high points come down evenly rather than following the ridges.
- Step through grits. Coarse scratches are replaced by finer and finer ones until the surface feels uniform.
- Repeat where needed. Deep lines and stubborn seams get a second round of filler and another pass.
It’s slow, skilled hand work; a small part takes real bench time. That’s the honest reason the option costs what it does: you’re buying labour, not a spray can.
What you can expect
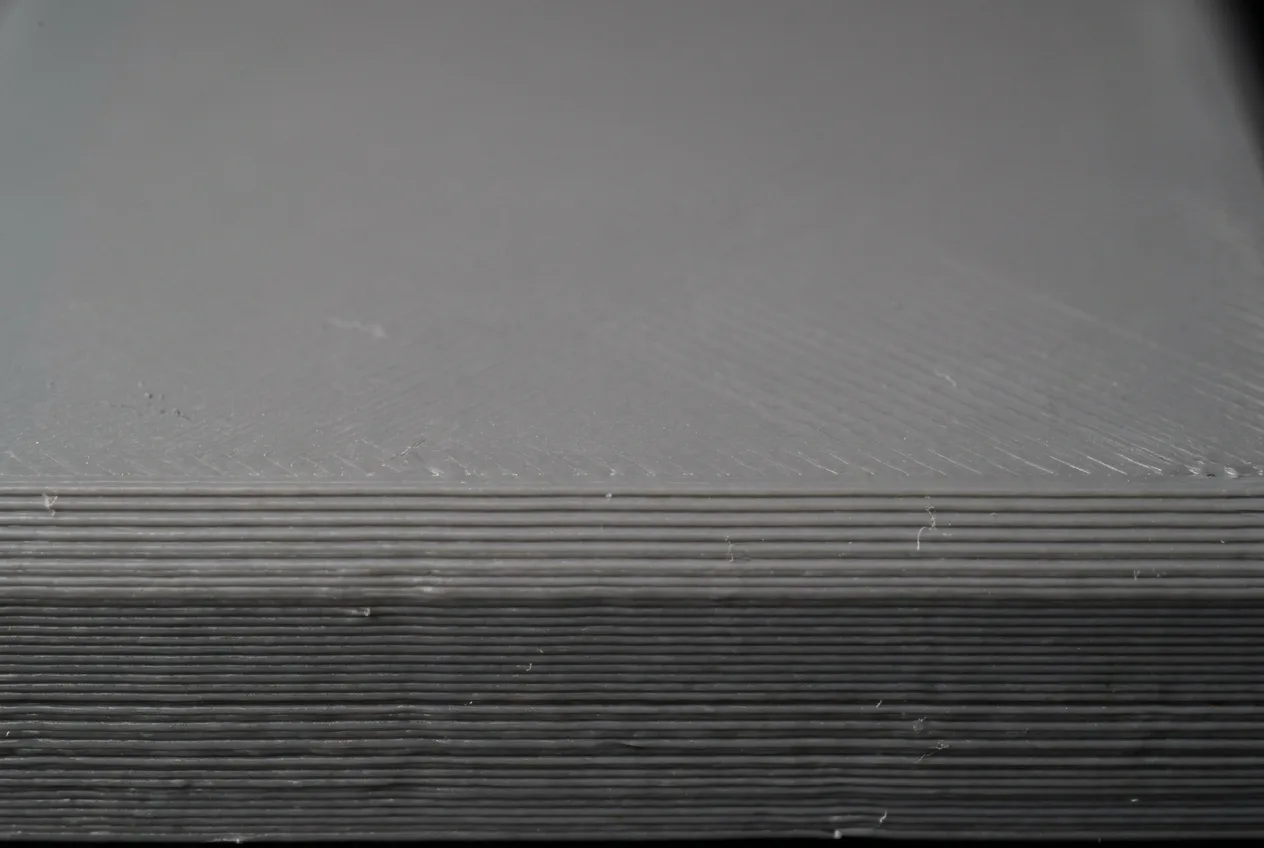
A properly filled and sanded part is a big, visible upgrade. Layer lines go from something you see across the room to something you find with your fingertip. Flat faces and gentle curves finish best. Under paint the difference is dramatic. This prep is exactly why our painted work reads as a product rather than a print, and it’s why every serious paint job starts with this step.
Expect variation across the part, though. Sanding needs contact: tight internal corners, deep recesses, embossed logos, and fine textures can’t take a block without destroying the detail itself, so those areas keep more of their printed character.
What it can’t do
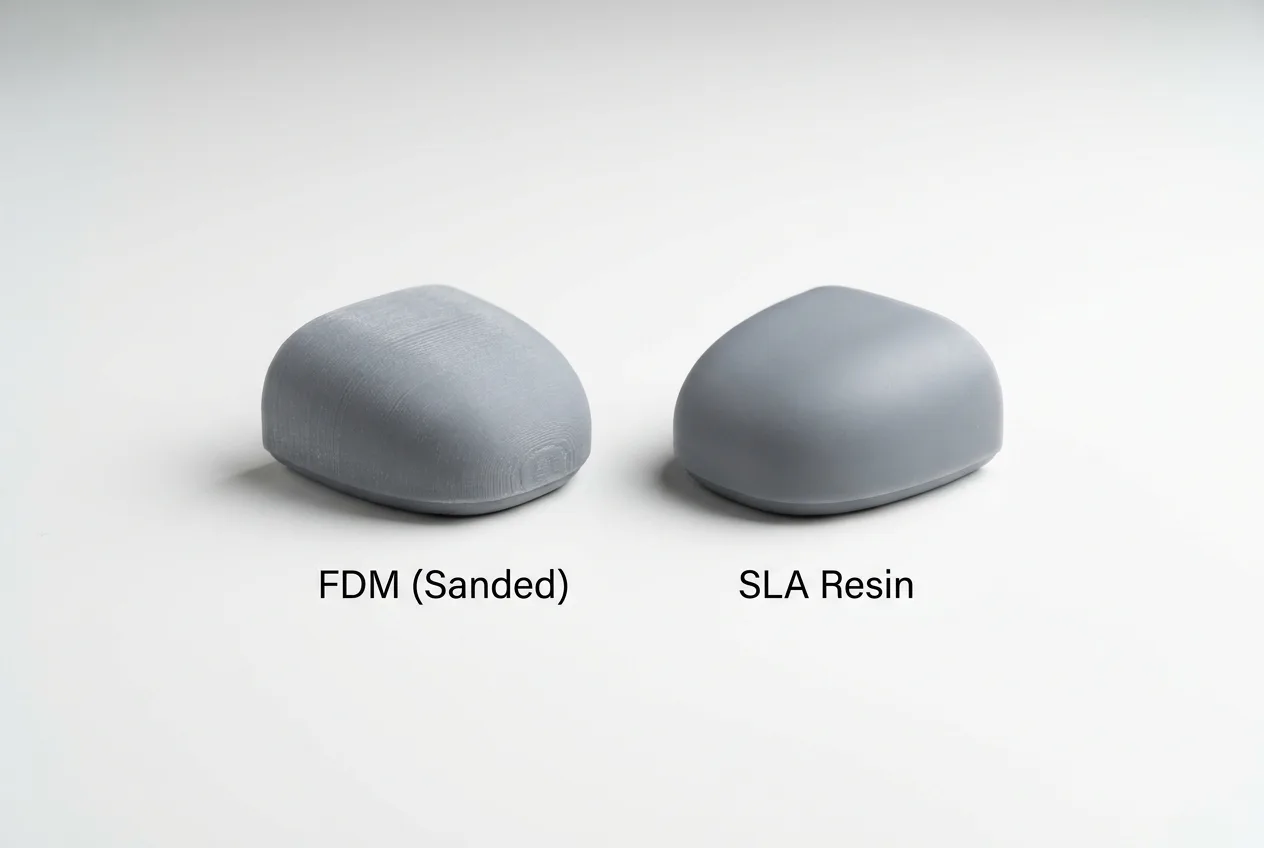
Sanding removes the peaks of a printed surface. It can’t lower the floor: the resolution the part was printed at sets a ceiling on how good the result can get. A sanded FDM print is a better FDM print; it is not an SLA print. Resin parts cure layer by layer at a much finer scale, so they leave the machine with the kind of surface an FDM part can only approach after hours of bench work.
That’s also the economics of it: pushing FDM sanding far enough to chase SLA smoothness usually costs more in labour than printing the part in SLA in the first place.
So which should you pick?
- Functional part that should look tidy: FDM + filling & sanding. Good value, big visual step up.
- Part that’s getting painted: filling & sanding is the required prep either way; the paint system determines the rest.
- Cosmetic part where smoothness is the point: print it in SLA. Add light finishing only if it needs paint or extra polish.
Unsure? Pick the closest option in the quote tool, add a note about how the part will be used, and we’ll confirm the right spec before anything goes to the printer.
Frequently asked
Will sanding make my FDM print as smooth as an SLA print?
No. Sanding removes the peaks of the layer lines, but the floor of the surface is set by how the part was printed. A well-sanded FDM part looks and feels dramatically better than a raw one; under paint it can read as a moulded product. Put it next to an SLA print, though, and the resin part still wins. If surface quality is the whole point of the part, print it in SLA.
What actually happens during filling and sanding?
Filler putty goes into the layer valleys, seams, and support marks, then the part is block-sanded through progressively finer grits until the surface is level. Deep lines get a second round of filler. It's skilled hand work: a small part takes real bench time, which is why the option costs what it does.
Why can't sanding reach every part of my model?
Sanding needs contact and pressure. Flat and gently curved surfaces finish beautifully. Tight internal corners, deep recesses, fine embossed details, and textured areas can't take a sanding block; pushing filler and abrasive into them would erase the detail itself. Those areas keep more of their printed texture, so expect the finish to vary across complex geometry.
Should I pick FDM with sanding, or just print in SLA?
Decide by what the part is for. If it's functional, just needs to look tidy, or is getting painted, FDM plus filling and sanding is good value. If a smooth, near-flawless cosmetic surface is the goal, SLA is the honest answer: it starts far smoother, so every finishing step lands better. Sanding an FDM print to chase SLA smoothness usually costs more in labour than printing it in SLA to begin with.
Related