

How do you paint and finish each kind of 3D print?
Updated
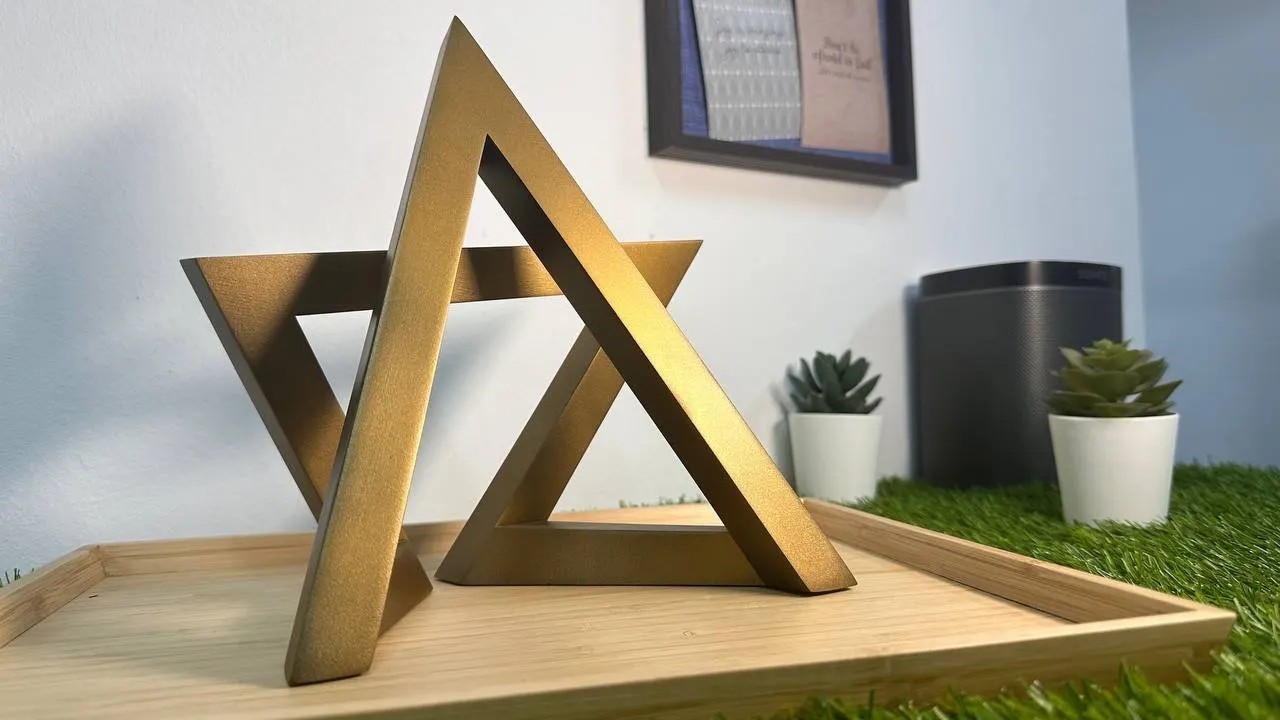
How you paint and finish a 3D print depends on how it was printed. Filament and resin prints are sanded, primed and painted; nylon powder prints are usually dyed or sealed first; metal prints are blasted, machined or polished. Paint changes colour, not shape, so most of the work happens before any colour goes on.
| Process | Surface off the printer | How we finish it |
|---|---|---|
| Filament (FDM) | Fine ridges from each layer | Filled, sanded, primed, then painted |
| Resin (SLA) | Smooth, with small support marks | Lightly sanded, primed, then painted |
| Nylon powder (SLS) | Matte, slightly grainy and porous | Bead blasted, then dyed, smoothed or sealed and painted |
| Nylon powder (MJF) | Black, a little smoother than SLS | Bead blasted, then dyed, smoothed or sealed and painted |
| Metal (SLM) | Grainy and matte | Left as printed, blasted, machined or polished |
Still choosing between coats? Our guide to 3D print finishing compares them. Not sure which process suits your part? FDM, SLA or SLS: which is right for you walks through it.
Filament (FDM): fill and sand first
Filament printing, or fused deposition modeling (FDM), builds a part from lines of melted plastic, so its surface is a series of fine ridges. Paint does not fill them. Spray a raw filament print and you get a coloured part with the layer lines still in it.
So the ridges come out first:
- Fill. Putty goes into the layer valleys and any marks the supports left behind.
- Sand. The part is sanded with a firm block through 220, 400 and 600 grit until it feels even under a fingertip.
- Prime. A primer coat shows up anything the sanding missed, and gives the paint something to grip.
- Paint. Two or three thin coats, sanded lightly between them, then a clear coat for sheen and protection. Faces that must stay raw are masked first, though a little overspray can still reach them.
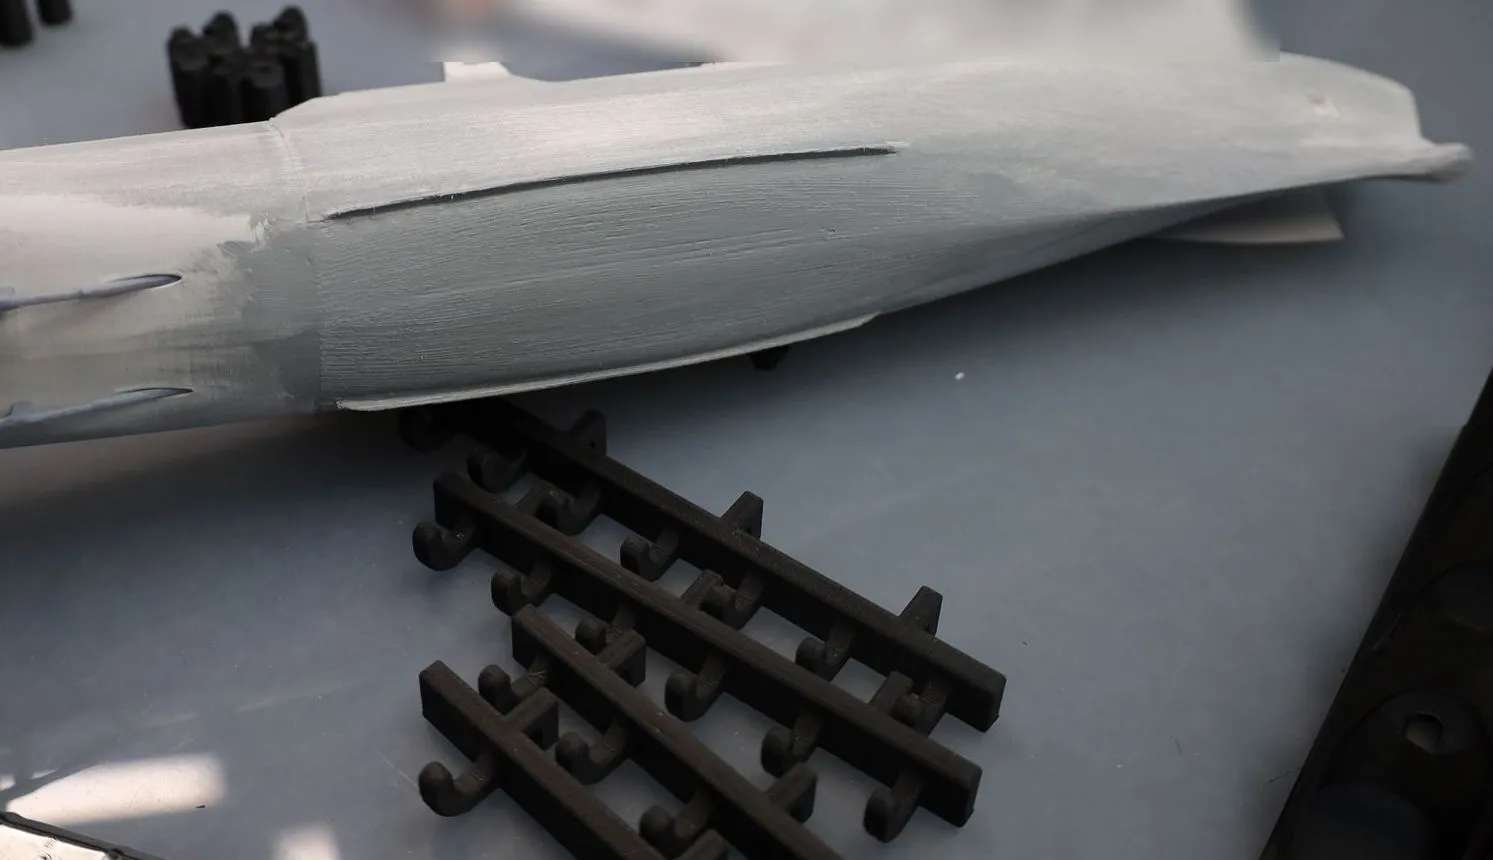
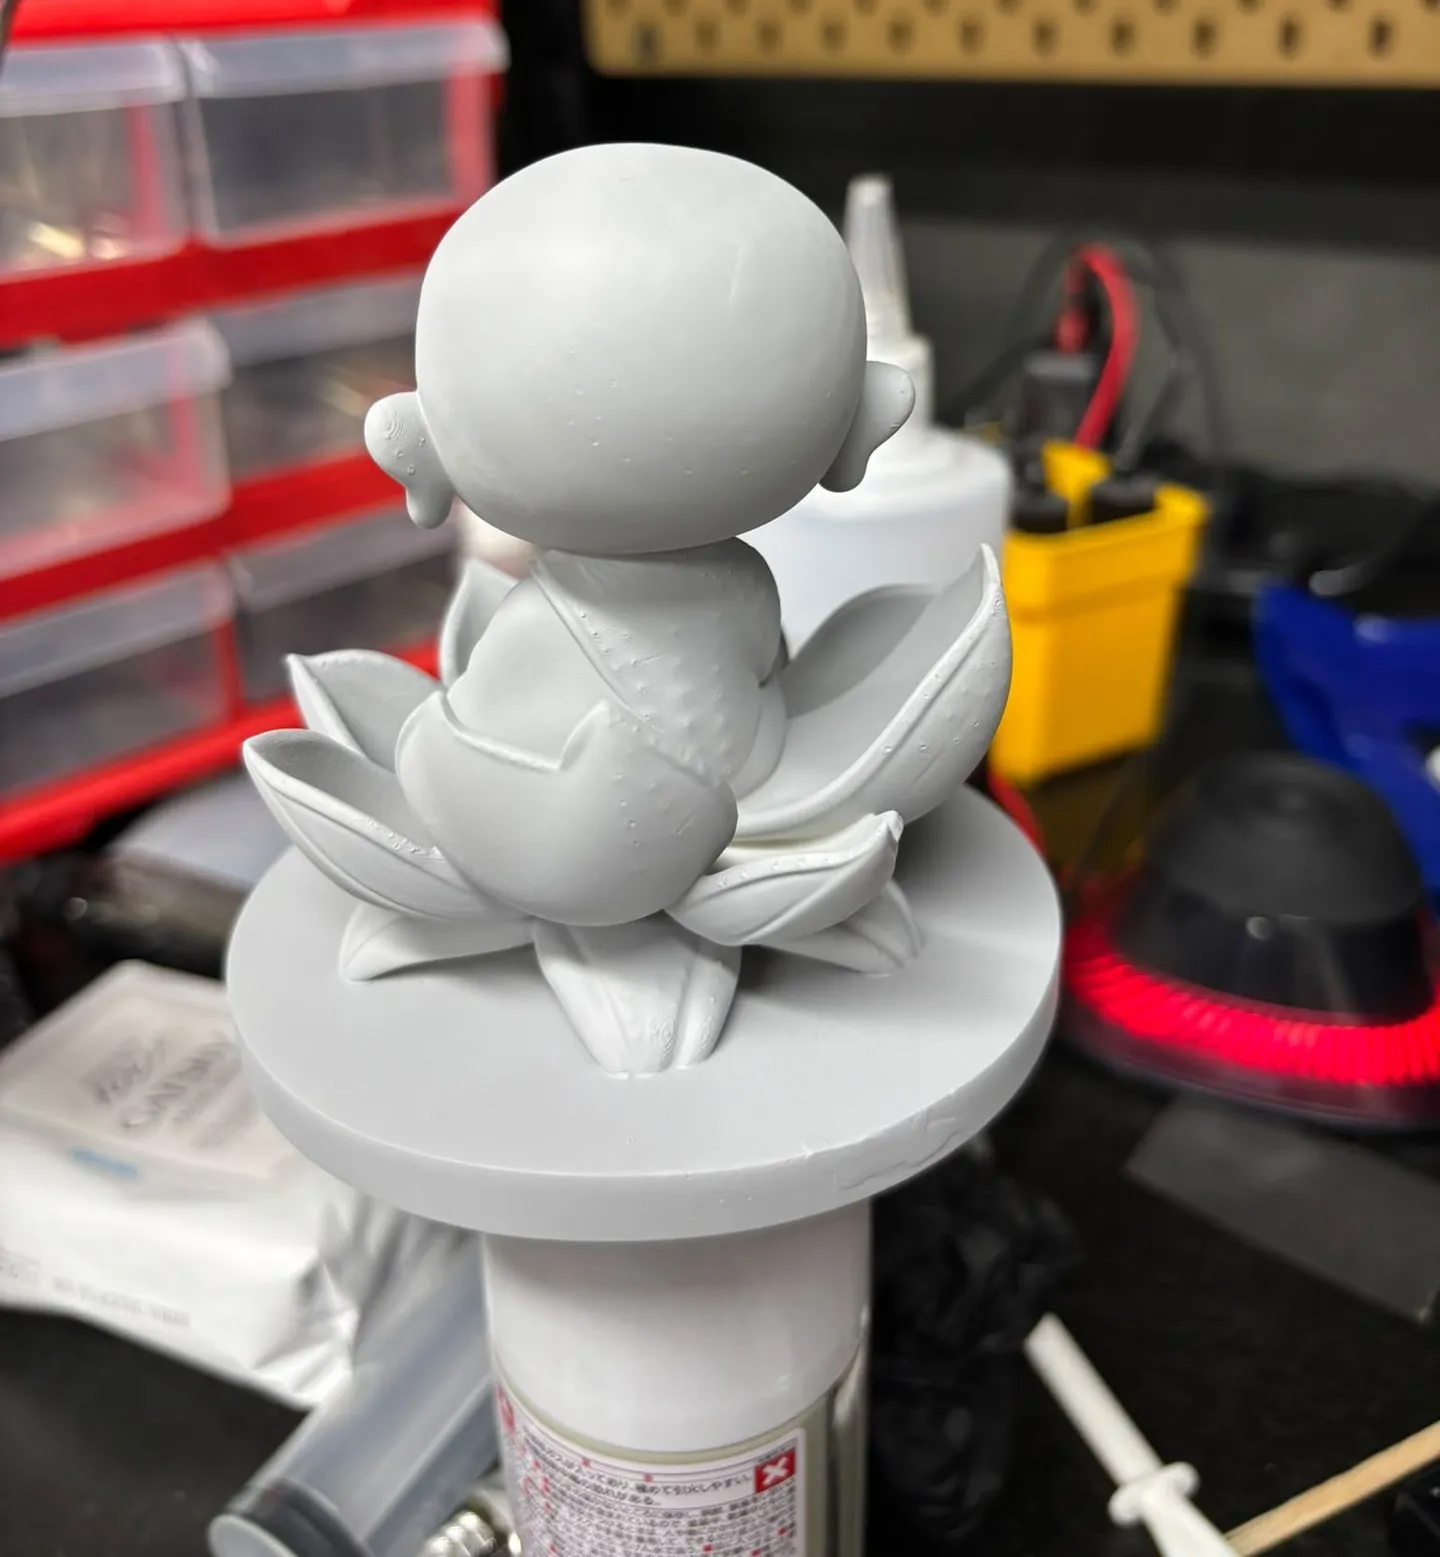
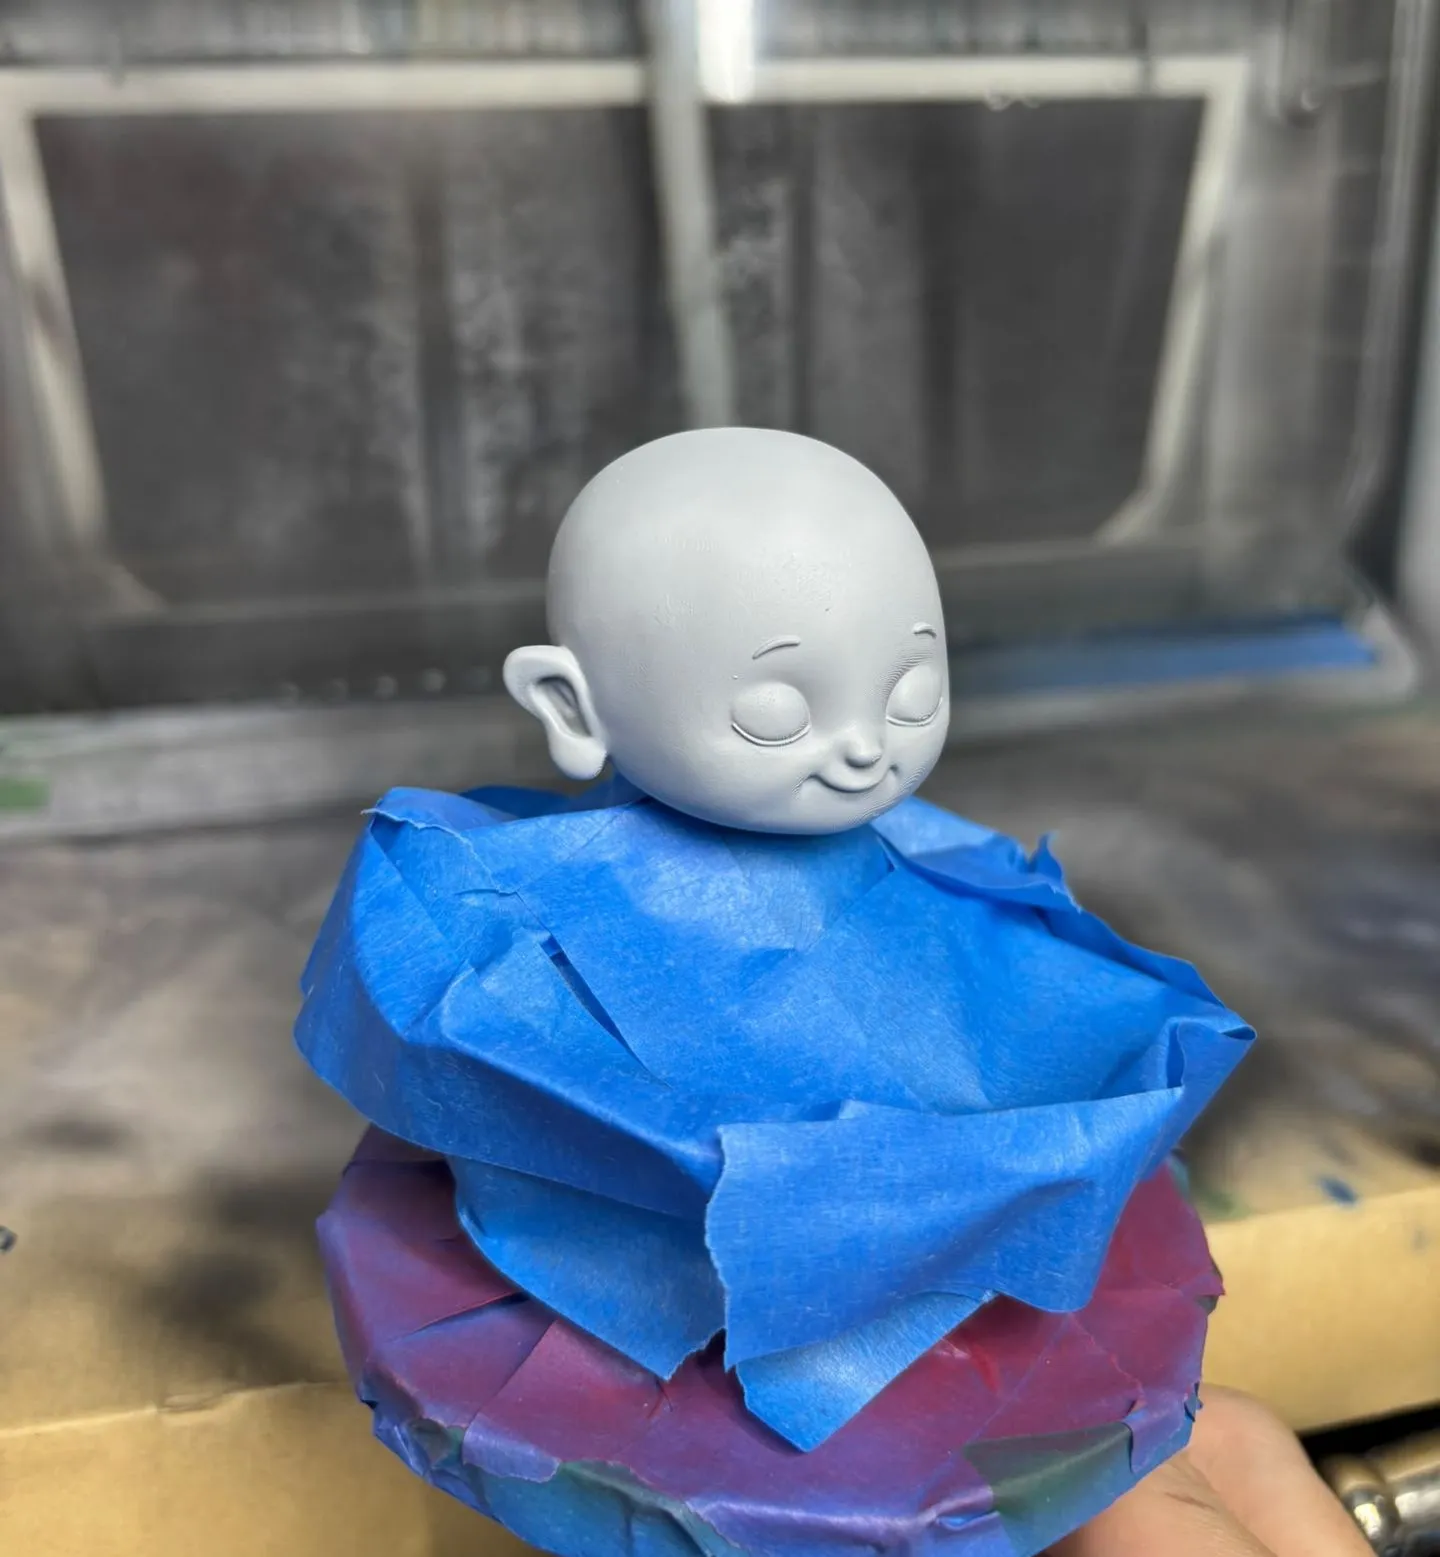
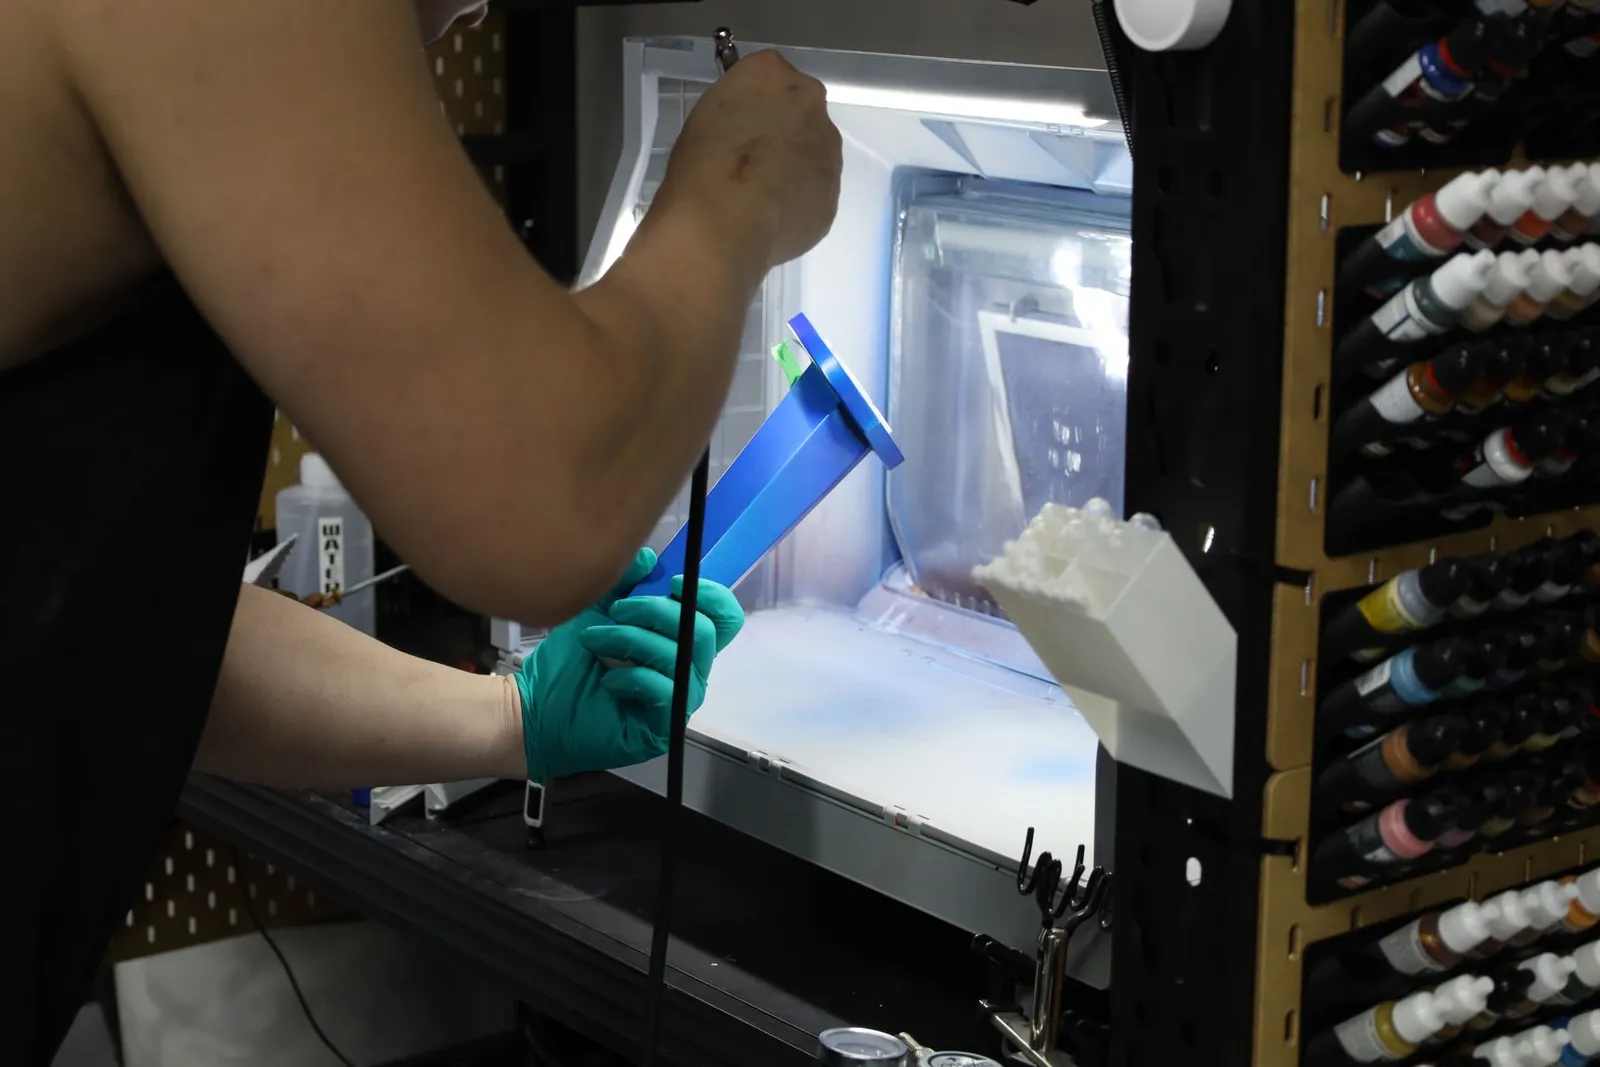

That prep is skilled hand work done at our Singapore studio, and it is most of what painting a filament part costs. Sanding softens layer lines a great deal, but a sanded filament print is still a filament print. What filling and sanding can and cannot do shows where that ceiling sits.
Resin (SLA): a light sand, then primer
Resin printing, or stereolithography (SLA), cures each layer with light at a much finer scale, so a resin part starts smooth. It still needs a light sand: the supports leave small marks where they touched, and the whole part gets a light scuff so the primer grips. Then primer, then paint.


That smooth start matters most for the two finishes that show every flaw beneath them:
- Airbrushing. Colour goes on finely enough for gradients, shading and weathering, which is why it is the finish for figurines and detailed models.
- Electroplating. A real layer of chrome, gold, copper or brass over the print. Plating magnifies every scratch under it, so it suits resin best. Electroplating SLA prints covers how it works, and metal finishes compares it with metallic paint.
Both can go on a filament part too, but only after the full fill and sand routine. See our SLA printing page for resins.
Nylon (SLS and MJF): dyed more than painted
Nylon powder prints, made by selective laser sintering (SLS) or Multi Jet Fusion (MJF), are not painted the way filament and resin are. They come out matte, slightly grainy and a little porous. Loose powder is bead blasted off, and that even, matte surface is often the finish people want.
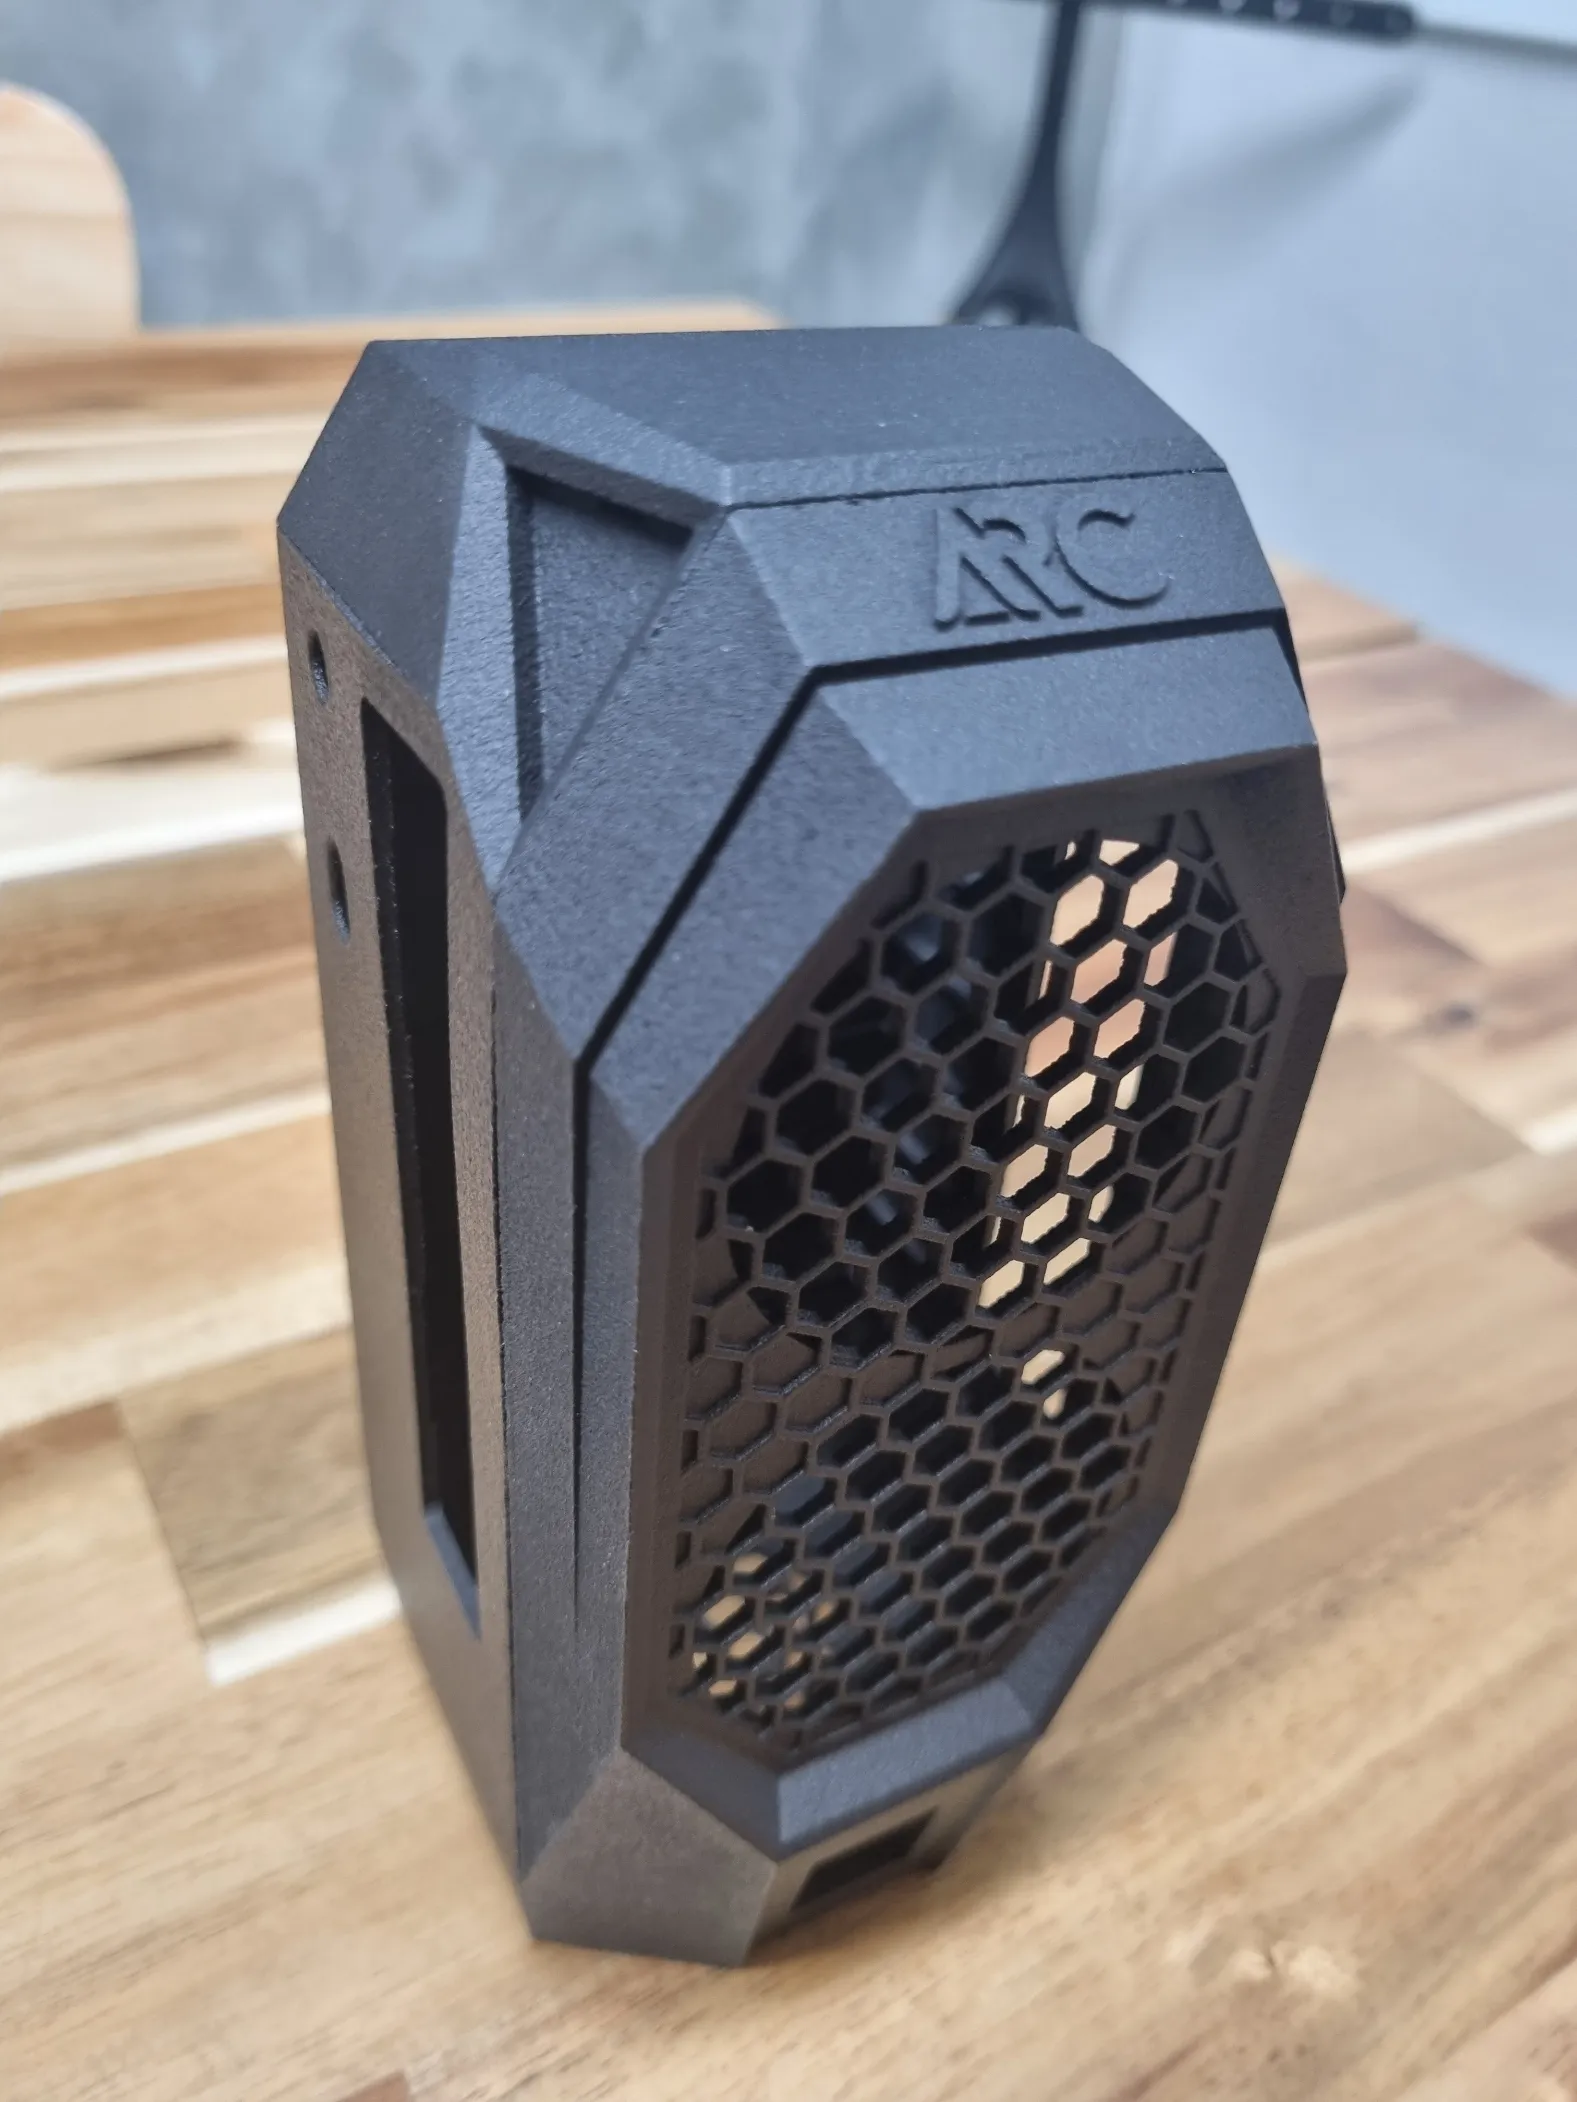
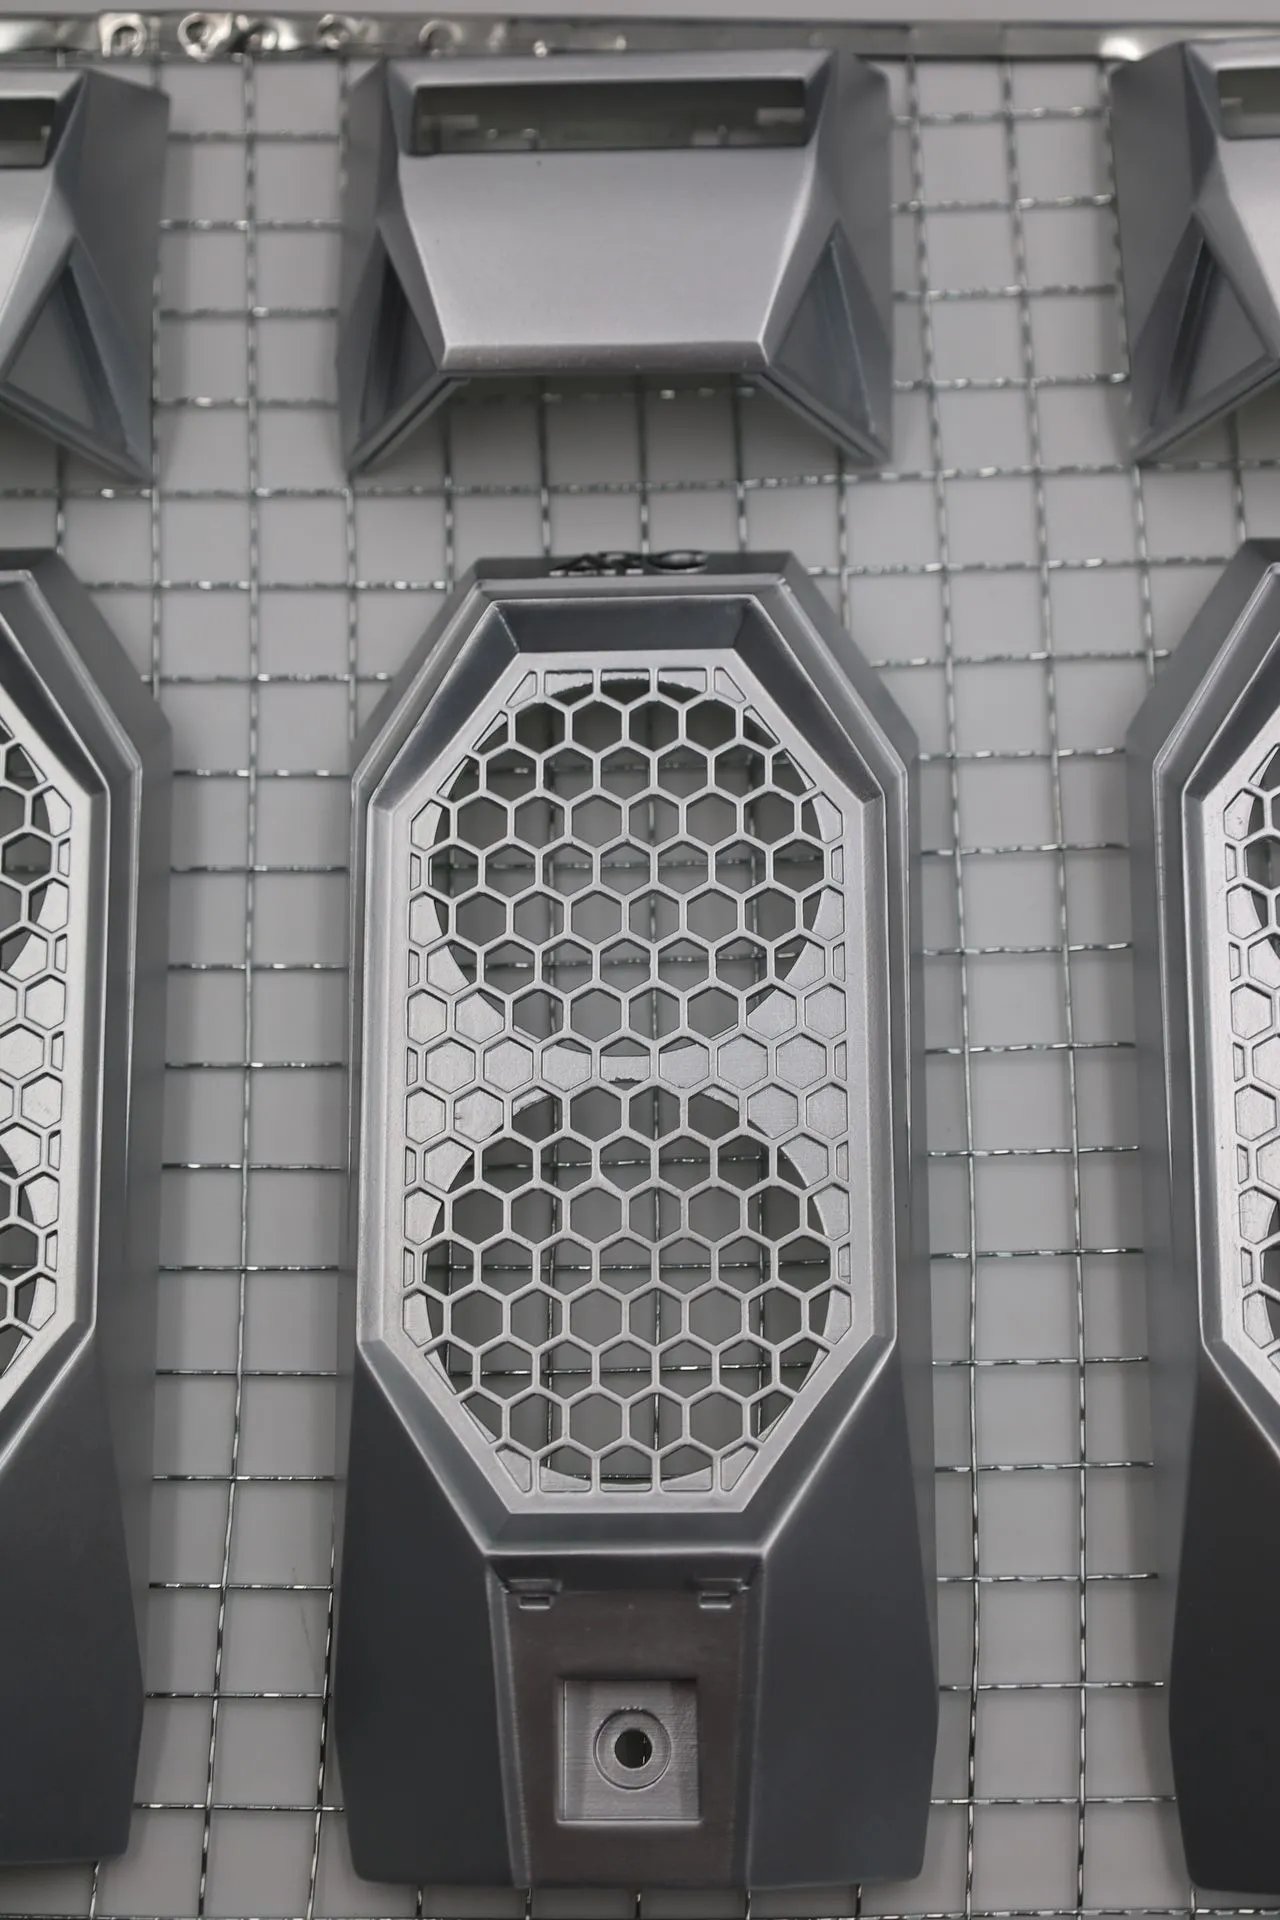
For colour or a smoother face, these are the usual routes:
- Dyeing. The usual way to colour nylon. The dye soaks a little way into the surface, so a light scratch shows far less than it would through paint. MJF prints in black only, so other colours are dyed on request. SLS comes in grey, black or white; check with us for more.
- Vapour smoothing. Seals the pores and leaves a smoother, easier-to-clean surface. We offer it; check with us for your part.
- Sealed and painted. For an exact brand colour. The porous surface is sealed and primed first, or it soaks up the paint and the grain shows through. Paint can crack where a nylon part flexes, such as a clip or a hinge.
- Plating. Possible on nylon; check with us.
MJF comes out a little smoother than SLS, but not by much. Every nylon part is different, so ask us for more information about yours. Our SLS printing and MJF printing pages, and SLS or MJF, cover the rest.
Metal (SLM): blasted, machined or polished
Metal prints, made by selective laser melting (SLM) in 316L or 17-4PH stainless steel, AlSi10Mg aluminium or Ti6Al4V titanium, come off the machine grainy and matte. Faces that touched supports are rougher still. They are rarely painted; the metal itself is the finish.
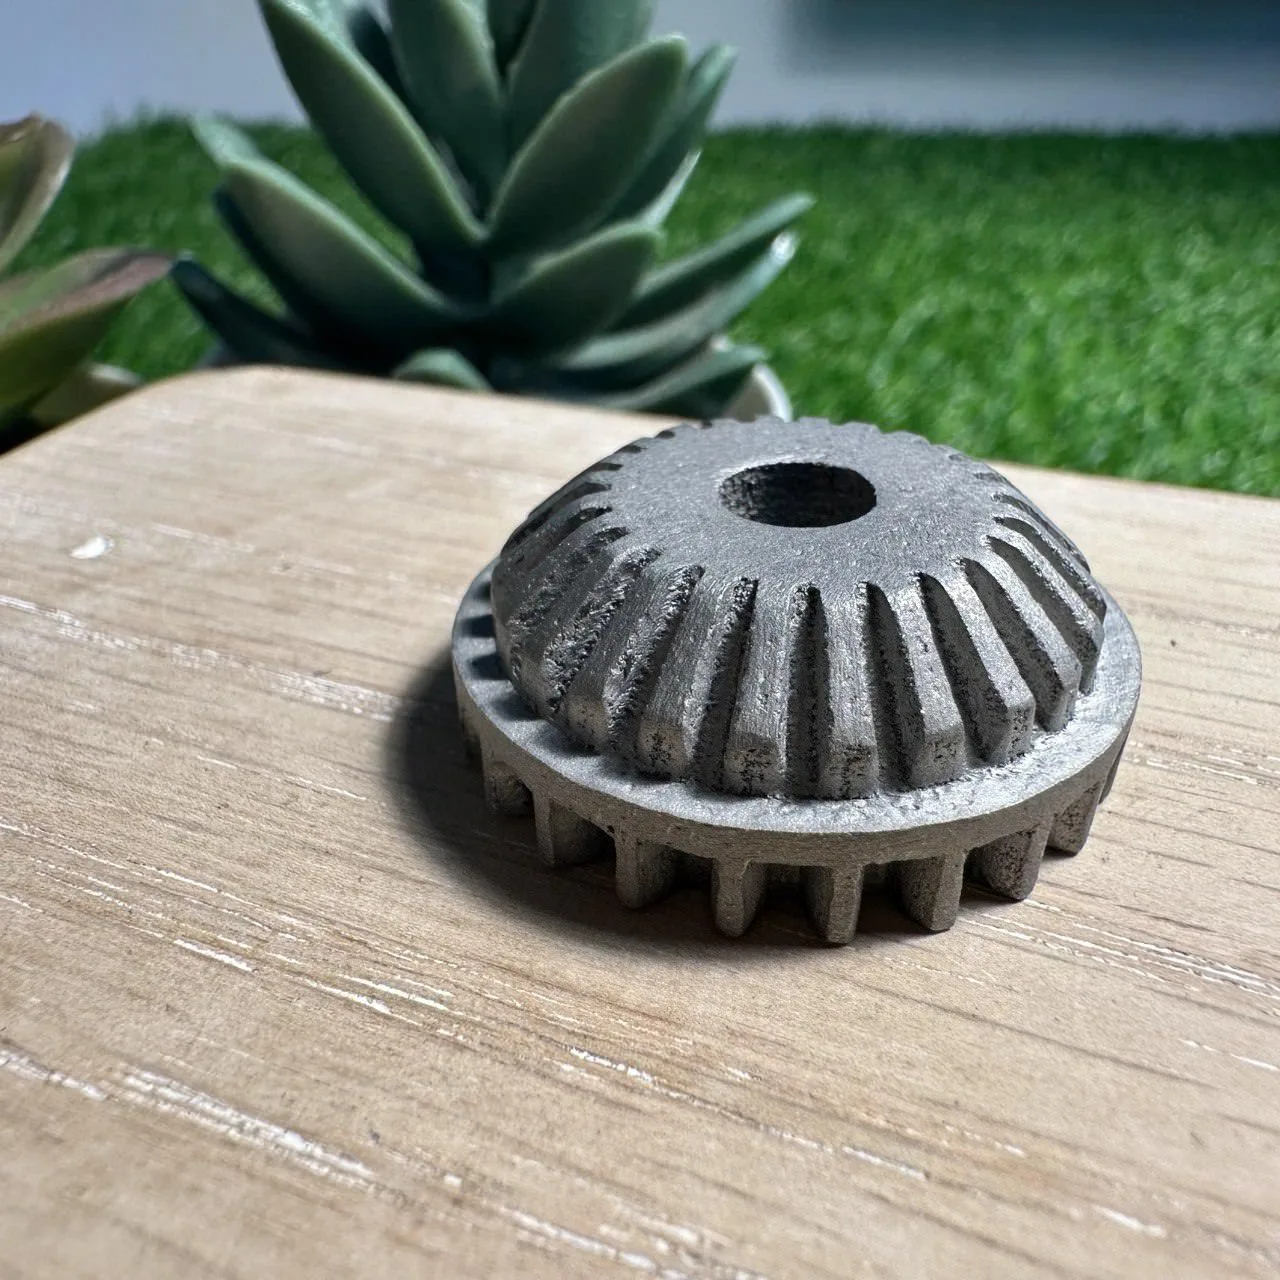
- As printed: grainy and matte, fine for hidden or working parts.
- Bead or sand blasted: an even, matte surface with the loose grains blasted off.
- Machined faces: leave 0.5 mm of extra metal on any face that must fit, and it is machined to size.
- Polished: a smooth, bright surface.
We do not heat treat; parts are supplied in their as-printed condition. What is SLM metal 3D printing and our metal 3D printing page go further.
Big pieces: finished so joins disappear
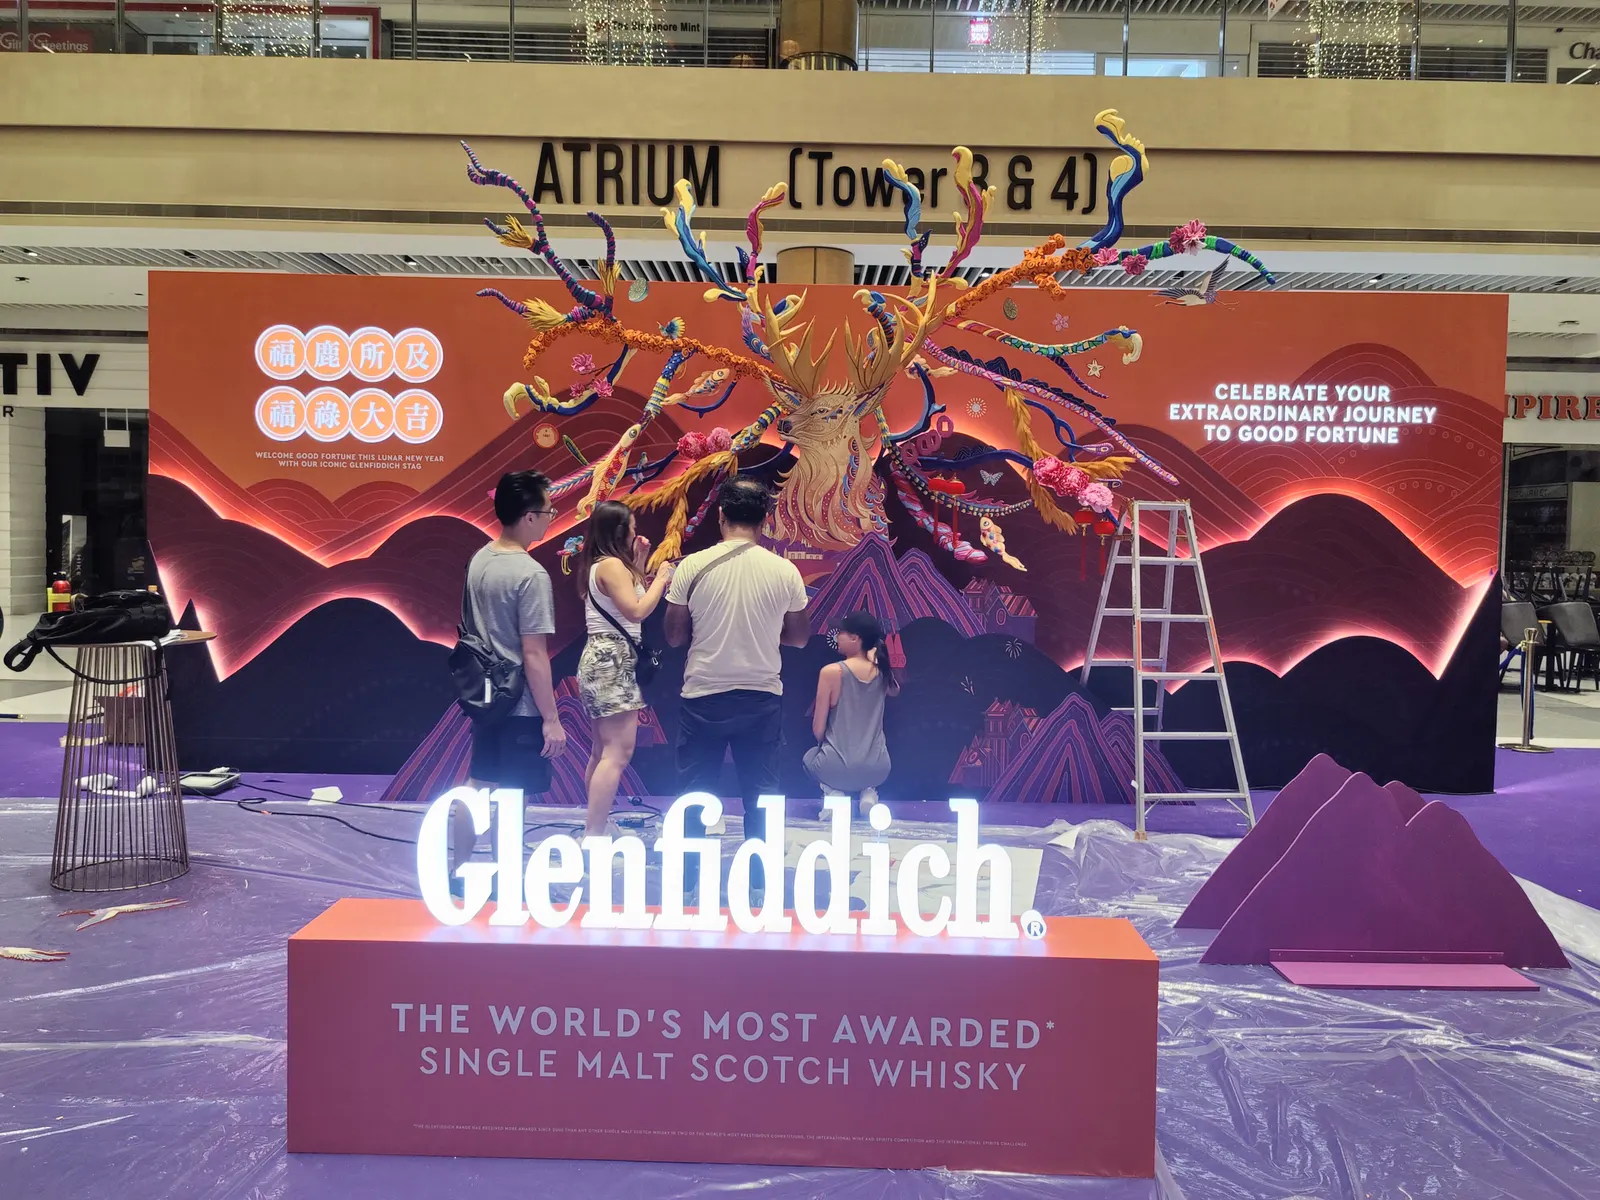
A part too big for one print is printed in segments and joined, and the finishing is what makes it read as one piece. On a large display piece that is hand work: each segment is finished so the colours carry across the joins.
Lead times: painting adds days
As a rough gauge for a simple, low-complexity design, painted or plated parts take 12 to 18 working days for 1 to 3 parts. A batch of 15 or more takes at least 15 working days painted or 18 plated, often longer, so ask us for an accurate date.
Our instant quote includes paint in a single colour. Pick a shade from the spray paint colour catalogue, see our colour and finishing service, or ask us to recommend a finish for your part.
Frequently asked
How do you paint a 3D print so it looks like a finished product?
Prep comes first and colour second. The part is sanded smooth (filled first if it is a filament print), primed, then given two or three thin coats of colour with a light sand between them and a clear topcoat in matte, satin or gloss. A resin print starts smoother, so it comes closest to a moulded look.
Why does a resin print still need sanding?
A resin print still needs a light sand because the supports leave small marks where they touched the part. Those spots are sanded flush, and the whole part gets a light scuff so the primer grips. It is far less work than a filament print, but primer always goes on before paint.
Can nylon (SLS/MJF) prints be painted?
Yes, but nylon powder prints are not painted the way filament and resin prints are. The surface is porous and slightly grainy, so it is sealed and primed before any colour, and paint can crack where a part flexes. Dyeing is the usual way to colour nylon, so ask us which suits your part.
How do you colour an MJF or SLS nylon part?
MJF nylon prints in black only, and other colours are done by dyeing on request. SLS nylon comes in grey, black or white, so check with us for more. For an exact brand colour, the part is sealed, primed and painted.
How is a metal 3D print finished?
A metal 3D print is finished as printed, bead or sand blasted, machined on the faces that must fit, or polished. It comes off the machine grainy and matte, and blasting evens that out. We do not heat treat; parts are supplied in their as-printed condition.
What surface finishes are available for 3D prints?
It depends on the process. Filament and resin prints can be left raw, sanded, primed, spray painted, airbrushed, electroplated or clear coated. Nylon prints are bead blasted, dyed, vapour smoothed or sealed and painted. Metal prints are left as printed, blasted, machined or polished.
How much does painting a 3D print cost?
It depends on the part's surface area and how much prep it needs, so there is no flat rate. Our instant quote includes paint in a single colour. For more colours, plating or a special finish, send us the file and we will quote it.
Will the paint chip or scratch?
It depends on the coat. A 1k paint suits display pieces that are looked at more than handled, while the tougher 2k automotive paint suits parts that get gripped, knocked or cleaned often. A clear topcoat adds protection over either, so tell us how the part will be used.
Related
-
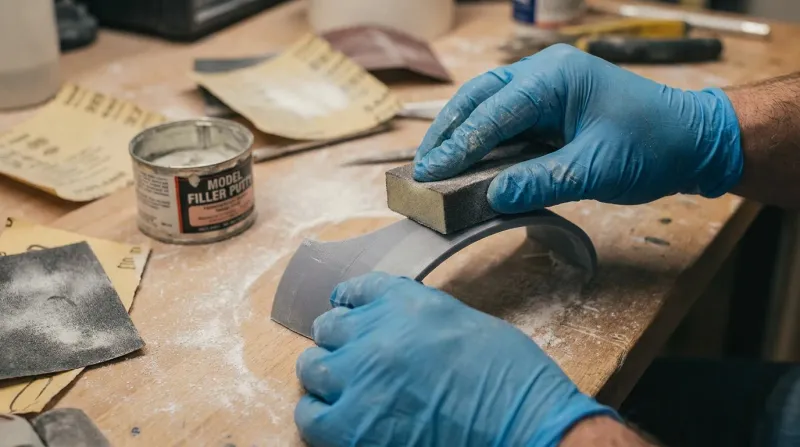 GuideWhat does filling and sanding do to a 3D print?
-
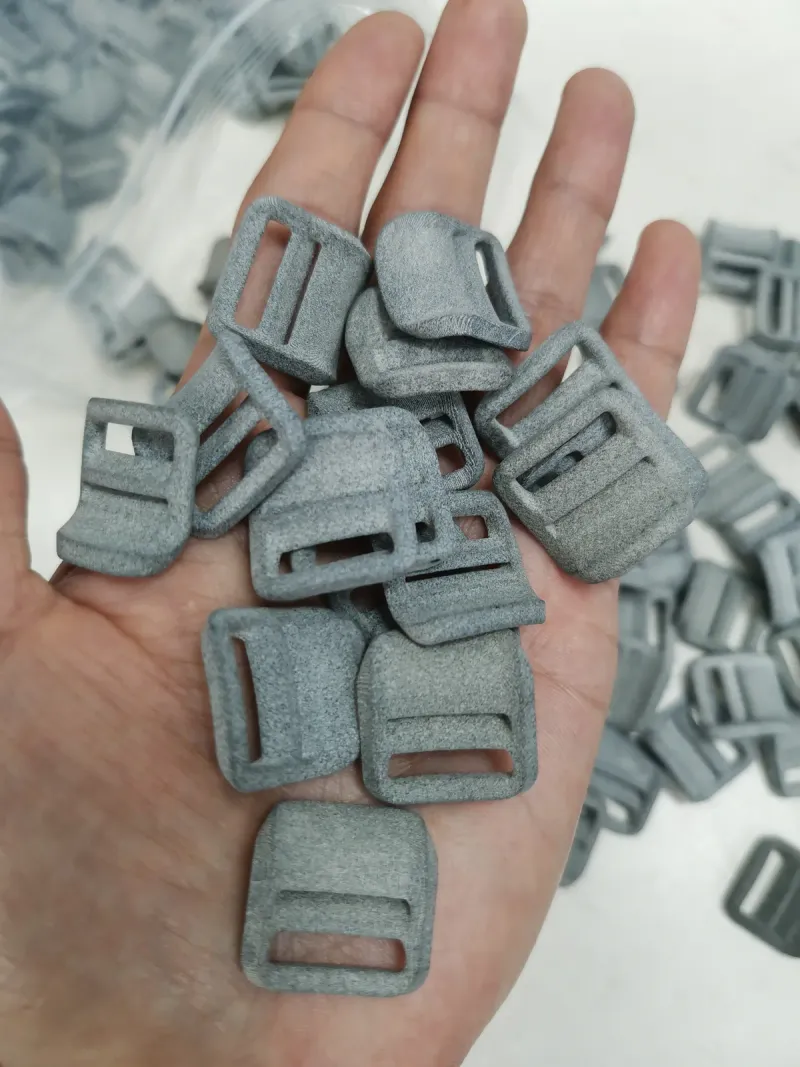 GuideSLS or MJF: which nylon powder process suits your part?
-
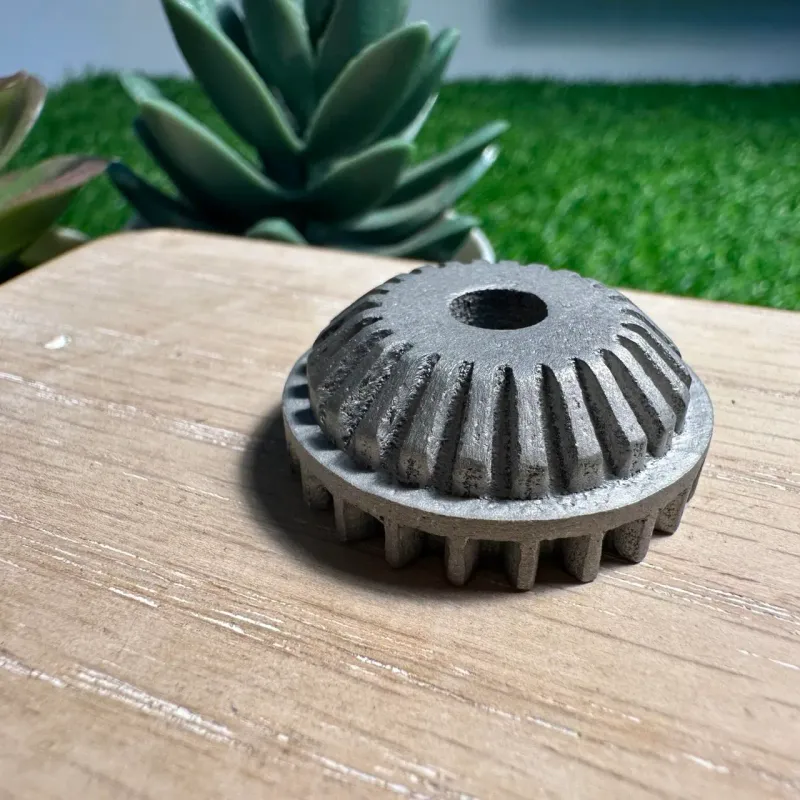 GuideWhat is SLM metal 3D printing, and how does it work?
-
 ServiceColour Application & Finishing
-
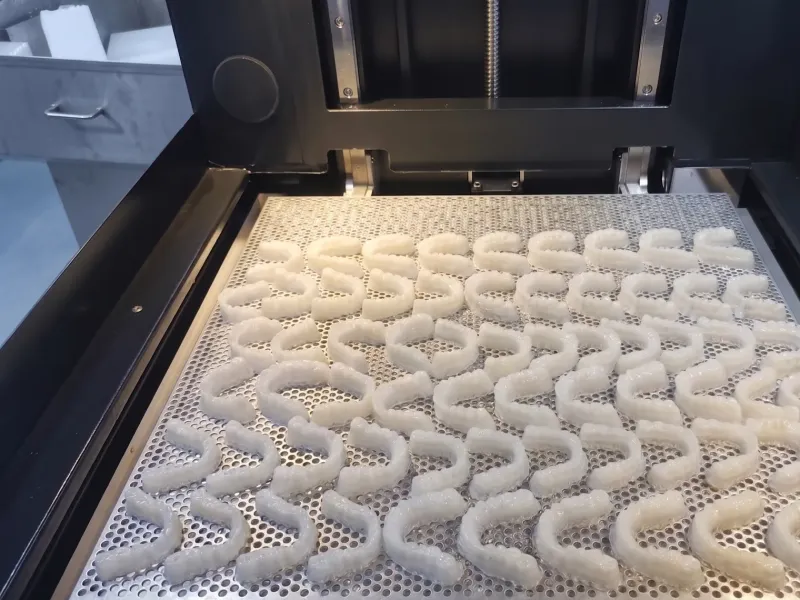 ServiceSLA 3D Printing
-
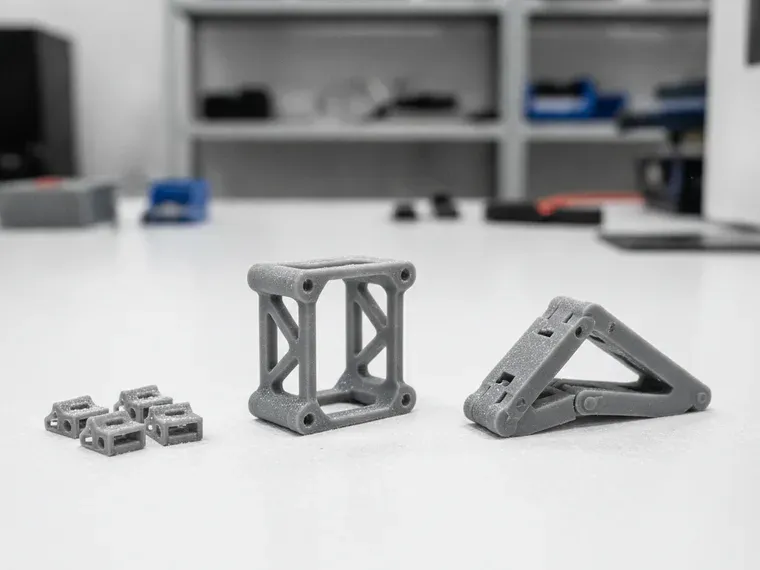 ServiceSLS 3D Printing
-
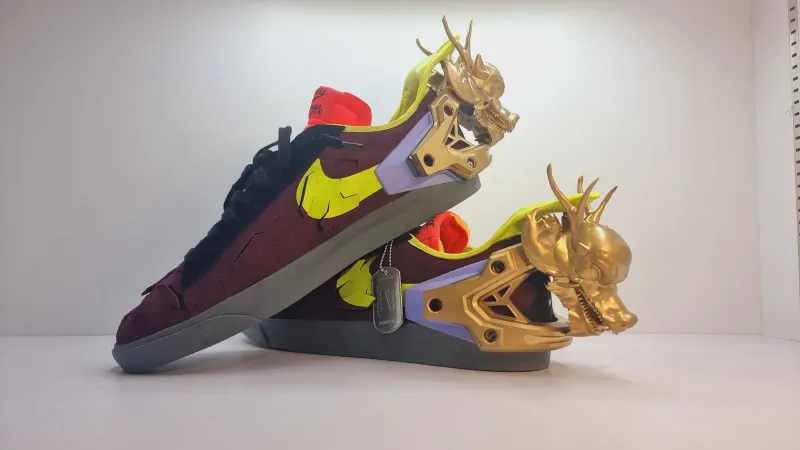 ProjectCustom dragon shoe attachments
-
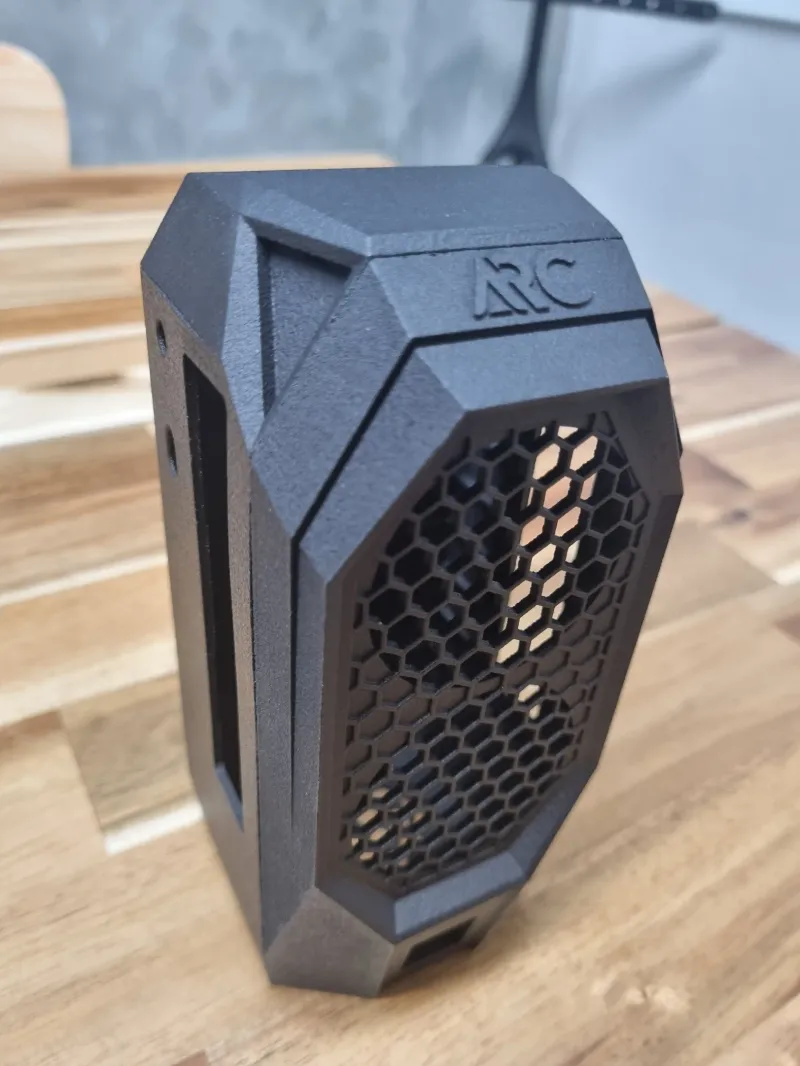 ProjectArc CPU case
-
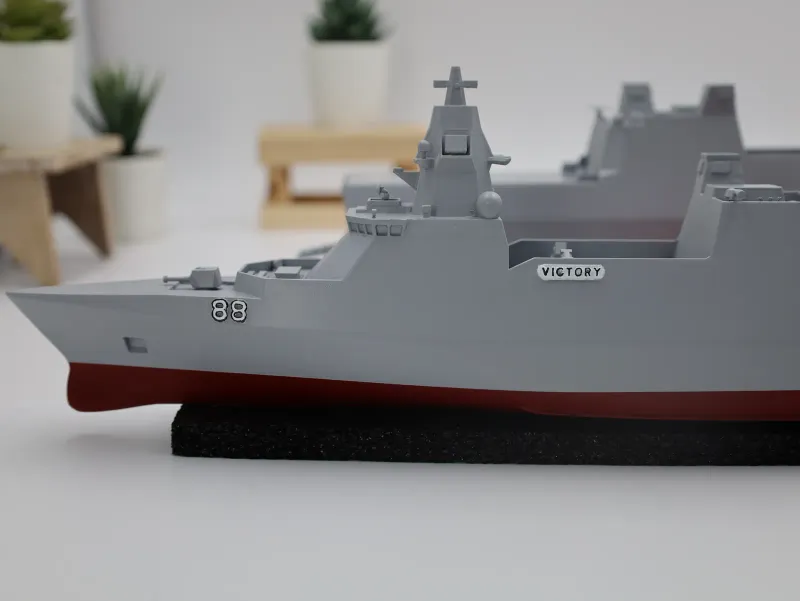 ProjectFrigate scale models, VICTORY 88