

3D Print Finishing Options: Which Coat Should You Choose?
Updated
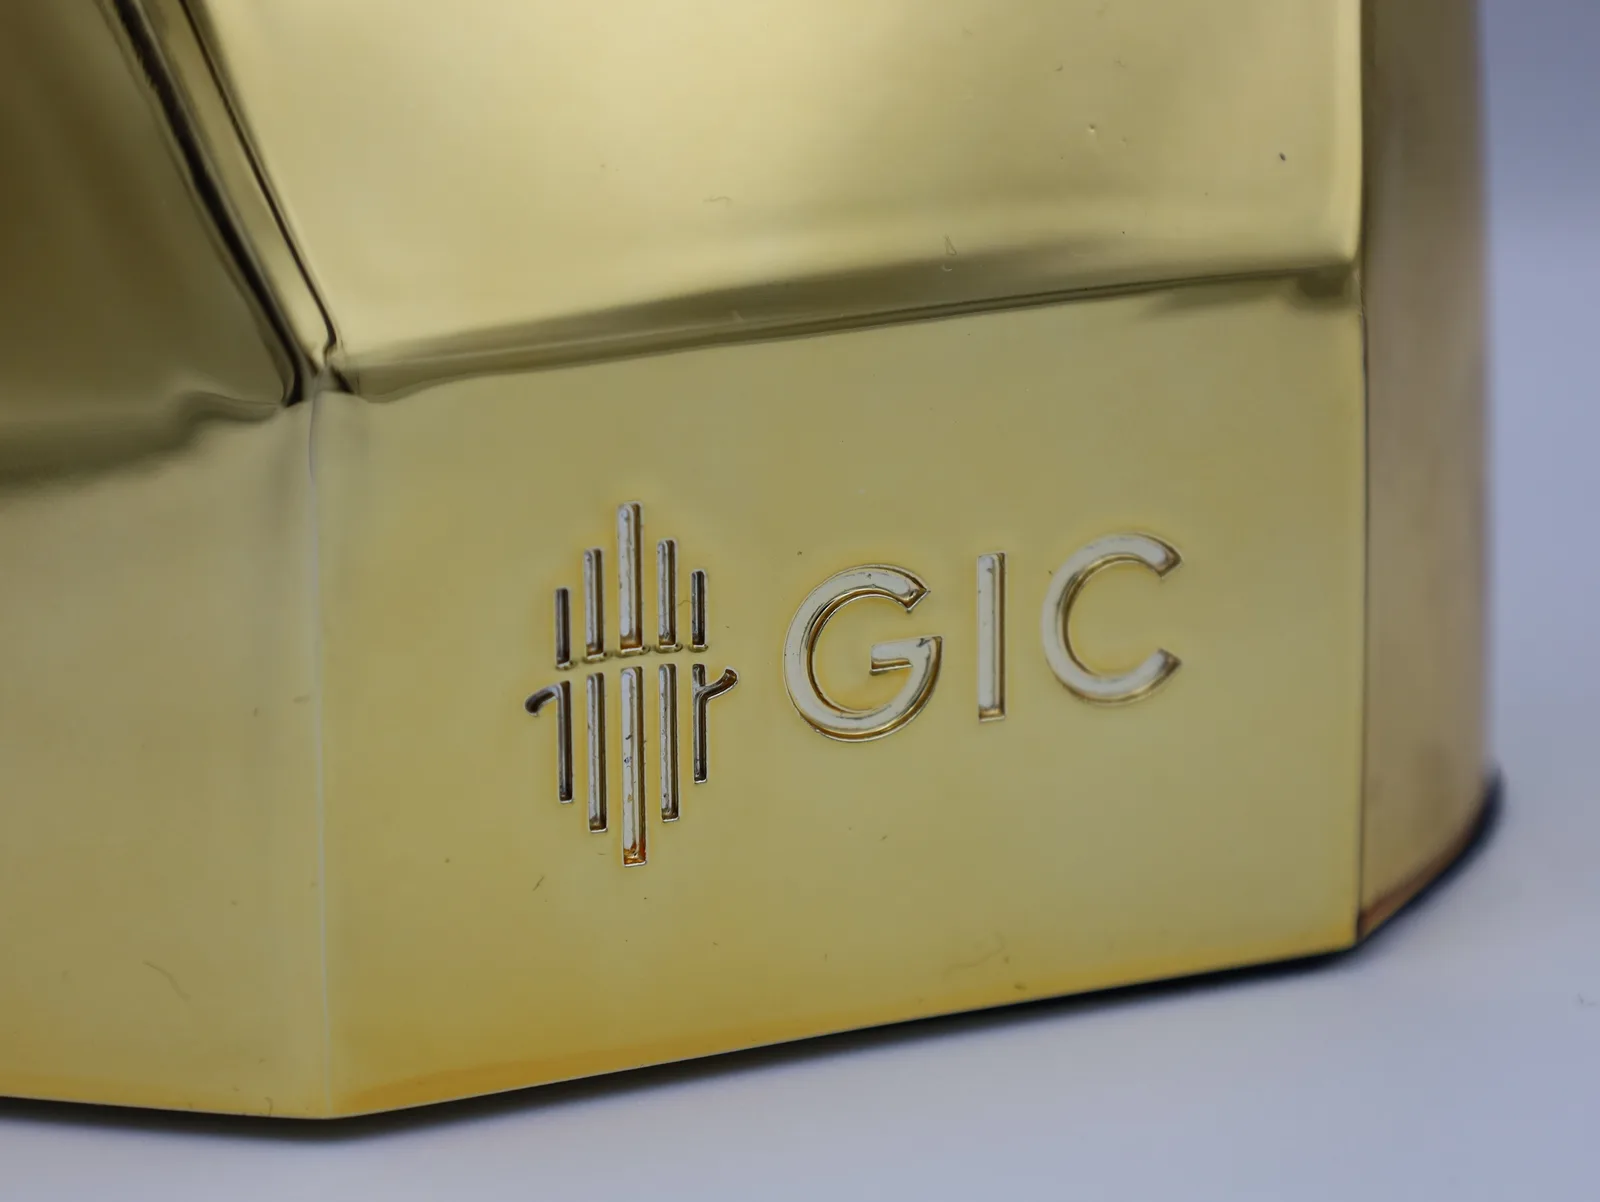
The right finish for a 3D print depends on what the part has to do, not on what it is made of. A display piece needs colour, a trophy needs the weight and shine of metal, a housing needs a clean surface and a logo, and a lens needs to let light through. Each of those is a different finish, and each has its own guide below.
Start with the outcome you want and follow the card. Most of what we finish is painted, so the second half of this page sets out the paint options in full: surface prep, 1k and 2k automotive paint, and gloss, satin or matte clear coat. For the technique behind every step, our guide to 3D printing painting and surface finishes goes deeper.
Start from what the part has to do
Filling and sanding
Spray paint colours
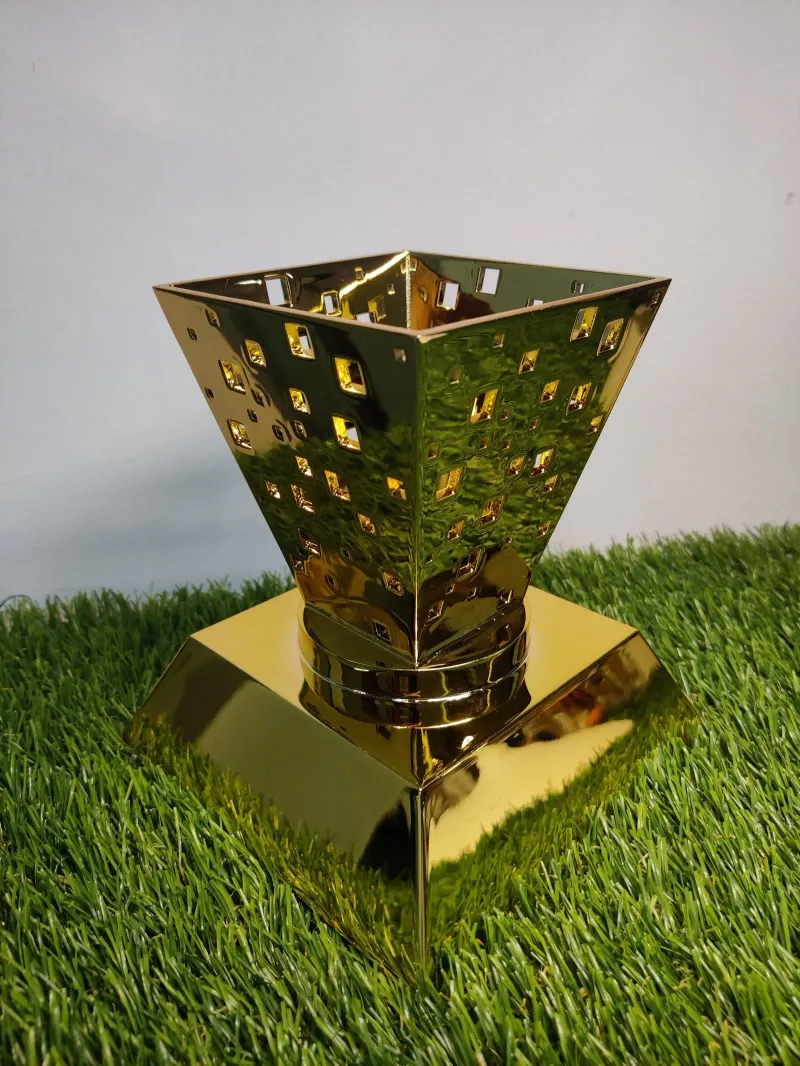
Metal finishes
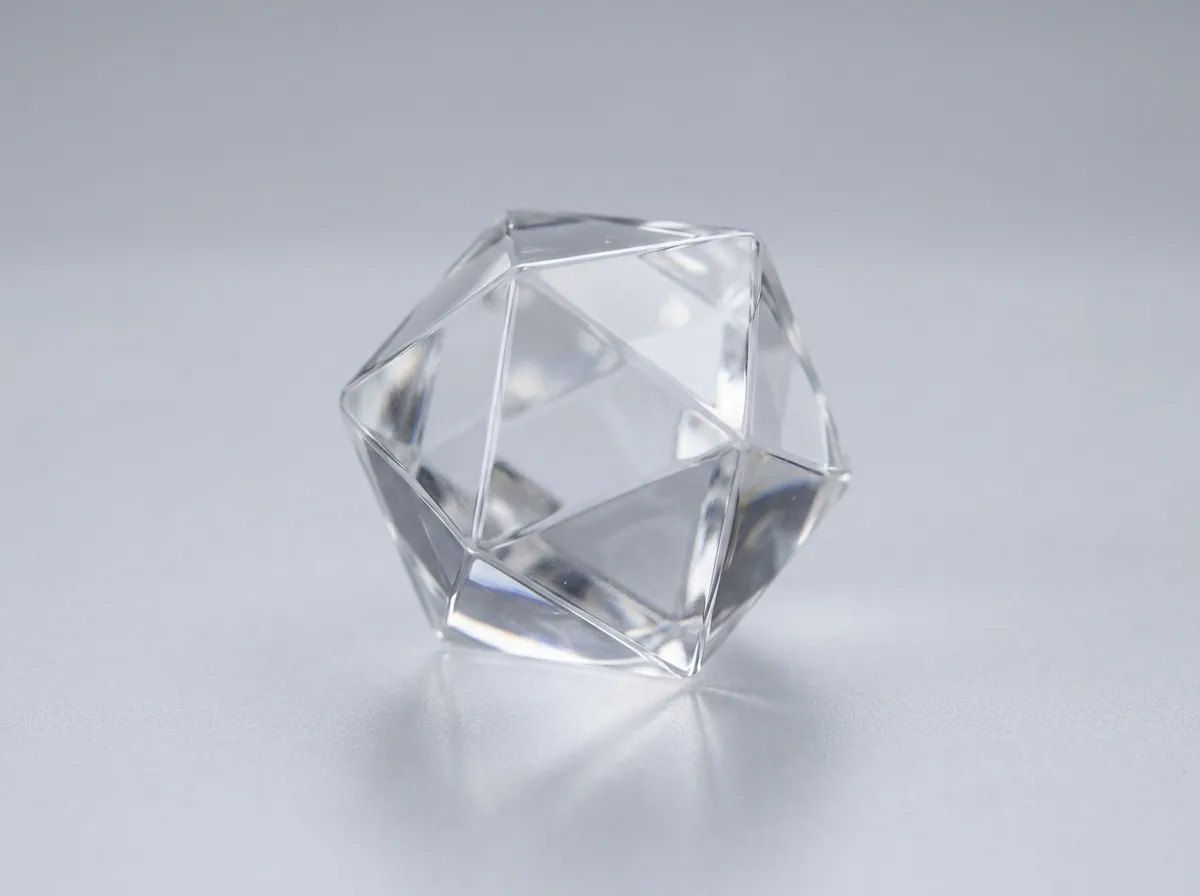
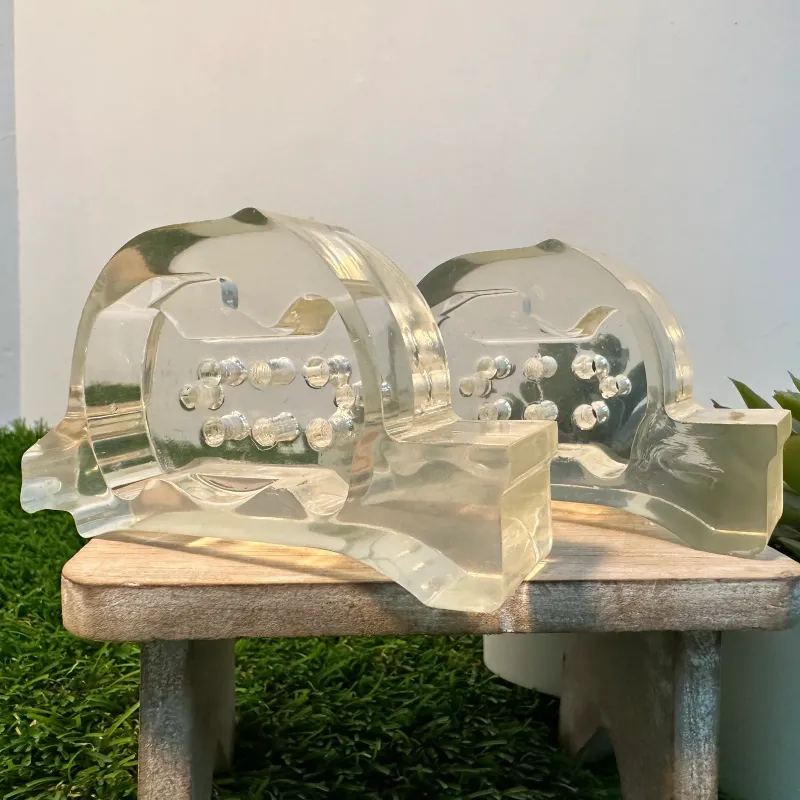
Transparent parts
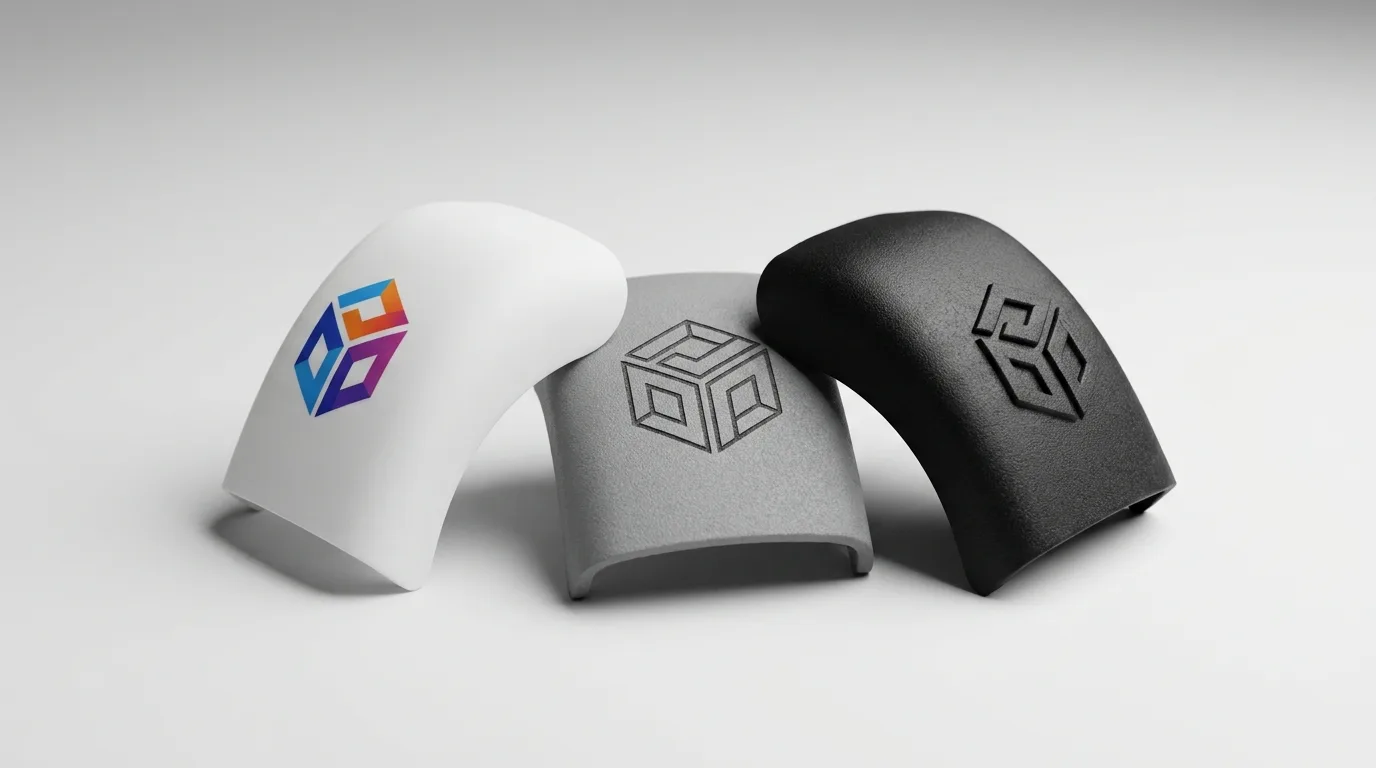
Logos on prints
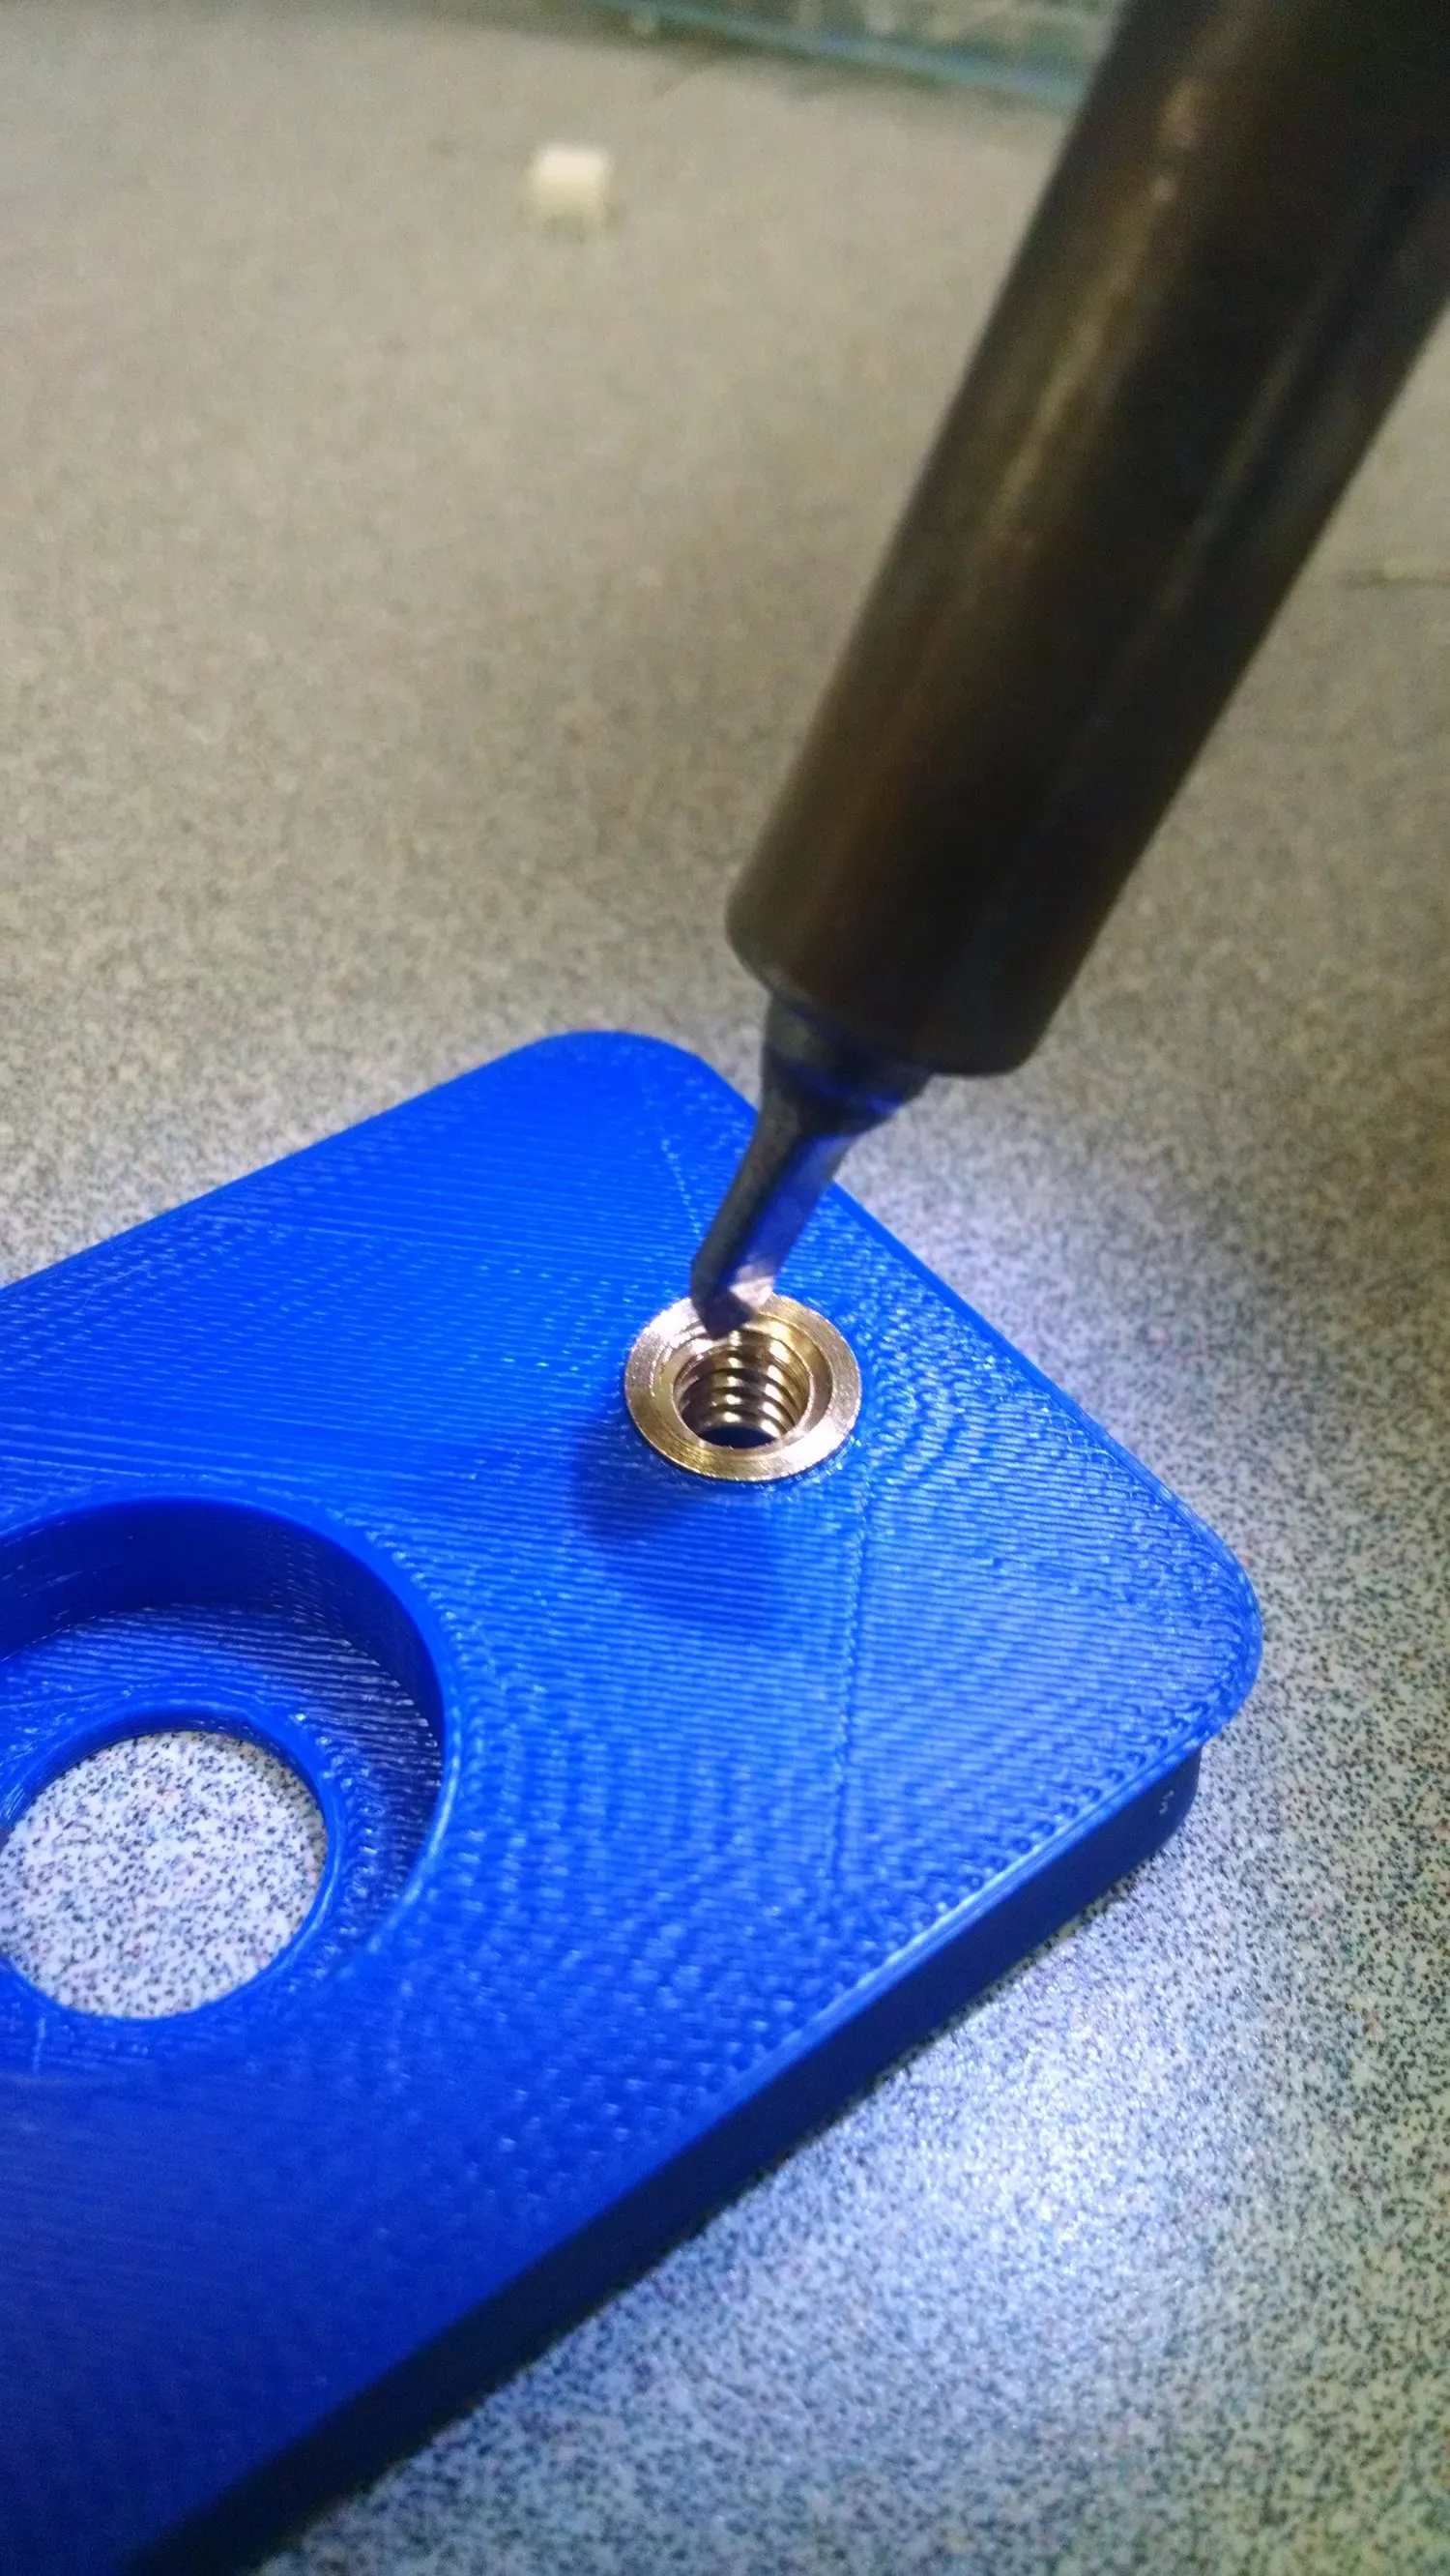
Embedding
First comes the surface, not the colour
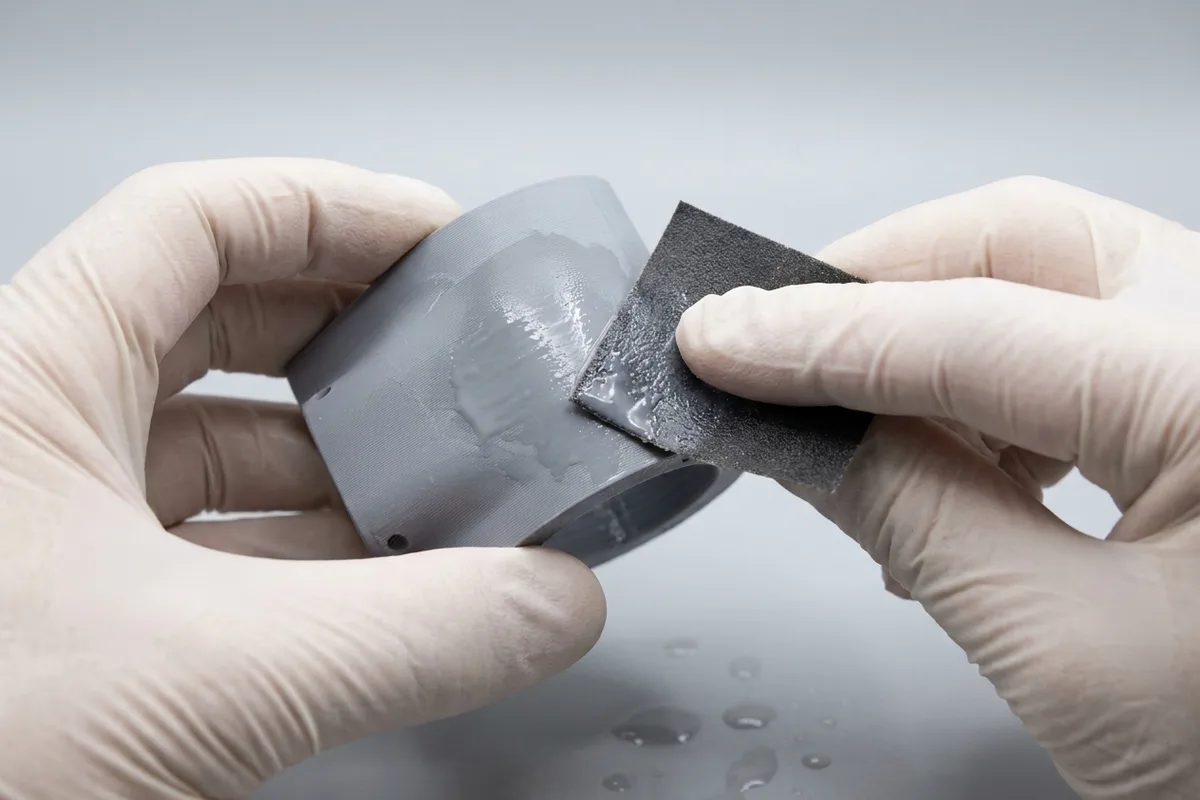
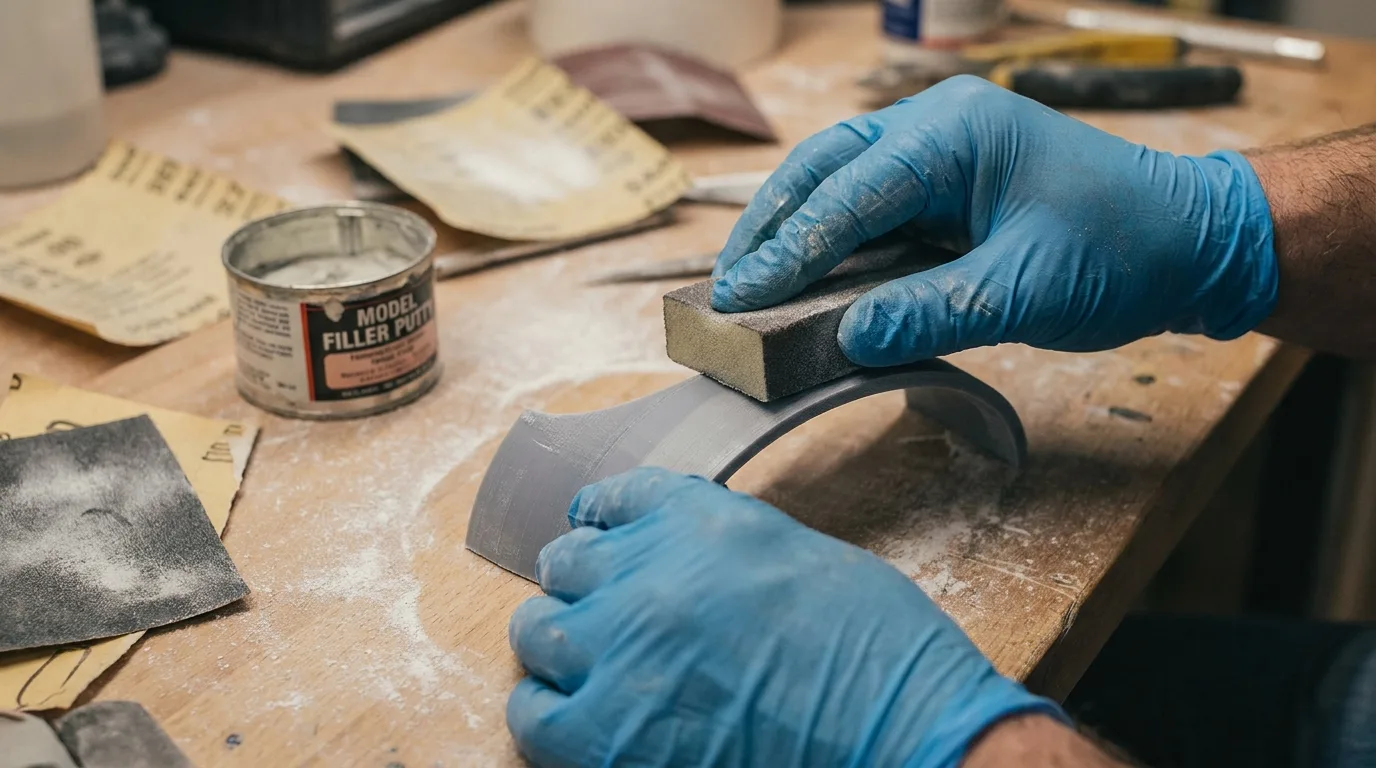
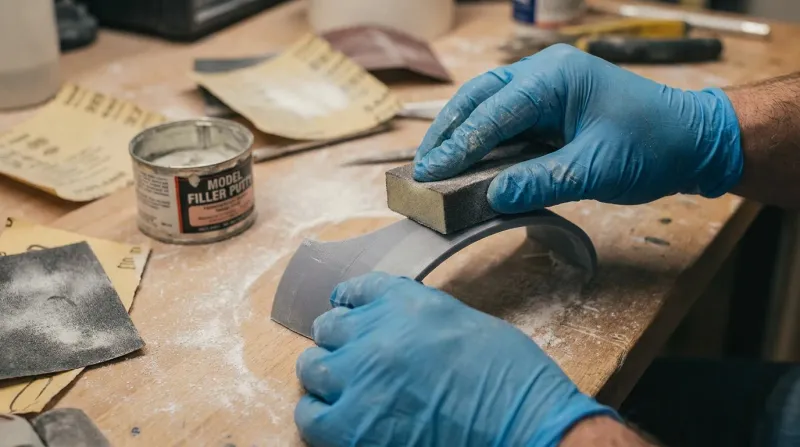
Filling & Sanding is the foundation, and it isn’t a colour. A print made by fused deposition modeling (FDM) comes off the machine with visible layer lines and the odd seam mark. Paint on its own doesn’t hide those lines. It follows them. Filling and sanding levels the ridges and smooths the surface, so every coat after it sits flat. It softens layer lines a great deal, though on a filament print it rarely removes every trace of them.
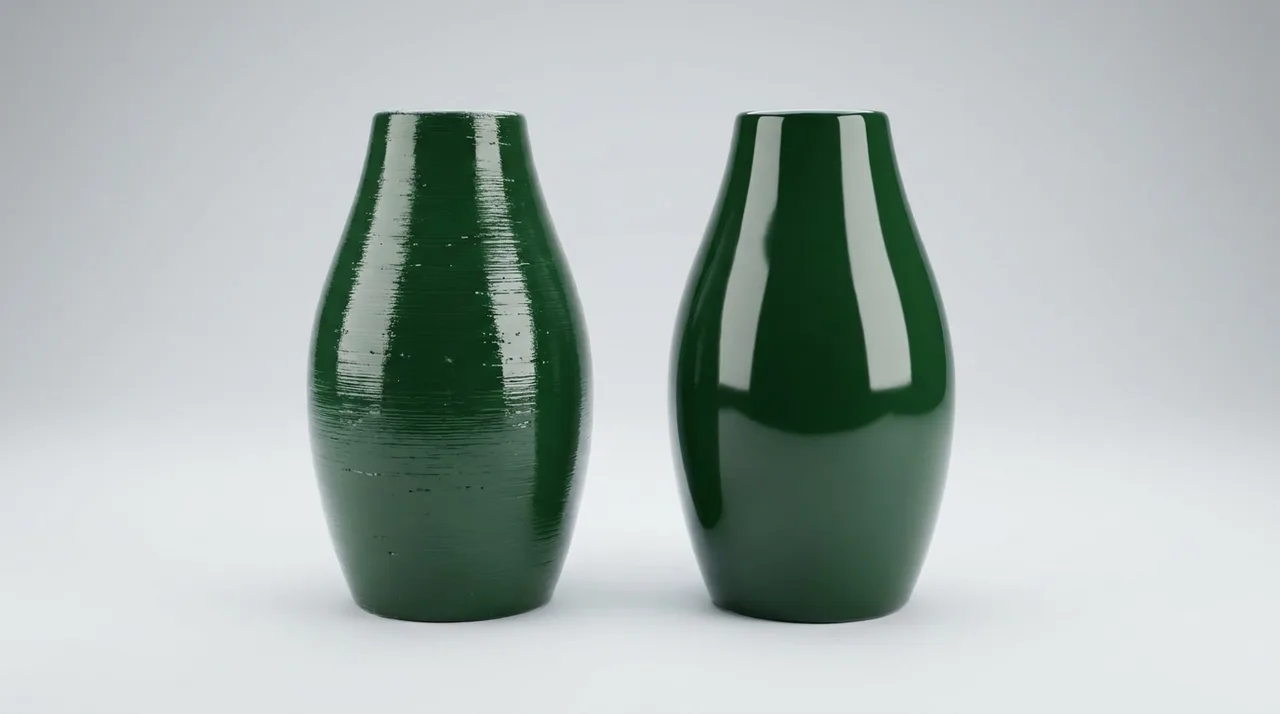
Most painted parts start here. Want the raw print? Skip it. Want any kind of finished look? This is the step that earns it, and it’s why a properly finished part costs more than a bare one. The painting guide covers the grits and primer in detail.
1k automotive paint: everyday colour and protection
“1k” means single-component paint. It air-dries, costs less, and gives solid everyday durability. It’s the right call for display pieces, indoor props, and models that live on a shelf or in a cabinet. Pick a colour coat and a clear coat:
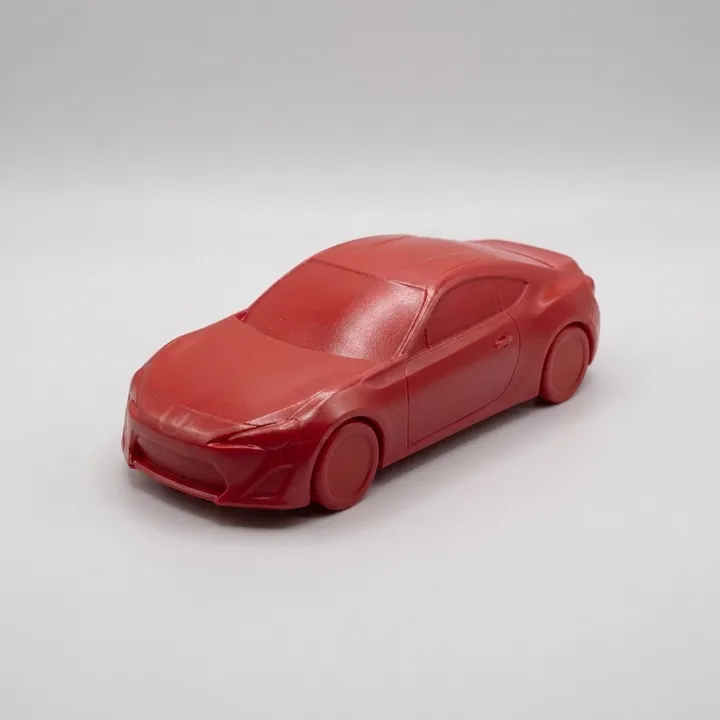
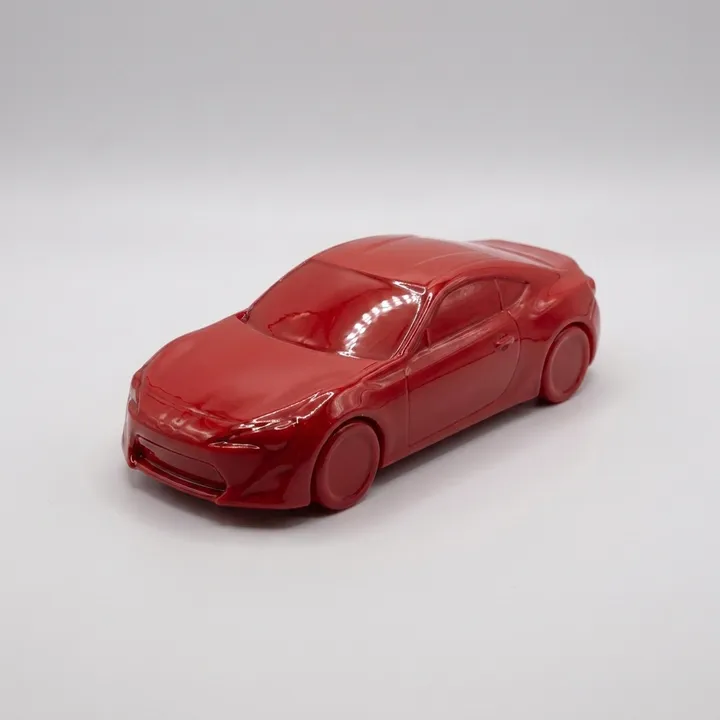
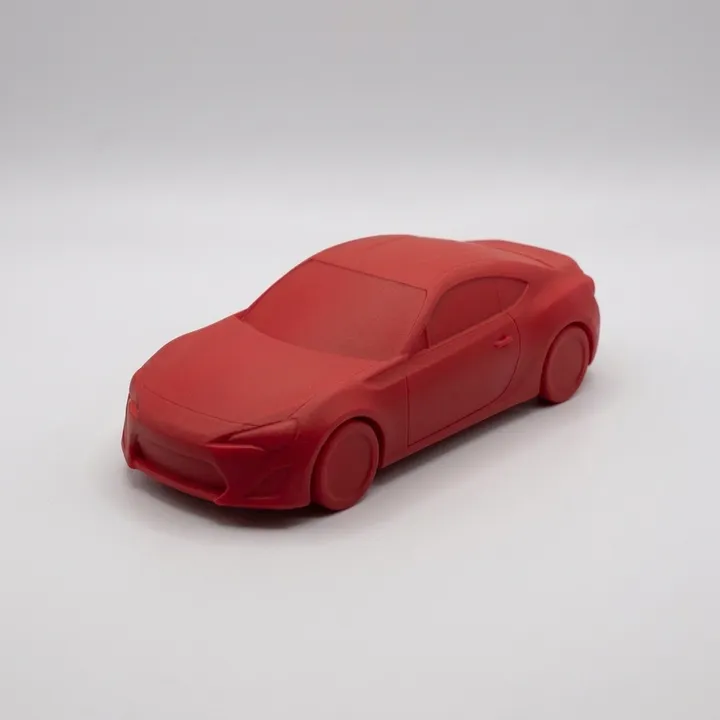
- 1k Automotive Paint is the colour coat itself. This is where your part gets its actual colour.
- Gloss (Standard) Clear Coat seals that colour under a glossy top layer. Gloss looks wet and bright, and it makes metallics and deep colours pop.
- Matte Clear Coat does the same sealing job with a flat, glare-free sheen. It suits scale models, architectural pieces, and anything you’d rather keep understated.
Pick the colour coat, then one clear coat in the sheen you want. Satin sits between gloss and matte, a soft, low sheen, and it comes in 1k and 2k too. A clear coat over paint and a part you can see through are different jobs. For the second, see transparent and clear 3D printed parts.
2k automotive paint: tougher, for parts that get handled
“2k” means two-component paint, catalysed with a hardener before it’s sprayed. That chemistry cures into a far harder shell. You pay a bit more for a noticeably tougher finish: better scratch resistance, better chemical resistance, and better resistance to UV. Reach for 2k when the part gets handled often, carried around, or kept outdoors in the Singapore sun and humidity, where a softer finish would chalk or fade. The same choices apply:
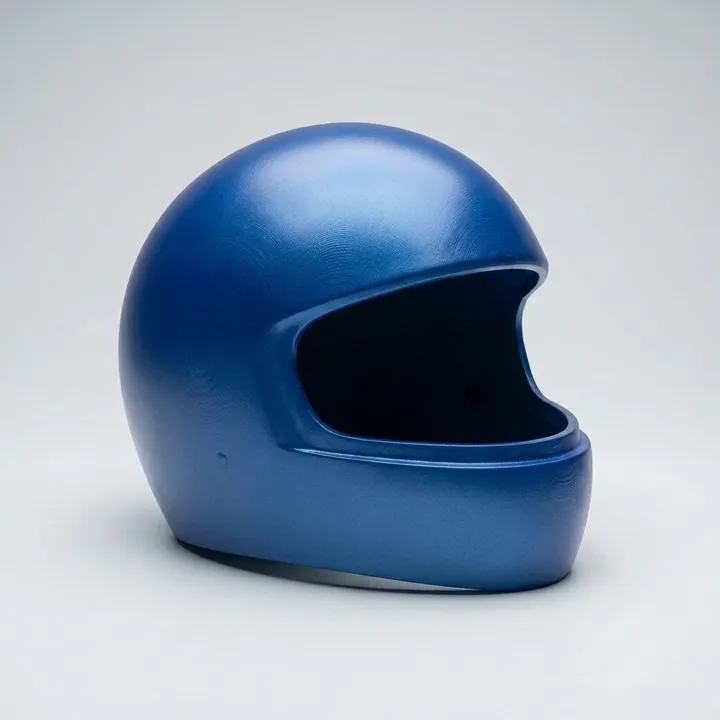
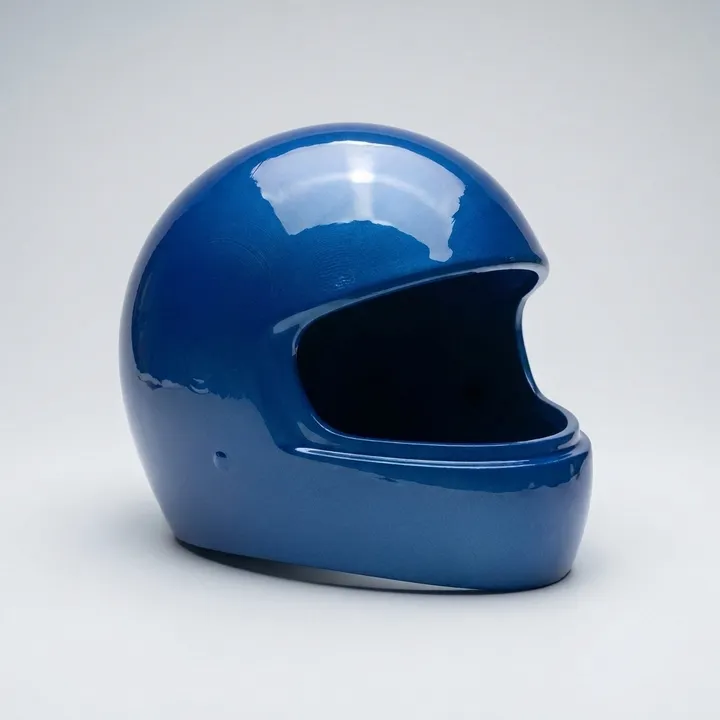
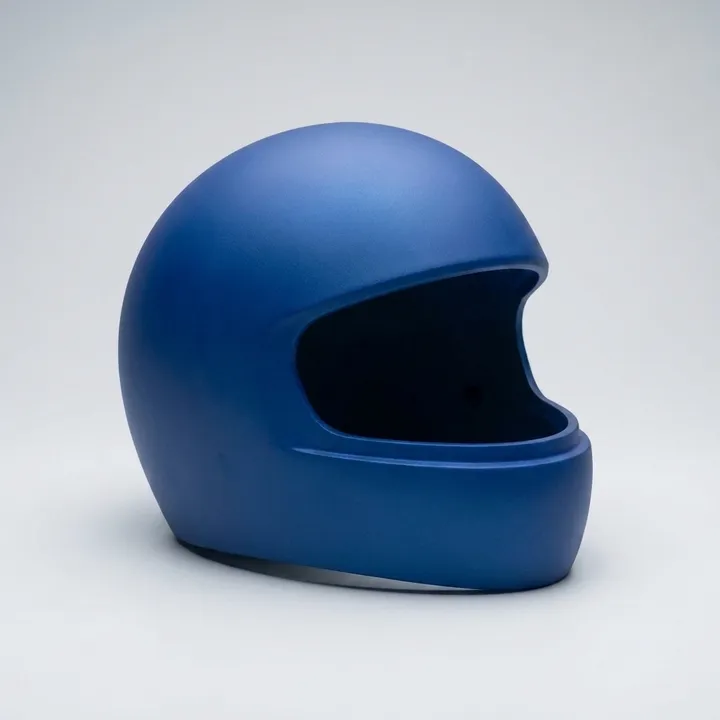
- 2k Automotive Paint (scratch resistant) is the hardened colour coat.
- 2k Gloss (Standard) Clear Coat is the glossy, catalysed top layer.
- 2k Matte Clear Coat is the flat-sheen version of the same.
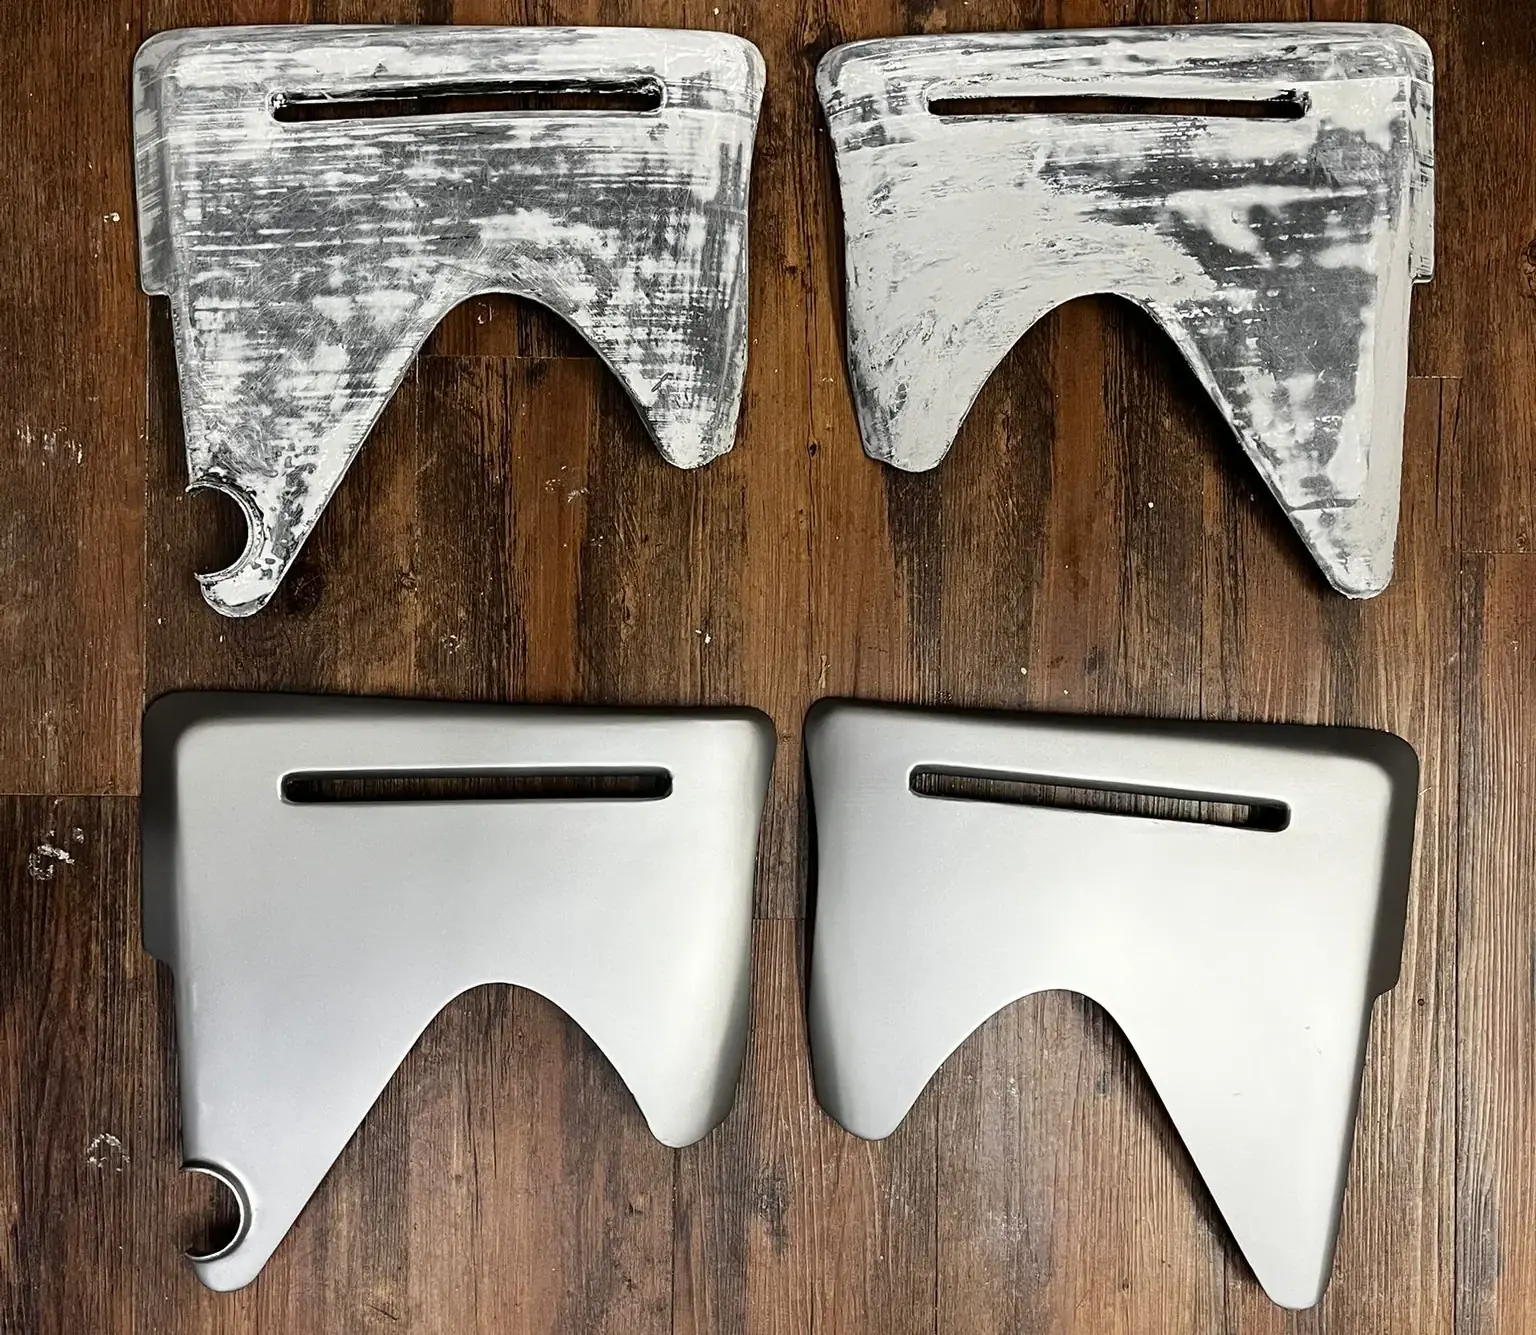
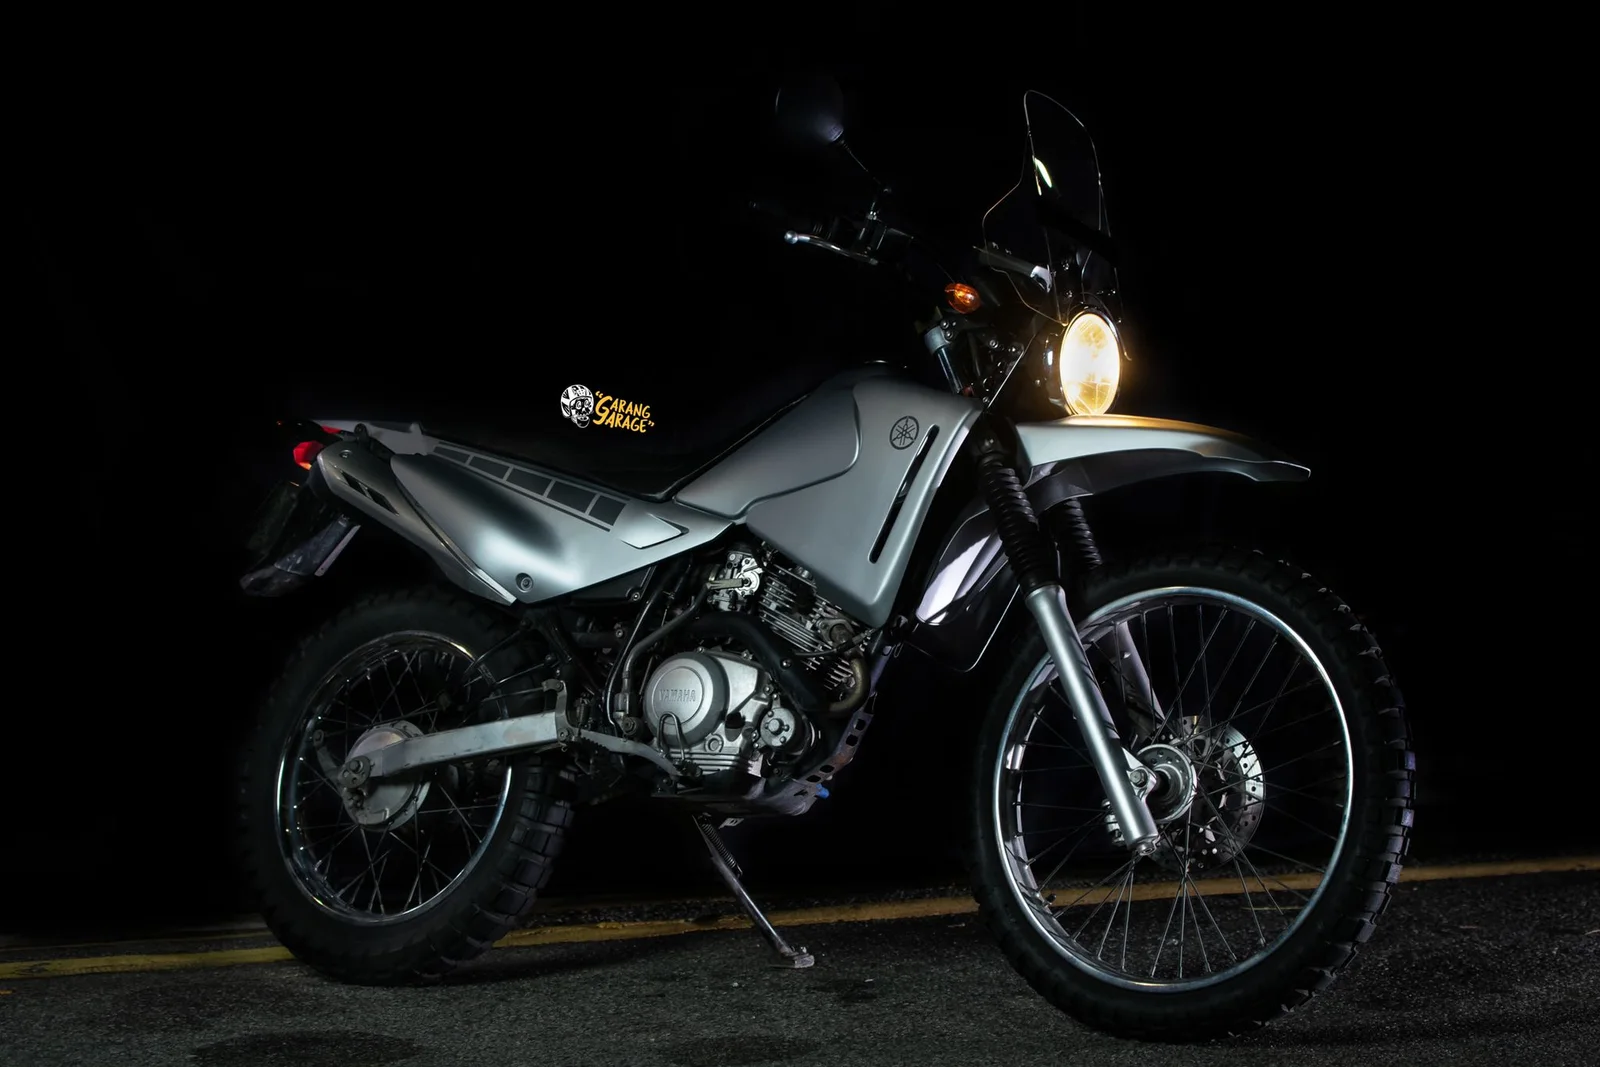
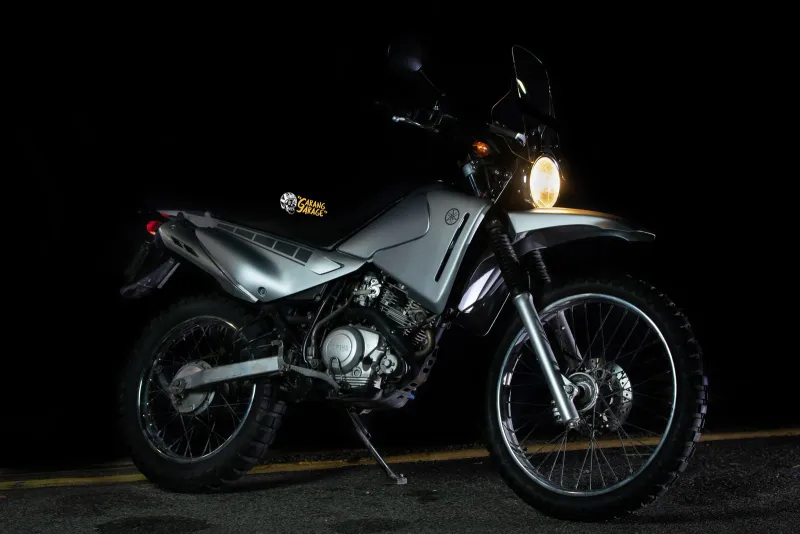
Our Yamaha body panels are 2k for exactly that reason: the bike lives outdoors.
How to choose
Three quick decisions get you to a spec:
- 1k or 2k? Durability versus cost. Indoor display and light handling: 1k is plenty. Daily handling, outdoor life, or anything that takes knocks and sun: 2k. Unsure? Tell us how the piece will be used and we’ll steer it.
- Gloss, satin or matte clear? Sheen only, and all three come in 1k and 2k. Gloss for a wet, vivid look. Satin for a soft, low sheen, the usual pick for product mock-ups. Matte for a flat, no-glare finish.
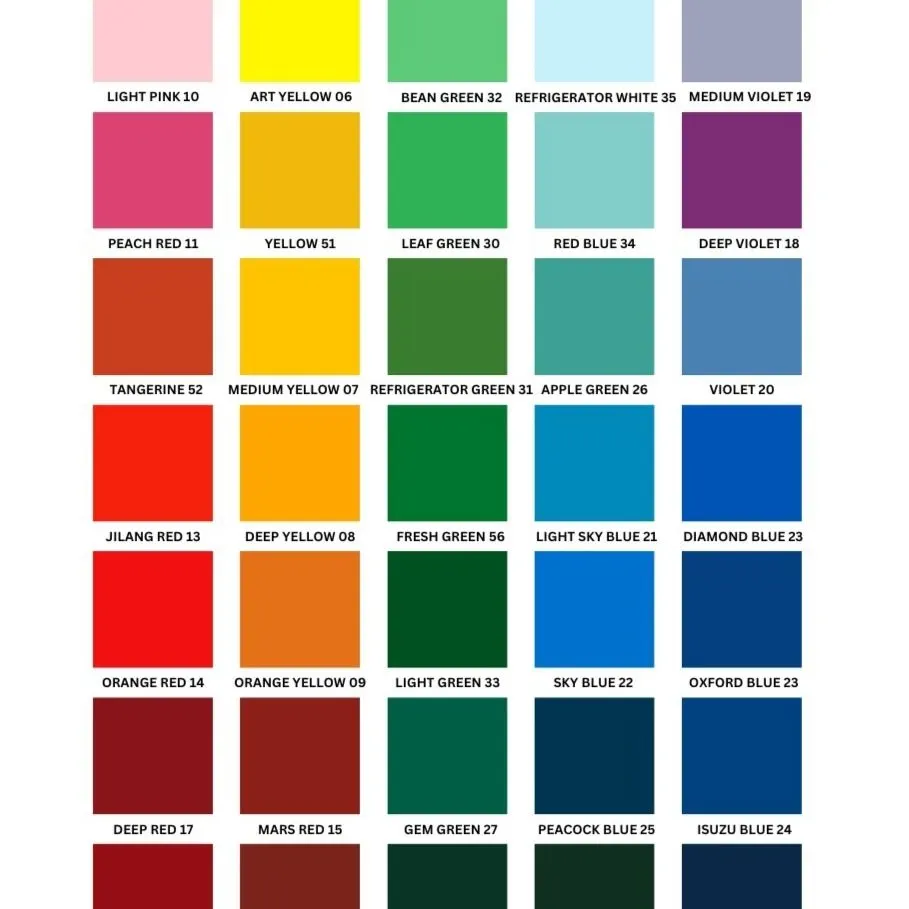
- Custom colour or a preset? We mix to any colour, so send a Pantone code or a hex value (the colour code in your brand guide) and we match it. If a stock colour works, pick one off the shelf instead. Our colour guide and spray paint colour catalogue show the range.
Working to a date? Paint and plating typically add 3 to 5 days, depending on the part’s size, how complex the finish is and whether a colour has to be matched, so tell us when you need the part. How long your order will take has the full timeline.
Beyond 3D printed parts
Finishing is not only for prints. We paint, plate and clear-coat fabricated parts too, and the choices above apply to them the same way. Two requests come up often:
- Acrylic edges. Laser cutting leaves a clean edge on acrylic, and flame-polishing can take it further to a glassy finish for display pieces. Our laser cutting materials guide covers which sheets we cut.
- Graphics on flat surfaces. UV printing lays full-colour artwork straight onto acrylic, wood, metal and leather as well as printed parts. The acrylic signage guide shows how it is used on signs.
What finishing can’t fix
A finish improves a surface. It cannot change the part underneath, and a few limits are worth knowing before you choose:
- Paint follows the surface. Sanding softens layer lines a great deal, but on a filament print it rarely removes every trace, and gloss shows what is left more than matte does. What filling and sanding can and cannot do shows where that ceiling sits.
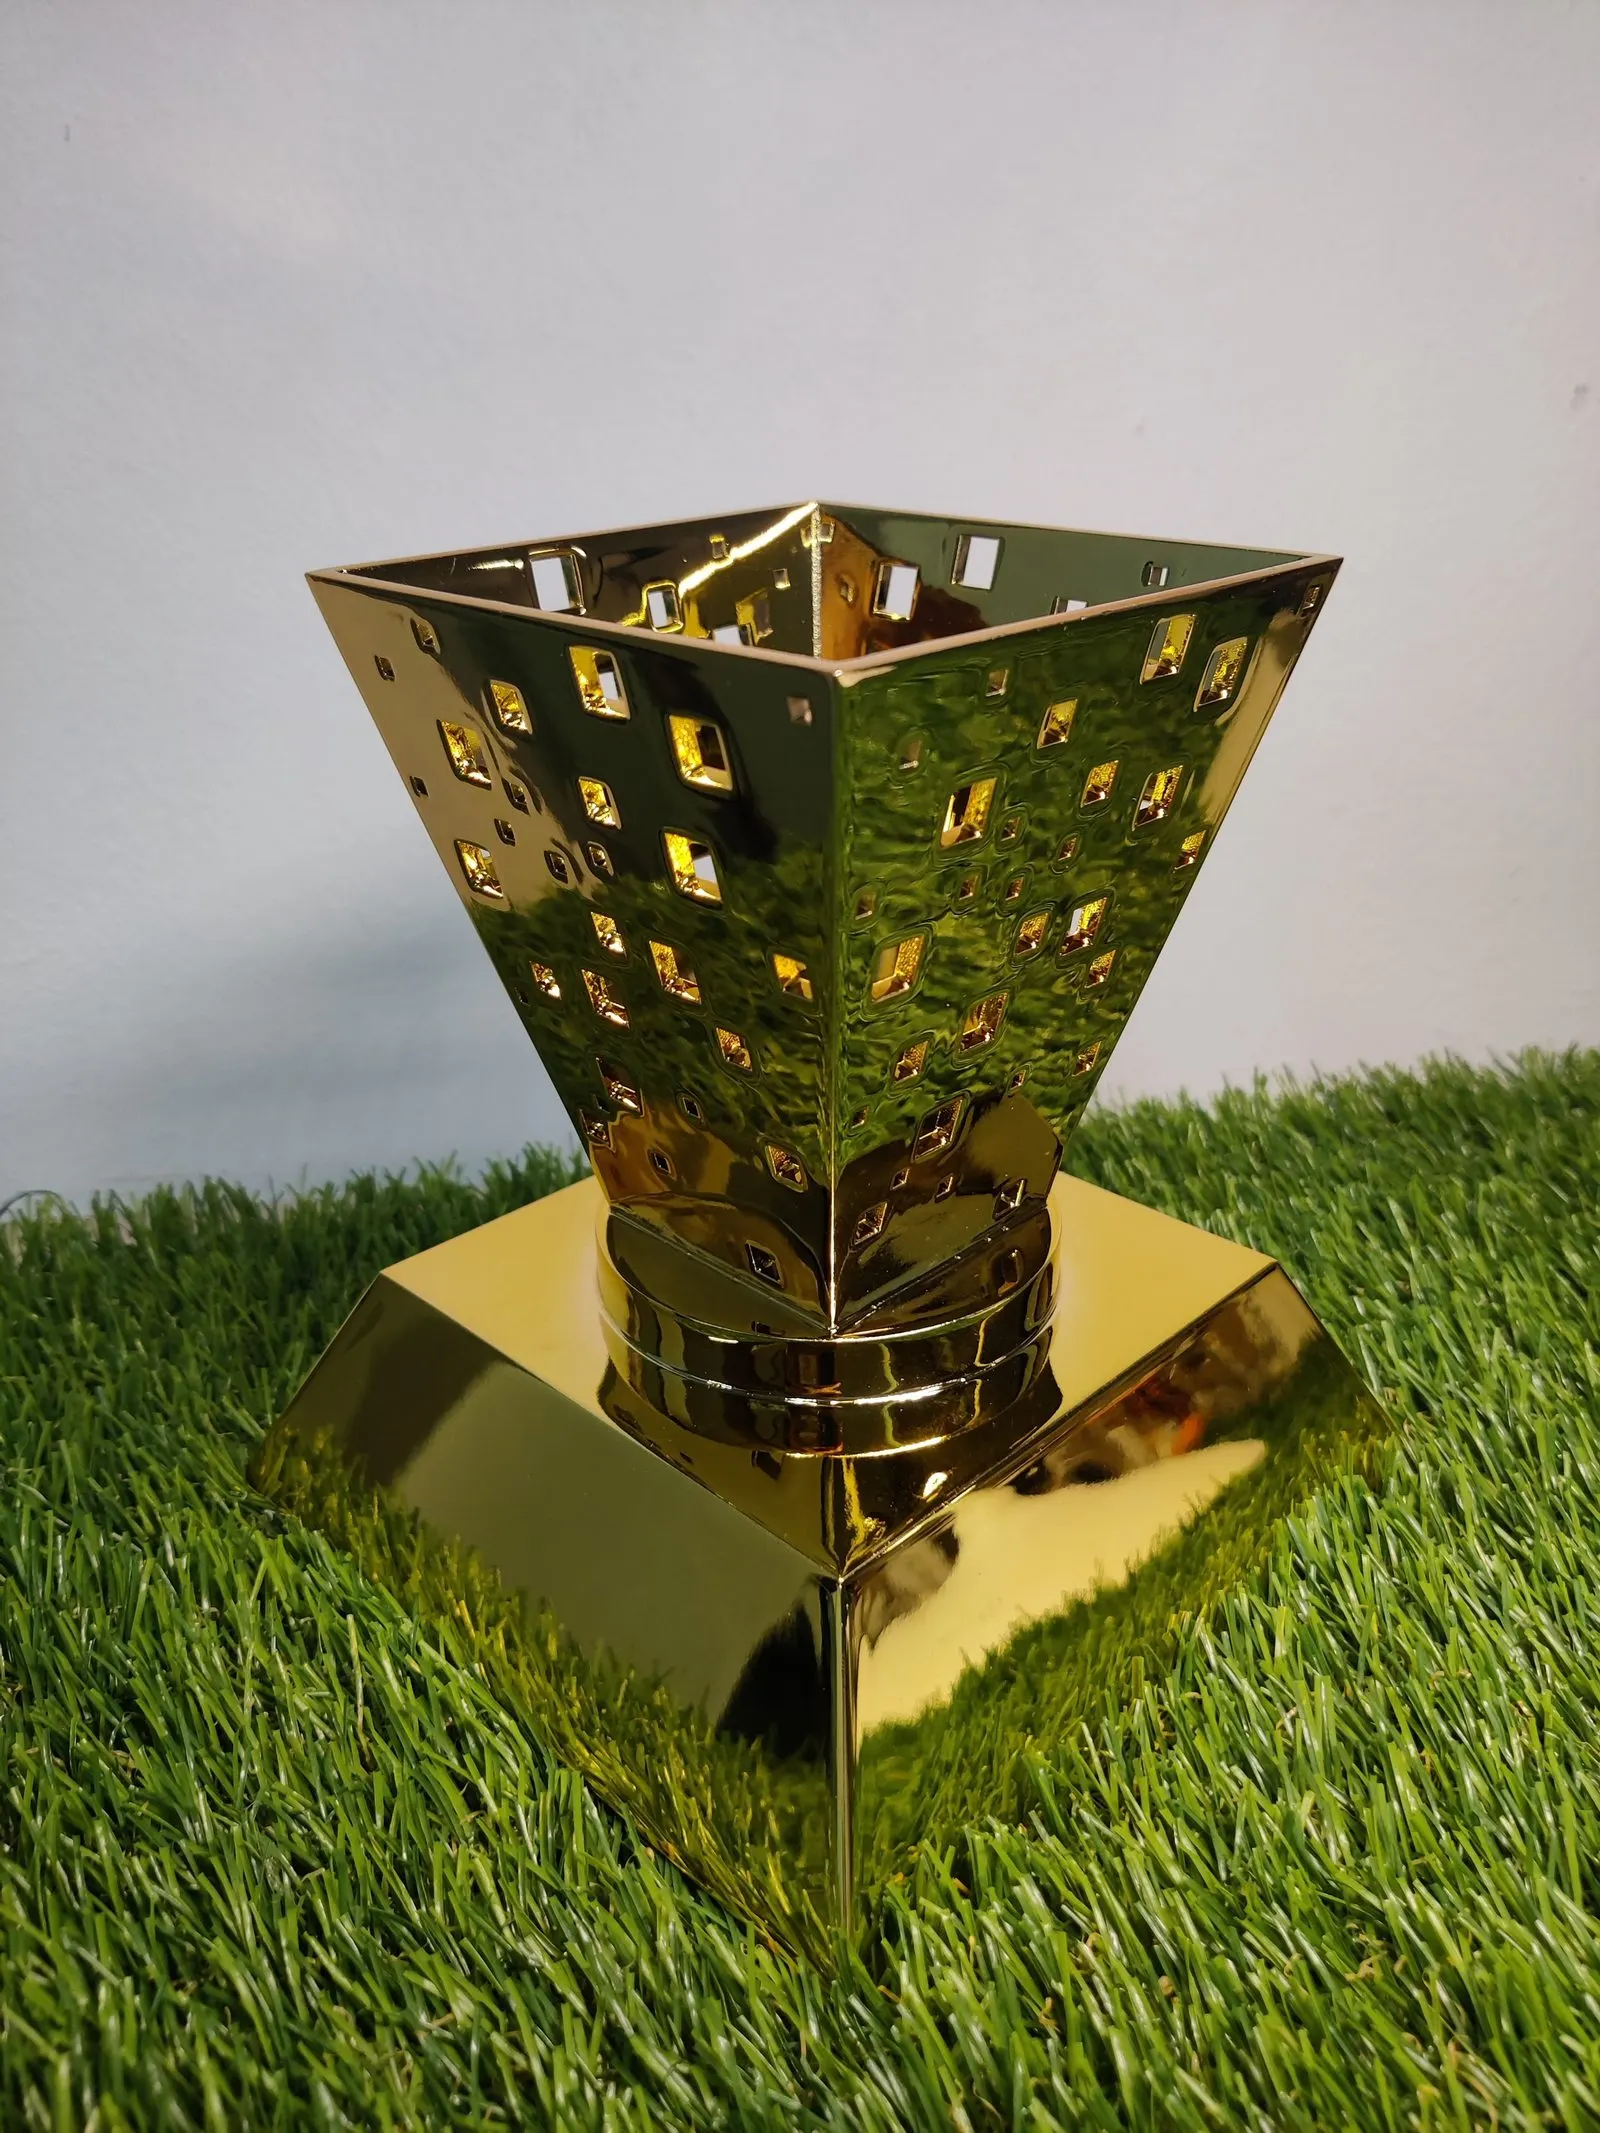
- Plating magnifies flaws. A metal layer shows every scratch beneath it, which is why it suits smooth resin parts best. Electroplating resin prints explains how it works and which metals it comes in.
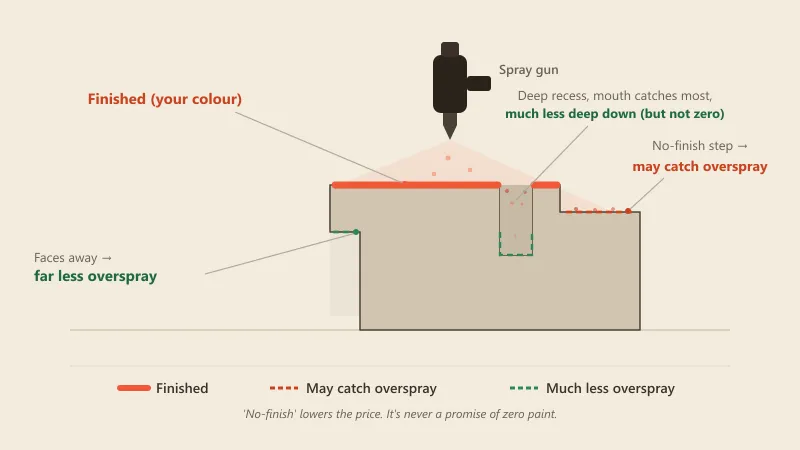
- Spray drifts. A face left unfinished next to a painted one can catch a little overspray. Overspray on 3D-printed parts explains when a masked area stays clean and how we keep it controlled.
- Coatings add thickness. Paint and plating add a thin layer, so threads, holes and faces that must fit together are masked before spraying. Tell us which surfaces mate with something else.
- Nothing prints truly clear. Every process scatters some light. Polishing and a clear coat get a part close to glass, not all the way; transparent parts covers how close each process gets.
Get a finishing quote
You don’t have to lock this in before you start. Finishing is priced by the part’s surface area, the prep it needs and how complex the finish is: our pricing page has starting prices for sanding, paint, airbrushing, plating and UV printing, and anything else we quote for your exact part. Still weighing it up? Pick the closest option, tell us how the piece will be used, and our studio will confirm the best spec.
Frequently asked
How do I choose a finish for my 3D print?
Start from what the part has to do. A display piece usually wants paint and a clear coat; a trophy or award, a metal finish or real plating; a housing or merchandise, a logo by UV printing, embossing or laser engraving; a lens or cover, a clear part. Parts that get handled often or live outdoors want the tougher 2k paint. Tell us how the part will be used and we will recommend the finish.
What's the difference between 1k and 2k clear coat?
1k is single-component paint that air-dries. 2k is mixed with a hardener before spraying, so it cures into a much harder shell. 2k resists scratches, chemicals, and UV far better, which makes it the pick for parts that get handled often or live outdoors. 1k costs less and is fine for indoor display pieces. Both come in gloss (standard), satin and matte sheens.
Which 3D print finish is the most scratch resistant?
A 2k automotive paint under a 2k clear coat. The catalysed two-component system cures harder than any single-component (1k) finish, so we spec it for trophies that get passed around, functional parts, and anything kept outside in the Singapore weather. For a piece that only sits on a shelf, 1k is usually enough and costs less.
Can you match a specific colour?
Yes. Send a Pantone code or a hex value at quote time and we mix the colour to match, in either 1k or 2k paint. If a stock colour works, you can pick one off the shelf instead. Filament colour isn't reliable for brand-exact work, so we print in a base colour and paint to your target. Our colour guide shows what the range covers.
Do I need filling and sanding before painting?
For prints made by fused deposition modeling (FDM), almost always. Layer lines and seam marks show straight through paint unless the surface is filled and sanded flat first. It's the foundation step, not a colour, and it's what separates a finished-looking part from one that still reads as printed. Resin prints made by stereolithography (SLA) start smoother and need less, but most painted parts include some prep.
Can you finish parts that are not 3D printed?
Yes. We paint, plate and clear-coat fabricated parts too, including laser-cut acrylic, wood and metal. Acrylic edges can be flame-polished to a glassy finish, and UV printing puts full-colour graphics straight onto acrylic, wood, metal and leather.
Related
-
 Guide3D Printing Painting and Surface Finishes
 -
 GuideFilling & Sanding: What It Does and What It Can't
 -
 GuideOverspray on 3D-printed parts
 -
 ServiceColour Application & Finishing
 -
 ServiceSLA 3D Printing
 -
 ServiceCustom Trophies & Awards
 -
 ProjectYamaha Bike Body Panels
 -
 ProjectElectroplated Trophy
 -
 ProjectTransparent Embossed Dome