

How clear can a 3D printed part get?
Updated
On this page
- Which process for which clarity?
- Clear resin (SLA): printed, then polished
- Laser-cut acrylic: the clearest, if it can be flat
- Vacuum forming: clear shells and covers
- Clear filament (FDM): a glow, not a window
- What makes a clear part clearer
- What drives the cost and the time
- Keeping a clear part clear
- Frequently asked
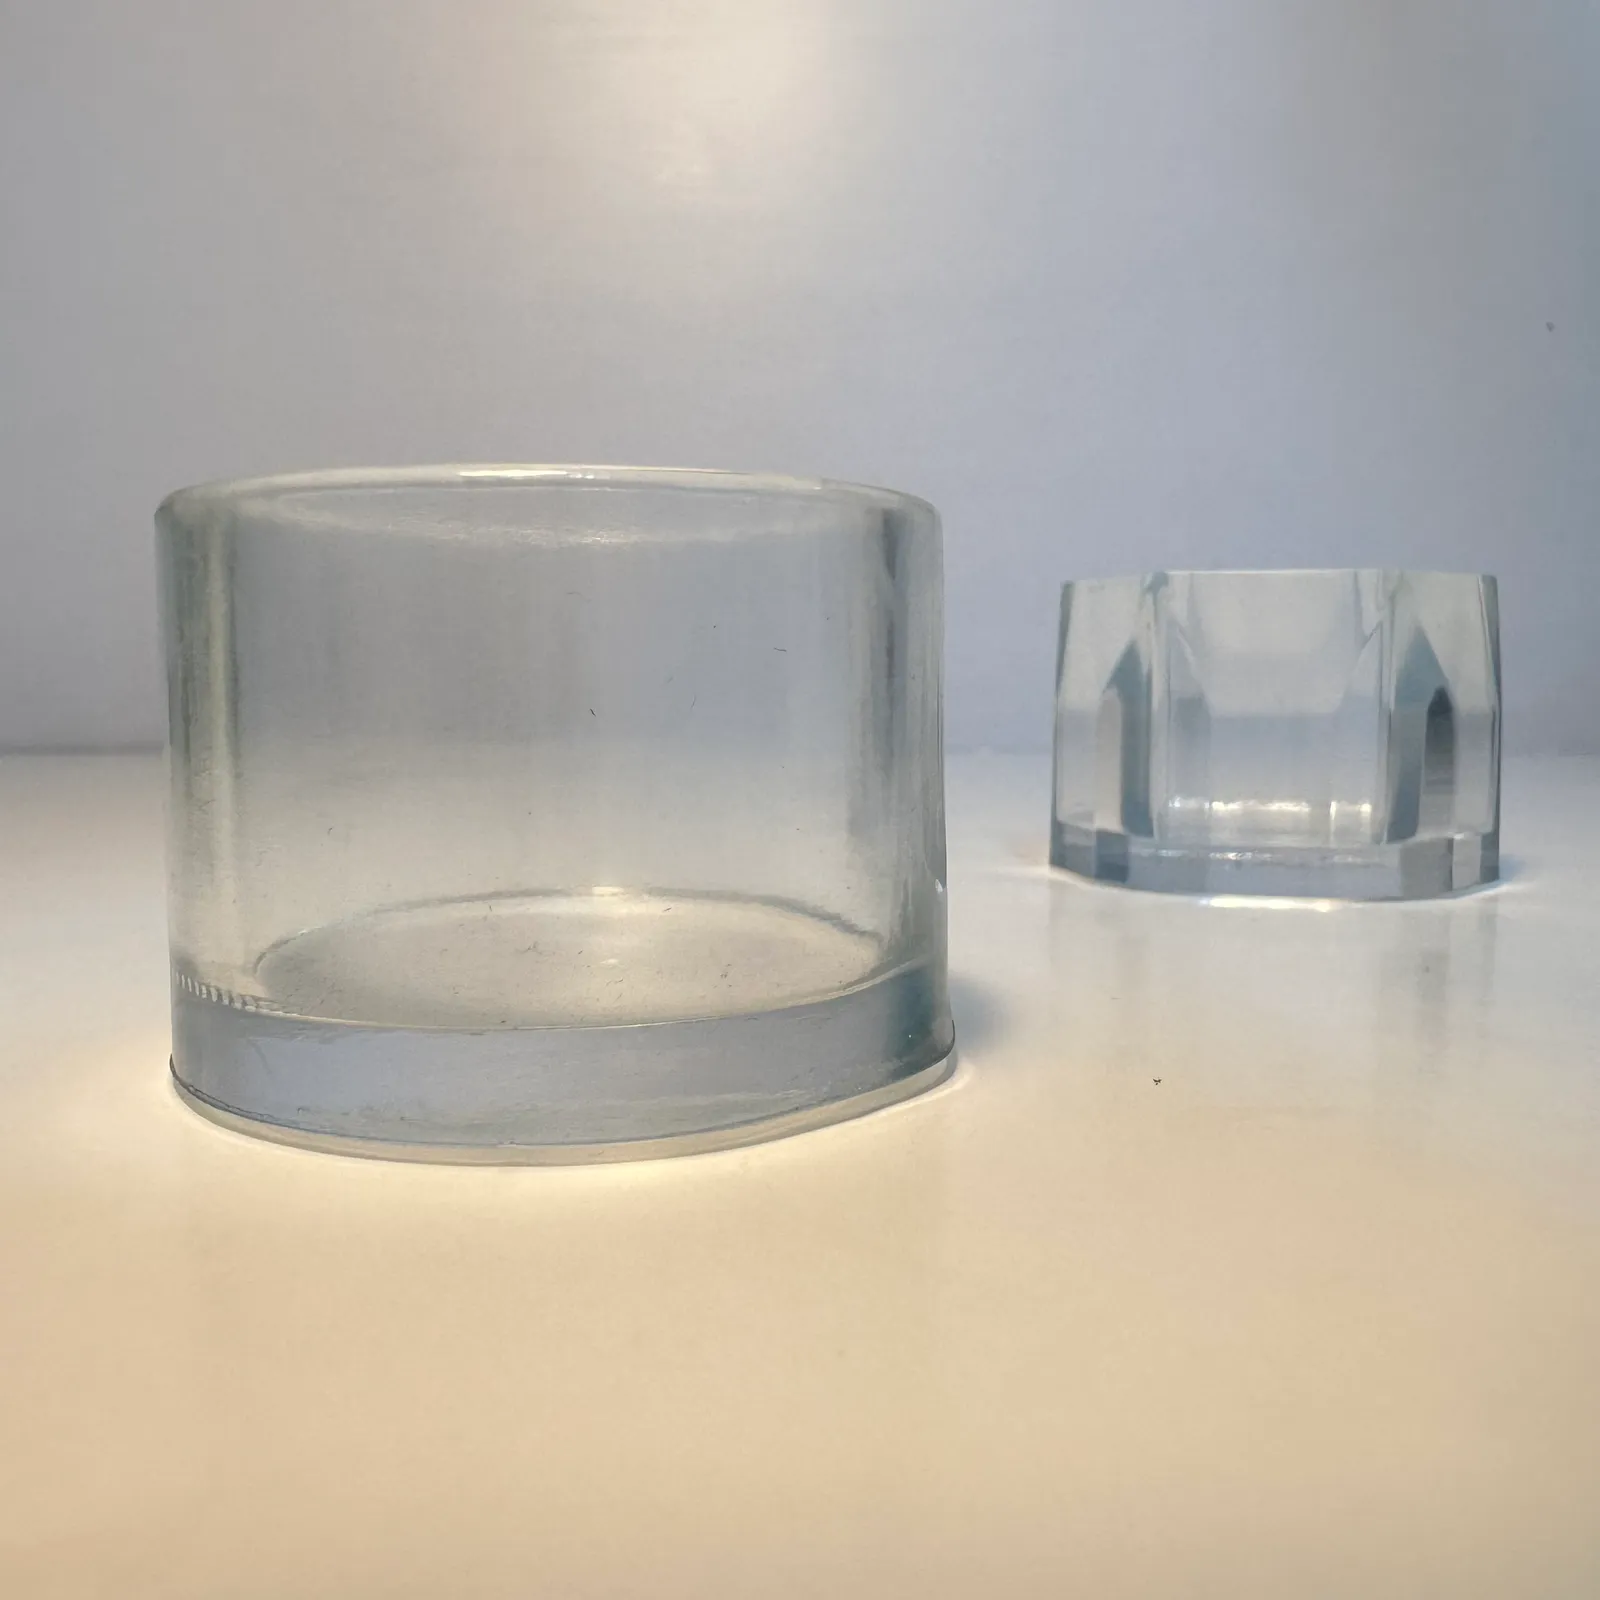
Nothing comes off a printer truly clear, because every process scatters some light. The clearest a 3D printed part gets is clear resin, sanded, polished and clear-coated by hand: close to glass on the faces we can reach, while a filament print only ever glows. Here is what “clear” means on each route, what makes a part clearer, and what to expect on cost, time and care.
Which process for which clarity?
It depends on how clear the part needs to be and what shape it is. Here are the four routes we use, clearest first:
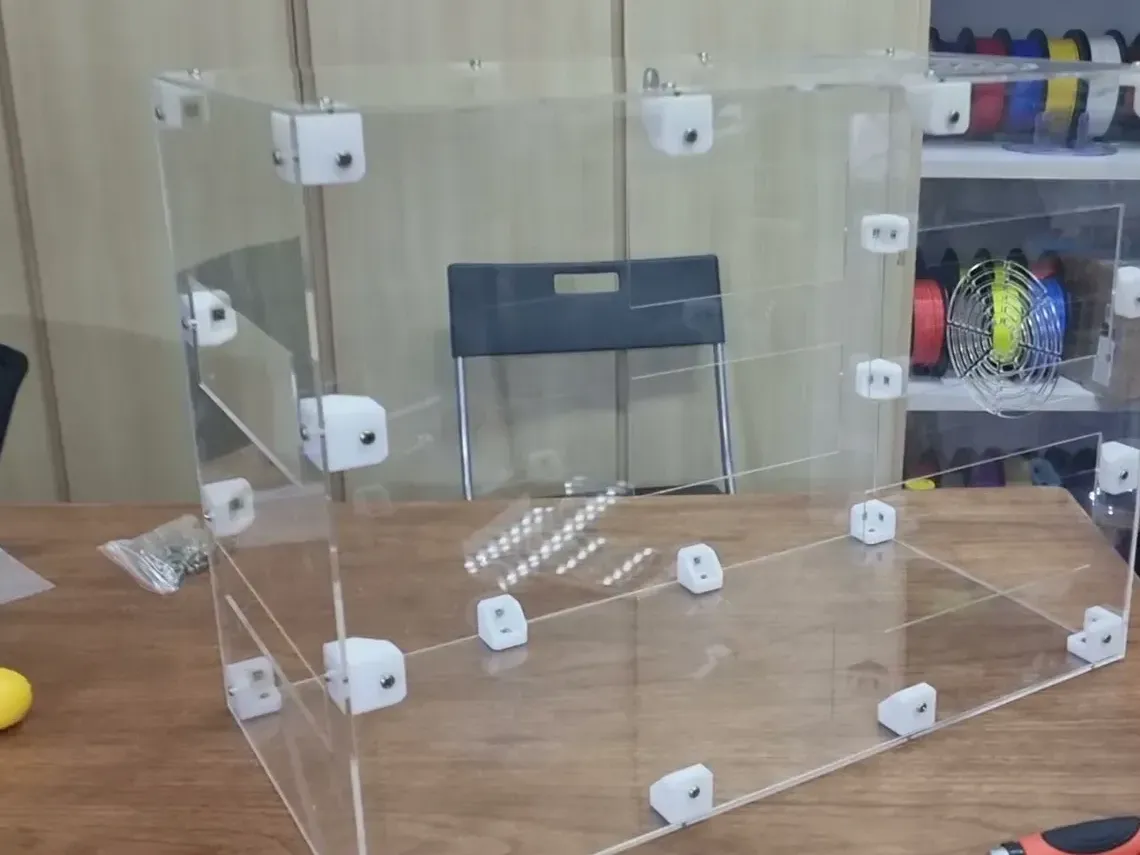
Laser-cut acrylic
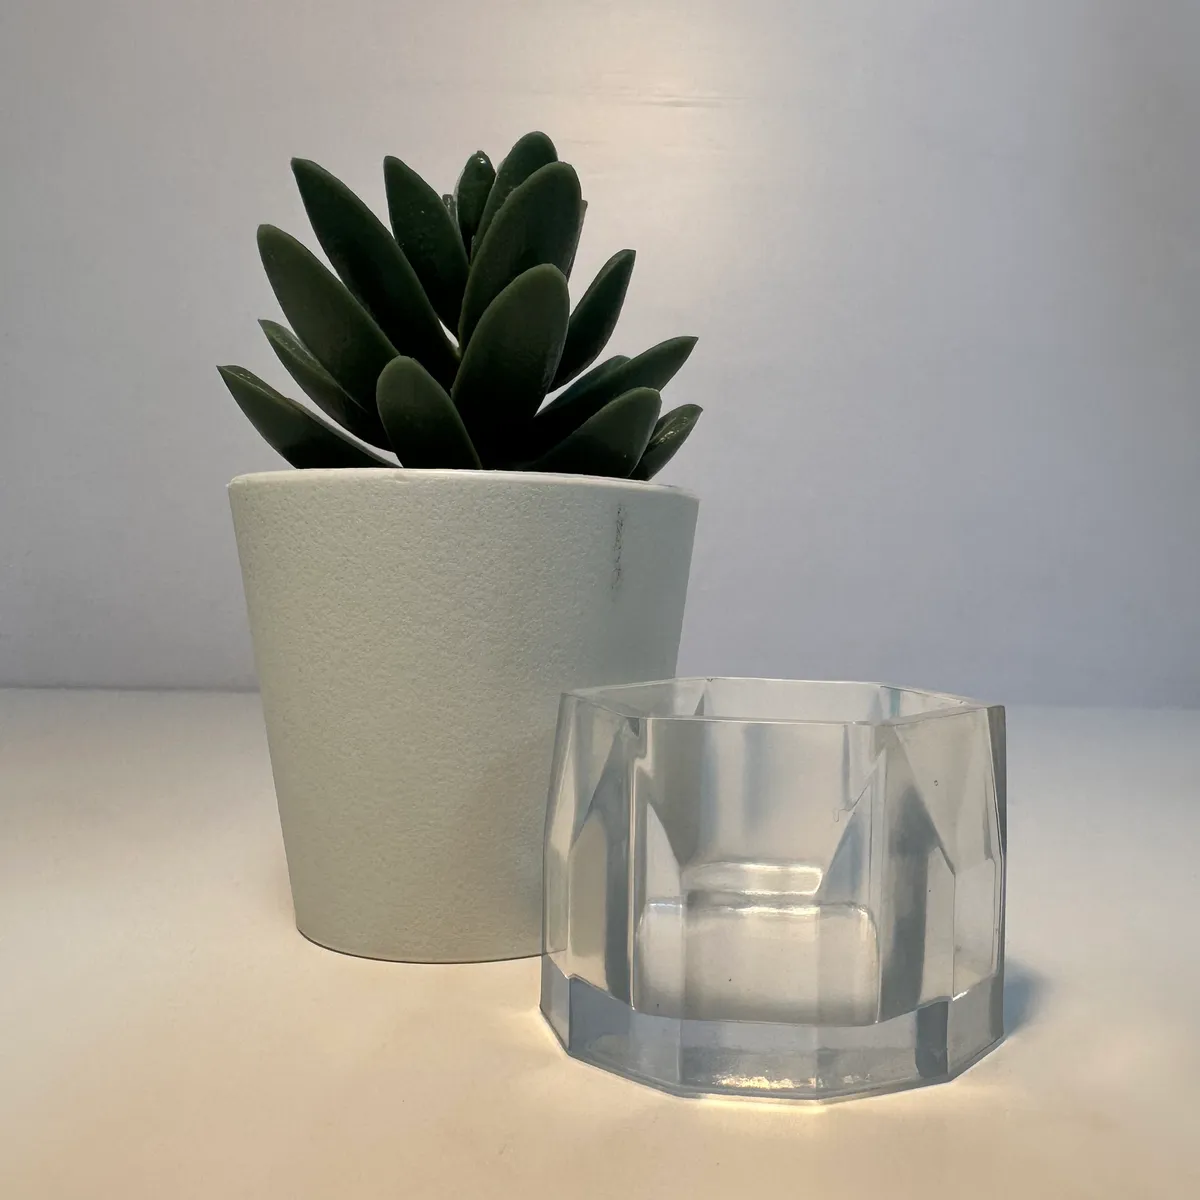
Stereolithography (SLA) clear resin
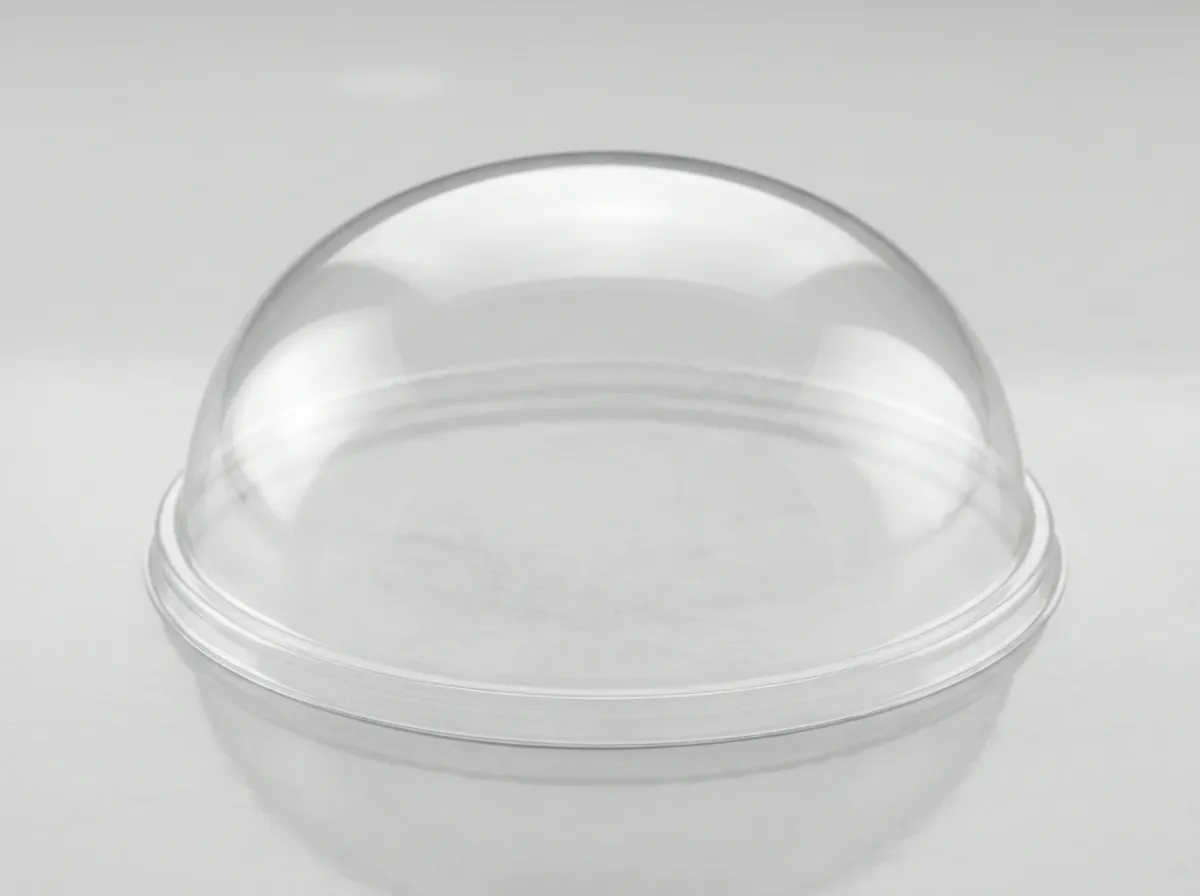
Vacuum forming
We quote this one by hand
Fused deposition modeling (FDM)
For a true 3D shape, SLA clear resin gives the best all-round clarity, and which resin you pick sets the starting point.
Clear resin (SLA): printed, then polished
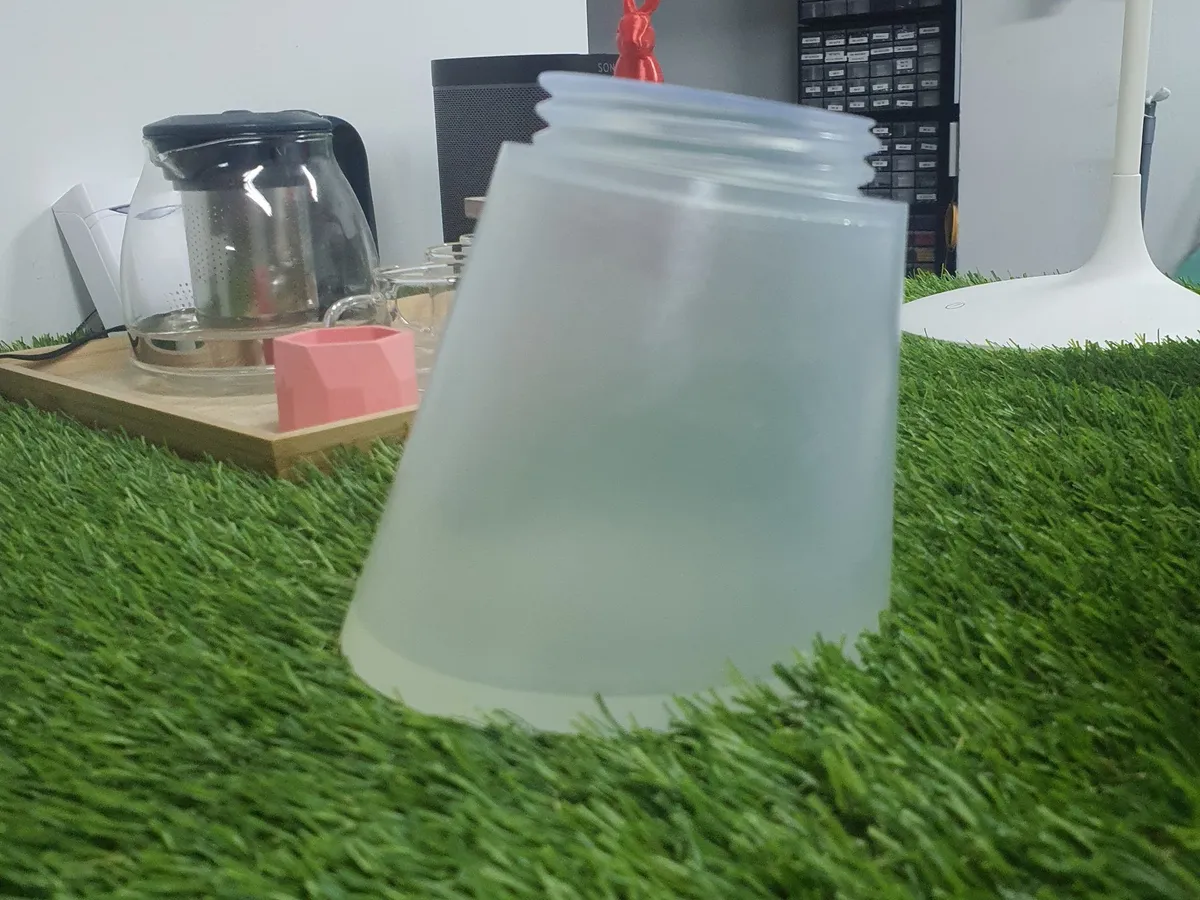
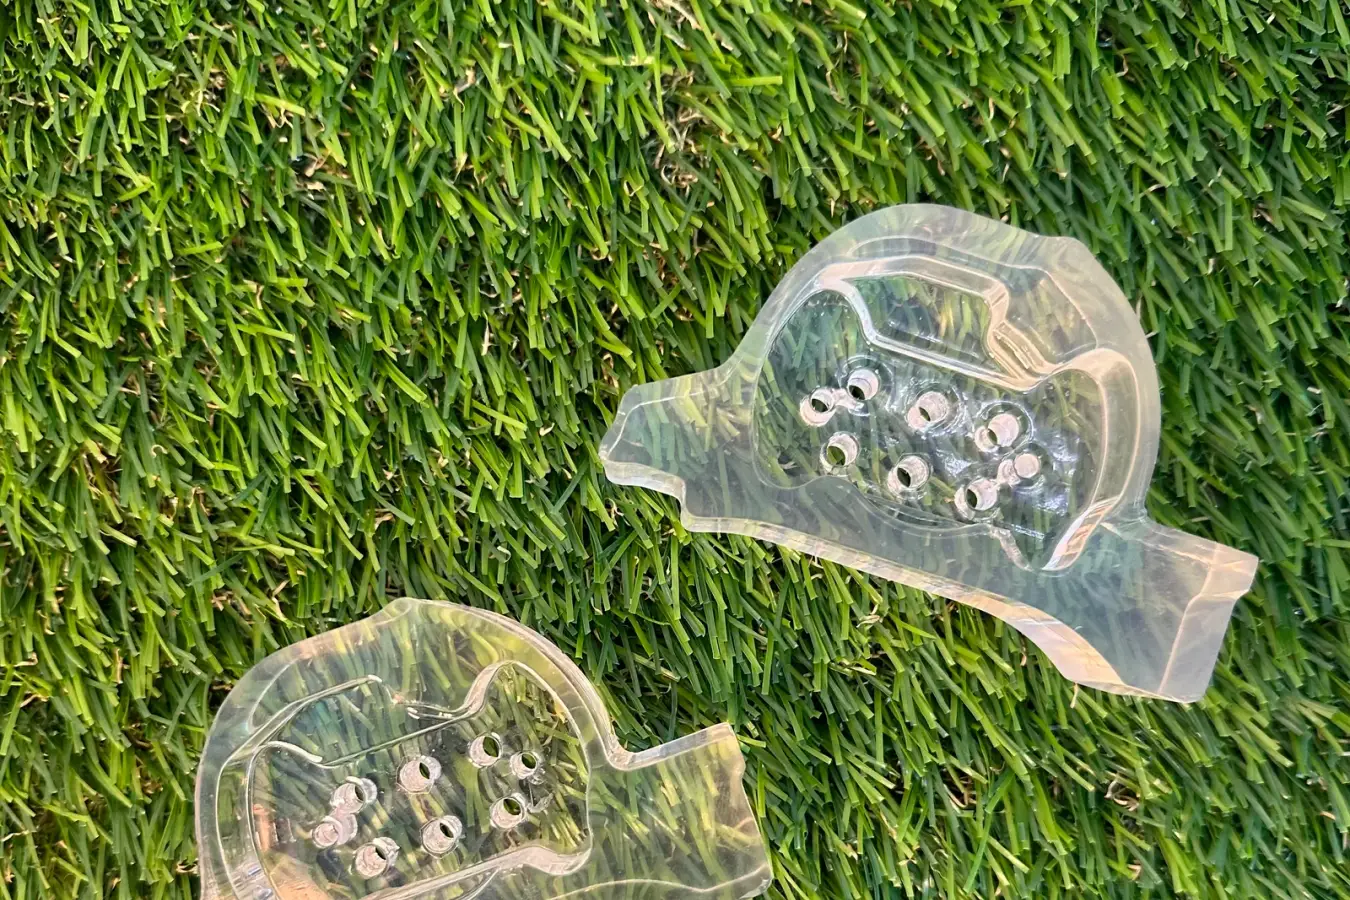
SLA cures liquid resin with light, one thin layer at a time. In clear resin, the part comes off the printer translucent, like frosted glass: you see shapes through it, not detail. Three finishing steps close the gap before it reaches you:
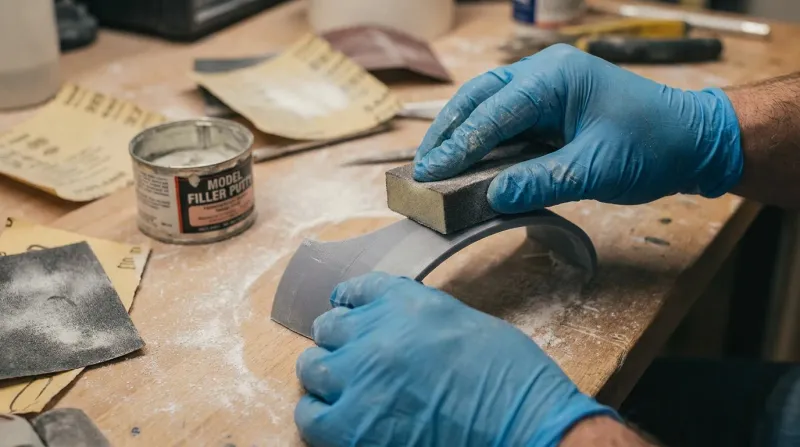
- Step 1: Sanding. Wet-sand with five ever-finer grades of sandpaper, 400, 800, 1500, 2000 and 3000 grit. This removes most of the layer lines, though a faint trace can remain, and on a clear part it shows as a fine line inside. See what sanding can and cannot fix.
- Step 2: Polishing. A polishing compound (a fine abrasive paste), by wheel or by hand, erases the fine sanding scratches and brings back the shine. Polishing cannot rescue a scratch the grits missed.
- Step 3: Clear coat. A clear coat seals the surface, then a final buff brings it to gloss, in the same booth as every other finishing coat.
The result is near-glass on the faces that can be sanded, not optical-grade glass. Its limits:
- Hidden faces stay frosted. The inside of a hollow part, a deep pocket or a narrow channel cannot be reached to polish.
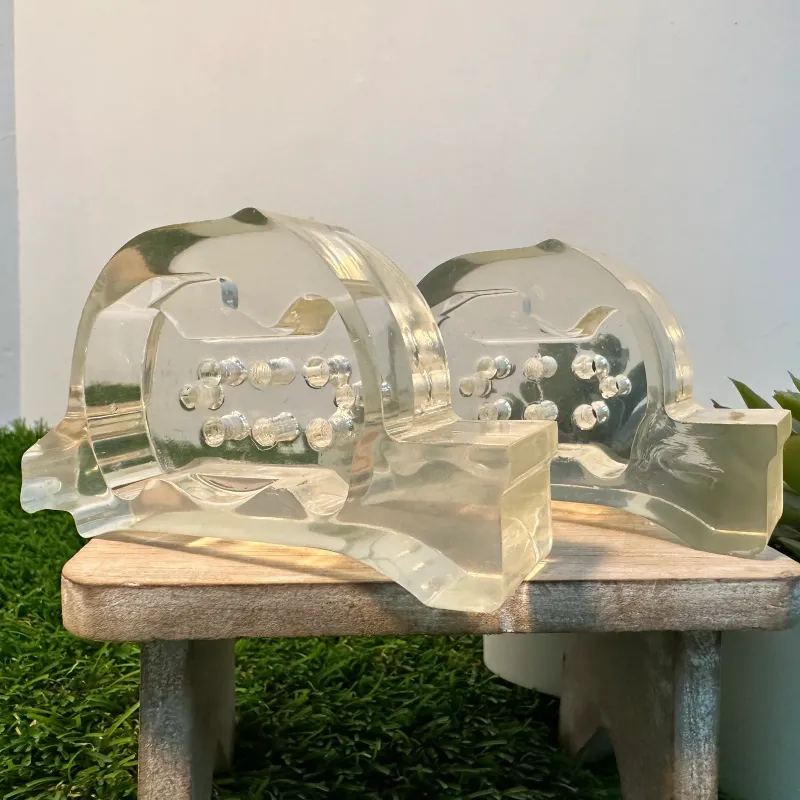
- Fine detail cannot be sanded. Raised studs, text and texture would lose their edges, so a detailed face relies on the resin and a careful clean and cure, as the dome above did.
- Resin is brittle. It suits parts that are looked at, not parts that flex or take knocks.
Laser-cut acrylic: the clearest, if it can be flat
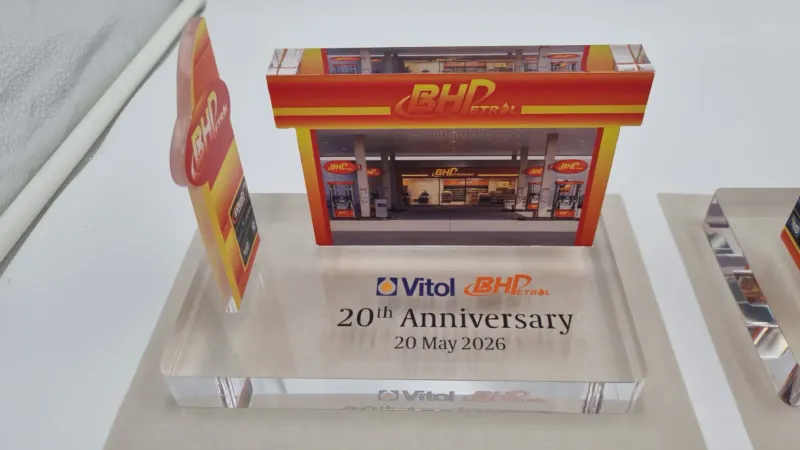
Acrylic sheet is made clear, so a laser-cut piece is as clear as glass from the start. We cut clear acrylic from 3 mm to 25 mm thick; the laser leaves a clean edge, and flame-polishing (a quick pass of flame that melts the edge smooth) makes it glassy where it shows. A box, a case or a stand is built from flat pieces joined together, like this clear acrylic trophy.
- Flat pieces only. A curved or organic shape needs resin or vacuum forming.
- Joints show up close. You can see the seam where two pieces meet.
Vacuum forming: clear shells and covers
Vacuum forming heats a sheet of clear plastic and pulls it over a mould by suction, making a thin shell: a cover, a dome, a blister pack or a light diffuser. The sheet starts clear, and how clear it stays depends on the shape and the mould:
- Shells only. Thin and open on one side, never a solid part, with no undercuts (overhangs that would lock the sheet onto the mould).
- Deep shapes thin out. The sheet stretches thinnest at deep corners, where it can look hazier.
- The mould’s surface shows. A 3D printed mould has to be smoothed first, or its layer lines show through the sheet.
Clear filament (FDM): a glow, not a window
FDM prints melted plastic filament in fine lines, and every line bends the light a little. A print in translucent PLA or PETG (two everyday filament plastics) comes out frosted: light glows through it, but you cannot see through it. That suits lampshades, diffusers and light covers, and it is the lowest-cost route here. Sanding and a clear coat help only a little, because the haze is inside the part, not just on its surface.
What makes a clear part clearer
On a printed part, four things decide the result:
- Thinner walls. A thin, even wall looks clearer than a thick block, which shows the material’s faint tint.
- Faces that can be reached. Keep the faces you need to see through open and simple, so they can be sanded and polished.
- Flat or gently curved faces. They polish evenly; sharp detail and small text cannot be sanded without softening.
- Where the supports go. Supports (the thin struts that hold a resin part while it prints) leave small marks, so tell us which faces must be clear and they can go elsewhere.
Send us the file and we will tell you how clear it will look before you commit.
What drives the cost and the time
Clarity is hand work, so it adds to the price of the print:
- The print. Resin is priced by the part’s weight.
- The finishing. Priced by surface area, prep and how complex the finish is. Every face that must be clear adds sanding and polishing.
- Acrylic and vacuum forming. Acrylic is priced by the piece; vacuum forming is quoted by hand.
The pricing page has the starting prices. A clear resin part that is sanded, polished and clear-coated typically takes 12 to 18 working days in all, print included. Size, the number of parts and how many faces must be clear move it. How long your order will take has the full timeline.
Keeping a clear part clear
- Sun. Clear resin yellows and hazes over time, faster in direct sunlight. Acrylic holds up far better.
- Scratches. Resin, acrylic and clear coats all scratch more easily than glass. Dust with a soft microfibre cloth, wash with mild soap and water, and keep alcohol and solvent cleaners off.
Say where the part will live when you send it. Singapore’s sun is strong all year round, so a clear part for a window, a car or an outdoor display needs a resin and coat chosen for it, or acrylic where the shape allows.
Frequently asked
Can 3D printers make truly clear transparent parts?
Not straight off the printer. Clear stereolithography (SLA) resin comes out translucent, like frosted glass. Wet-sanding, polishing and a clear coat take it to near-glass on the faces that can be reached, though not to optical-grade glass. Laser-cut acrylic is the only route that is fully clear with no finishing, and it comes in flat pieces only.
Why are transparent 3D prints cloudy?
Every printed layer and line bends the light a little. A filament print, made by fused deposition modeling (FDM), scatters light inside the part, so it stays frosted however much you polish it. Clear resin scatters mostly at its surface, which is why sanding, polishing and a clear coat make it so much clearer.
How do you finish transparent 3D prints?
By hand, one face at a time. The part is washed and cured, wet-sanded through five grits up to 3000, polished, then clear-coated and buffed to gloss. Only the faces you need to see through have to go through this, so naming them when you send the file keeps the finishing time and cost down.
Will a clear 3D printed part yellow over time?
Clear resin does yellow and haze over time, faster in direct sun. Acrylic holds up far better. If the part will sit in a window or outdoors, say so when you send the file: we will choose the resin and the coat for it.
How long does a clear part take?
A clear resin part that is sanded, polished and clear-coated typically takes 12 to 18 working days in all, print included. Laser-cut acrylic and a translucent filament print skip the hand finishing, so they come sooner. Tell us your deadline when you send the file.
How do I clean a clear part without scratching it?
Use a soft microfibre cloth with mild soap and water. Keep alcohol and solvent cleaners off it, because they can cloud a clear coat and leave fine cracks in acrylic.
Related
-
 GuideWhich SLA resin should you choose for your part?
 -
 GuideWhat does filling and sanding do to a 3D print?
 -
 Guide3D Print Finishing Options: Which Coat Should You Choose?
 -
 ServiceSLA 3D Printing
 -
 ServiceColour Application & Finishing
 -
 ServiceLaser Engraving & Cutting
 -
 ProjectTransparent embossed dome
 -
 ProjectClear acrylic trophy for Vitol Asia
 -
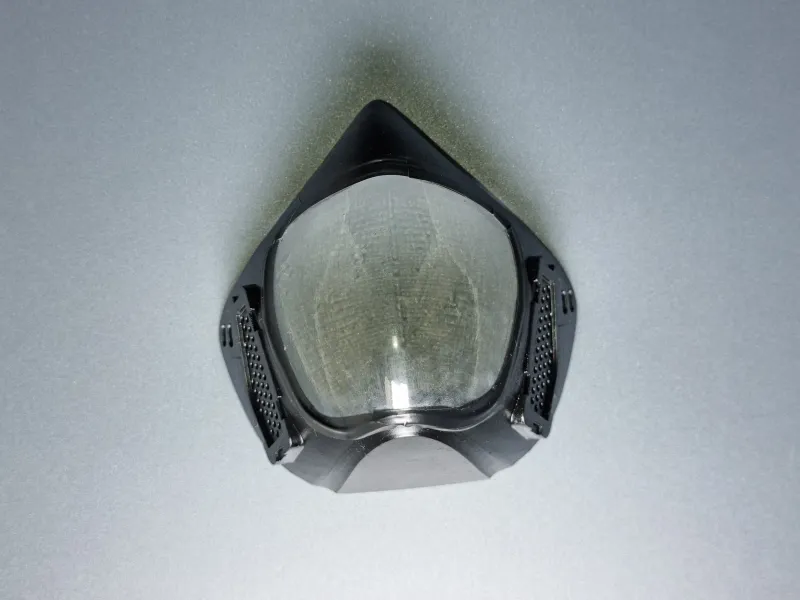 ProjectFace mask for deaf and hard-of-hearing people