

Decibel meter enclosure prototype
A vented two-part case for a Wi-Fi decibel meter, designed around the client's electronics and 3D printed as a prototype.
- What it holds
- A BeagleBone board stacked on a Wi-Fi module
- How it is made
- White FDM 3D printed lid and base
- Still in reach
- The microphone and power cable, and both antennas
- Length of the final case, before the antennas
- 189 mm
- Design revisions, shown to the client as 3D renders
- 2
What we brought
What we can do
We design around the electronics you have
We modelled the case around the client's own BeagleBone stack, with antenna ports where the leads reach.
How we look after you
You see it in 3D first
The client reviewed each version as labelled renders and drawings before we printed anything.
What you get
A prototype that looks like a product
A clean white case with vents, mounting ears and folding antennas, ready to show.
Gallery
The whole project at a glance. Drag or swipe to browse; tap a picture to enlarge it.
1 / 11
-
The finished piece
-
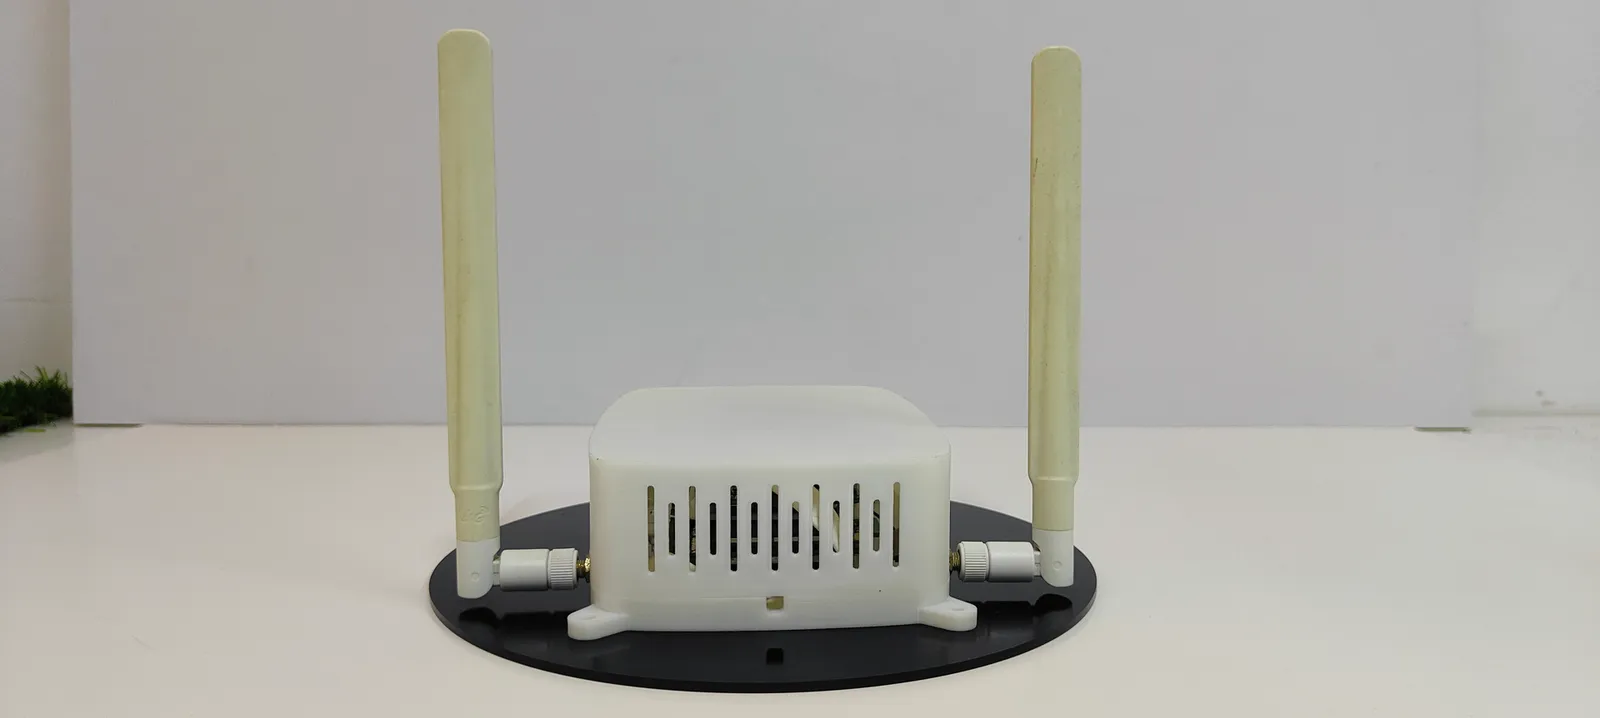
Vent slots, with both antennas up.
-
The antennas fold out to either side.
-
Four screws hold the lid.
-
The back, on its stand.
-
Design and prototyping · First designRenderThe first design, exploded.
-
RenderSized at 173 x 120 x 50 mm.
-
ProductionThe printed lid and base.
-
Build and assemblyThe board stack seated in the base.
-
The printed brace between the boards.
-
Ready for the lid and antennas.
The build
How we built it
5 steps, from the brief to the finished piece. Pick a step to jump to it.
The brief
Step 1 of 5
- Electronics
- A BeagleBone board stacked on a Wi-Fi module
- Cooling
- Ventilation slots in the lid
- Antennas
- Two external Wi-Fi antenna ports
- Cables
- An access hole for the microphone and power cable
- Mounting
- Ears to screw the case down
At Additive Inn, our 3D printing studio in Singapore, we designed and 3D printed an enclosure for a Wi-Fi decibel meter: a BeagleBone stacked on a Wi-Fi module, which needed air, two antennas, and a way in for the microphone and power.
Design and prototyping
Step 2 of 5
We modelled the case around the board stack: a vented lid over a base with four mounting ears, two antenna ports in its sides and a shaped block holding the boards level. The client reviewed it as 3D renders.
-
First design
A vented lid, four mounting ears, two antenna ports and a block to stack the boards.
Render +1 more
-
Second design
A slim brace between the boards replaced the stacking block, and the body grew to 189 mm long.
Production
Step 3 of 5
We 3D printed the lid and base in white on our FDM printers, along with the brace that holds the boards apart.
Build and assembly
Step 4 of 5
We seated the client's board stack in the base, ran the antenna leads to their ports, then test-fitted the lid and both antennas.
The final build
Step 5 of 5
The client got a prototype that looks like a finished product: the boards and leads hidden, air through the slots, and both antennas folding to any angle.
More product development
See all product development →-
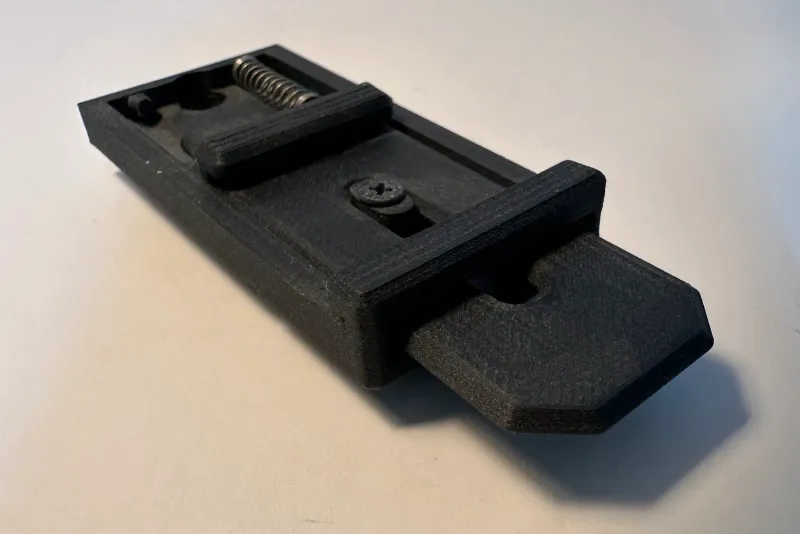 Spring-loaded quick-release rail Our own quick-release mount: a 3D printed rail with a sprung latch that clicks a part home and lets it go without tools.
-
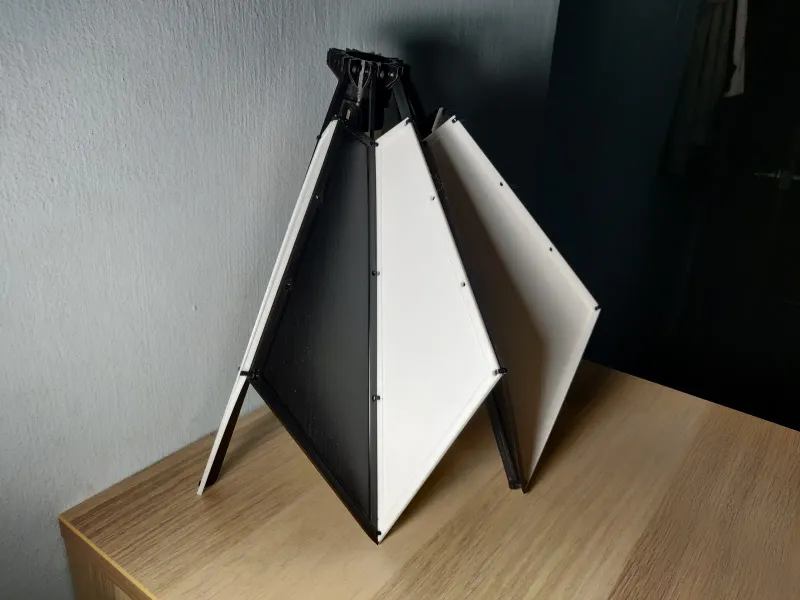 Boyan Han and Rebecca Wong Collapsible shelter prototype A working scale model of a lamp post shelter for pedestrian crossings, 3D printed with hinged panels that fold away and open by hand.
-
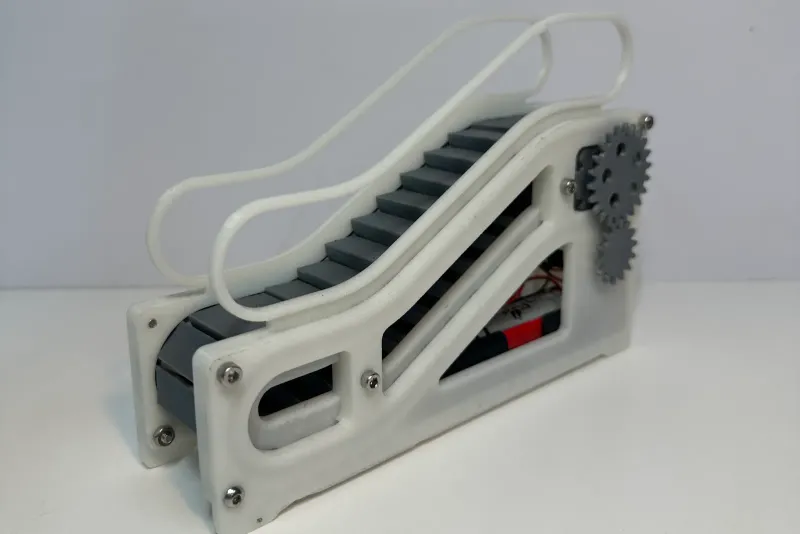 Working 3D printed escalator model A working tabletop escalator: 3D printed steps, handrails and gears, turned by a small battery-powered motor and built to run on a desk.