

How do you put metal threads or magnets in a 3D print?
Updated
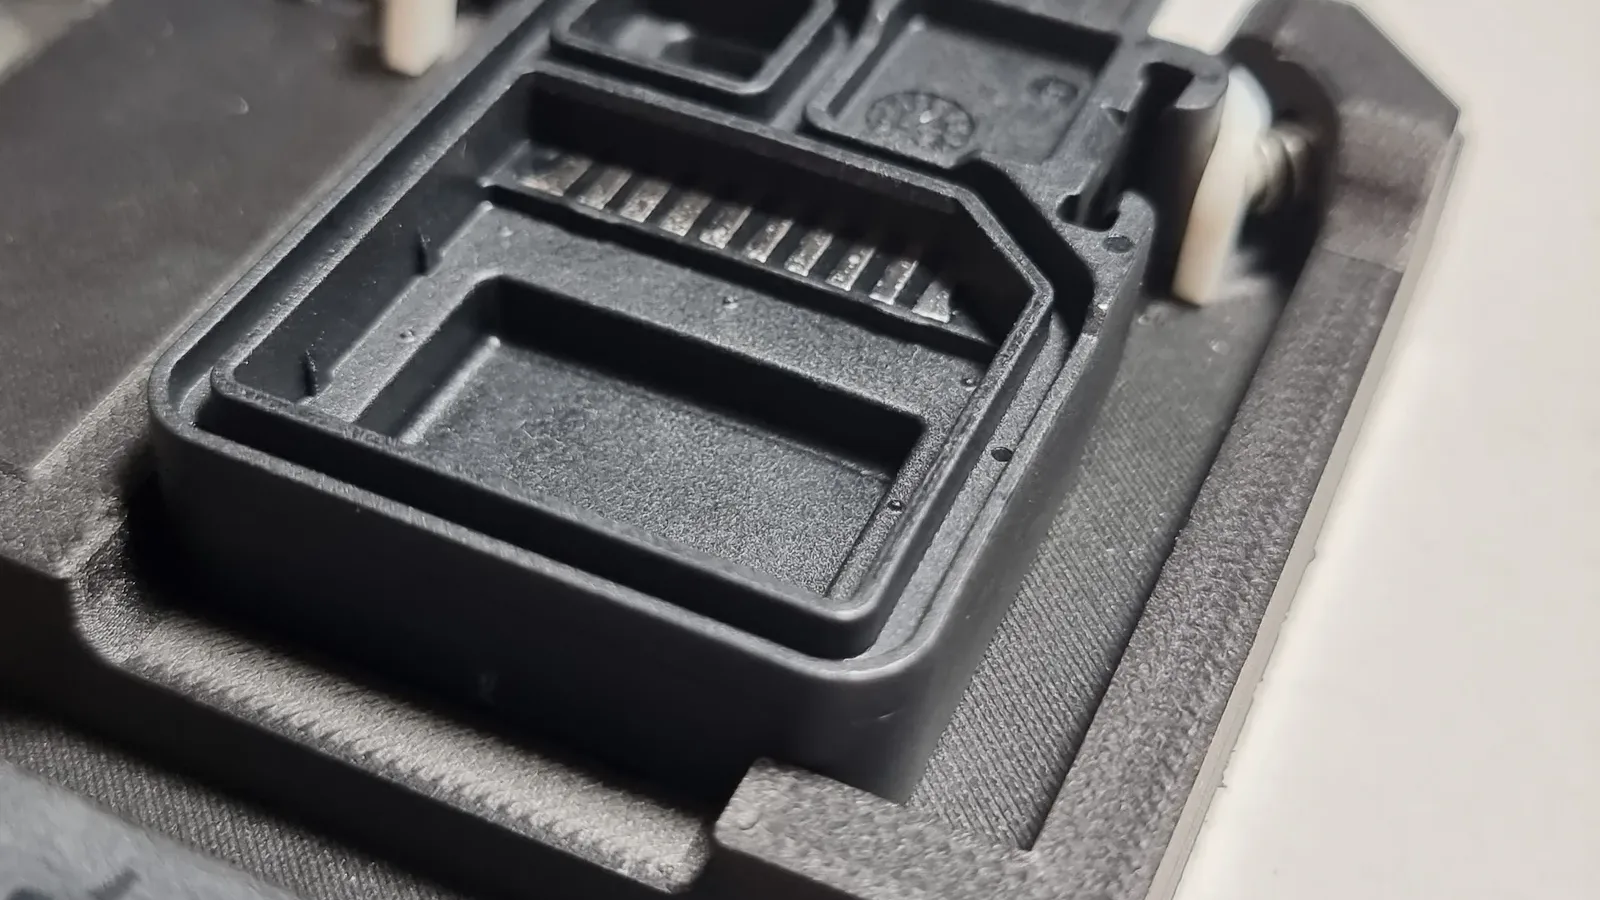
Plastic is good at shape and poor at holding a screw, so we build metal into the part in two ways: a heat-set brass insert gives a screw thread you can reuse, and a magnet, nut or bearing is sealed in mid-print. We supply the inserts, magnets, nuts and bearings and fit them at our Singapore studio, and a person checks every file before it prints.
Heat-set inserts
A heat-set insert is a small brass sleeve with a screw thread inside and ridges (knurls) outside. We heat it with a soldering iron and press it into a hole designed for it; the plastic softens around the ridges and grips them as it cools. The part ends up with a metal thread, from M2 to M8 (for screws 2 to 8 mm across), that a screw can go in and out of again and again, which a screw driven straight into plastic can’t match.

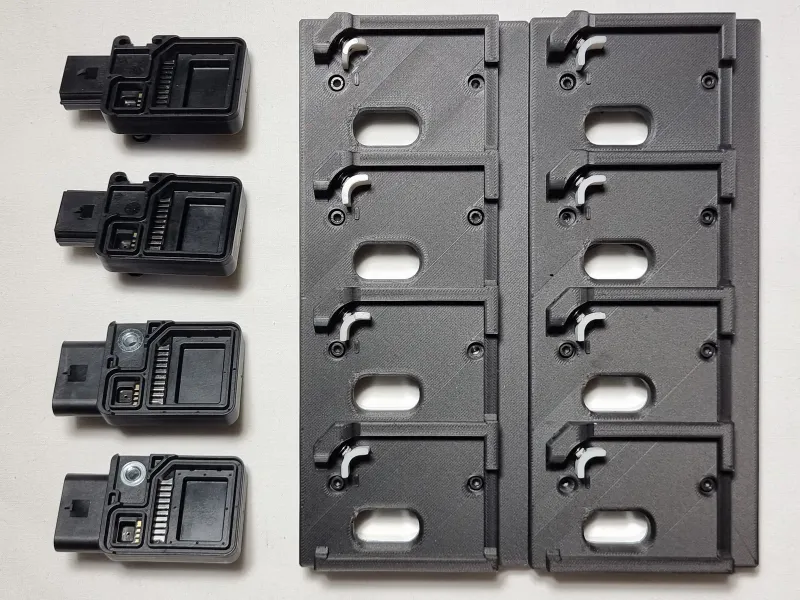
Inserts suit anything that gets opened or adjusted: enclosures, covers, jigs and fixtures. On our electronic parts holding jig, every station has a threaded insert so its clamp can be tightened again for each part. Filament and nylon prints soften under the iron; a part printed in resin (stereolithography, SLA) doesn’t, so its inserts are fitted another way.
Magnets, nuts and bearings
Some hardware has to sit inside the part, where no tool can reach. The printer pauses at a set layer, we drop the magnet, nut or bearing into a pocket designed for it, and the print carries on over the top, sealing it in, with no glue and no visible fixing. Sealed hardware is there for good: it can’t come out without breaking the part.
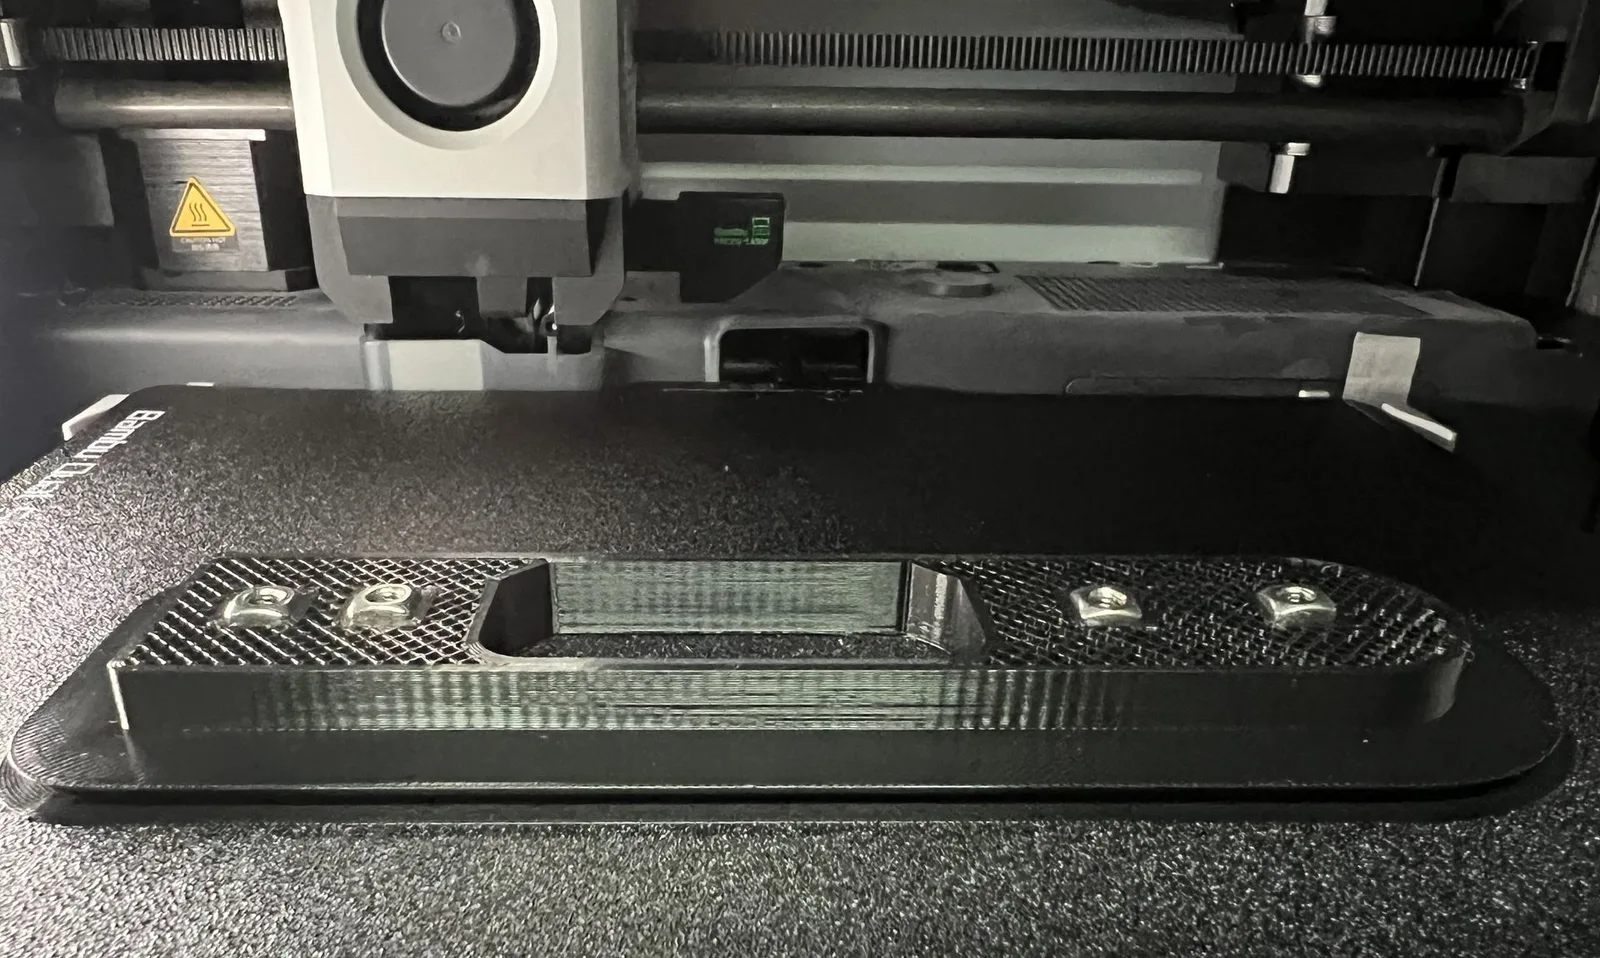
Sealing in works with filament prints, made by fused deposition modeling (FDM), which build up melted plastic layer by layer and can stop and carry on. A sealed nut gives a thread that can’t spin out, magnets hold a lid or a swappable piece in place, and a bearing gives a smooth turning point inside a printed housing.
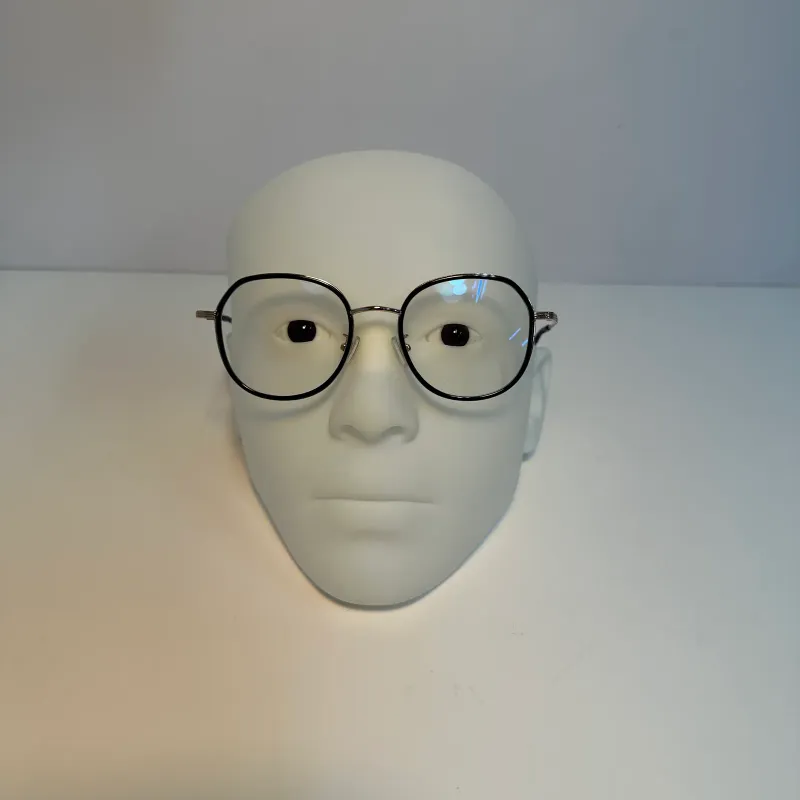
A magnet can be fitted in more than one way, and sealing it in is only one. In a resin part, or where a magnet sits at the surface, it is fitted after printing instead: our eyewear display face, a resin part, attaches to its mount by magnet, so a whole face swaps for another shape in seconds.
We supply the magnets, nuts and bearings; if you need a particular bearing, tell us which so its pocket suits it. Tell us which way each magnet should face, so the pieces pull together instead of pushing apart.
LEDs and microcontrollers
When a job needs light or a little intelligence, we build LEDs and microcontrollers in too, and we supply the LED boards or fit the one you send. We design a space that matches the component, fit it, and close it in, so the wiring sits inside the part instead of on it. It suits light-up signage, custom enclosures and props with internal lights.

Electronics sealed inside a print can’t be repaired, so a board that might need replacing goes behind a removable cover, held shut with heat-set inserts.
Designing a part for embedding
Embedding works best when the part is designed around the hardware from the start:
- Draw the hole or pocket, not the hardware. A heat-set insert needs a hole a little smaller than its outside so the plastic has something to grip. A sealed nut, magnet or bearing needs a pocket with a little clearance so it drops in flush.
- Leave enough wall around it. The plastic around an insert is what holds it, so a thin wall can split or let it pull out.
- Keep a sealed pocket’s top flat. The printer has to bridge over the hardware, printing across the opening with nothing beneath it, which is easiest over a flat, level opening.
- Say what goes where. When you send your files, mark which holes take inserts and what size, which pockets hold magnets, nuts, bearings or electronics, and which way each magnet faces. A person checks every file before it prints, and we confirm the sizes suit the hardware first.
Embedding sits alongside painting, plating and the other finishes in our guide to 3D print finishing. Not sure what to embed? Talk to us about what the part has to do and we will pick the method, or upload your file for an instant price with inserts.
Frequently asked
Can you embed metal hardware in 3D prints?
Yes. We press brass heat-set inserts (M2 to M8) into printed parts for reusable screw threads, and we seal magnets, nuts and bearings inside filament prints by pausing the print, dropping the hardware into a pocket and printing over it. When a job needs it, we build in LEDs and microcontrollers too. The result is one part with the hardware built in.
Do you supply the magnets, nuts and inserts?
Yes. We supply the brass inserts, magnets, nuts and bearings and fit them, and LED boards too when a job needs light. Tell us the sizes if you know them, or what the part has to do, and we pick them. If you have a particular bearing or board in mind, tell us which.
Why use heat-set inserts instead of self-tapping screws?
Heat-set brass inserts give you proper machine threads (M3, M4 and so on) that hold up to being screwed in and out many times without stripping. Self-tapping screws into plastic are fine for once-only assembly but strip after a few cycles. For products that get serviced, repaired or opened again and again, heat-set inserts are the right choice.
Can I add inserts in the instant quote?
Yes. In the instant quote, add brass inserts to a part under Advanced Settings and the price includes them. For magnets, nuts or bearings sealed inside the print, send the file and tell us what goes where, and we quote it for you.
Can you embed LEDs or electronics in 3D prints?
Yes, when a job needs it. Send the LED strip or board you plan to use, or its size and where its wires leave the part, so the space is made to fit it. Anything sealed inside can't be repaired, so say if the board might need replacing.
Will a sealed magnet or nut show on the outside?
No. Hardware sealed in mid-print sits fully inside the part, with no visible fixing and no glue. A heat-set insert is different on purpose: its top sits flush with the surface so a screw can reach it.
Related
-
 Guide3D Print Finishing Options: Which Coat Should You Choose?
-
 GuideFDM or SLA or SLS: Which is Right for You?
-
 Guide3D file checklist: formats, naming and sending
-
 Service3D Printing
-
 ServiceProduct Development & Prototyping
-
 ServiceConcept to Fabrication
-
 ProjectElectronic Parts Holding Jig
-
 ProjectEyewear Display Face
-
 ProjectHennessy Maze Appreciation piece