

Wet lens adapter for an action camera dive housing
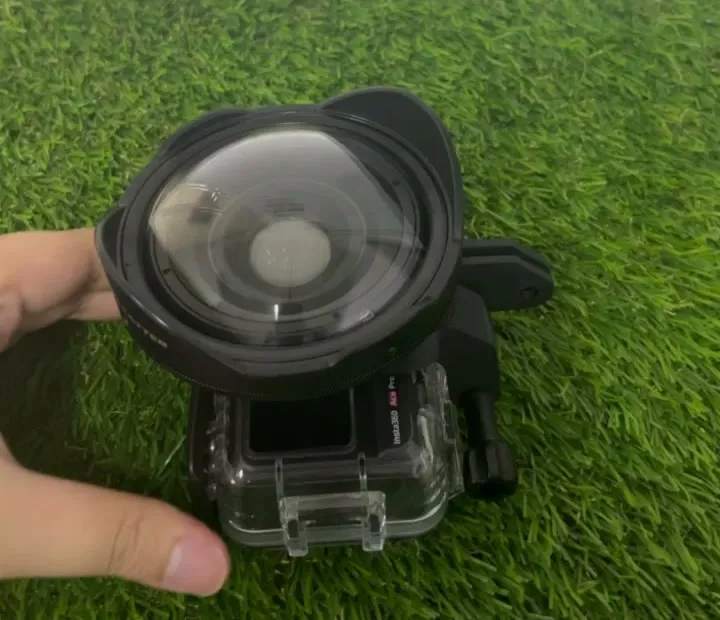
A snap-on bracket we designed and 3D printed to fit a customer's wet lens to his action camera's dive housing.
- Started from
- The customer's own lens, housing and mount
- Mounts on
- The housing's GoPro-style mount fingers
- Made by
- FDM 3D printing, prototyped in white
What we brought
What we can do
We design from the real parts
We measured the customer's lens, housing and original mount, and modelled the bracket around them.
How we look after you
We test until it fits
Every prototype went onto the real housing before the next print, until the latch held.
What you get
A part no shop sells
The customer's wet lens now mounts on his dive housing with a bracket made for it.
Gallery
The whole project at a glance. Drag or swipe to browse; tap a picture to enlarge it.
1 / 12
-
The finished piece
-
The lens on its bracket, from the side.
-
The bracket on the housing.
-
The briefThe original mount on his housing.
-
Design and prototyping · First designMeasuring the original mount.
-
The bracket taking shape in CAD.
-
Design and prototyping · First prototypesA prototype straight off the printer.
-
Test-fitting a prototype latch.
-
Design and prototyping · IterationsSome of the white iterations.
-
A black version of the frame.
-
Build and assemblyThe lens ring swinging into place.
-
Fitting the customer's wet lens.
The build
How we built it
5 steps, from the brief to the finished piece. Pick a step to jump to it.
The brief
Step 1 of 5
- Reference
- The customer's lens, dive housing and original mount
- Mount
- The housing's GoPro-style mount fingers
- Lens
- Held in front of the housing's port
At Additive Inn, our 3D printing studio in Singapore, we designed and 3D printed a bracket to fit a customer's underwater wet lens to the dive housing of his Insta360 Ace Pro. The lens maker's mount would not latch securely on that housing.
Design and prototyping
Step 2 of 5
Measuring the customer's original mount by hand was the hard part. We modelled a frame that wraps the front of the housing and bolts to its mount fingers, with a ring to carry the lens.
-
First design
Measuring the original mount.
Photo +1 more
-
First prototypes
White test prints off our FDM printers, each tried on the real housing to check the latch.
Photo +1 more
-
Iterations
Several versions in white and black, adjusting the frame until it latched cleanly onto the housing.
Photo +1 more
Production
Step 3 of 5
We printed the final bracket in black on our FDM printers, with the frame, mount fingers and lens ring shaped from the last prototype.
Build and assembly
Step 4 of 5
We bolted the bracket to the housing's mount fingers, swung the lens ring down over the port and fitted the customer's own wet lens onto it.
The final build
Step 5 of 5
The customer's wet lens now sits on his dive housing, held by a bracket made for it. He left us a five-star Google review.
More product development
See all product development →-
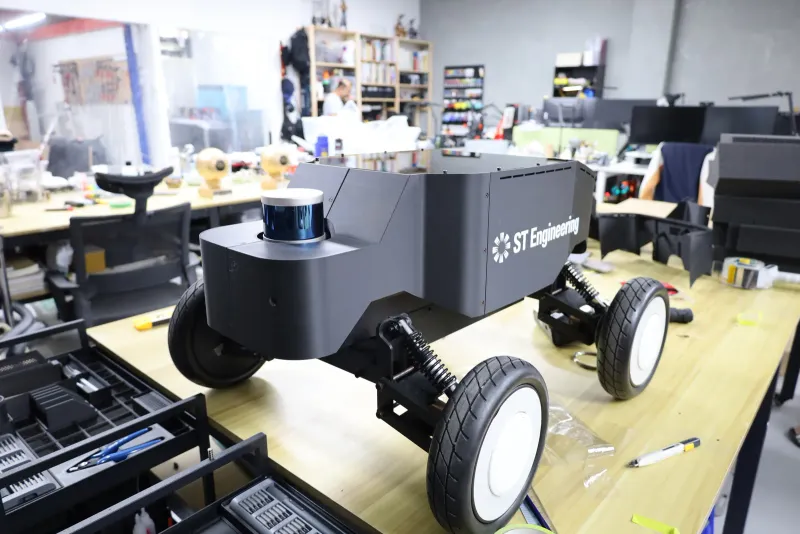 ST Engineering 3D printed robot casing for ST Engineering A matt black shell for ST Engineering's vehicle-inspection robot, reworked from their own design so its LiDAR and camera see clearly.
-
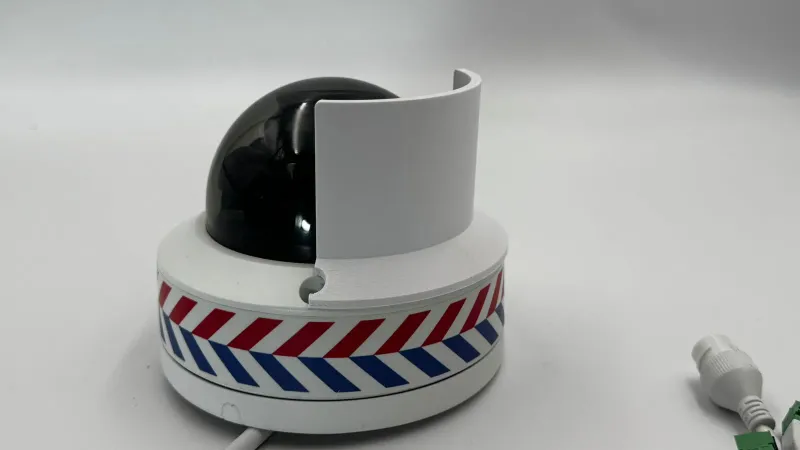 Fonda Global Engineering Privacy shield for a dome security camera A 3D printed shield that blocks part of a dome camera's view, designed for Fonda Global Engineering around the camera itself.
-
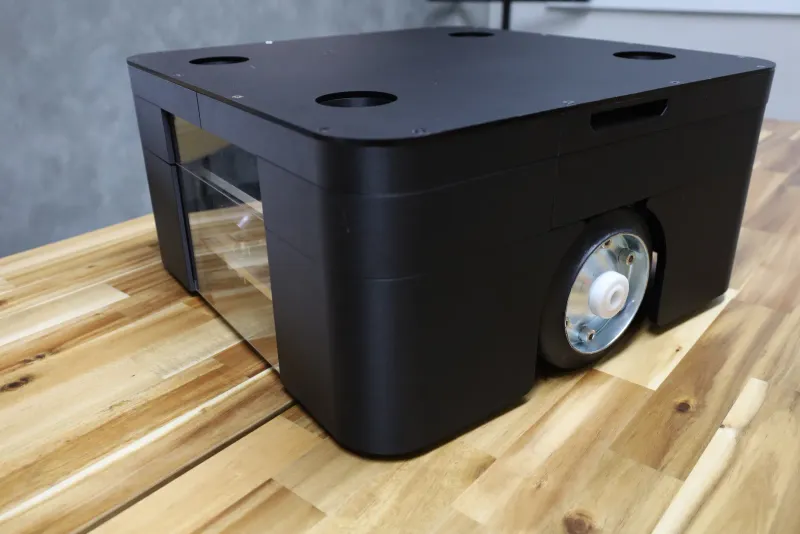 3D printed AGV robot cover for Oriental Motor A cover that protects Oriental Motor's factory robot without changing how it runs, designed on the robot itself and finished in six weeks.