

What is a 3DBenchy, and what do the flaws on your boat mean?
3DBenchy is the free tugboat test print. What each part of the boat tests, where to download it, and how to read stringing, sagging and the hull line.
On this page
- What each part of 3DBenchy tests
- Who made 3DBenchy
- Where to download 3DBenchy
- Stringing and hairs between parts
- Sagging bridges and rough overhangs
- The hull line
- Waves, ridges and layer lines
- Lifting corners and thin layers
- Tiny details and the chimney tip
- No printer yet?
- Where these facts come from
- Frequently asked
What does the flaw on your Benchy mean?
Tap what you see on your boat and get the likely cause and where to read the fix.
3DBenchy is a 60 mm tugboat that people print to test a 3D printer. Each part of it, from the curved hull to the tiny stern letters, stresses something different, so the flaws on your boat point to what needs fixing. The file is free and in the public domain.
What each part of 3DBenchy tests
| Part of the boat | What it tests | What to look for |
|---|---|---|
| Hull | A large, smooth, overhanging curve | Any surface deviation, clearly |
| Whole boat | Symmetry | Skew and warping |
| Tops of the deck, box and chimney | Flat, horizontal faces | Tops that are flat and level |
| Chimney | Two circles, one inside the other: 3.00 mm and 7.00 mm across | Any drift from round |
| Inside of the bridge | Overhangs in a hard-to-reach spot | Sagging and rough undersides |
| Gunwale and bridge roof | Surfaces that are nearly flat, the roof sloping 5.5° | The steps between layers |
| Rear window and wheel | A large horizontal hole and a round feature tucked away | Whether a large round hole prints clean |
| Hawsepipe and fishing-rod holder | A small horizontal hole (4.00 mm) and a small slanted blind hole | Whether a small hole prints clean |
| Letters on the stern | Letters under 2 mm tall on a nameplate 0.1 mm thick | How fine a detail your printer can print |
| Letters on the bottom | Shallow letters | How much the first layer is squashed |
| Bow | A 40° overhang | How a steep slope prints |
Who made 3DBenchy
Daniel Norée designed the boat as a benchmark while he worked at CreativeTools, and it launched in 2015. Paulo Kiefe, then the company’s CEO, named it and set up 3DBenchy.com. After a company called NTI bought CreativeTools in 2024, the file was released into the public domain.
The licence is Creative Commons CC0 1.0. You may print it, give prints away, sell them and modify the file. Credit is not required, though the site asks you to mention 3DBenchy and 3DBenchy.com. To compare printers, it says to use the original STL file consistently.
Where to download 3DBenchy
The official download page lists the classic boat on MakerWorld, as an STL, a 3MF and the original STEP CAD file. It says the classic is also on Thingiverse, the original 2015 upload, and on Printables and other sites.
- The file: the STL has exactly 225,154 triangles and is described as watertight, with no mesh errors. It is an 11.3 MB binary file.
- Scale: print it at 1:1, 60.00 mm from bow to stern.
- The maker’s generic settings: 0.2 mm layers, 10% infill, a 0.4 mm nozzle, printing speed up to 50 mm/s and travel speed up to 150 mm/s. These typically give a print of about one hour.
- Supports: none. The boat is designed to print without them.
- A warning: the download page says the print contains small parts that are a choking hazard and is not suitable for children under 3.
Stringing and hairs between parts
What you see: thin plastic hairs joining separate parts of the boat.
Why: a printer maker says stringing happens when filament keeps flowing from the nozzle while it moves to another part. It names two causes: a very high printing temperature, and retraction settings (the small pull-back of filament before a move) that are wrong. The same guide says damp filament can cause a lot of stringing.
First fixes: the maker suggests checking the retraction settings, lowering the nozzle temperature by 5 to 10 °C, trying another spool, and cleaning the nozzle. The official site lists the chimney as a test of roundness, so look for hairs wherever the nozzle jumped between parts.
Sagging bridges and rough overhangs
What you see: drooping plastic, or gaps in the plastic, under the roof of the bridge.
Why: a printer maker explains that bridging means printing layers over thin air with no support, so the fans must cool the plastic mid-air. The best results come over short distances.
First fixes: the maker suggests a lower bridging speed and flow, and turning the model until the bridges go away. If you added supports, the surface above them can look worse. A smaller gap between support and part may help, but the supports are then harder to remove.
The hull line
What you see: one thicker line, or two thin lines, round the hull at the height of the deck.
Why: a printer maker says this line shows on Benchy prints from all filament printers on the market, whatever the slicer or material, in varying degrees. If it sits at the deck, it is most likely not a hardware fault. The maker believes the main culprit is the sudden jump from sparse infill into full top layers around 8 mm up. Filament type, cooling, the room and how dry the filament is change how bad it looks.
First fixes: the maker calls the usual online advice of loose belts, bent Z rods or a lead screw fault incorrect for a line at deck height, and says uneven layers from top to bottom are the sign of a hardware problem. It mostly removed the line in its own sample G-code, not in every case, and says the fix is not universal.
Waves, ridges and layer lines
Layer lines are normal. The official site says the nearly flat parts of the boat clearly show the layered structure of 3D printing, so a Benchy is never smooth.
Waves after a sharp edge are called ghosting or ringing. A printer maker says vibrations cause them and that they grow with print speed. A slicer maker says the most common cause is moving too fast. Both suggest slowing down. The printer maker also lists checking the belt tension, says ghosting can show even when the belts are tight, and adds that the printer should stand on a firm surface.
Ridges that repeat up the sides have other causes. A slicer maker lists inconsistent extrusion from poor filament, a temperature that swings up and down, and mechanical faults such as a wobbling bed.
Lifting corners and thin layers
Corners that lift off the bed are warping. A printer maker says this is usually a sudden temperature difference between the nozzle and the room, so the plastic shrinks and warps, mostly with high-temperature materials such as ABS or ASA. It suggests wiping the print surface clean with isopropyl alcohol of 90% or more, checking the print fan works and adding a brim, an extra printed edge round the base that helps the part hold to the bed.
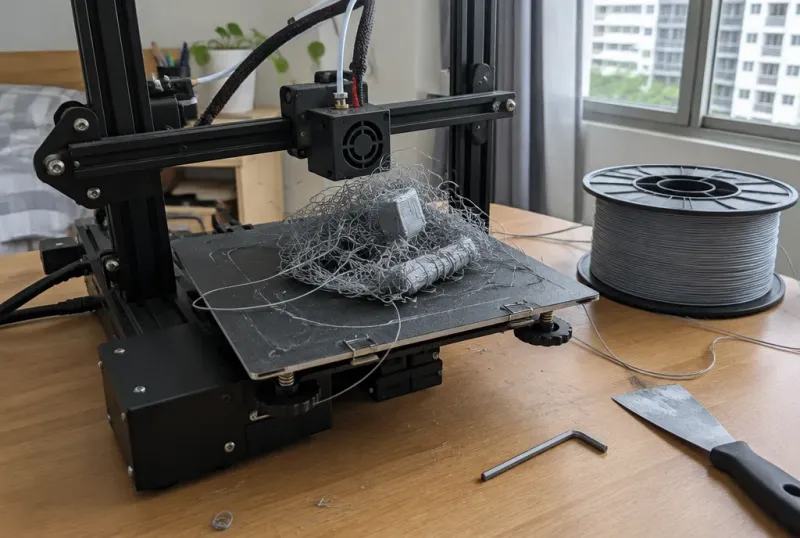
Gaps or missing plastic between layers are under-extrusion. The same maker says the layers look as if material is missing and the part can be fragile. It lists the first layer set too close, slicer settings, the nozzle, the extruder gears, hotend cooling and the filament as the usual factors.
Tiny details and the chimney tip
Letters missing or blurred: the stern letters are under 2 mm tall. A slicer maker says you may run into trouble with extremely thin features that are smaller than the nozzle size, and suggests a thin-wall mode in its slicer or a smaller nozzle. The official settings use a 0.4 mm nozzle, so judge the letters against that.
A melted or blobby tip: a slicer maker says small features can overheat and deform when the plastic is not cooled fast enough. It suggests more fan, a temperature 5 to 10 °C lower, a slower speed for small layers, or printing two parts at once so each gets time to cool.
The limit of all this is the boat itself. The maker says it is most useful for comparing printers when similar settings were used, so it shows how your printer handled one small part, not every job.
No printer yet?
Our two-hour beginner course covers how the printer works, the slicing software and a first print to take home. You can rent a printer and collect it from our Bendemeer office, or compare the printers we sell.
Where these facts come from
Every outside fact was read on the page named here on 19 November 2026. Settings and advice change, so check the source before you rely on it.
- 3DBenchy.com, home, about, features, dimensions, 3D print, licence, download and public domain news: who made it, the licence, the features, sizes, settings and files.
- Prusa Research knowledge base, The Benchy hull line, Stringing and oozing, Poor bridging, Bad looking surface above supports, Ghosting, Warping and Under-extrusion.
- Simplify3D, print quality guide: vibrations and ringing, lines on the side of print, overheating and small features not printed.
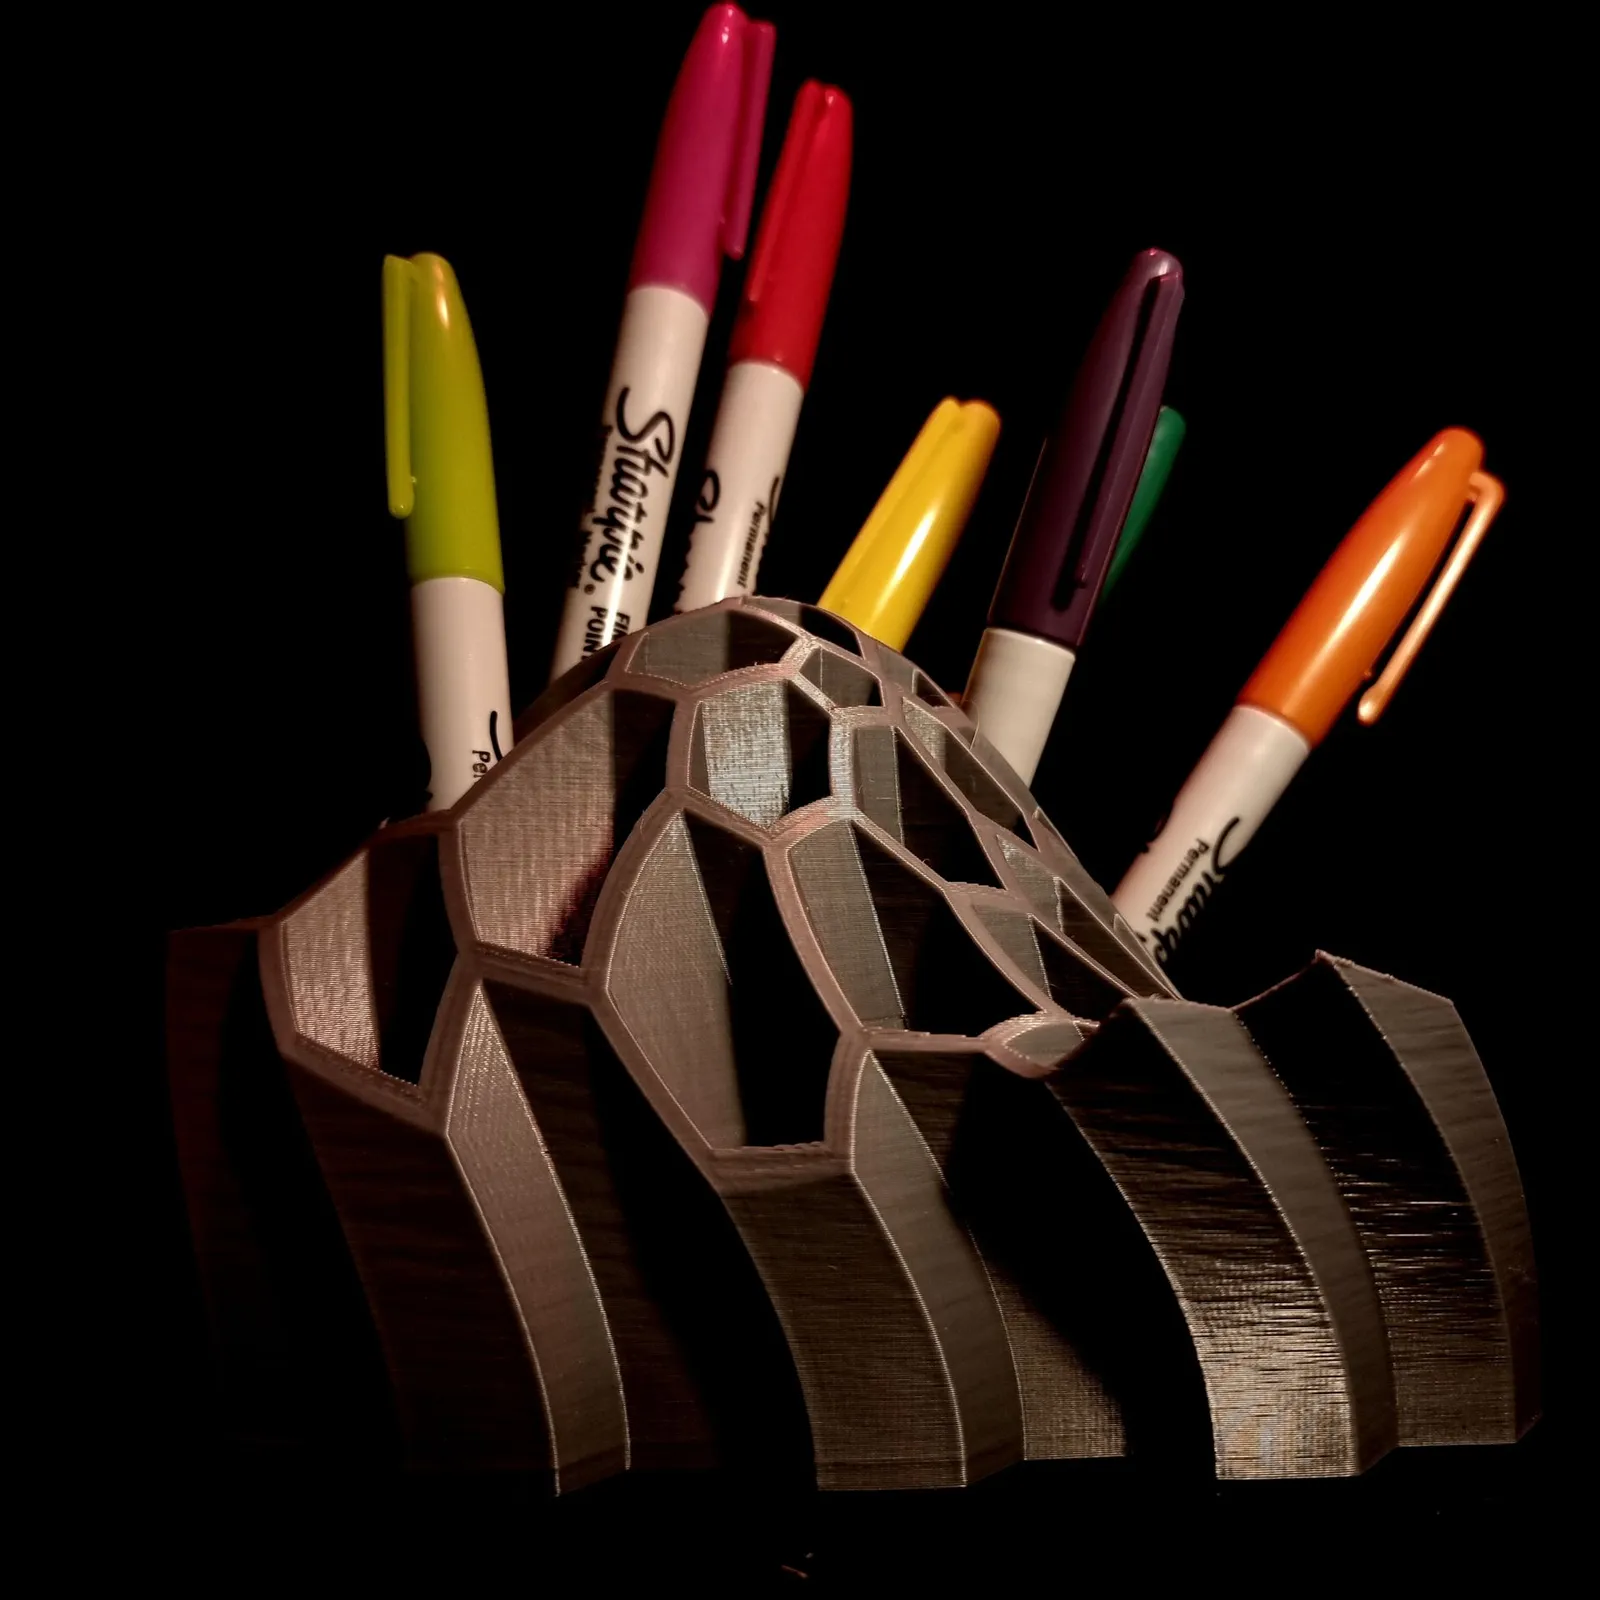
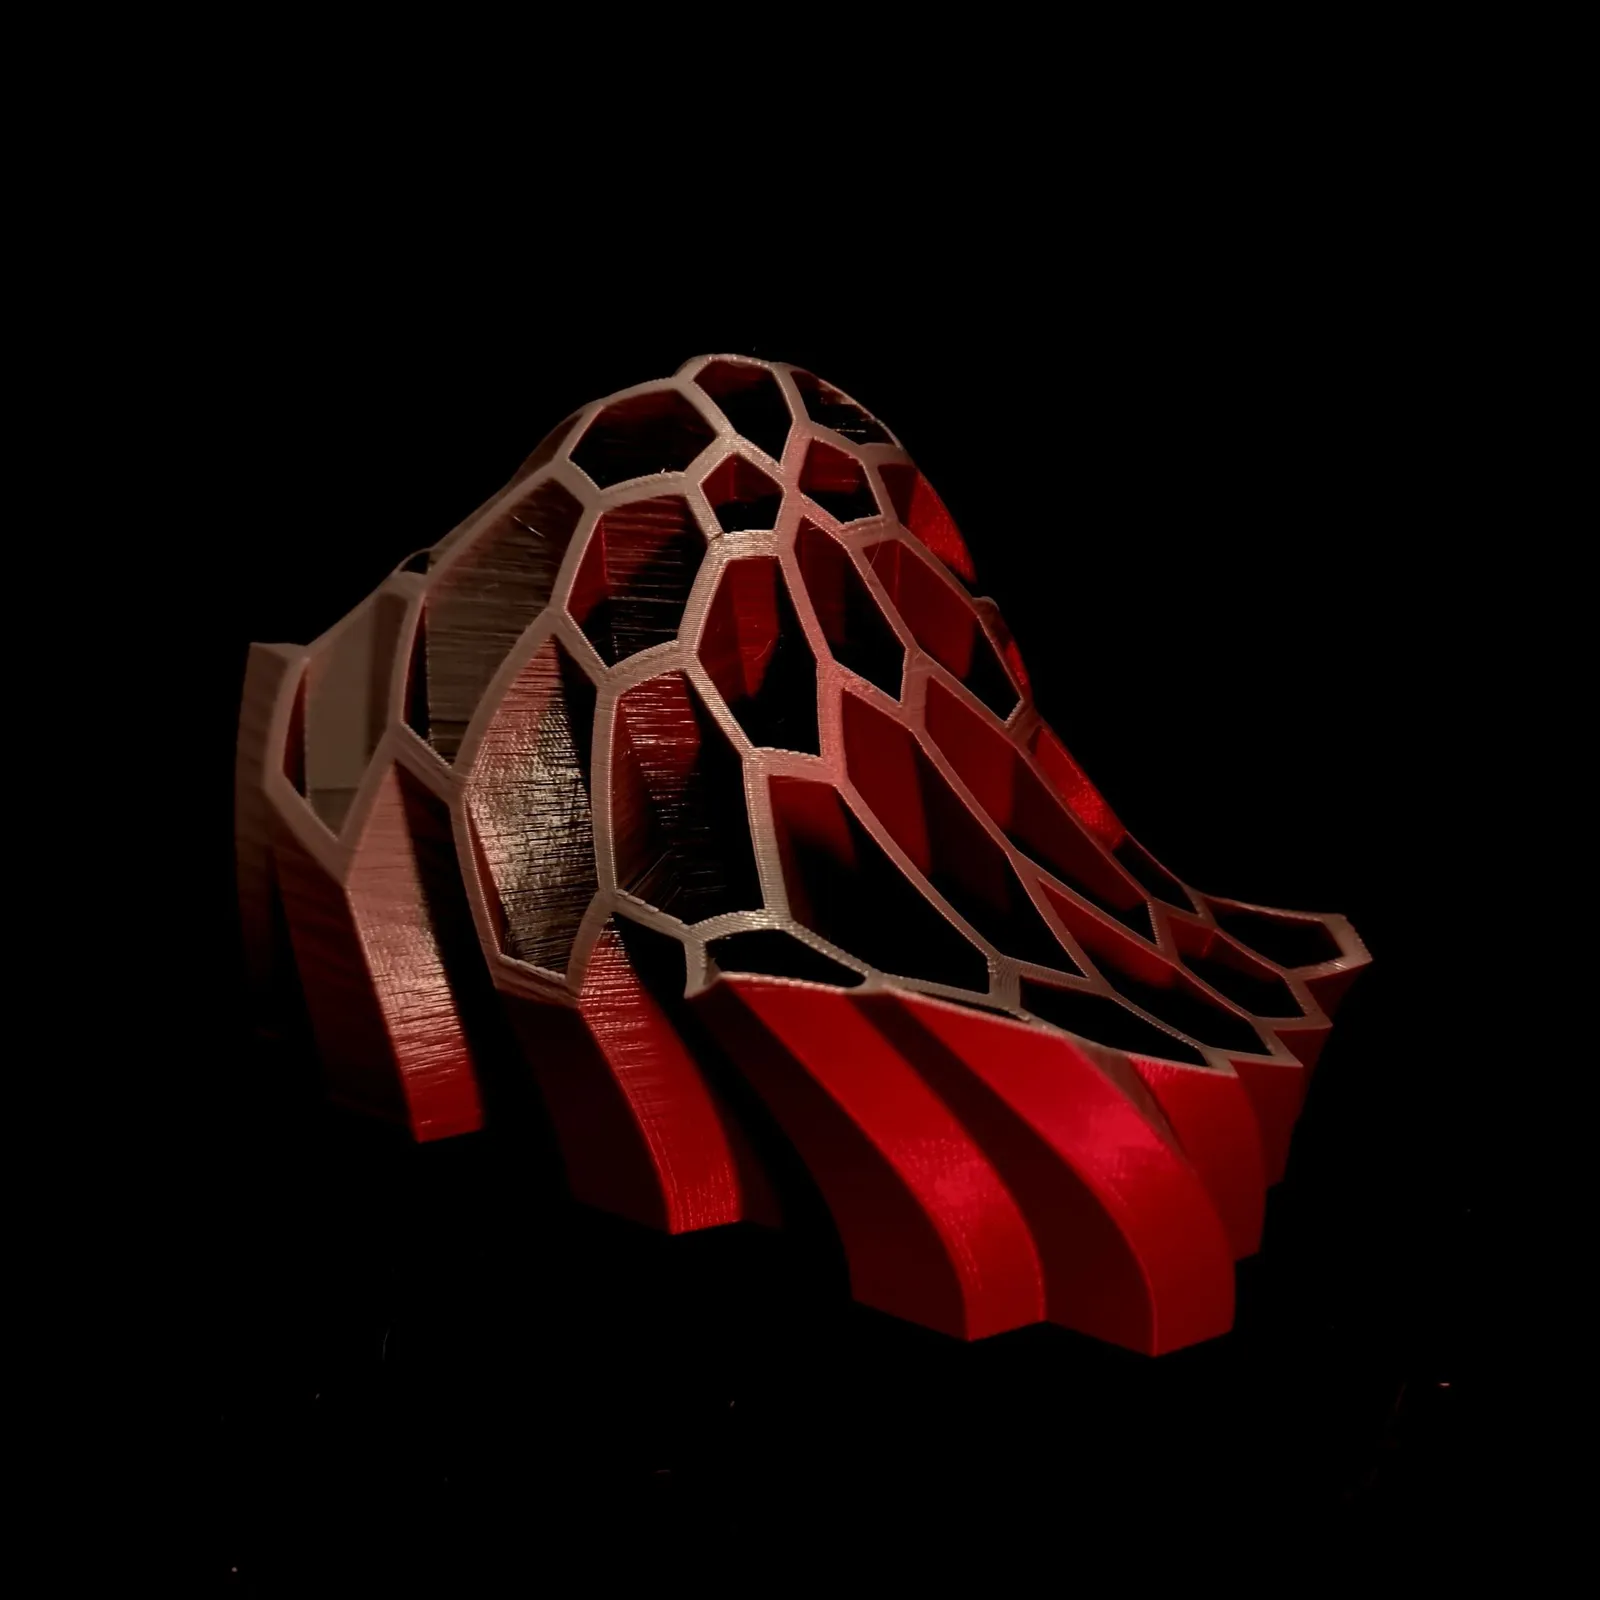
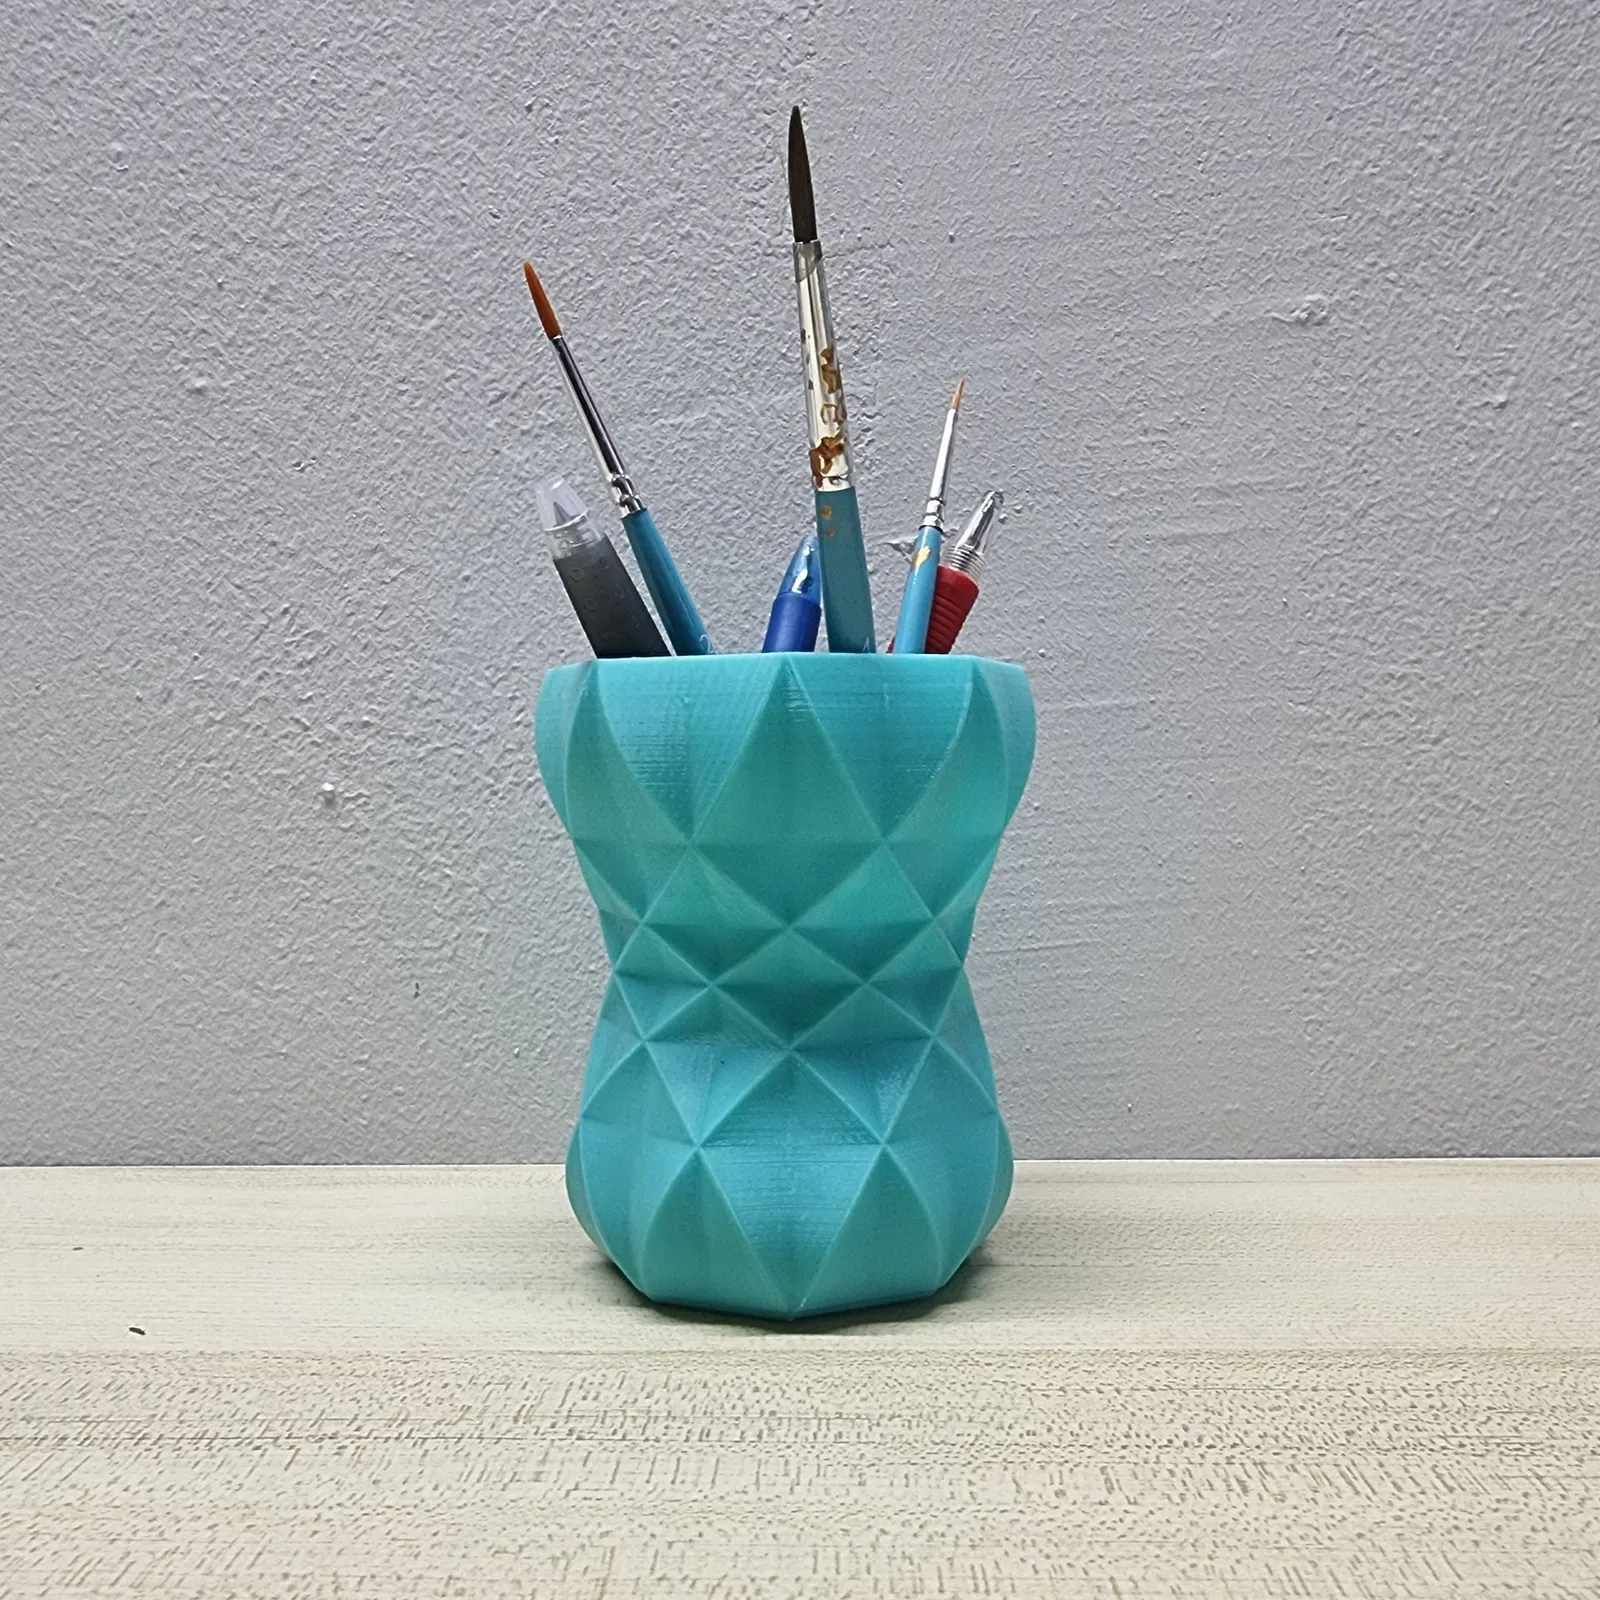
- Our own pen holder project, beginner course and printer rental pages: what we printed and what we offer.
Frequently asked
Is 3DBenchy free to download and print?
Yes. The official site says the file is under a Creative Commons CC0 1.0 licence, in the public domain. You can print it, give prints away or sell them, and modify the file. The site only asks, and does not require, that you mention 3DBenchy and 3DBenchy.com.
How big is 3DBenchy?
The boat is 60 mm long, 31 mm wide and 48 mm tall at 1:1 scale. The maker lists its volume as 15.55 cubic centimetres, so it uses little filament.
How long does a 3DBenchy take to print?
The maker says it typically prints in well under two hours, and about one hour on its generic settings. Your time depends on the printer and the speed you set, so compare boats only when the settings match.
Does 3DBenchy need supports?
No. The maker designed it to print at full size without support material. If you add supports anyway, the surface above them can look worse than the rest, which is a different flaw from the ones the boat is built to show.
Why does my Benchy have a line round the hull?
A printer maker found one thicker line, or two thin ones, at deck height on Benchy prints from all filament printers. It says this is most likely not a hardware fault, and believes the main cause is the jump from sparse infill to solid top layers near 8 mm.
What are the usual settings for a Benchy?
The maker's generic settings are 0.2 mm layers, 10% infill, a 0.4 mm nozzle and speeds up to 50 mm/s while printing. Your printer's own profile may differ, and that is fine as long as you note it when you compare.
What is the MultiBenchy?
It is a multi-colour sister to 3DBenchy, released eleven years later, and described as a benchmark for colour changes, bridges and translucency. It is a separate download from the classic boat.
Can a Benchy tell me everything about my printer?
No. The maker says it is most useful for comparing results between printers when similar settings were used. It shows how your printer handled this one boat, so it will not show every fault your printer could have.
Related
-
 GuideWhat are the most common 3D printer problems, and how do you fix them?
-
 GuideWhich filament (FDM) print defects can you fix in the design?
-
 GuideDo you need a filament dryer in Singapore's humid air?
-
 ServiceIndustrial 3D Printing
-
 ServiceProduct Development & Prototyping
-
 Service3D Modelling, CAD and 3D Scanning
-
 Project3D printed pen holders
-
 Project3D printed electronics enclosure (FDM)
-
 ProjectWet lens adapter for an action camera dive housing