

Can you remake a broken or discontinued part from the old one?
On this page
- Replacement part materials at a glance
- What to bring: the old part, even in pieces
- Remaking it: measure, model, test, then make
- Fit: a test print first is normal
- Material: match it to where the part lives
- One part or a batch: both are fine
- Risky parts: we will tell you honestly
- Lead times: design is quoted per job
- Frequently asked
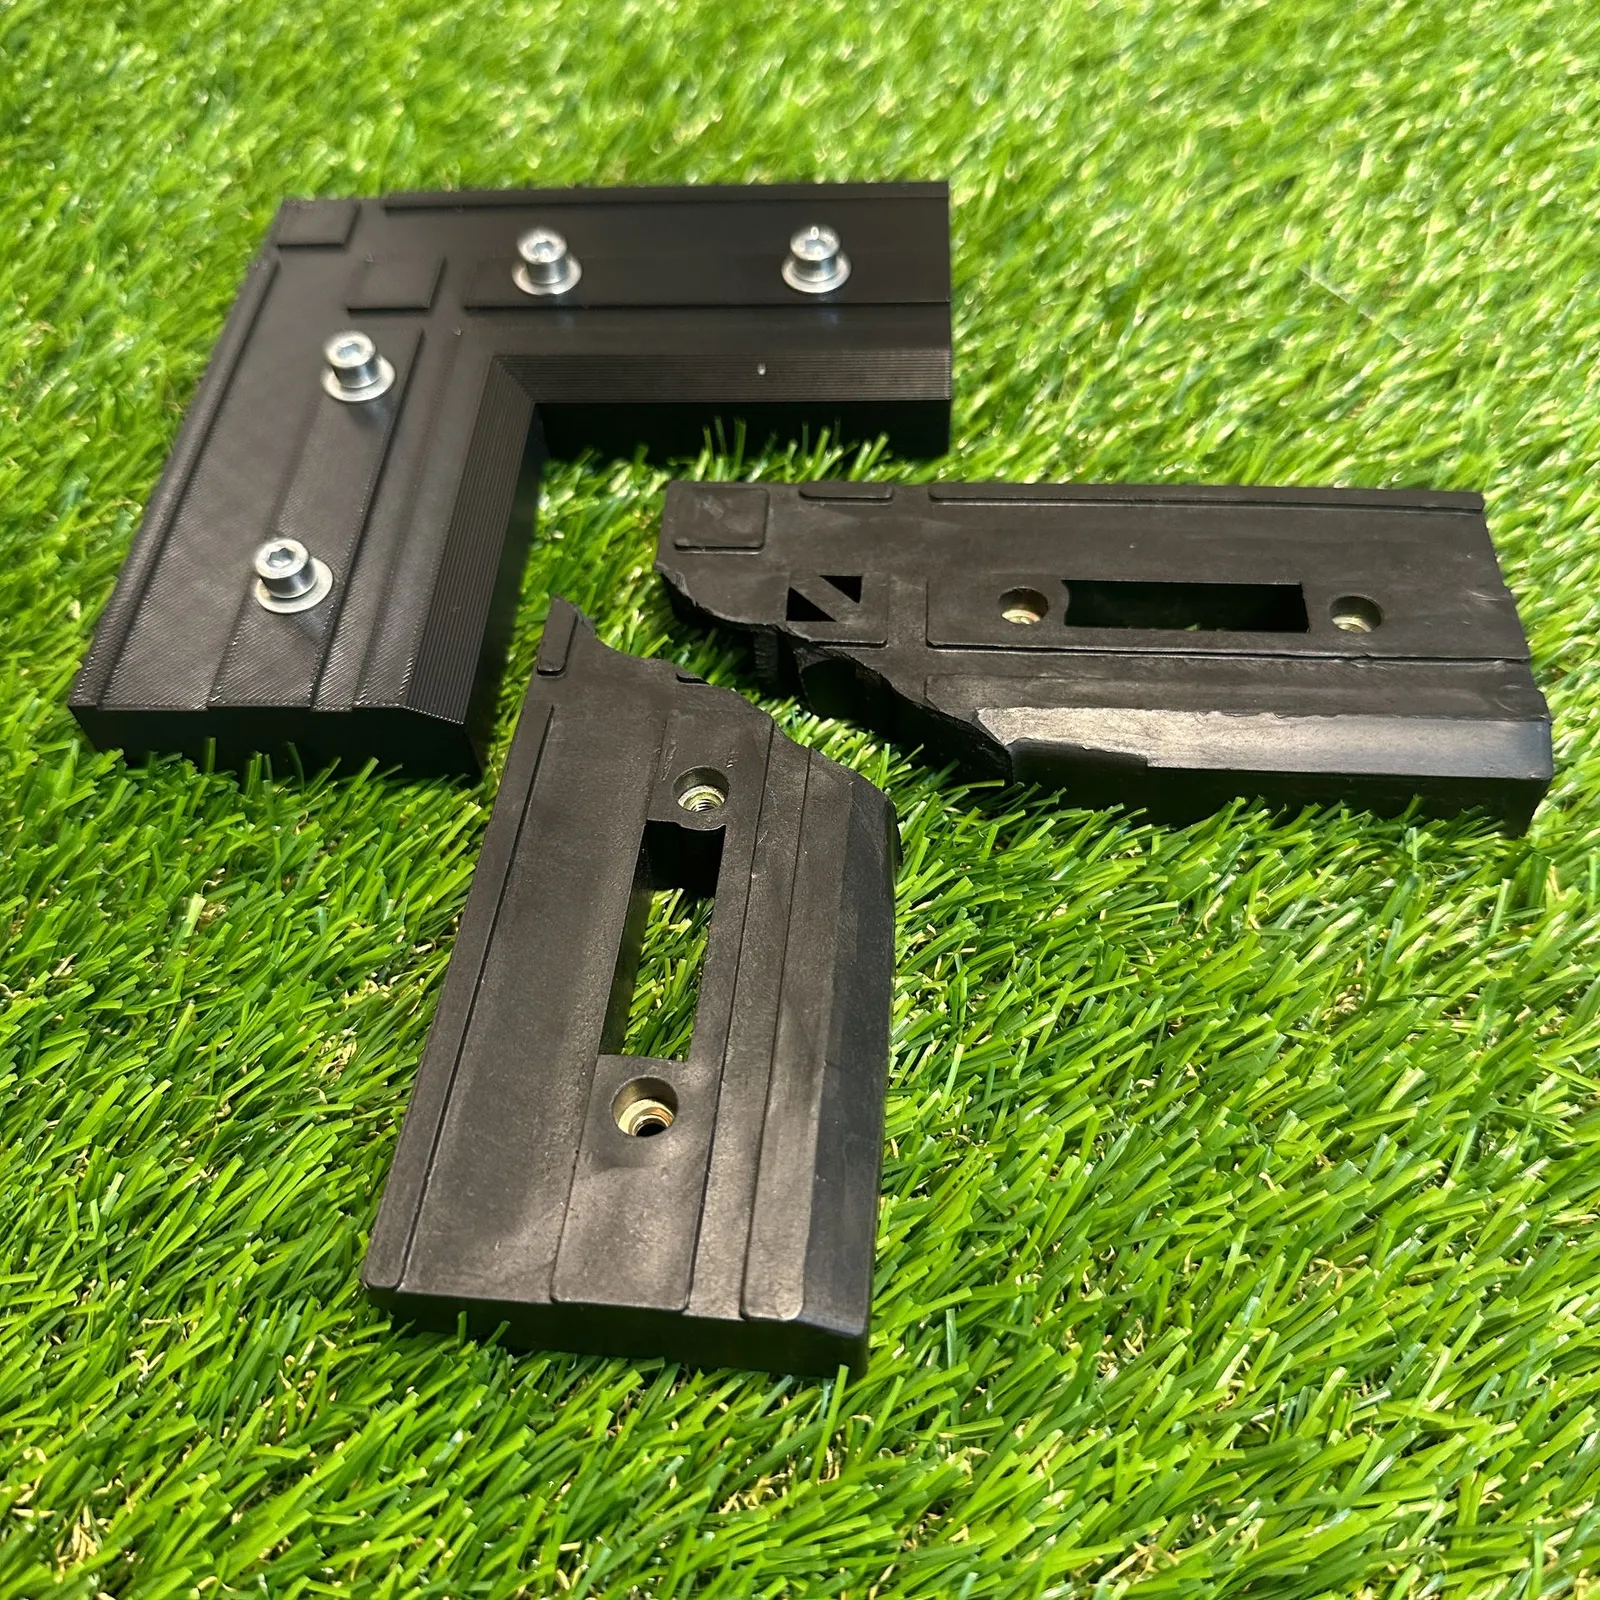
Yes. If a part is broken, discontinued or simply impossible to buy, we can usually remake it from the old one: we measure it, draw it again in CAD, print a test piece to check the fit, then make the final part in the right material. This is called reverse engineering, and we do the design and the 3D printing in our own studio in Singapore.
Replacement part materials at a glance
| Where the part lives and what it does | What we would usually make it in | Why that material suits it |
|---|---|---|
| Indoors, light duty: covers, knobs, clips, trims | PLA or PETG filament | Clean, accurate and quick to print; PETG is the tougher of the two |
| Outdoors or in a car, in full sun | ASA filament | Made to stand up to sun and weather without going brittle |
| Takes a load, heat or a lot of wear | Nylon or carbon-fibre filaments | Stiffer, stronger and more heat resistant than the everyday filaments |
| Has to bend, squeeze or grip | TPU, a flexible filament | Bends and springs back instead of cracking |
| Small, with fine detail or a smooth finish | Resin (SLA printing) | Picks up detail and fine features a filament print cannot |
| Has to be metal | Metal 3D printing or CNC machining | A real metal part, for strength, heat or a machined fit |
Test print: a first copy we check against your original before making the final part. It is a normal step, not a sign that something went wrong.
What to bring: the old part, even in pieces
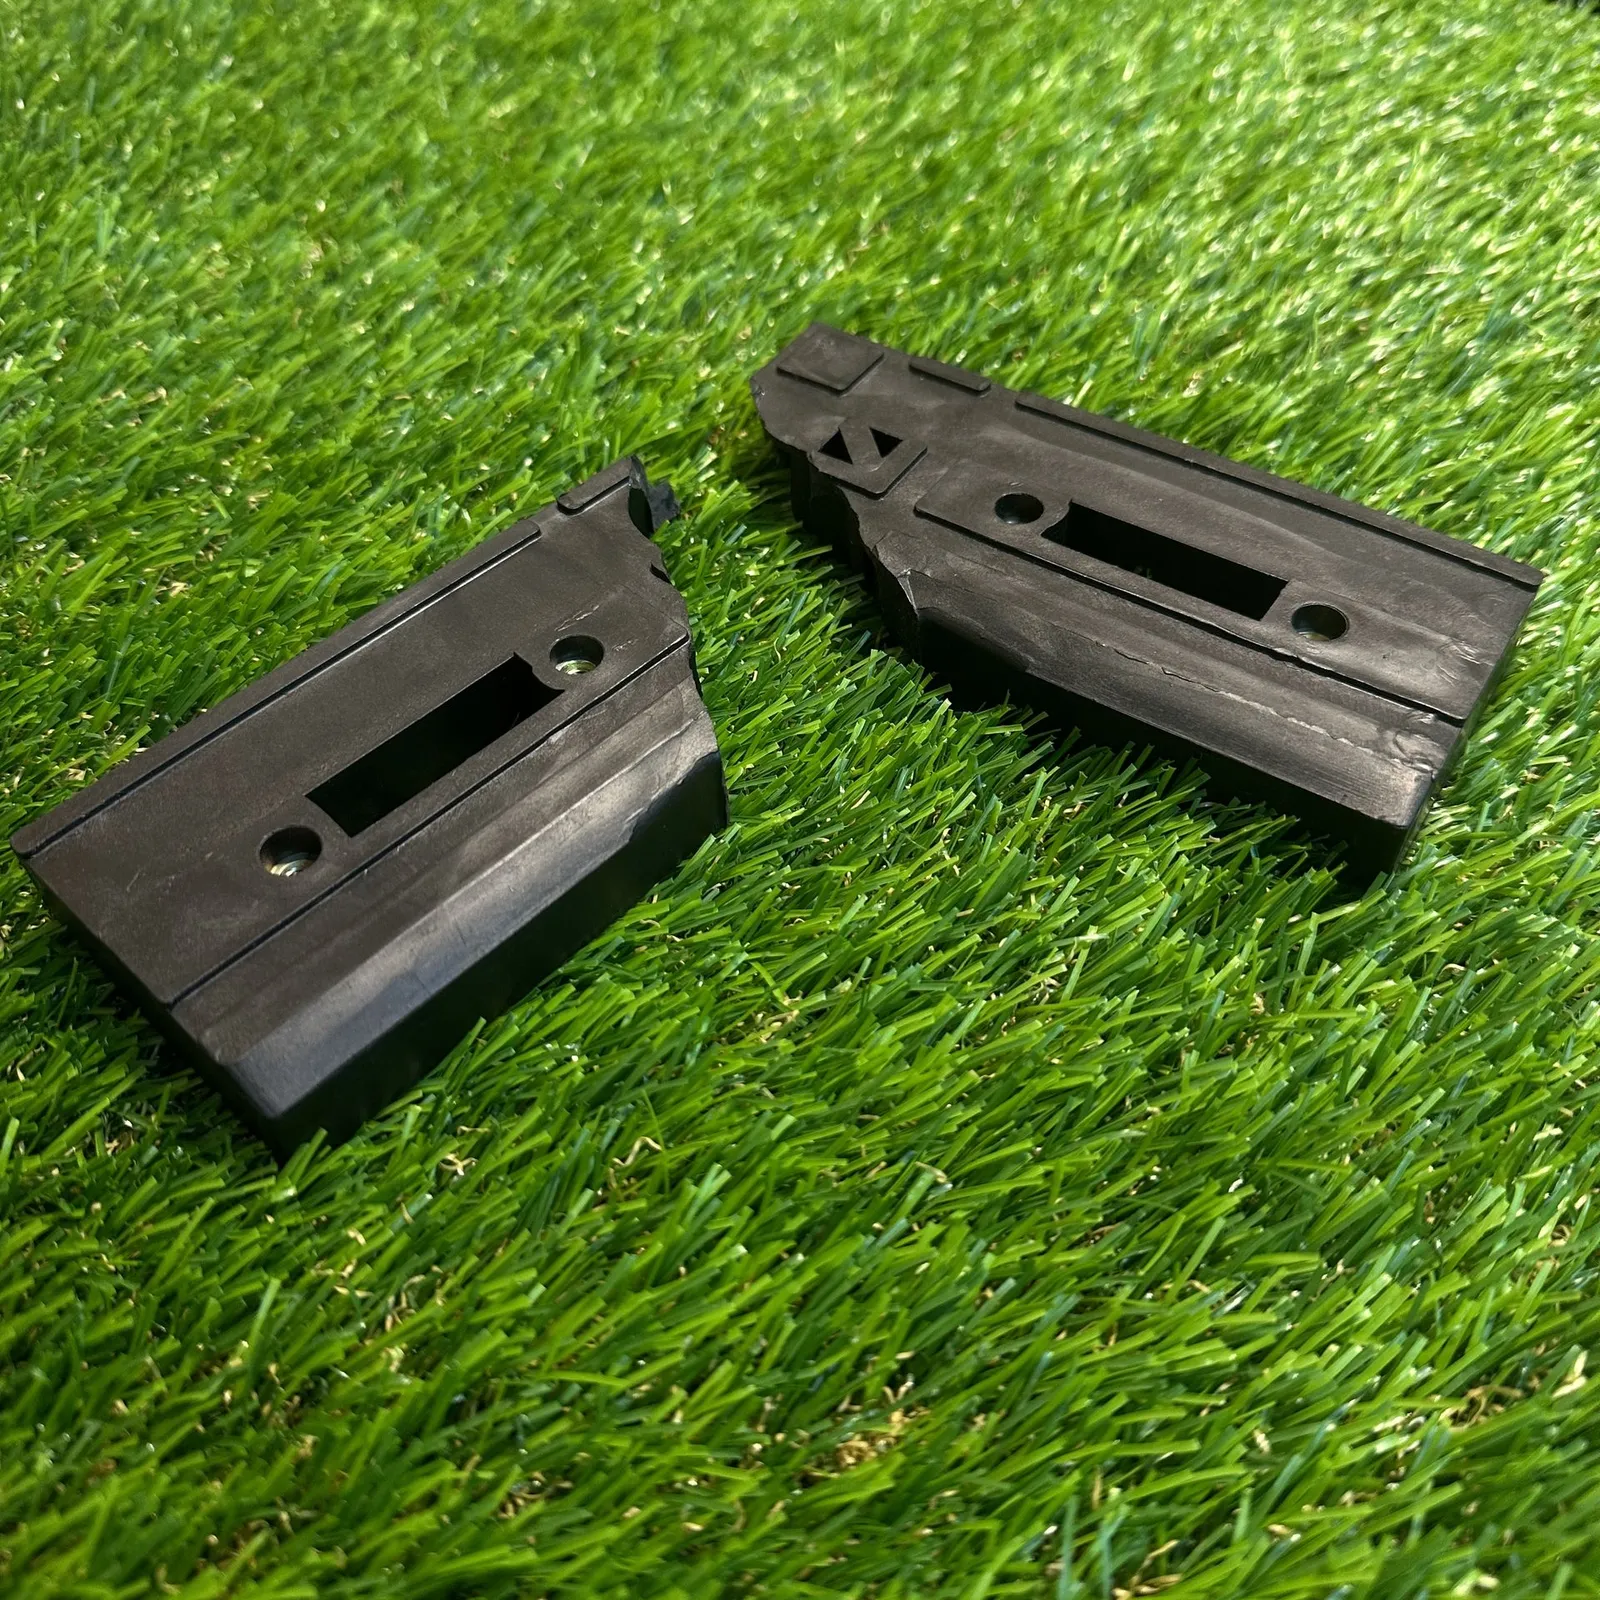
The old part is the best drawing we will ever get, so bring it, however broken. Pieces still show us the wall thickness, the hole positions and how it clipped in. Glue nothing back together first: a bad glue line hides the real shape.
If you cannot bring it in, send us:
- Clear photos from the front, the back and each side, with a ruler or measuring tape beside the part.
- The make and model number of the machine, appliance or vehicle it came from.
- What the part does: what it holds, what it clips onto, whether it moves, and whether it gets hot or sits in the sun.
- The part it mates with, if it is small enough to bring. Matching two real parts beats guessing from one.
Remaking it: measure, model, test, then make
- Measure. For most parts we use callipers and a few gauges. When the shape is curved or complex, we scan it with our handheld 3D scanner and use the scan as a guide.
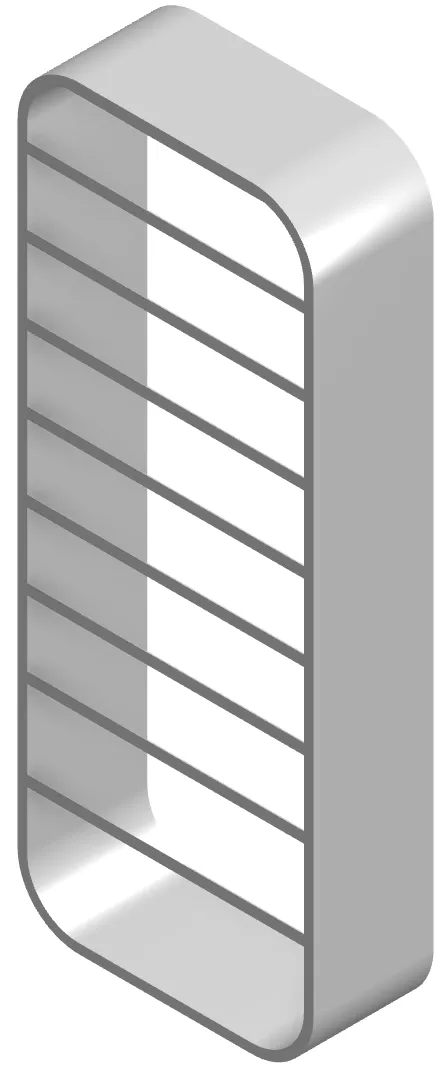
- Model. We draw the part again in CAD (computer-aided design software). We draw it as a clean, editable model rather than copying the scan as it is, so worn or broken areas come out as they should be. We can also improve the weak spot that made it break.
- Test. We print a test piece and check it against your original, or you try it in place.
- Make. Once the fit is right, we make the final part in the material that suits the job.
You do not need a 3D file to start. Making that file is the design part of the job, and we quote it per part.
Fit: a test print first is normal
Expect a test print, and do not worry when it needs a small change. Old parts wear, shrink and warp over the years, and the part they clip into has often moved too. A clip that is a fraction of a millimetre too tight will not snap in; one that is too loose rattles.
So we print once, check, adjust the model and print again if needed. A printed part also needs a little room built in where it meets another part. Our guide to tolerances and clearances explains how much.
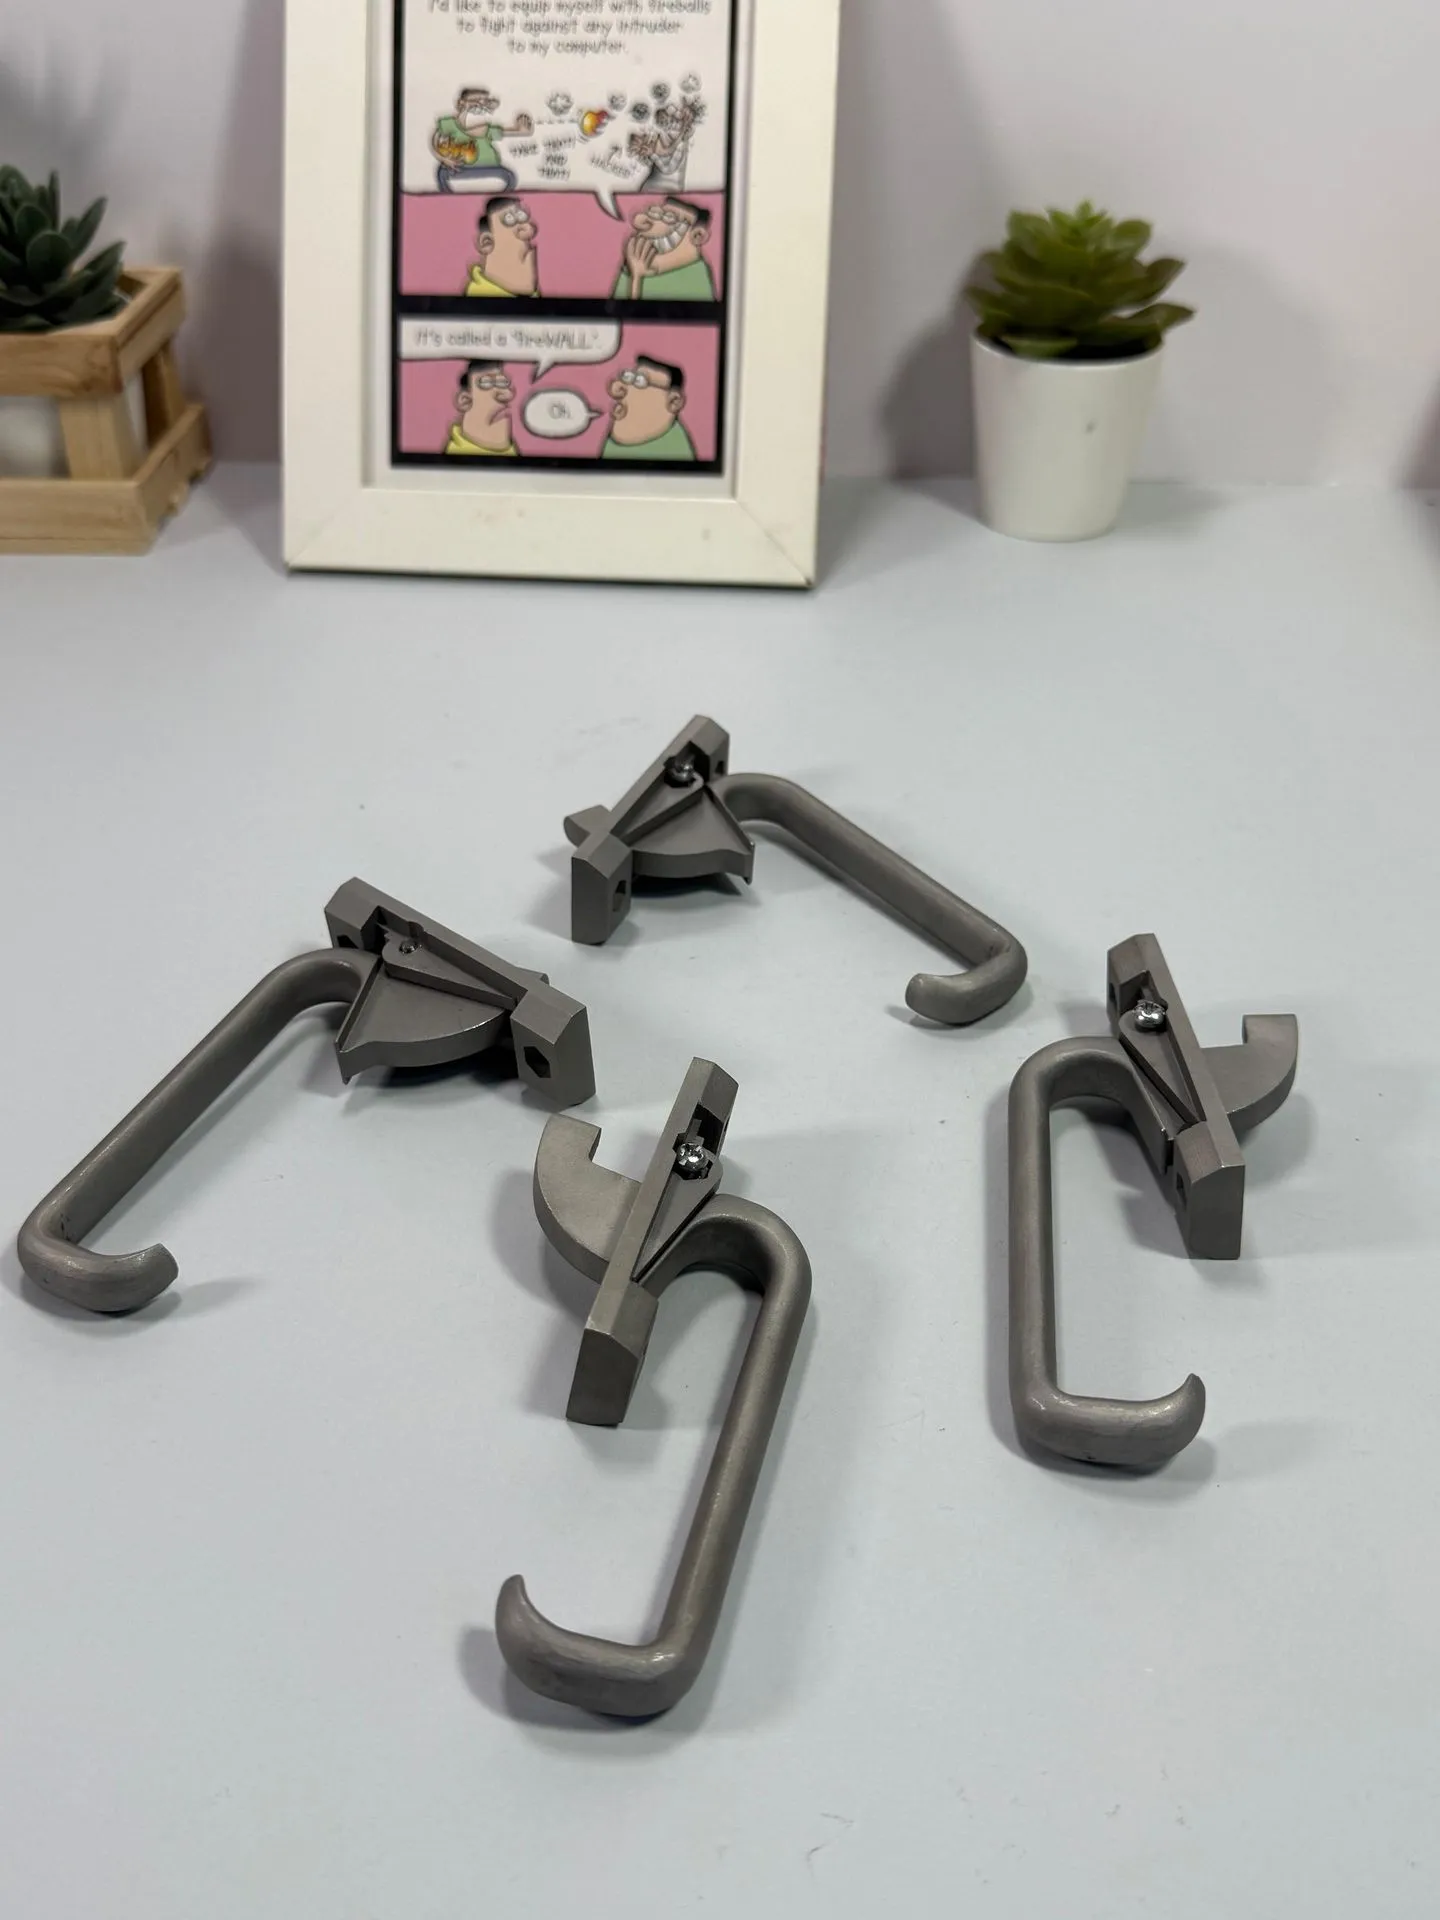
Material: match it to where the part lives
The material matters as much as the shape. A perfect copy in the wrong plastic will soften in a hot car or crack in the sun.
- Indoors: PLA or PETG. PLA is the most accurate; PETG takes knocks and warmth better.
- In the sun or outdoors: ASA, which is made for UV and weather. See how printed parts handle heat, sun and outdoors.
- Under load or heat: nylon or carbon-fibre filaments, such as PETG-CF, PC or PA6-CF. Our guide to carbon-fibre and engineering filaments compares them.
- Flexible: TPU, for seals, grips and bumpers.
- Fine detail: resin, through our SLA 3D printing.
- Metal: metal 3D printing for complex shapes, or CNC machining from a solid block.
Still unsure? Our material guide walks through the choice, or just tell us what the part does and we will pick.
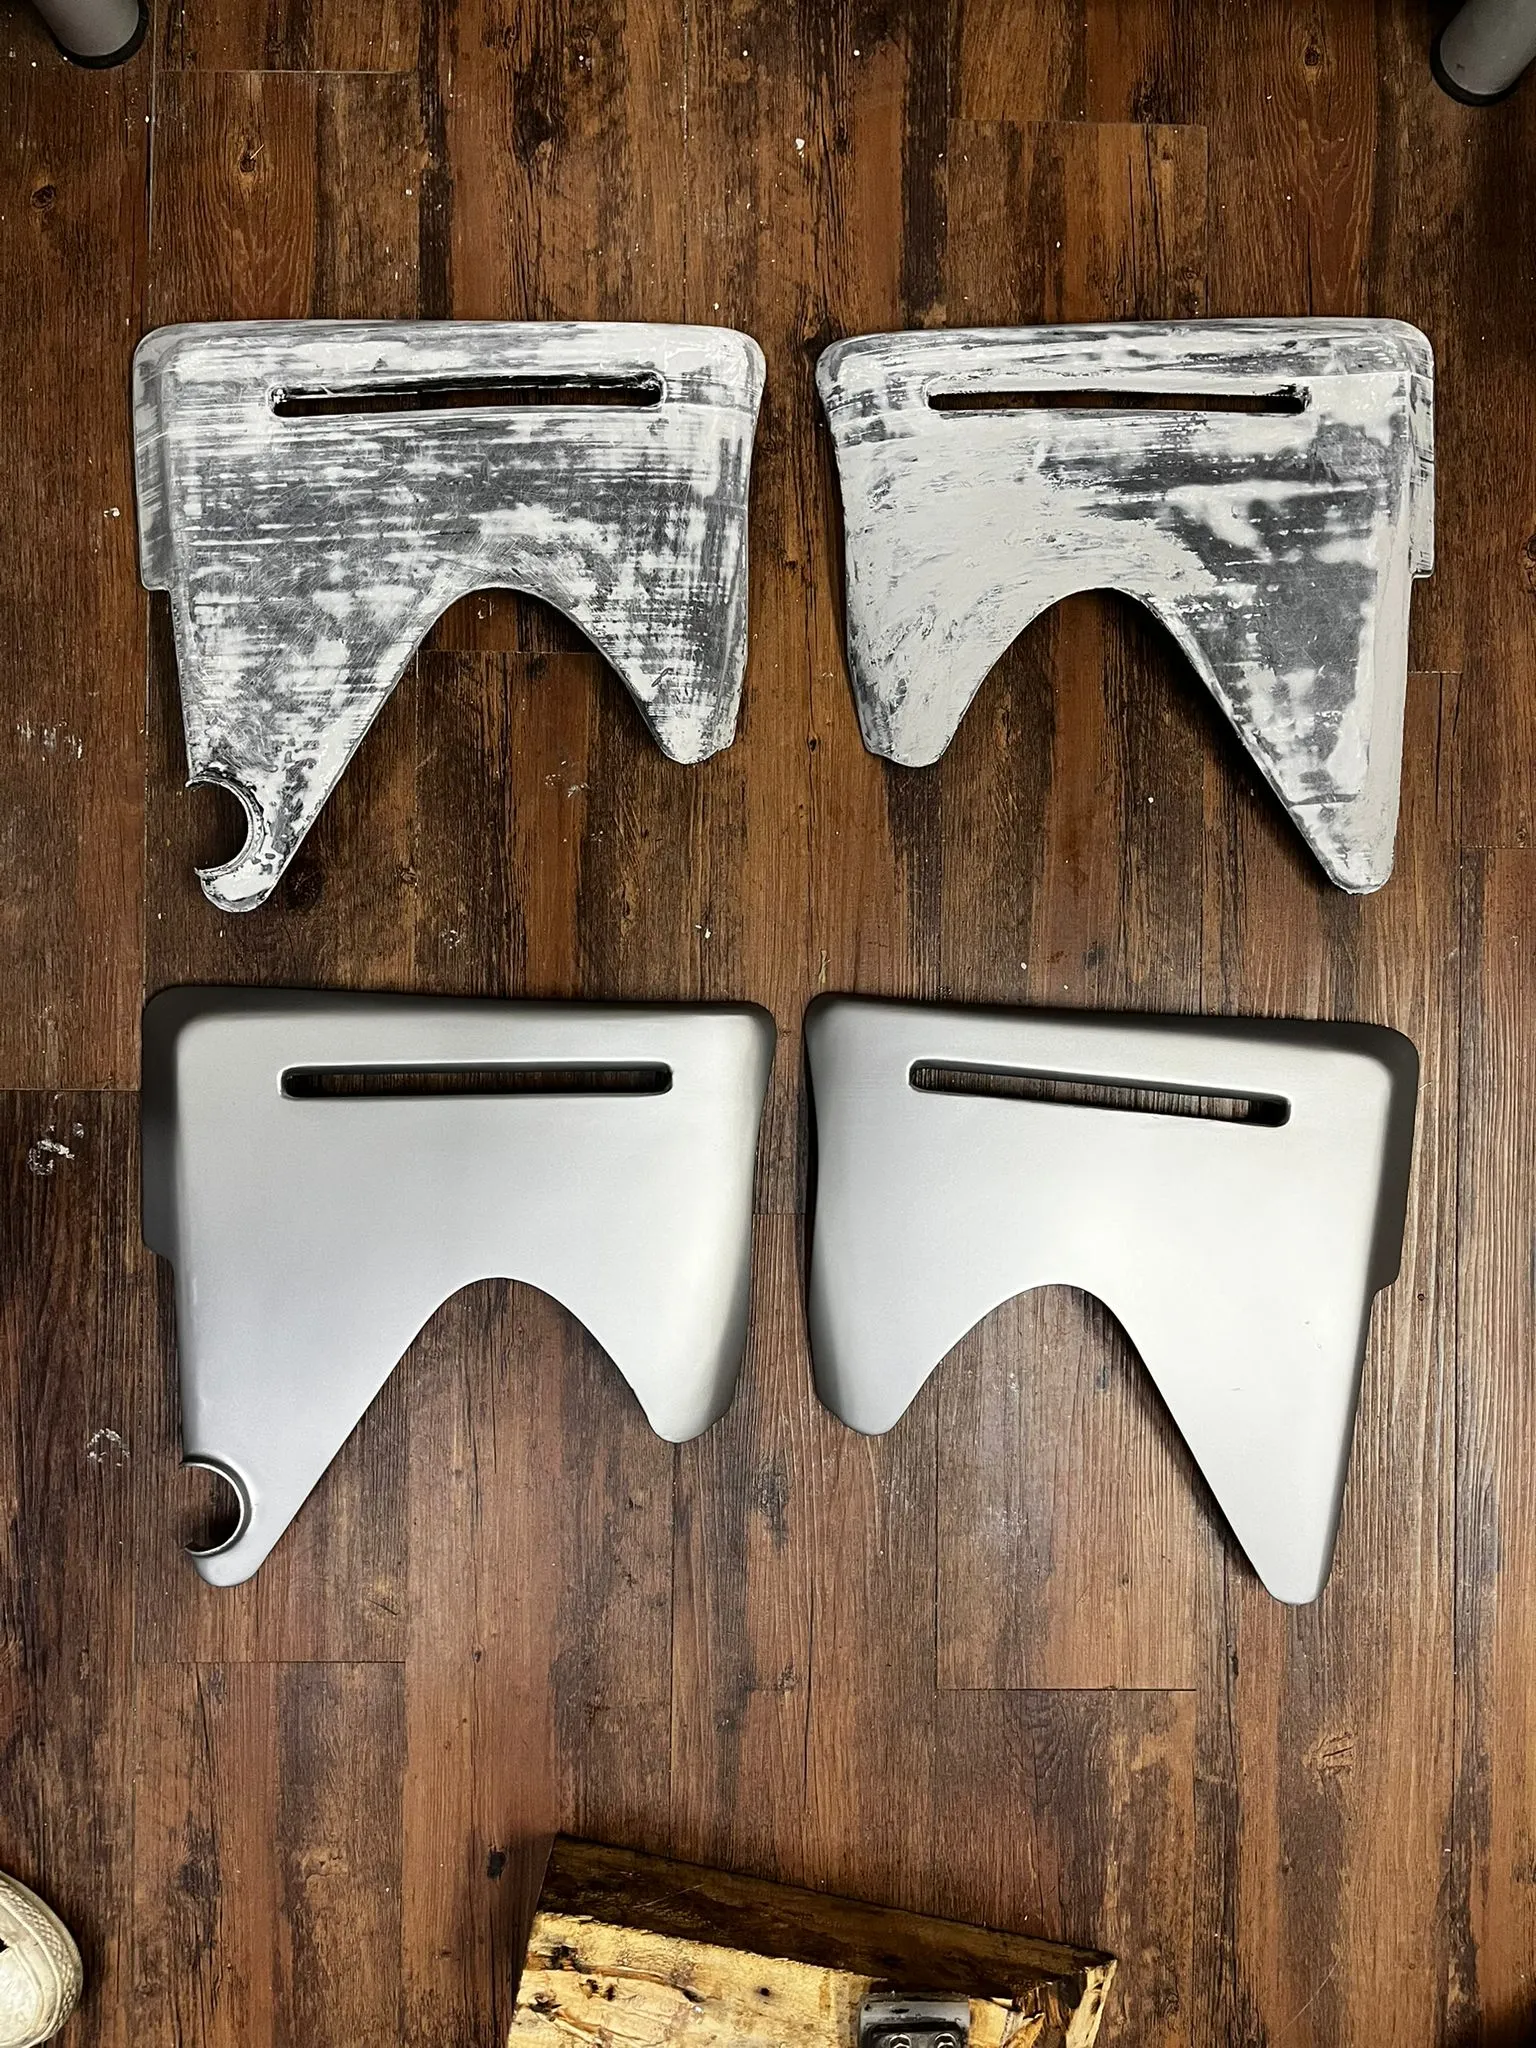
One part or a batch: both are fine
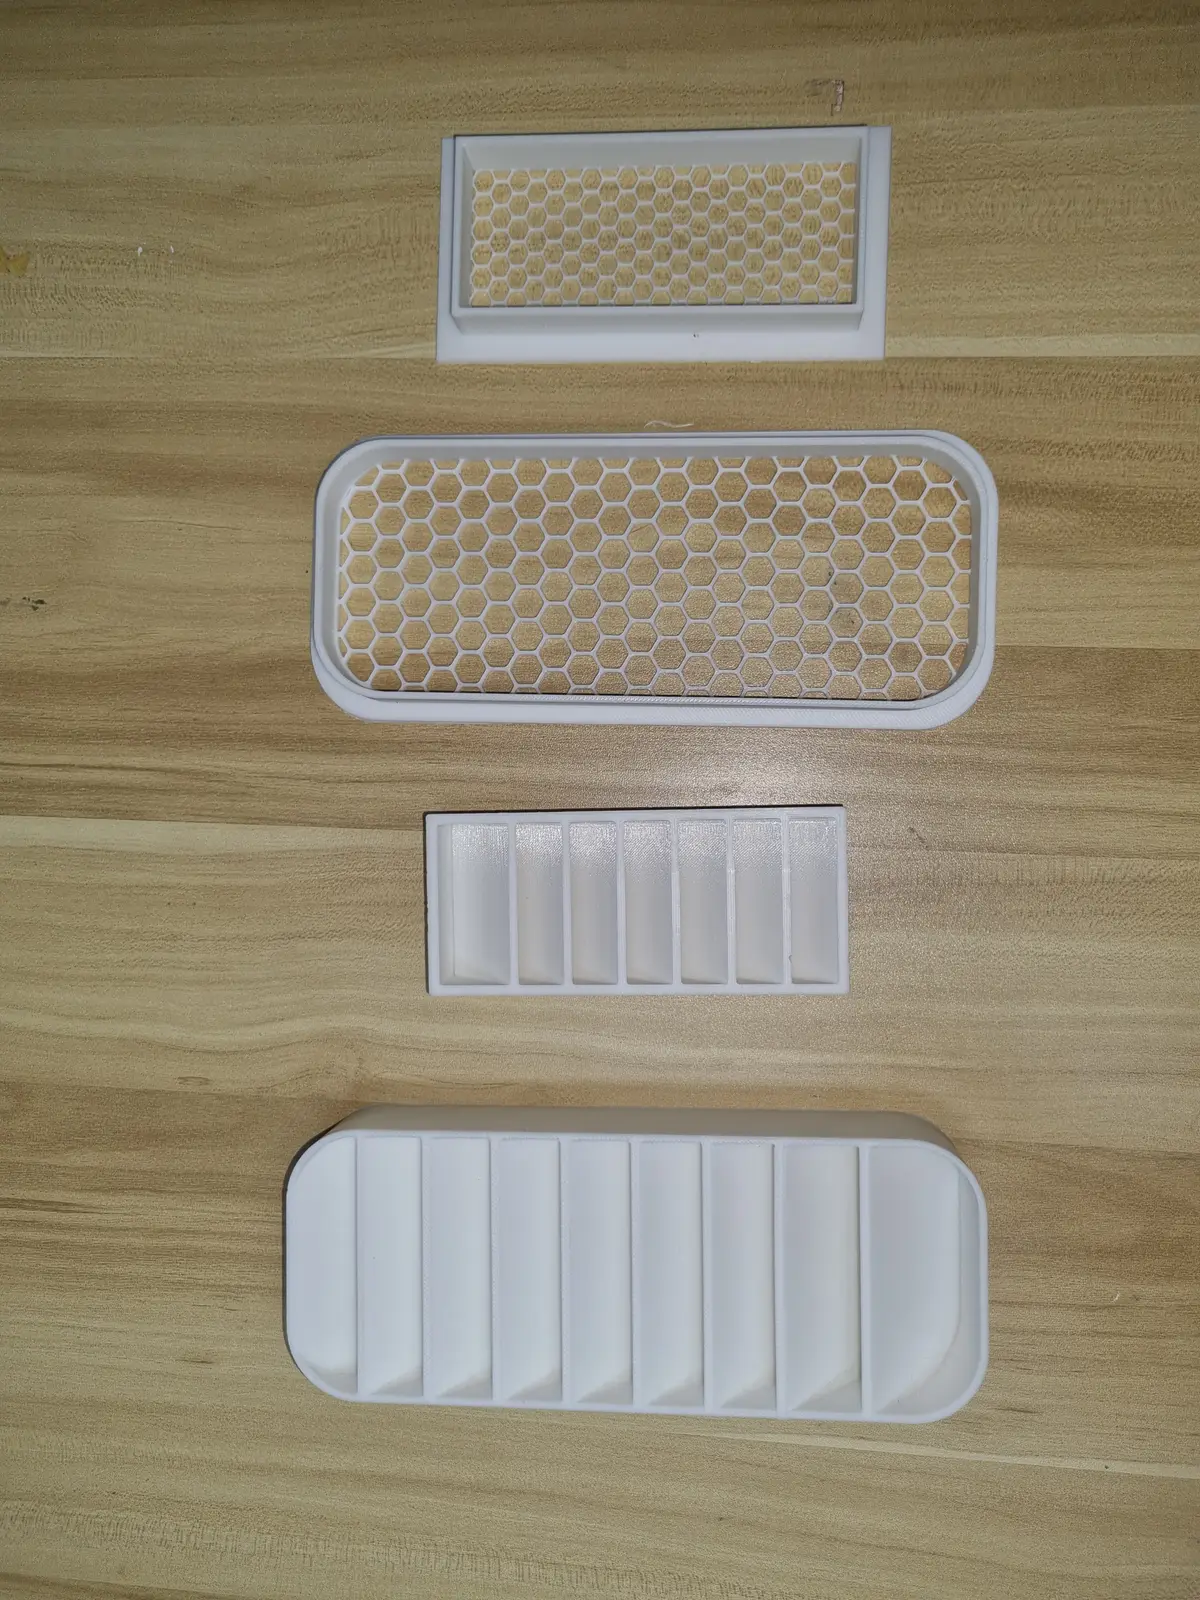
Most replacement jobs are one part, and that is fine. Once the model is right, though, more copies cost no extra design time, so it is worth asking whether you need spares. A building manager might replace one broken vent today and keep five on the shelf.
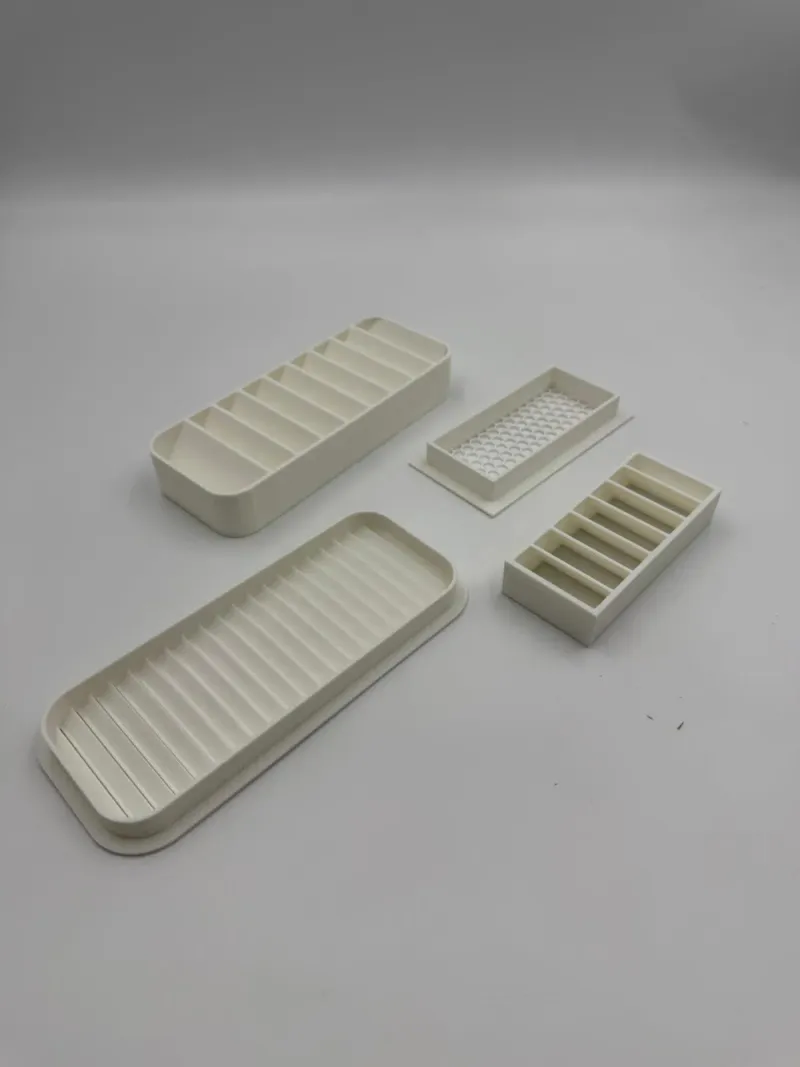
For larger runs, we print batches too. One customer sent four vent samples and took 160 printed parts. For runs of about 20 to a few hundred, silicone moulding can cost less per part, and past about 1,000, injection moulding usually does. We will tell you which suits your number.
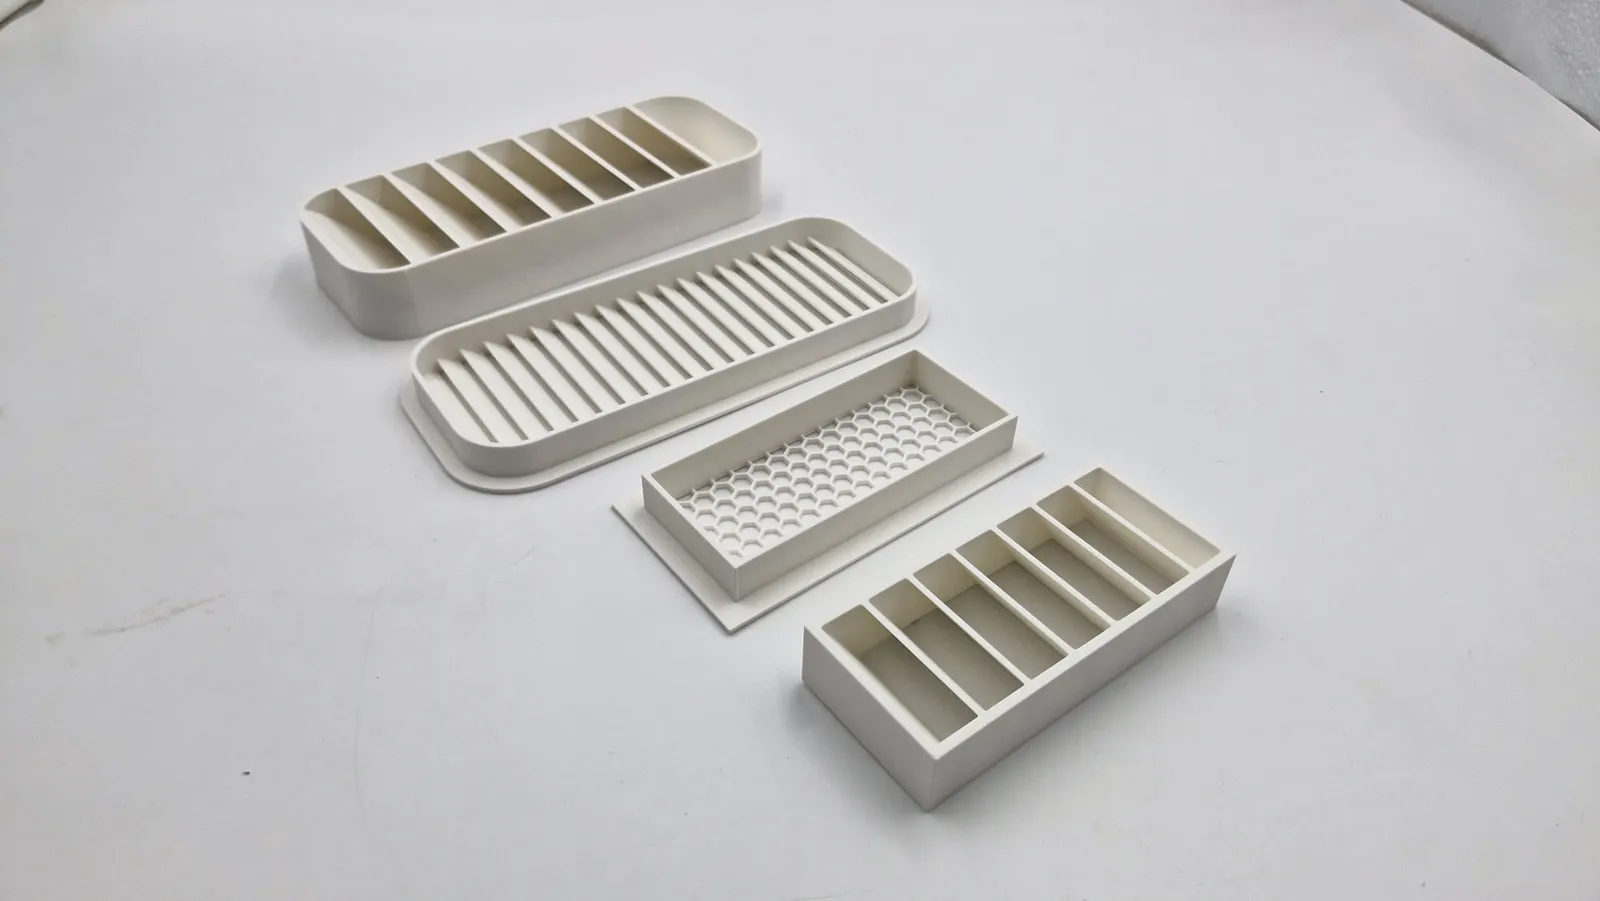
Risky parts: we will tell you honestly
We look at every request, and we will tell you honestly if a 3D printed part is not the right answer. That is most likely where a failure could hurt someone, for example a part that holds weight overhead or sits in a safety system. In that case we say so, and point you to the right route if we know one. For everything else, we are happy to take a look.
Lead times: design is quoted per job
Design time depends on the part. A simple bracket takes far less time to model than a complex housing, so we quote it per job.
For the making, as a rough gauge for a simple, low-complexity design: a normal-size FDM or SLA part (about 10 to 15 cm) takes 4 to 7 working days on Standard, 3 to 5 on Express, or 1 to 3 on Super Rush after a feasibility check. Ask us for an accurate date. More on timings in how long will my order take.
Frequently asked
Can you 3D print a replacement for a broken part?
Yes, in most cases we can. We measure the old part, or scan it when the shape is complex, draw it again in CAD, print a test piece to check the fit, and then make the final part in a material that suits the job. Bring the broken part even if it is in pieces.
What do I need to send you?
The broken part itself is best, even in several pieces. If you cannot bring it in, send clear photos from a few angles with a ruler beside it, the make and model number of the machine it came from, and a line on what the part does and where it lives.
Do I need a 3D file?
No, you do not need a 3D file. Making the file is the reverse engineering part of the job, and we quote that design time per job. If you do have a file, upload it to the instant quote and skip that step.
Will the new part fit first time?
Often it does, but a test print first is normal and we plan for it. Old parts wear, shrink or warp, and a fraction of a millimetre can decide whether a clip snaps in. We check the test piece against the real thing, adjust the model if needed, and only then make the final part.
Which material should a replacement part be made in?
It depends on where the part lives and what it does. PLA or PETG suit indoor parts, ASA suits parts in the sun, nylon or carbon-fibre filaments suit parts that take a load, TPU suits parts that must bend, and resin suits small parts with fine detail. Metal parts are made by metal 3D printing or CNC machining.
Can you make more than one?
Yes, once the model is right, extra copies cost no more design time. We have printed a single bracket and we have printed a batch of 160 vent parts from one set of samples. For runs of about 20 to a few hundred, silicone moulding can cost less per part, and past about 1,000 injection moulding usually does; we will tell you which suits your number.
Are there parts you will not remake?
We look at every request and will tell you honestly if a 3D printed part is not the right answer. That is most likely where a failure could hurt someone, such as a part that holds weight overhead or sits in a safety system. In those cases we say so, and point you to the right route if we know one.
How long does a replacement part take?
Design time is quoted per job, because a simple bracket and a complex housing take very different time to model. For the printing, as a rough gauge for a simple, low-complexity design, a normal-size FDM or SLA part takes 4 to 7 working days on Standard. Ask us for an accurate date.
Related
-
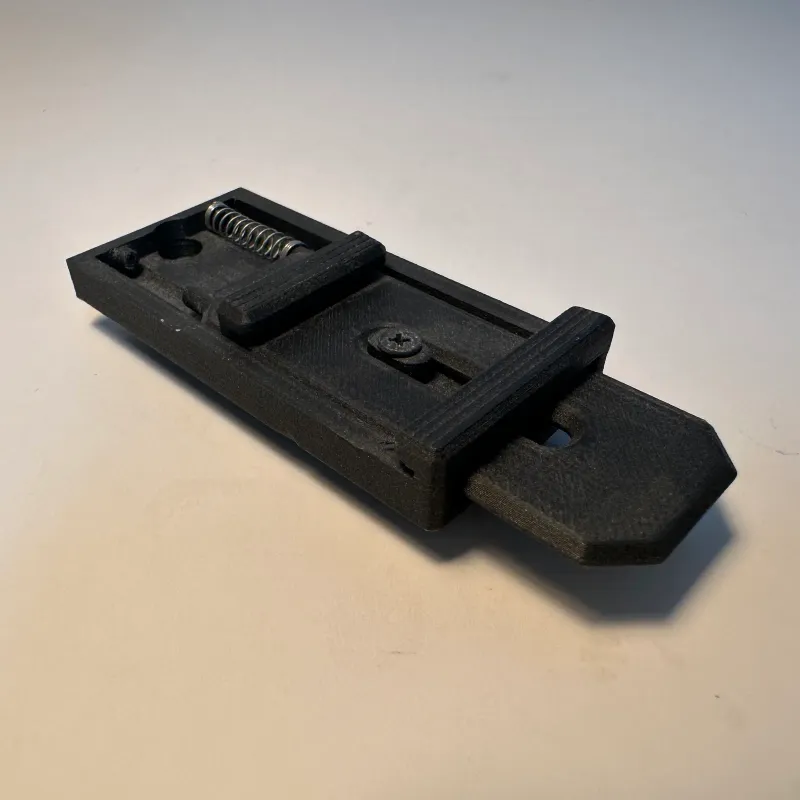 GuideHow much clearance do 3D printed parts need to fit together?
-
 GuideWhich 3D printing material should you choose?
-
 GuideWhich filament is strong enough for a jig, fixture or end-use part?
-
 ServiceIndustrial 3D Printing
-
 ServiceConcept to Fabrication
-
 ServiceProduct Development & Prototyping
-
 ProjectReverse-engineered vent components
-
 ProjectSocket and switch panel
-
 ProjectYamaha bike body panels