

Coil holder enclosure for SP PowerAssets
A clamshell enclosure that holds a metal coil for SP PowerAssets, designed over three revisions and checked with a test print in our studio.
- Client
- SP PowerAssets
- What it is
- A clamshell enclosure that holds a metal coil
- What we did
- 3D design for manufacture over three revisions, and a test print
- What the client got
- The 3D files of the holder
- Revisions of the design
- 3
- BNC connector holes, one in each half
- 2
- Of tolerance taken up by a compliant mechanism in the first revision
- 1 mm
What we brought
What we can do
It opens to take the coil
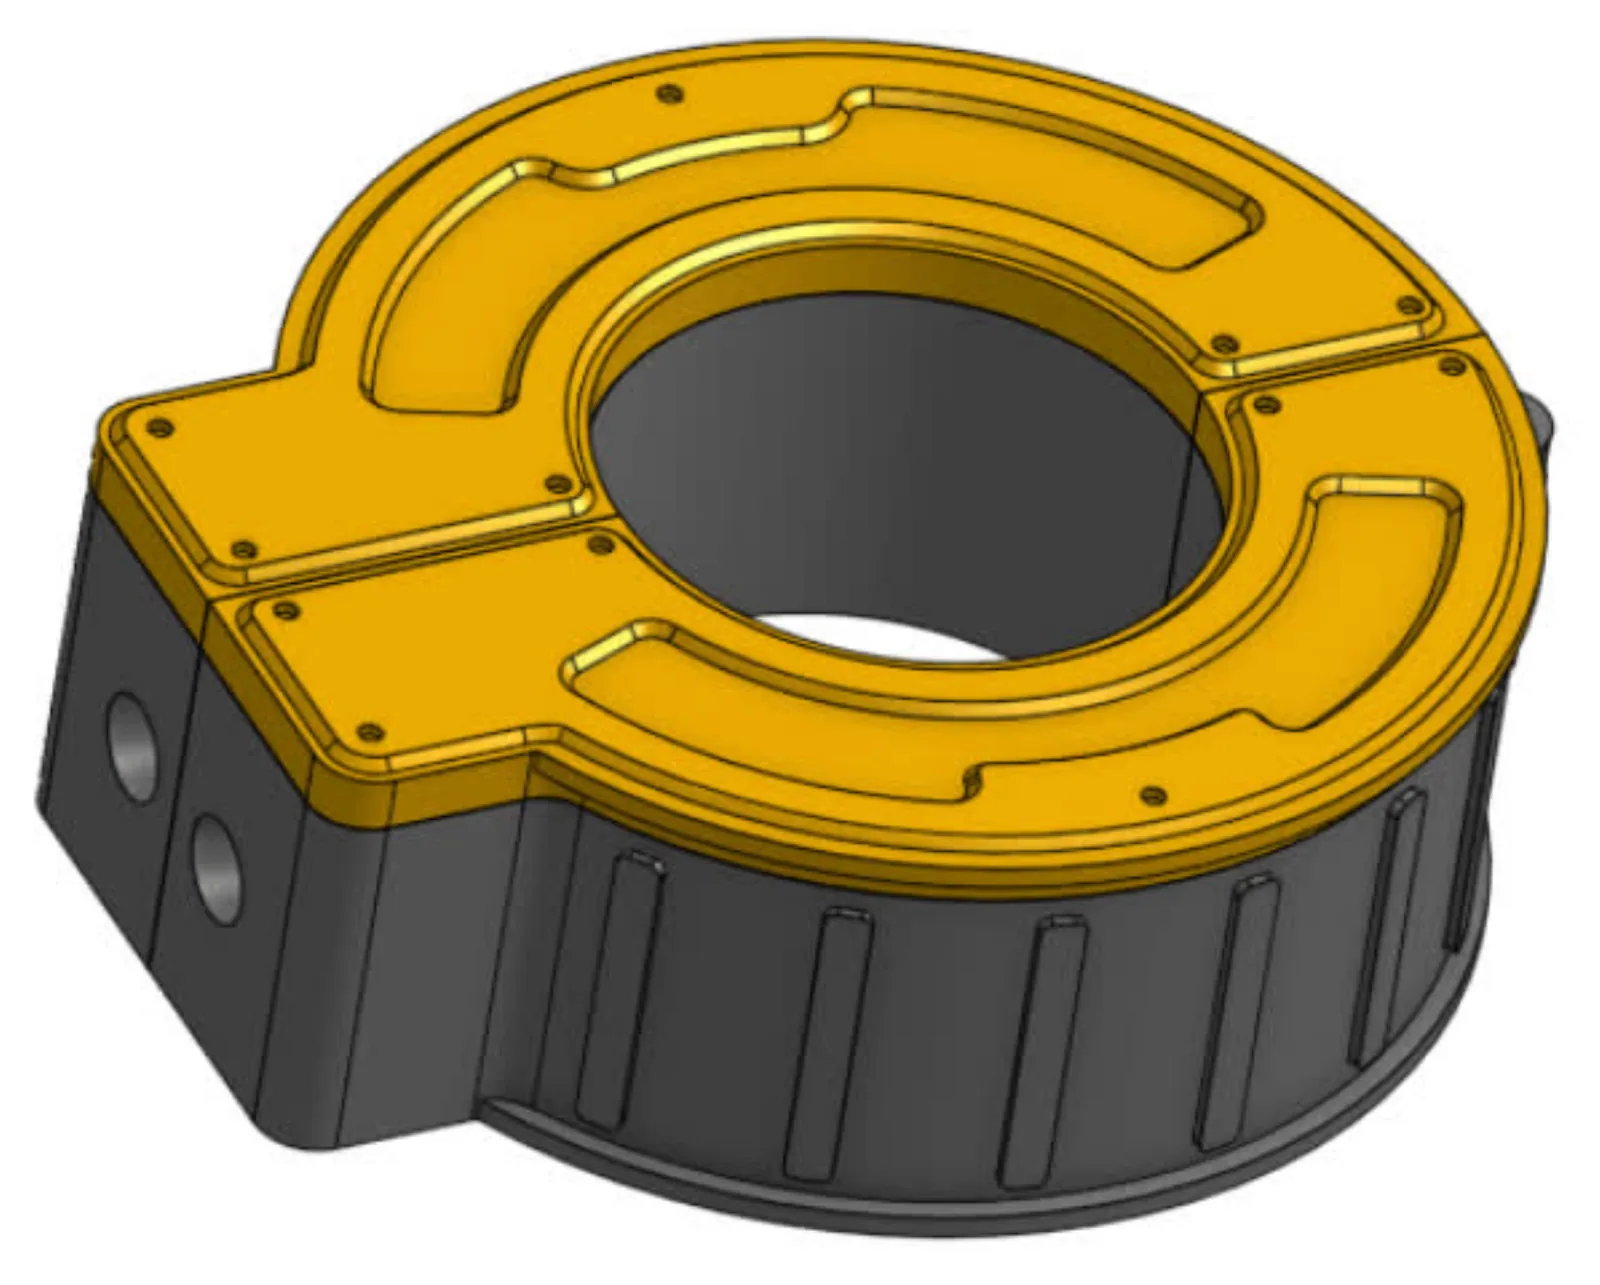
The enclosure splits in two and opens on a hinge, and snap-fit covers close it over the coil.
How we look after you
The connectors decide the split
By the third revision the casing splits between the two BNC connector holes, so each half has one connector hole.
What you get
Checked on a real part
We printed the holder in our studio and fitted the coil inside, to check the split, the hinge and the covers in the hand.
Gallery
The whole project at a glance. Drag or swipe to browse; tap a picture to enlarge it.
1 / 10
-
The finished piece
-
The hinge side.
-
Closed, with both covers on.
-
Three revisions · Revision 0RenderRevision 0: hinge, snap-fit cover, compliant mechanism.
-
Three revisions · Revision 1RenderRevision 1: holes side by side, cover in halves.
-
Three revisions · Revision 2RenderRevision 2: the split runs between the connectors.
-
A test printThe printed enclosure, open at the split.
-
Cover, enclosure and coil.
-
The coil goes inThe coil in place, one cover on.
-
One BNC hole in each half.
The build
How we built it
5 steps, from the brief to the finished piece. Pick a step to jump to it.
The brief
Step 1 of 5
- What it holds
- A metal coil
- Connectors
- Two BNC
- Our scope
- 3D design for manufacture over three revisions, and a test print
At Additive Inn, our 3D printing studio in Singapore, we designed a holder for a metal coil for SP PowerAssets. It is a clamshell enclosure that opens on a hinge, closes with snap-fit covers and has two holes for BNC connectors.
Three revisions
Step 2 of 5
We took the holder through three revisions. Each one came as renders with its changes called out.
-
Revision 0
A hinged enclosure with a snap-fit cover, a compliant mechanism to take up 1 mm of tolerance, and two BNC connector holes, one above the other.
Render
-
Revision 1
The two BNC holes side by side, the cover split in line with the enclosure, and a snap-fit lock where the halves meet.
Render
-
Revision 2
The casing splits between the two BNC connectors, so each half has one connector hole.
Render
A test print
Step 3 of 5
We printed a test holder in black in our studio: the two halves of the enclosure and the two cover halves.
The coil goes in
Step 4 of 5
The coil sits in the enclosure around its centre tube, and the cover halves snap on over it.
The final build
Step 5 of 5
SP PowerAssets received the 3D files of the holder. Our test print closes with both covers on, as in the design.
More product development
See all product development →-
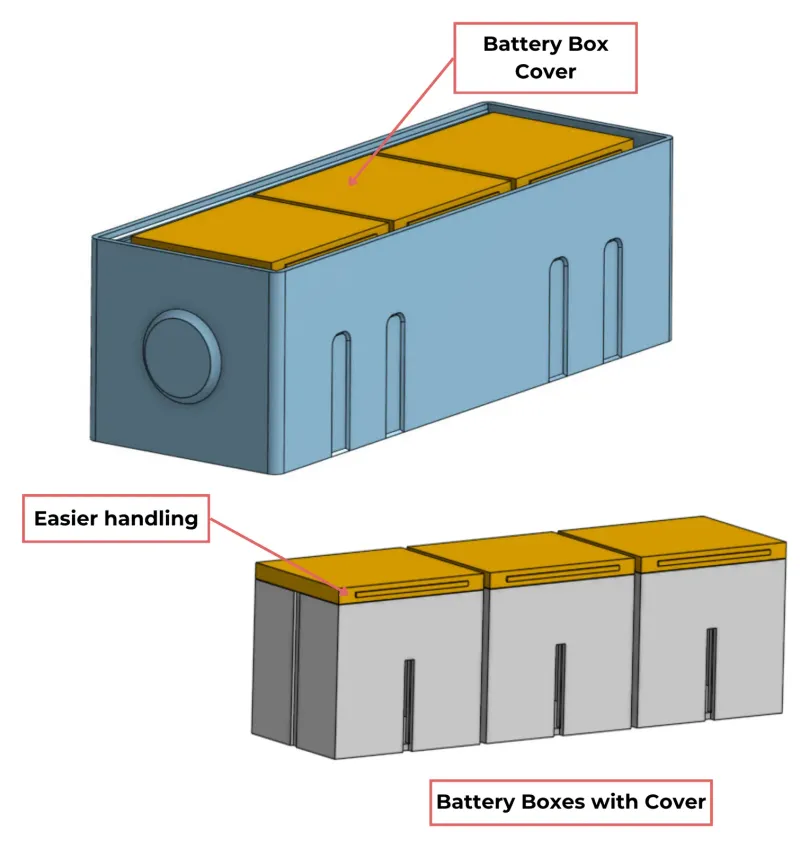 Unity Secondary School Battery holder design for Unity Secondary School A battery holder for Unity Secondary School, designed over two revisions, from a base with a snap-fit cover to three battery boxes with their own covers, handed over as 3D files.
-
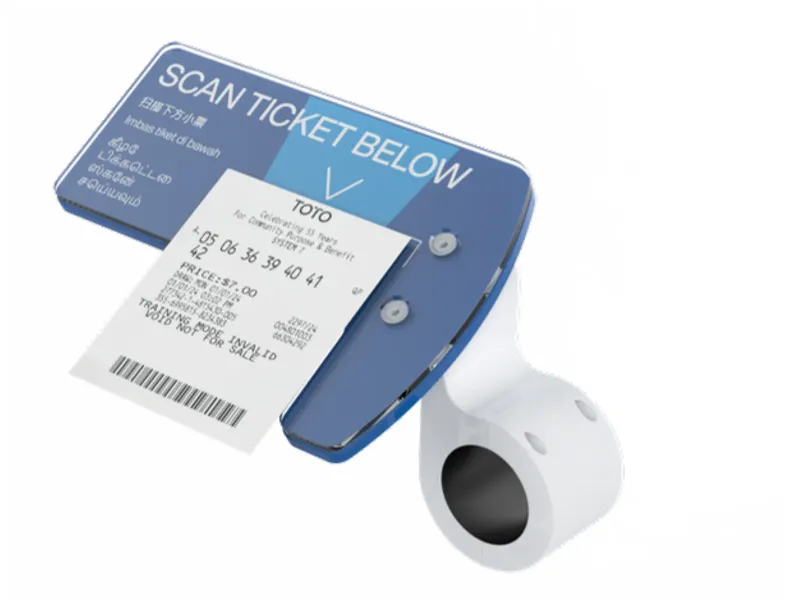 Singapore Pools Ticket holder for Singapore Pools tablet kiosks A ticket holder for Singapore Pools that clips onto a wall-mounted tablet kiosk and shows customers where to place their ticket to be scanned.
-
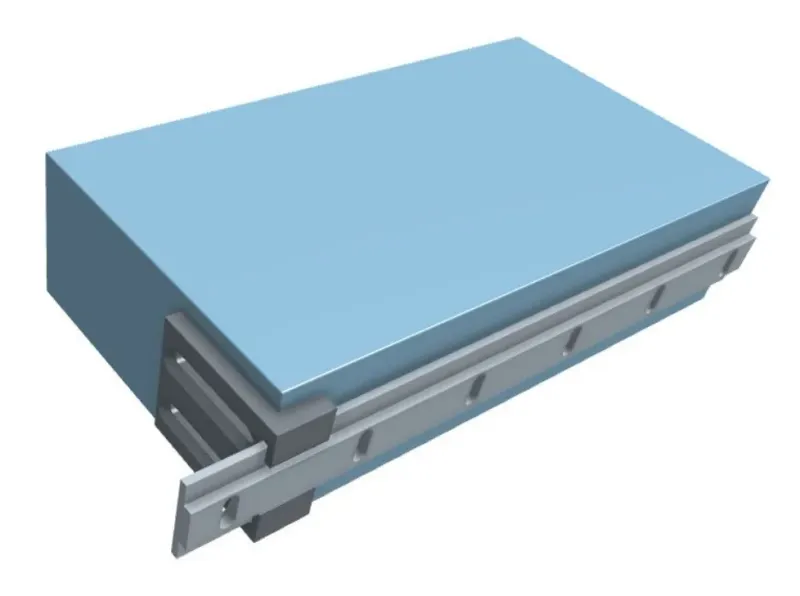 Sliding wall mount with a 90° bracket A sliding wall mount for a private client: a 90° bracket that hooks onto a slider, extended from a 100 mm design to 200 mm and 3D printed in white PETG.