

Collapsible shelter prototype
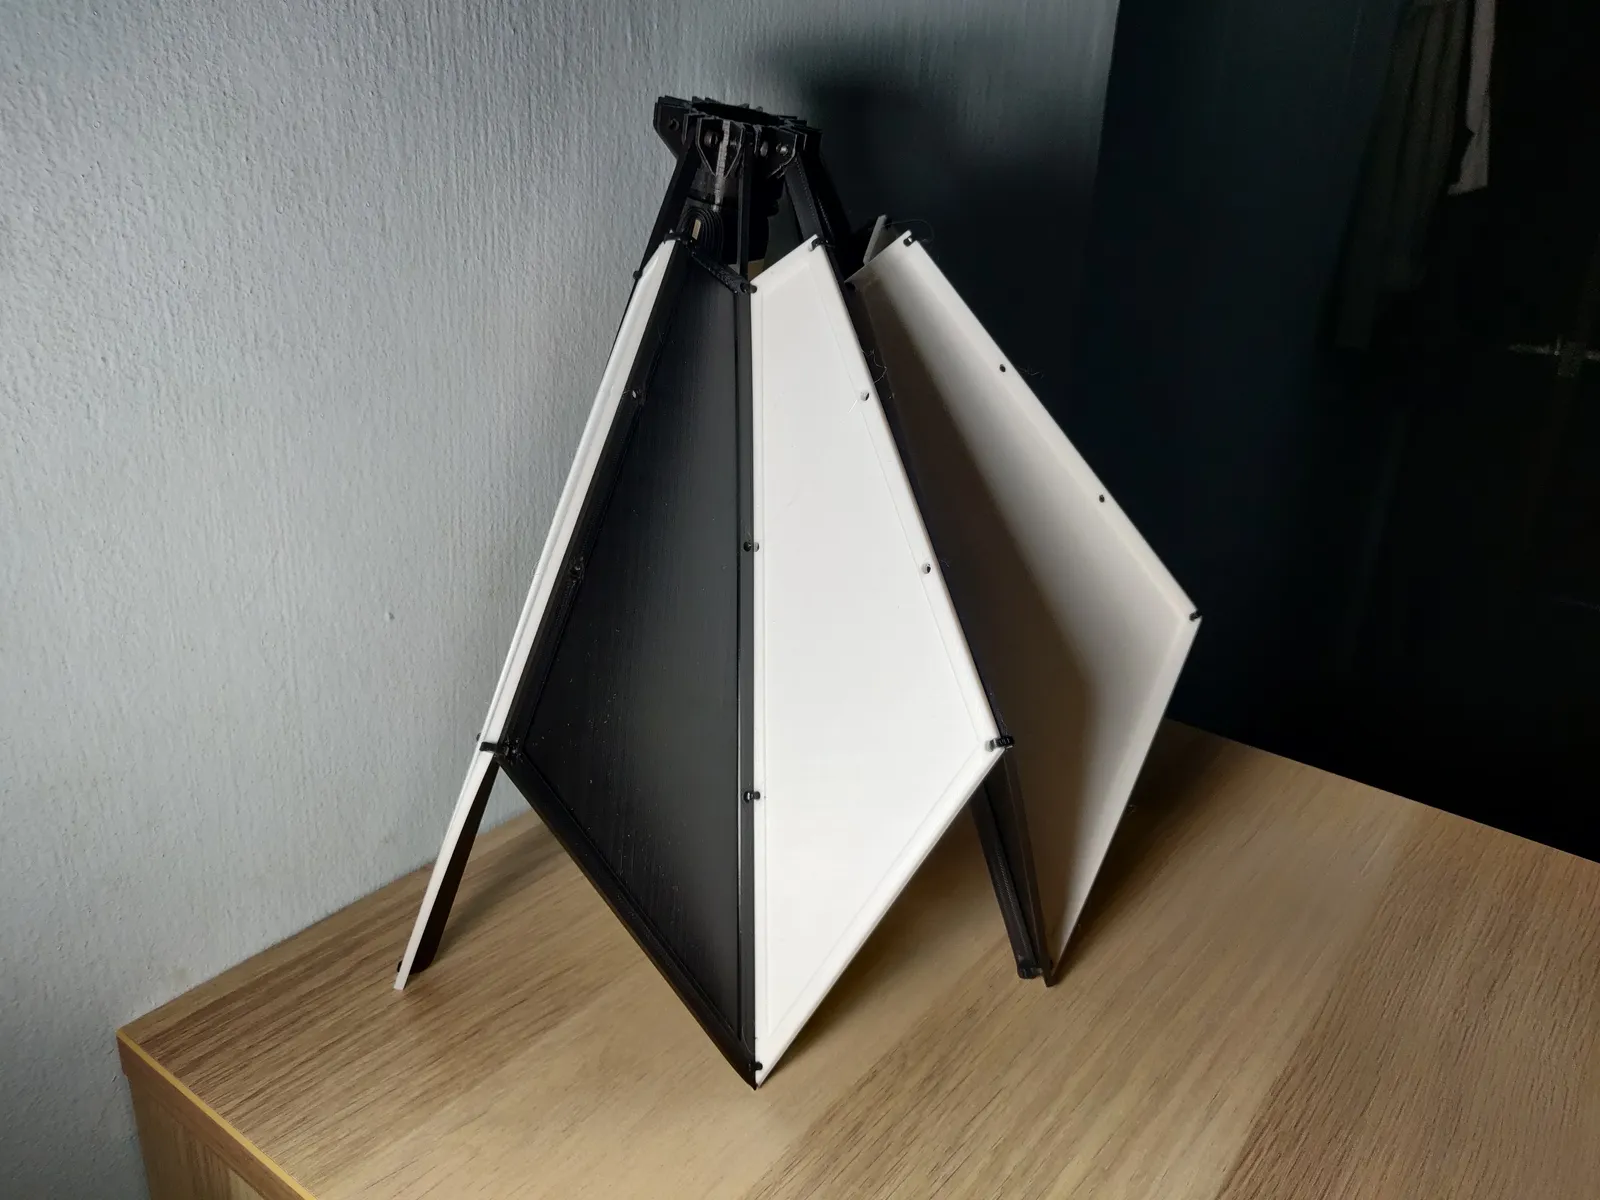
A working scale model of a lamp post shelter for pedestrian crossings, 3D printed with hinged panels that fold away and open by hand.
- Client
- Boyan Han and Rebecca Wong
- What it is made of
- FDM printed panels, arms and rings in black and white
- How it opens
- A moving ring swings the arms out, like an umbrella
- From the first 3D file to the finished prototype
- Just over 2 weeks
- Length of the longest printed arm
- 309 mm
- Size of each printed panel, 3 mm thick
- 226 x 167 mm
What we brought
What we can do
Moving parts printed to fit
Rings, arms and hinged panels were checked for tolerance and clearance, so the canopy folds without binding.
How we look after you
From an idea to a printable 3D file
We turned the client's shelter concept into a 3D file built for printing, with test prints before the final run.
What you get
A prototype you can demonstrate by hand
The finished model opens and closes in seconds, showing how the full-size shelter would deploy.
Gallery
The whole project at a glance. Drag or swipe to browse; tap a picture to enlarge it.
1 / 9
-
The finished piece
-
Opening and closing the prototype by hand.
-
Opened out into a canopy.
-
From above, the panels fanned round the hub.
-
The panels angled down from the hub.
-
Head-on, black and white panels alternating.
-
Design and prototypingRenderThe full-size shelter opening on its pole.
-
Build and assemblyThe central hub, its rings and arms.
-
A printed arm pinned to its panel.
The build
How we built it
5 steps, from the brief to the finished piece. Pick a step to jump to it.
The brief
Step 1 of 5 · 10/12/2020
- Setting
- Waiting points at traffic light crossings
- Full-size idea
- Opens on its own, rain or shine
- Mount
- A lamp post
- Our scope
- The 3D file, design for printing, tolerance checks, test prints and one FDM prototype
At Additive Inn, our 3D printing studio in Singapore, we built a working prototype of a collapsible shelter for Boyan Han and Rebecca Wong's final-year project. It mounts on a lamp post at pedestrian crossings and opens to shelter people from rain or sun.
Design and prototyping
Step 2 of 5 · 17/12/2020
We modelled the shelter as hinged panels on arms around a central hub. One ring is fixed and one slides along the pole; moving it swings the arms out and opens the panels like an umbrella. We checked the tolerance at every hinge before printing.
Production
Step 3 of 5 · 19/12/2020
After test prints, we printed every part in FDM: left- and right-hand panels 3 mm thick in black and white, long and short arms, a fixed and a moving ring, and an adaptor that fits the hub onto a PVC pipe.
Build and assembly
Step 4 of 5 · 24/12/2020
We pinned each panel to its arms at small hinges and fitted the arms to the two rings on the central hub. Then we opened and closed the canopy by hand to check that every joint moved freely.
The final build
Step 5 of 5 · 25/12/2020
The finished prototype folds in tight around its hub and opens into a wide canopy by hand in a few seconds. It gave the client a working model to show how the full-size shelter would deploy at a crossing.
More product development
See all product development →-
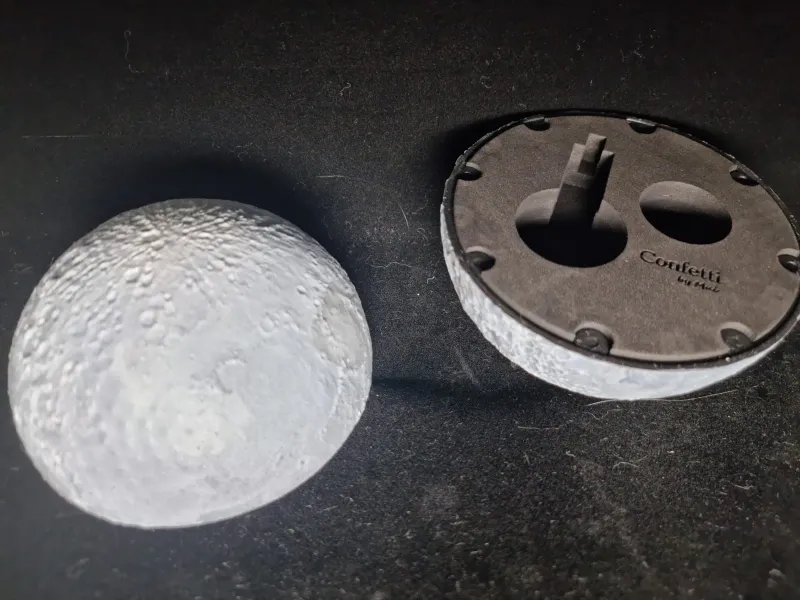 Confetti by Mui Custom moon jewellery box for Confetti by Mui A moon that opens: a jewellery box for Confetti by Mui, primed and hand-painted, closing on magnets around a foam insert with their logo.
-
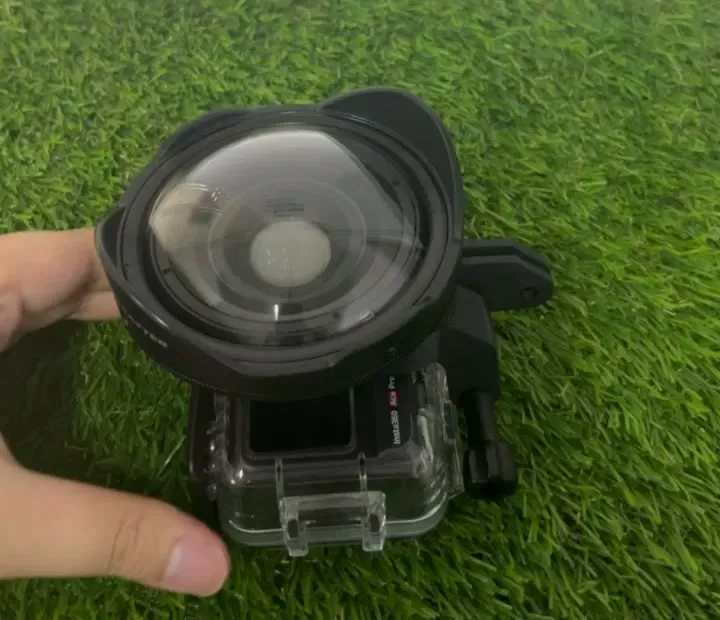 Wet lens adapter for an action camera dive housing A snap-on bracket we designed and 3D printed to fit a customer's wet lens to his action camera's dive housing.
-
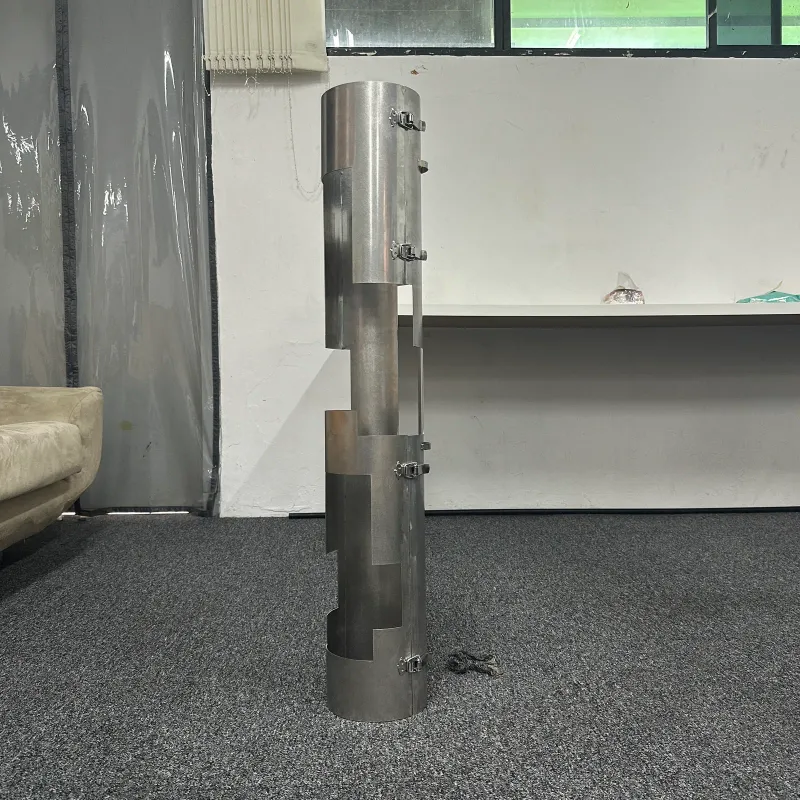 Custom stainless steel housing for an SAF missile manpack A stainless steel carry sleeve for an RBS 70 missile, drawn from the SAF team's own sketch, rolled from sheet and closed with toggle latches.