

How do you turn an idea into a working prototype in Singapore?
On this page
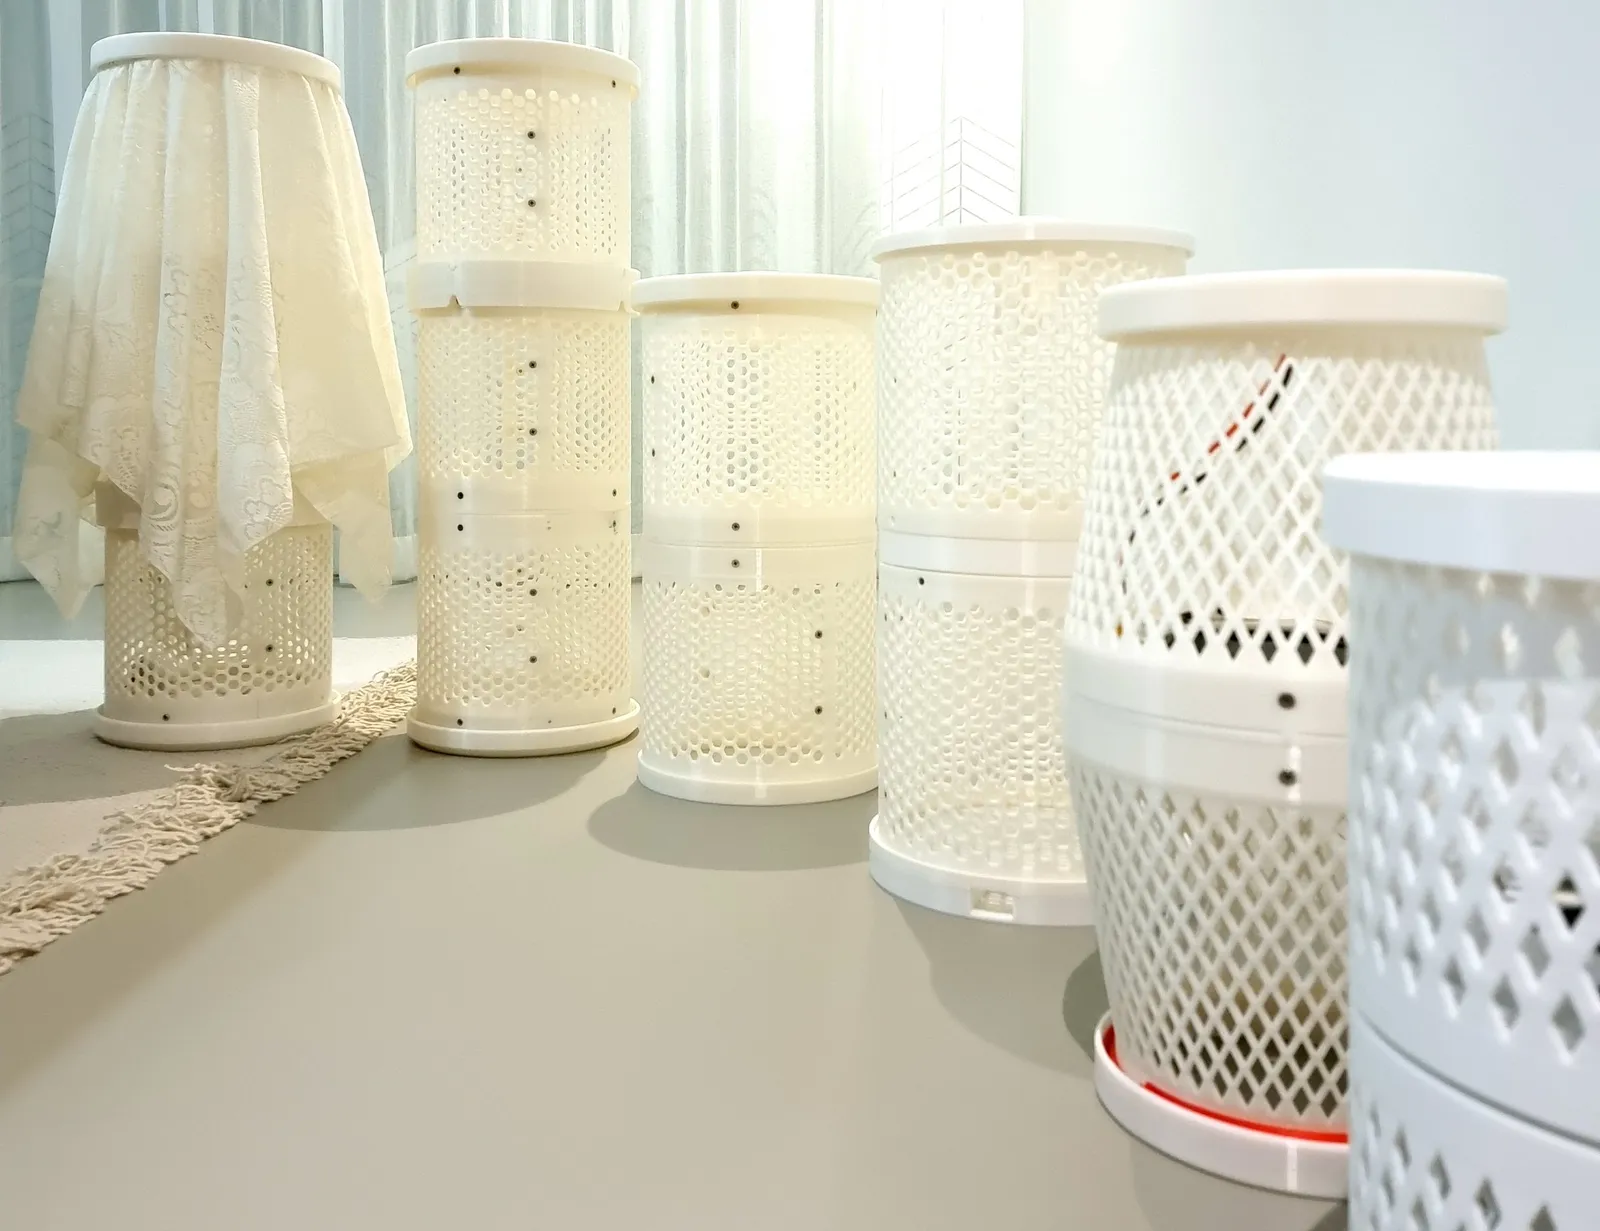
To turn an idea into a working prototype, you bring a sketch, a photo or a product you want to improve, and we design it in 3D, print a first version, test it with you and revise until it works. It all happens in our own studio in Singapore, as part of our product development service.
From idea to prototype at a glance
| Stage | What happens | What you get |
|---|---|---|
| 1. The brief | You send a sketch, photo or sample with rough sizes | A plan and a quote for the design work |
| 2. Design | We draw it in 3D and check it can be made | A 3D model and renders to approve |
| 3. First prototype | We print it in the process that suits the test | A part you can hold and try |
| 4. Test and revise | You tell us what worked; we change it and print again | A better part each round |
| 5. Small runs | We cast it in silicone moulds or move to injection moulding | Identical parts, ready to use or sell |
Timeline: it depends on the project, so we quote it for each one. Ask us for a date.
NDA: we can sign one before you share your idea.
The brief: a sketch and sizes are enough
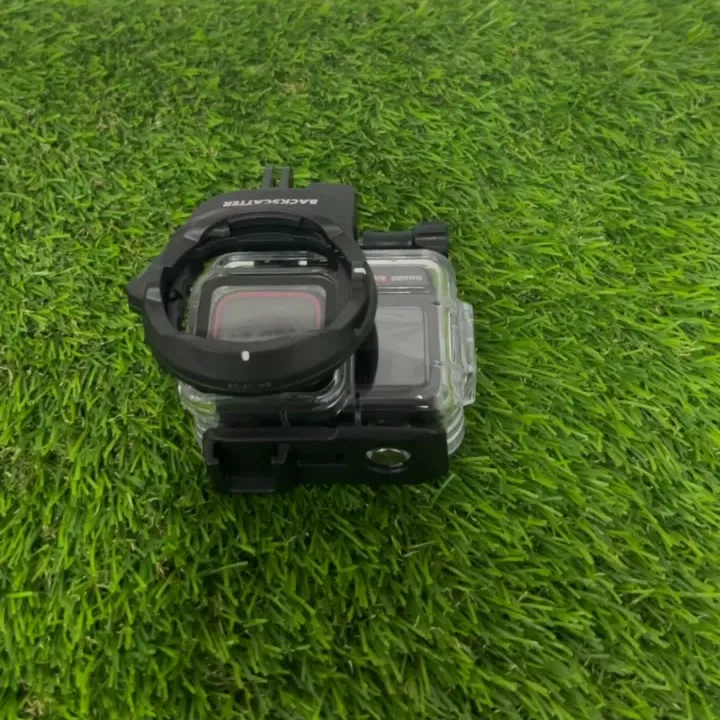
You do not need a finished drawing to start. A sketch on paper, a photo, a product you like or a part you want to replace all work. What helps most is a few rough sizes and a plain description of the job: what the part holds, what it fits onto, and where it will live.
- Sizes. Measure what the part must fit, even with a ruler. A photo with a ruler beside it helps too.
- The job. Tell us what it must survive: weight, heat, sun, water or being dropped.
- The quantity. One for a pitch, ten for testers, or hundreds to sell. It changes the route.
If the idea is confidential, we sign a non-disclosure agreement (NDA) first, before you send anything.
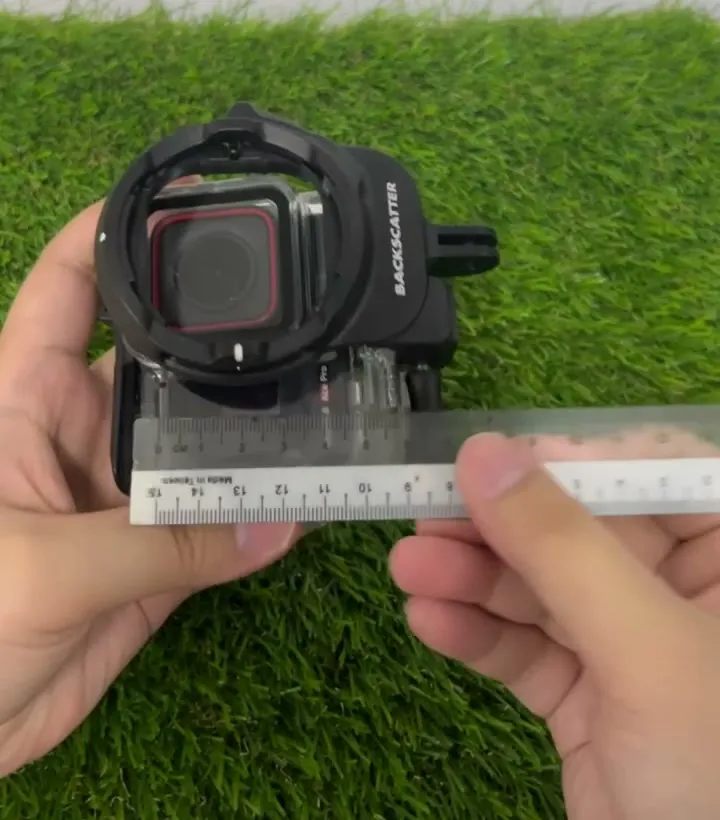
Design: we draw it and check it can be made
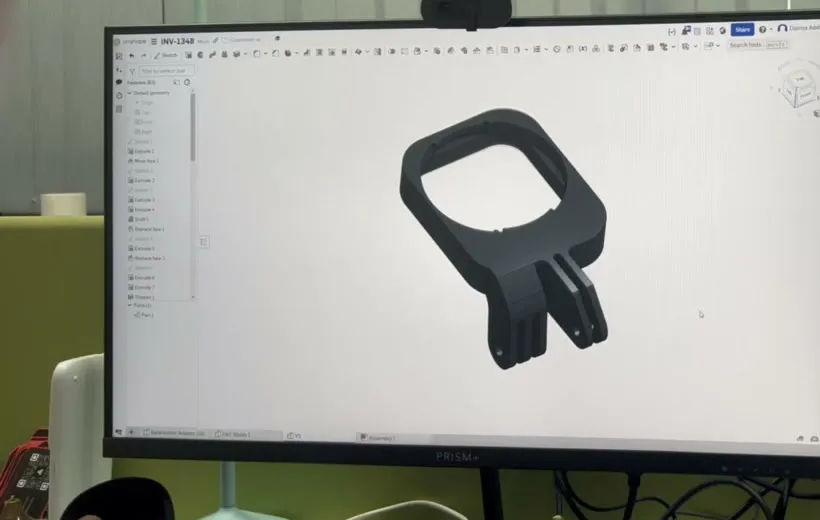
Our designers draw the part in CAD (computer-aided design software) in our studio. While we draw, we check the design for manufacture, often called DFM: wall thickness, gaps between moving parts, how the part sits on the printer and how it will be made later in quantity. Fixing these on screen is far cheaper than finding them in a print.
Then comes the design review. We send you the 3D model and renders, and drawings where the part has to fit something exactly. You check the shape, the size and the details, and nothing is printed until you are happy. Design work is quoted per project. For more on how a design round runs, read our 3D design process.
First print: choose the process by the test
A first prototype answers one question: does it look right, does it work, or does it fit? Each question suits a different kind of 3D printing.
- Fit and fast changes: filament printing (FDM). The quickest and cheapest way to check shape and fit, so it suits the early rounds when the design still changes every time.
- Looks and fine detail: resin printing (SLA). Smooth surfaces and crisp edges, for a looks-like model or a part to show investors.
- Tough working parts: nylon powder printing (SLS or MJF). Strong, slightly flexible parts for snap fits, hinges and anything that takes a knock.
- Production-grade metal or plastic: CNC machining. For a prototype that must be machined from the real material, such as an aluminium bracket or a tight-tolerance part. We still suggest an FDM print first: it is far quicker and cheaper for settling the shape before you pay to machine it.
Most products start in FDM and move to SLA or nylon once the shape settles. Our guide to FDM, SLA and SLS explains the differences. If parts must slide, snap or press together, read tolerances and clearances for the gaps we design in.

Test and revise: several rounds are normal
The first print is rarely the last. Hold it, fit it, use it, and tell us what you notice. We change the model and print again. Each round should answer a question: does the latch hold, does the board fit, does the light spread evenly?
- Small parts are often right by the second or third round.
- Products with housings, moving parts or electronics usually take more.
- Keep the old prints. Laid side by side, they show what each change did.
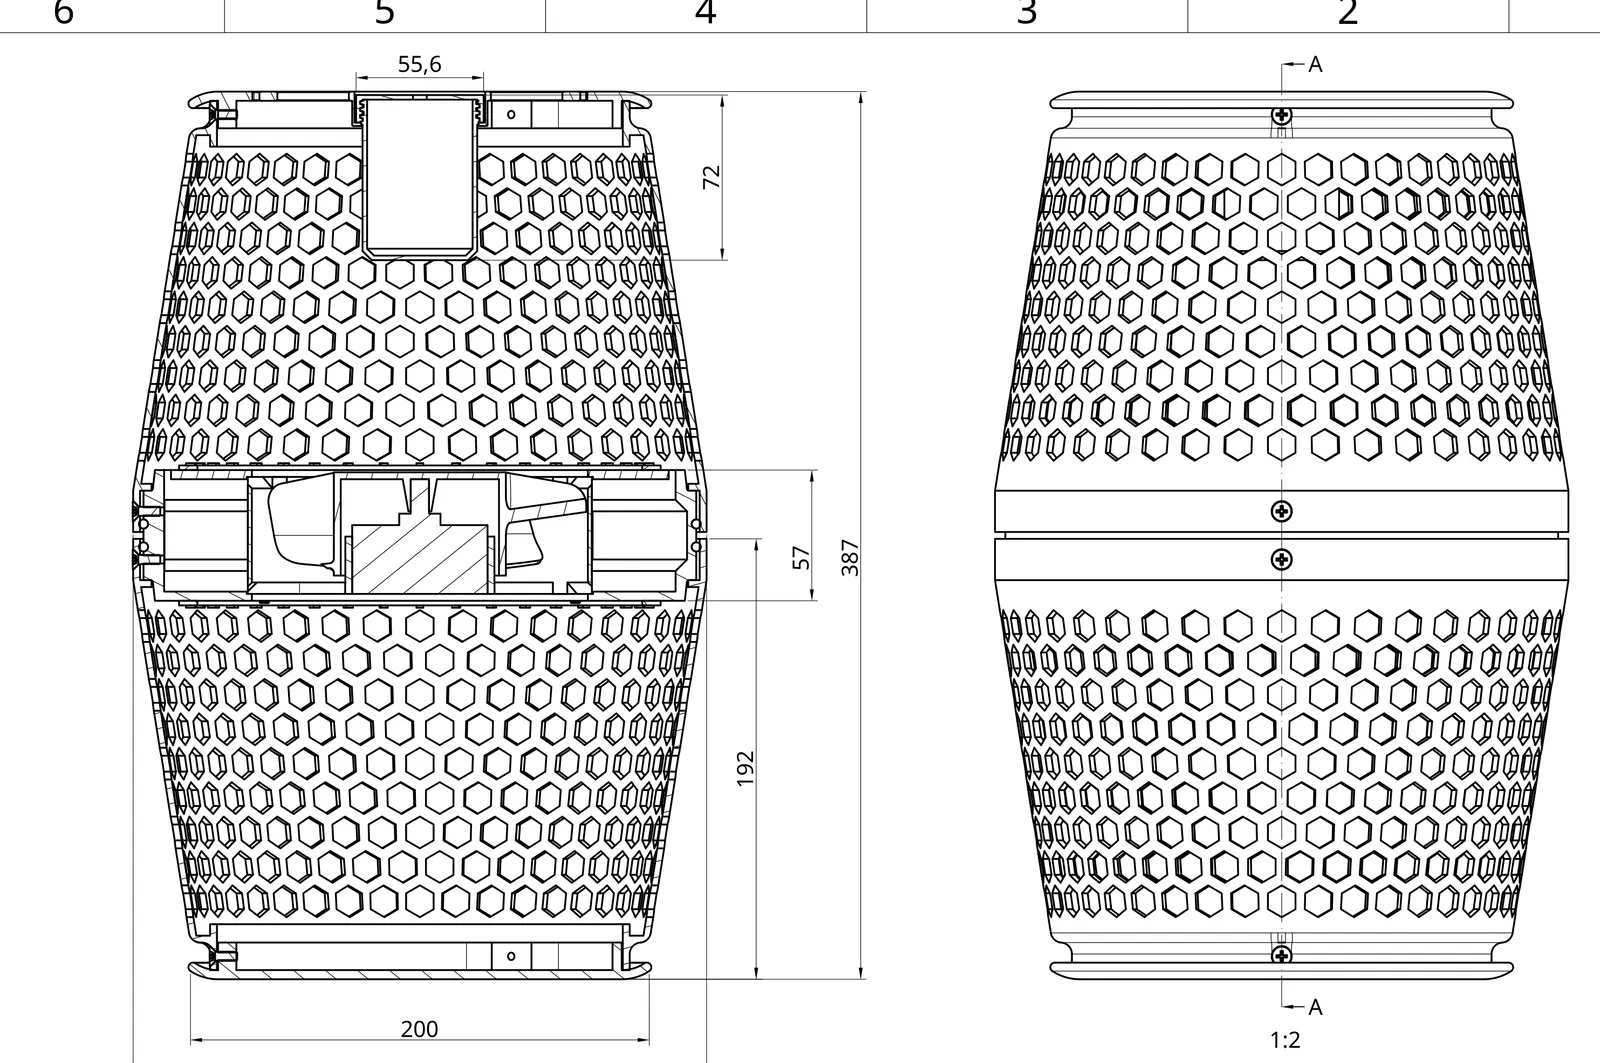
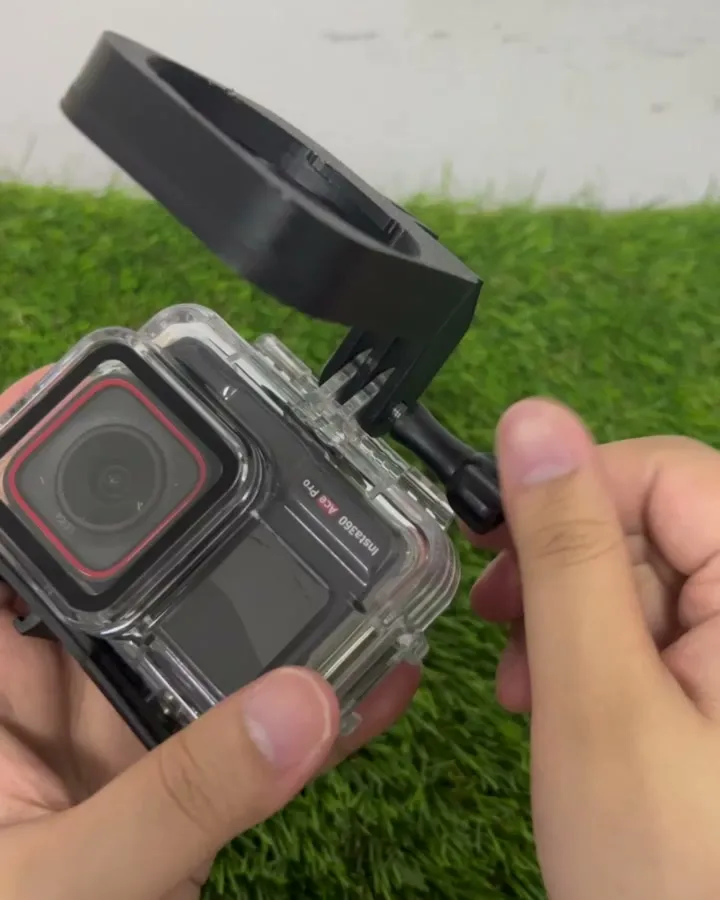
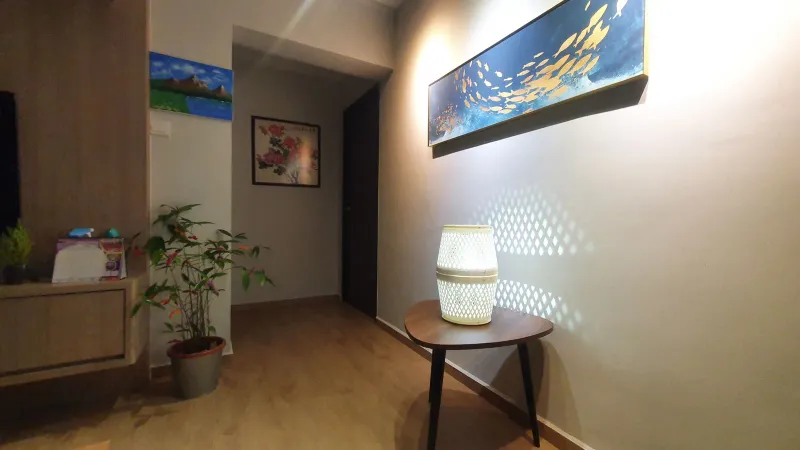
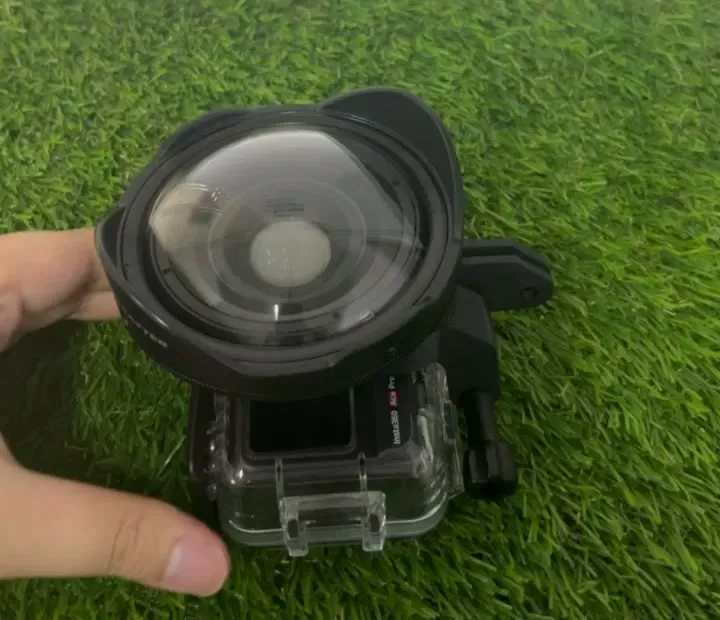
The dive-housing bracket went through five white prototypes before the black final version. The air purifier in the photo at the top went from round housings with hexagon vents to an hourglass with a diamond lattice over several rounds.

Small runs: silicone, then injection moulding
Once the prototype works, the next question is how many you need. For one part to a handful, we keep printing. For more, we make a mould.
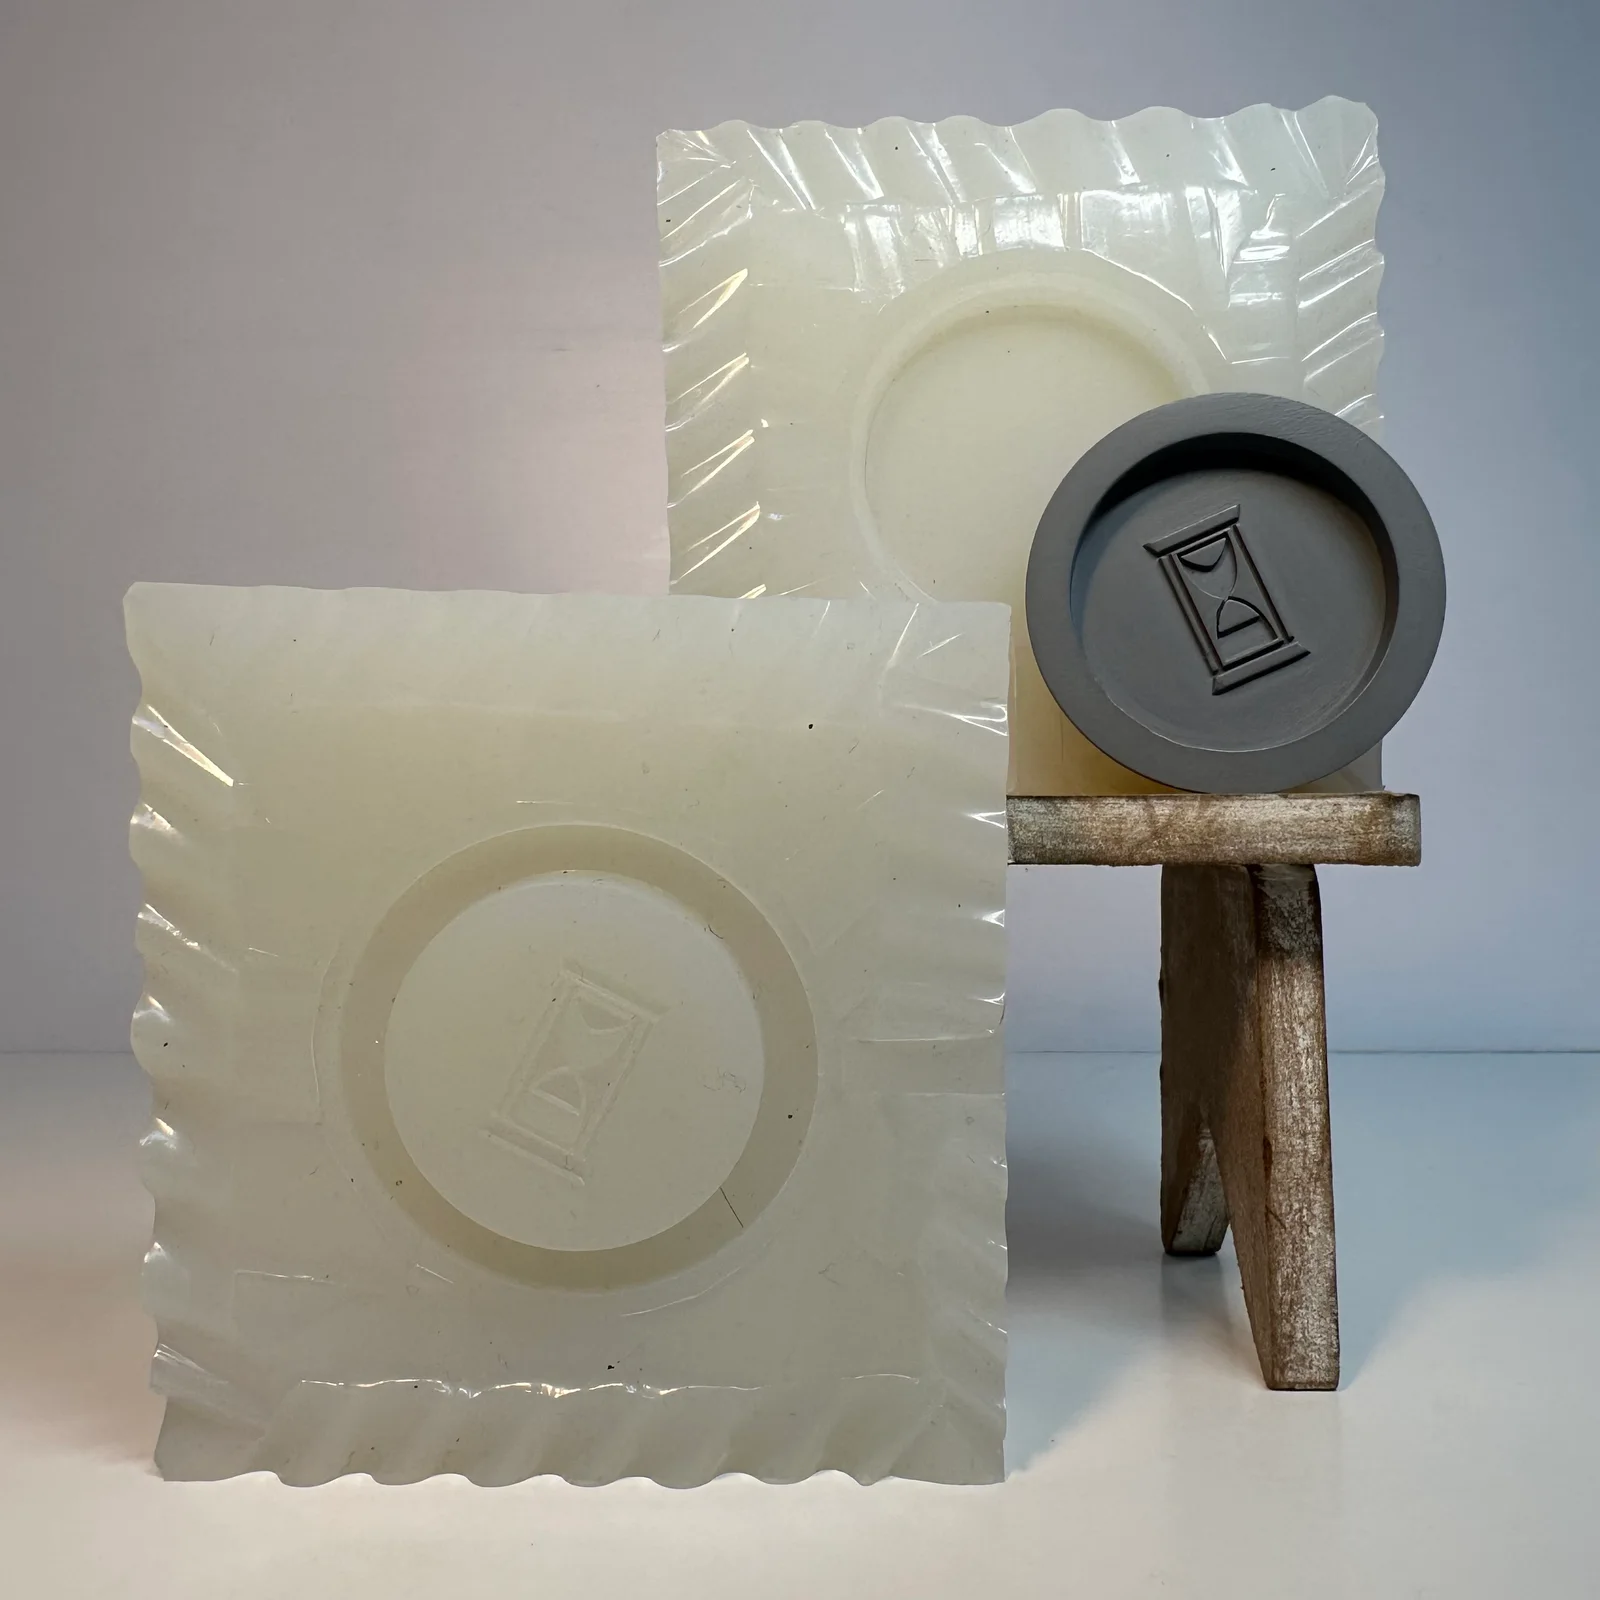
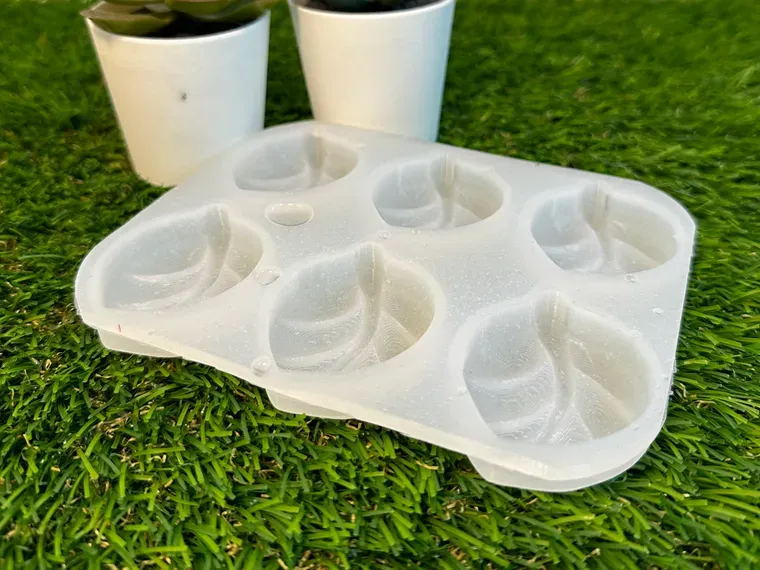
- About 20 to 50 parts per mould: silicone moulding. We pour silicone around a printed original, then cast parts in rigid or rubber-like polyurethane. For a few hundred, we pour more moulds from the same original.
- Past about 1,000 parts: injection moulding. A steel or aluminium tool costs more up front, but each part then costs very little. The design should be final first, because a tool is slow and costly to change.
3D printing, silicone moulding or injection moulding compares the three in detail.

Where to start: send what you have
If you have a sketch, a photo or a product to improve, talk to us or message us on WhatsApp. If you already have a 3D file, upload it to the instant quote for a price on the print. New to ordering? How to get something 3D printed in Singapore walks through it step by step.
Frequently asked
Do I need a CAD file to start a prototype?
No, you do not need a CAD file. A sketch, a photo, a product you want to change or a list of rough sizes is enough. Our designers draw the 3D model in-house, and you review it before anything is printed.
How long does it take to go from an idea to the first prototype?
It depends on the project, so we quote the timeline for each one. A simple bracket and a product with electronics inside take very different amounts of design work. Send us the brief and we give you a date before you commit.
How much does product design cost?
Design work is quoted per project, because the hours depend on how much there is to work out. Once a model is ready, printed parts are priced on our instant quote at /3dprint, and every reprint after a design change is priced the same way.
How many prototype rounds does a product usually need?
Several rounds are normal. A small part may be right on the second or third print; a product with a housing, moving parts and electronics often takes more. Each round answers a question, such as whether the latch holds or the board fits, so it is time well spent.
Which 3D printing process is best for a prototype?
It depends on what the prototype has to prove. Filament printing (FDM) is the quickest and cheapest for checking shape and fit, resin printing (SLA) shows fine detail for a looks-like model, and nylon powder printing (SLS or MJF) makes tough parts for function tests.
How many parts can you make after the prototype?
As many as you need, by the route that suits the quantity. We print one part to a handful, cast about 20 to 50 parts from each silicone mould (more moulds for a run of a few hundred), and move to injection moulding past about 1,000 parts.
Do I get the design files?
Yes, once the design work is paid for you receive the STL file of your part, ready to print anywhere. The STL is the file we hand over; the editable CAD model stays with us, and we can make changes to it for you later.
Can you design a housing around electronics?
Yes, we design housings around the boards, fans, batteries and ports they hold. Send us the parts or their sizes, and we draw the housing around them, then print it so you can fit the real electronics and check the vents, buttons and cable runs before the next round.
Related
-
 GuideHow do I get something 3D printed in Singapore for the first time?
-
 GuideUnderstanding our 3D Design Process
-
 GuideFDM, SLA, SLS, MJF or metal: which 3D printing process suits your part?
-
 ServiceProduct Development & Prototyping
-
 ServiceIndustrial 3D Printing
-
 ServiceSilicone Molding & Vacuum Casting
-
 ProjectAir purifier lamp for Apollo Envirotec
-
 ProjectWet lens adapter for an action camera dive housing
-
 Project3D printed AGV robot cover for Oriental Motor