

Reverse-engineered strap buckle
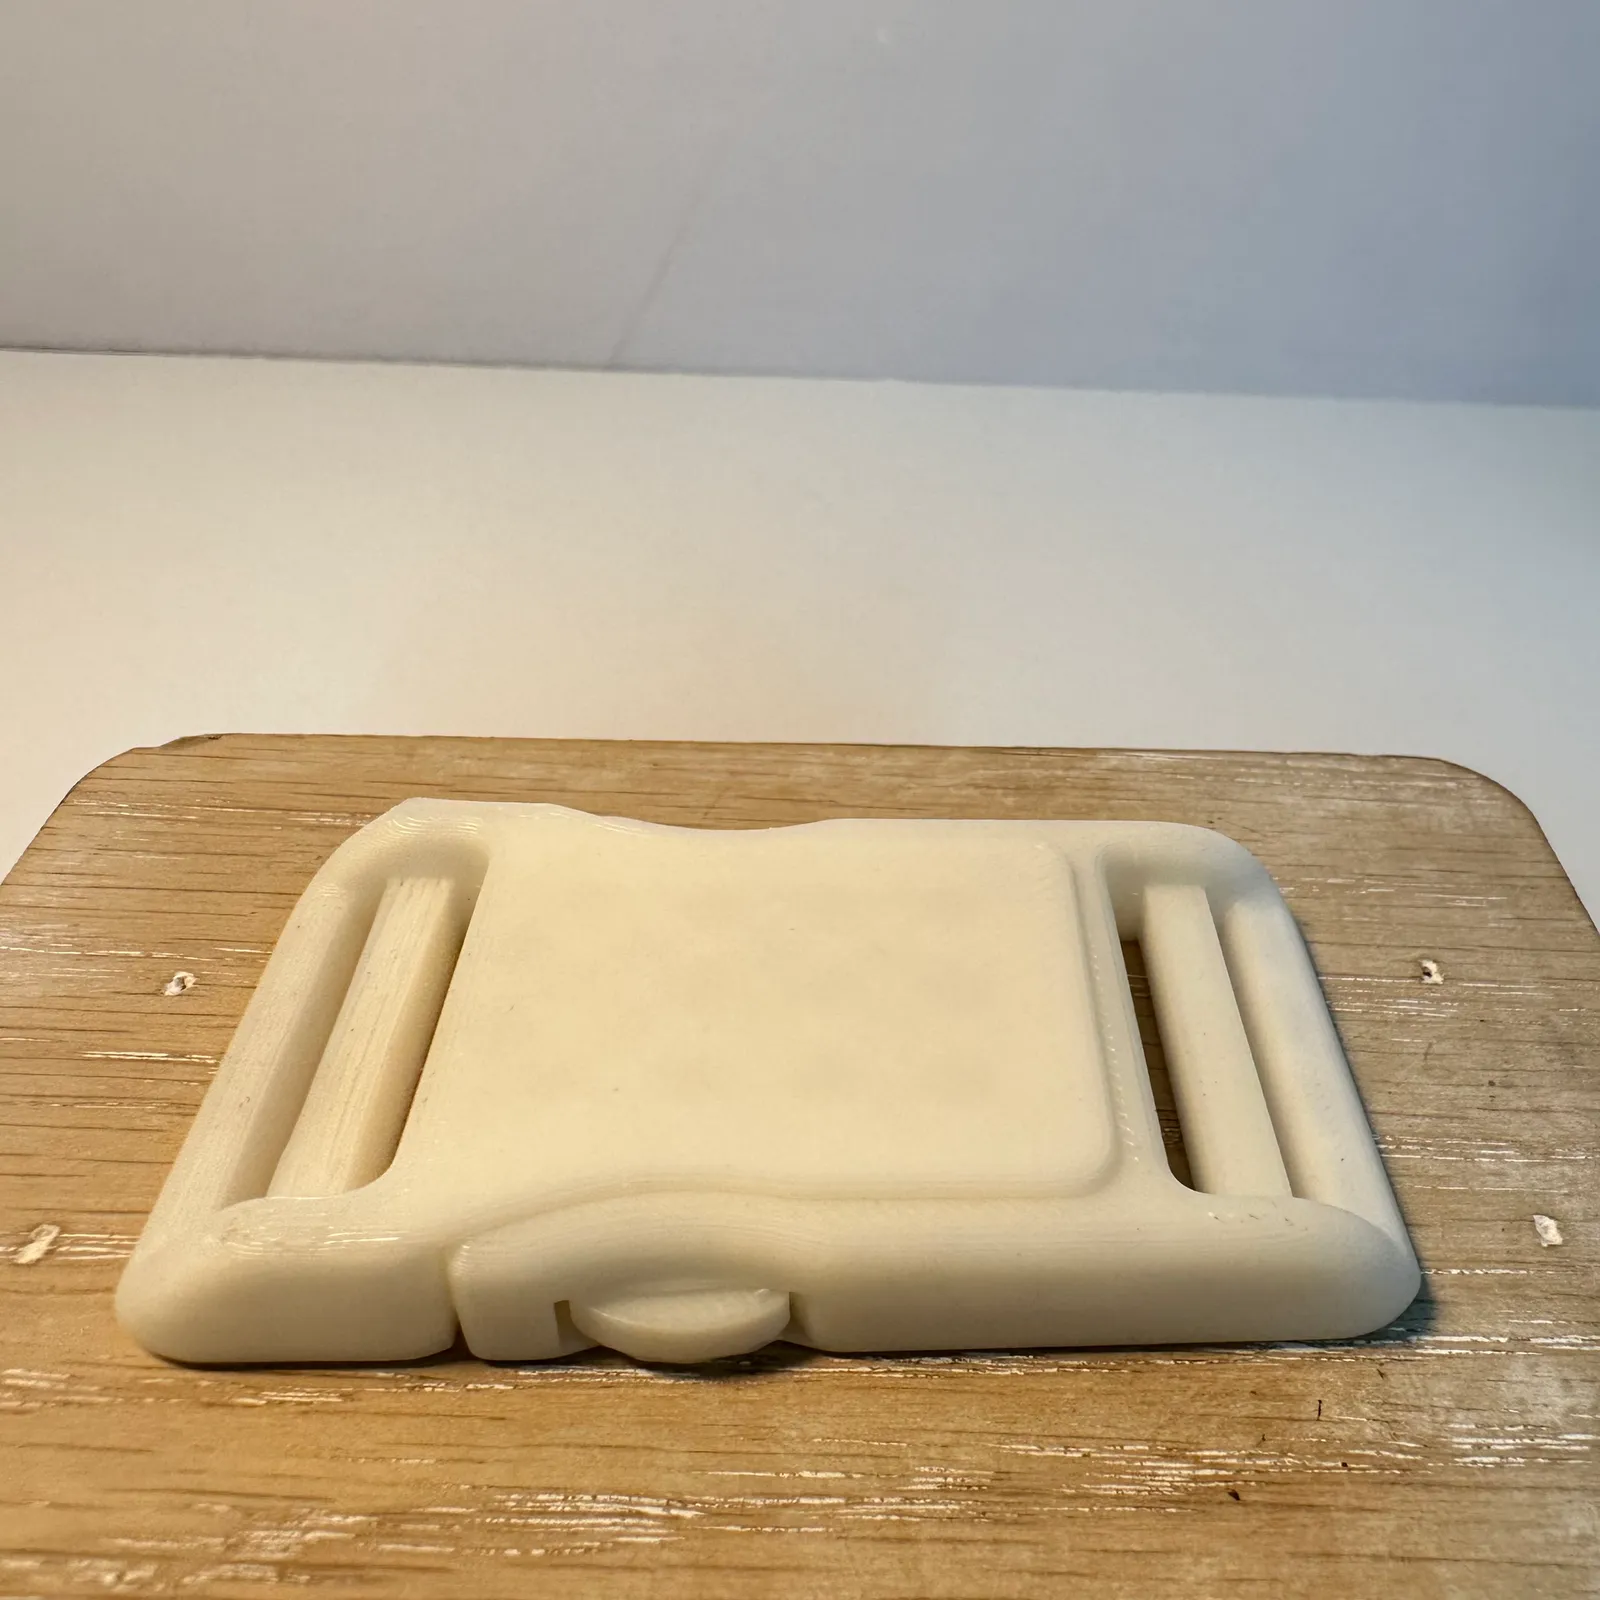
A replacement side-release buckle, modelled from the original in two parts and 3D printed in white, that clips shut and lets go by hand.
- Service
- Industrial 3D Printing
- What it is
- A two-part side-release buckle for a strap
- How it was made
- FDM 3D printed in white, left as printed
- How we checked it
- Clipped shut and released by hand on camera
What we brought
What we can do
From your old part to a working copy
We modelled both halves of the buckle from the original, so it works like the part it replaces.
How we look after you
Printed in our own studio
Both halves were 3D printed on our FDM printers in Singapore, in white, and left as printed.
What you get
Tested by hand before handover
We clipped the buckle shut and released it by hand, on camera, before handover.
Gallery
The whole project at a glance. Drag or swipe to browse; tap a picture to enlarge it.
1 / 9
-
The finished piece
-
The finished buckle, clipped shut.
-
From above, on a white table.
-
Its full length, slot to slot.
-
Both halves, standing upright.
-
ProductionThe two printed halves, side by side.
-
Printed layer lines along the edge.
-
ChecksThe socket and the clip, apart.
-
Squeezed, released and clipped shut again.
The build
How we built it
5 steps, from the brief to the finished piece. Pick a step to jump to it.
The brief
Step 1 of 5
- Type
- A side-release buckle, in two parts
- Strap
- A slot at each end for the webbing
- Use
- Clips shut and releases by hand
At Additive Inn, our 3D printing studio in Singapore, we made a replacement strap buckle. Our client needed a new side-release buckle that clips shut, holds the strap and lets go with a squeeze, like the one it replaces.
Measuring and modelling
Step 2 of 5
We measured the original buckle and modelled both halves in CAD: the socket, and the clip whose two springy arms snap into it and let go when the tabs on either side are pressed in.
Production
Step 3 of 5
We 3D printed both halves in white by FDM in our studio. The fine lines across the surface are the printed layers, left as they are, with no paint or coating.
Checks
Step 4 of 5
We slid the clip into the socket until its arms snapped home, then pressed the side tabs to release it, and repeated the test on camera to show it clips and lets go.
The final build
Step 5 of 5
The finished buckle clips shut in one push and comes apart with a squeeze of its two side tabs, ready for the strap to be threaded through the slots at each end.
More production runs
See all production runs →-
 Custom angle trim strip A one-off black angle trim strip for a private client, 3D printed in one piece to a right-angled profile with a lip along its edge.
-
 Custom 3D printed brackets and fittings Small made-to-order parts from separate jobs: a wall bracket and clip, a flanged pipe elbow, a bent bracket, a support arm and a tray.
-
 3D printed socket and switch panel A matt black wall panel for two universal sockets and a light switch, 3D printed with openings measured from the real fittings.