

MRT construction diorama for LTA
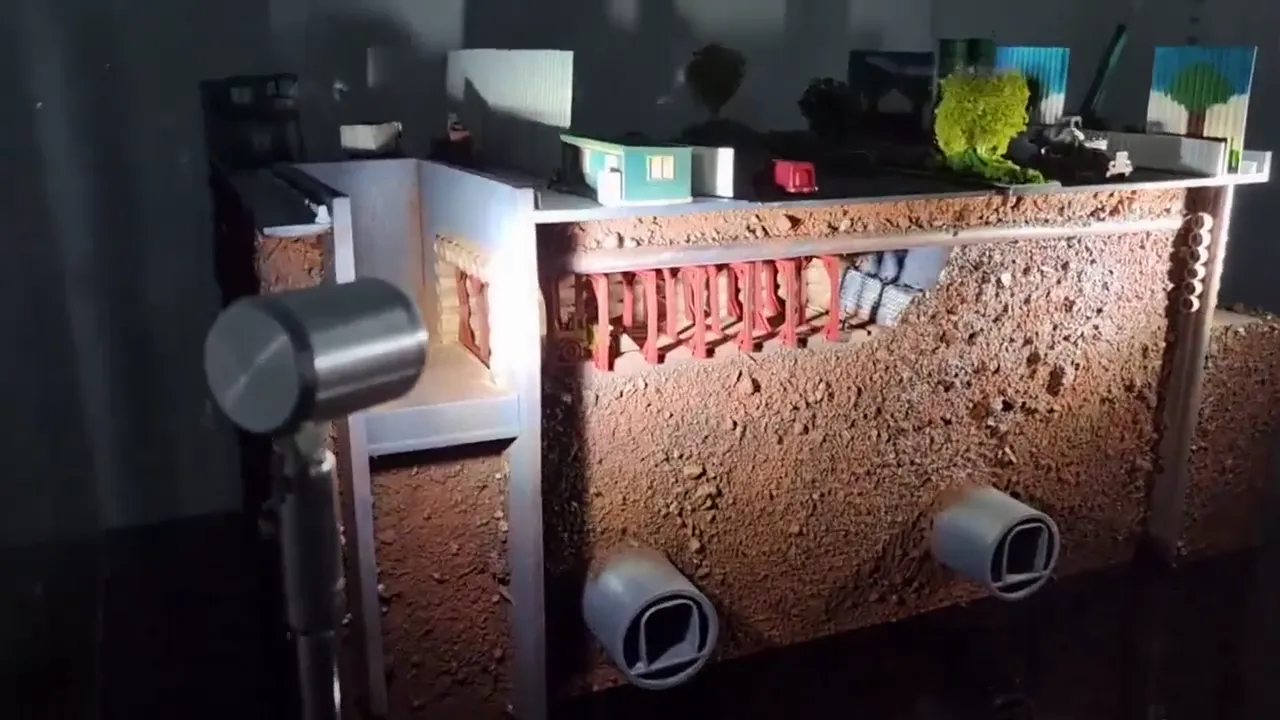
1:200 cutaways of MRT construction for LTA: street and worksite on top, the strutted dig, shaft and two tunnels below, lit in acrylic cases.
- Client
- LTA
- Service
- Scale Models
- Delivered
- Cutaway models you switch on with a button on the base
- Scale of the model
- 1:200
- Lit acrylic display cases
- 3
- Tunnels cut open below the street
- 2
- Fabrication time for all three cases, after design approval
- 9 to 11 weeks
What we brought
What we can do
We show what happens under the street, not just on it
The ground is cut open: struts across the dig, a shaft and two tunnels below, while traffic runs above.
How we look after you
We check the design with you on screen before we print
The scene was modelled in 3D first, with changes marked straight onto screenshots and the soil checked on progress photos.
What you get
A model that lights up and is ready to show
Each model sits in a clear acrylic case, lit by spotlights switched on with a button on the base.
Gallery
The whole project at a glance. Drag or swipe to browse; tap a picture to enlarge it.
1 / 86
-
The finished piece
-
The lit cut face, up close.
-
The road and worksite from above.
-
Street, worksite and dig in one view.
-
A finished model in its clear case.
-
Struts in rows beneath the road.
-
The lagging face, traffic overhead.
-
The cases in a row, lit.
-
A case on its base, button and all.
-
The lagging face under the lights.
-
The shaft corner through the acrylic.
-
The struts, lit from below.
-
Bus, cabin and lagging edge.
-
Down the lit shaft.
-
Into the lit cut face.
-
Along the strutted dig.
-
The cases lit in a row.
-
Close along the lit model.
-
Down to the maker's mark and signature.
-
From the street to the signed base.
-
Red struts brace the dig under the road.
-
One worker at the foot of the shaft.
-
Weathered site machinery behind the hoarding.
-
A site cabin, down to the parked bicycle.
-
An excavator inside its ring of cones.
-
The shaft, with the crane above it.
-
A strut frame on the crane's line.
-
Inside the shaft, lit.
-
Painted hoarding along the road.
-
Crane, excavator and two workers.
-
Truck, cabin and dusty floor.
-
The crane over the shaft edge.
-
Low across the worksite.
-
Along the street, at bus level.
-
The briefThree lit cases, ready to show.
-
Design & fitmentRenderThe scene modelled in 3D before printing.
-
RenderChanges marked on a screenshot of the model.
-
RenderAnother round, marked on the grey model.
-
DrawingThe case and its base, planned alongside.
-
FabricationThe ground block, straight off the printer.
-
Struts, tanks and vehicles printed in batches.
-
Each small part trimmed by hand.
-
Crane and truck tried on the white block.
-
A panel of the block off the printer.
-
Across the printed parts.
-
Tanks, struts and cabins, laid out.
-
Small parts on sticks, ready for paint.
-
Build and assemblyThe lagging painted, before the soil goes on.
-
Painting the soil face by hand.
-
The soil texture going on.
-
Pressing the soil in by hand.
-
Around the painted block.
-
Brushing in under the road.
-
Finishing along the dig.
-
Setting a figure on the worksite.
-
Placing the scenery on top.
-
The team setting the street by hand.
-
Fitting the button into the base.
-
Soldering the spotlight wiring.
-
Wiring the base.
-
Setting the spotlights on the top.
-
The model set between the lights.
-
The clear cover goes on.
-
The street and worksite set on top.
-
Cabins, trucks and hoarding in place.
-
Along the road at the bench.
-
The worksite corner, being set.
-
Down the road, cars in their lanes.
-
The road meets the shaft.
-
The whole top from above.
-
At the desk, shaft and worksite.
-
The spotlights tried in the case.
-
The lights tried from the side.
-
The wiring, before it went into the base.
-
A tunnel end fitted to the soil face.
-
The street set on the painted block.
-
The road from the front.
-
Footbridge, truck and two-storey cabin.
-
Tanks, cabin and crane by the road.
-
The worksite from the corner.
-
The crane end from above.
-
Traffic and painted hoarding on the road.
-
A cement mixer passing the worksite.
-
Past the shaft to the road.
-
The whole top, straight down.
-
The full scene from one corner.
The build
How we built it
5 steps, from the brief to the finished piece. Pick a step to jump to it.
The brief
Step 1 of 5
- Display
- Clear acrylic case with spotlights inside
At Additive Inn, our 3D printing studio in Singapore, we built 1:200 cutaway models of MRT construction for LTA, each lit in its own acrylic case. The work below ground had to read at a glance, with street life carrying on above.
Design & fitment
Step 2 of 5
We modelled the whole scene in 3D first and marked changes straight onto screenshots, so every round was settled before printing. The case was planned alongside: clear acrylic on a black top, over a deep base for the wiring.
Fabrication
Step 3 of 5
The ground block was printed in plain white, then the struts, tanks, cabins and vehicles in batches.
Build and assembly
Step 4 of 5
The block was primed, then the lagging painted, then the soil textured and painted by hand, layer by layer. The machinery was weathered, the scenery set on top and the lights wired into each base.
The final build
Step 5 of 5
Each model sits lit in its own case: buses, cars, hoarding and a crane at work above; the strutted dig, shaft and two tunnels in hand-finished soil below.
The details
At 1:200 the small things tell the story: struts bracing the dig, one worker in the shaft, site machinery and a parked bicycle.
More scale models
See all scale models →-
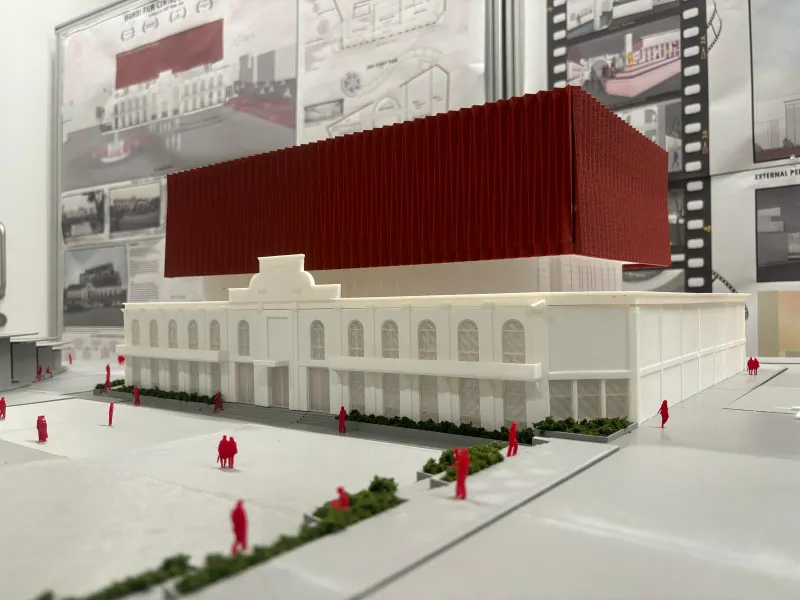 Yong Jun Sek, NUS Architecture Hanoi Film Centre architecture model for Yong Jun Sek A site model of the Hanoi Film Centre & Archive: a red fluted block over the original white building, with its square, streets and waterside.
-
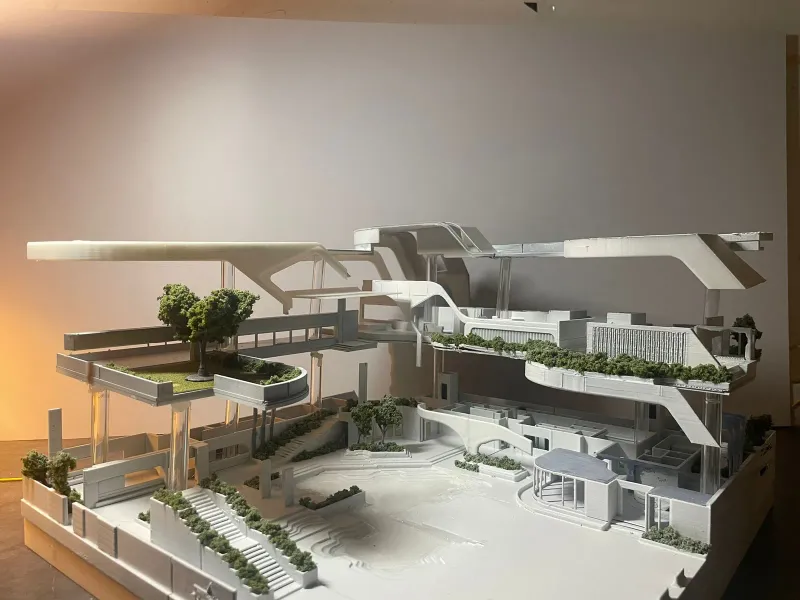 A private client Three-storey architectural scale model A 1:150 three-storey building, modelled from the client's drawings and printed level by level, with every floor open to view.
-
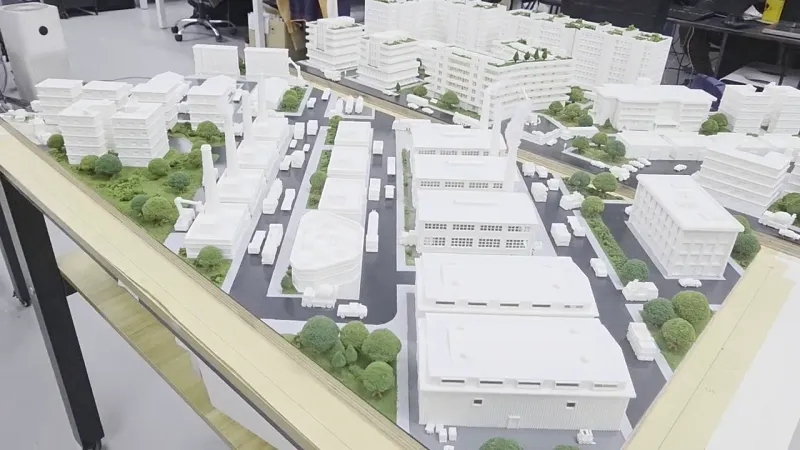 Residential and industrial comparison model for Knoxx A scale model for Knoxx that sets a green residential district beside an industrial one, built straight from brief to finished model.