Acrylic Case for a Singapore Institute of Technology Project
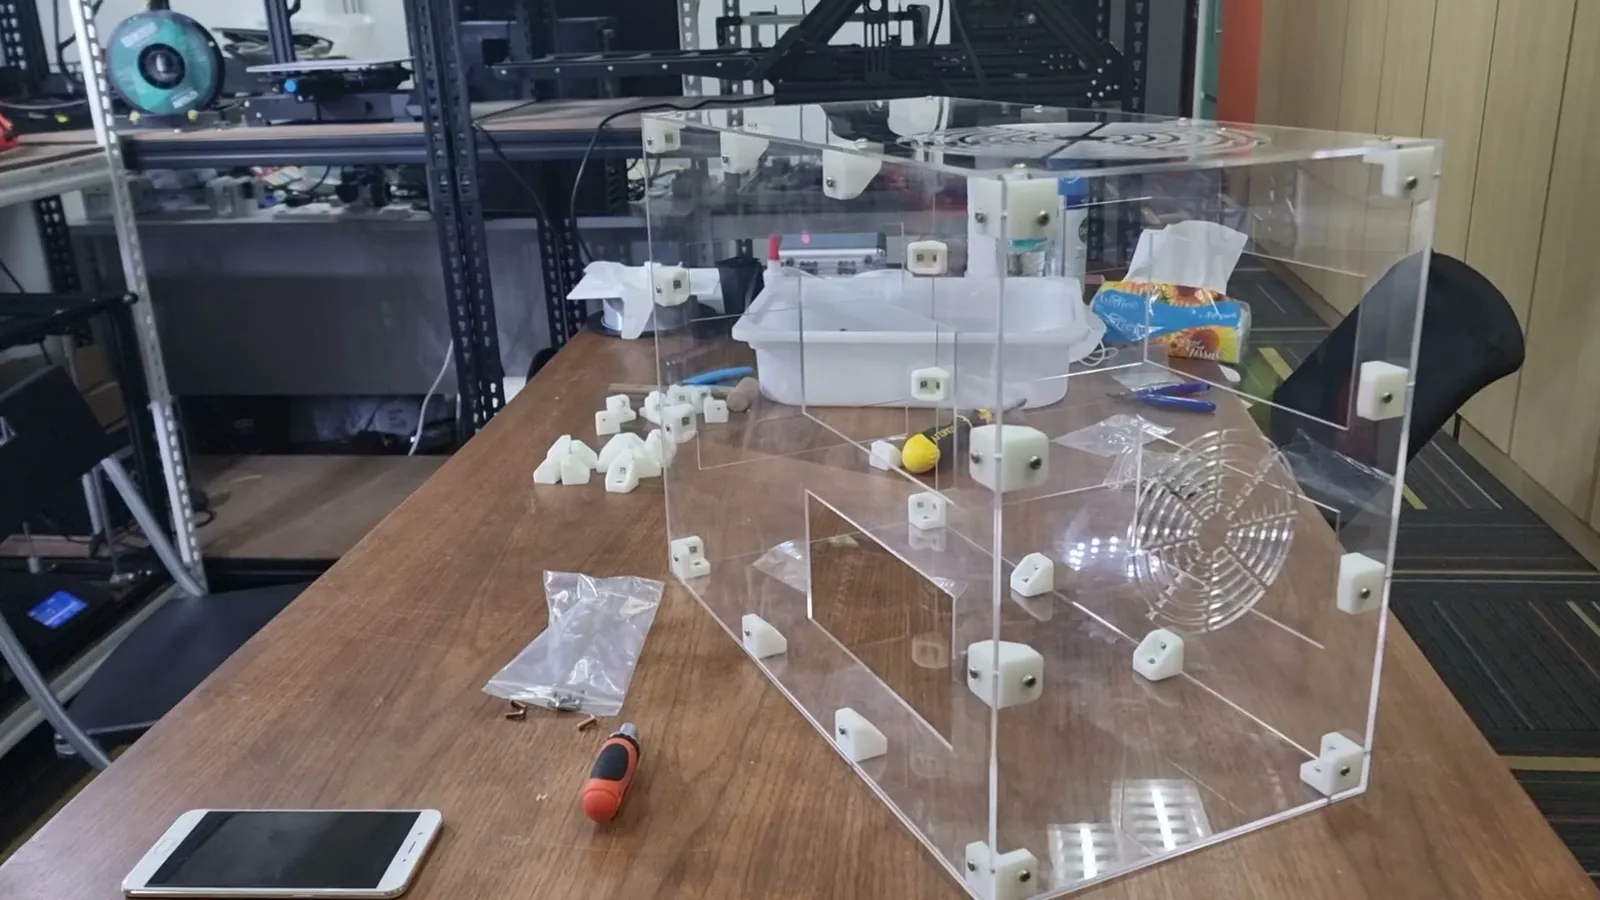
A clear acrylic case with fan grilles for a Singapore Institute of Technology student, held together by 3D printed corner brackets and screws.
- Client
- Singapore Institute of Technology
- What it is made of
- Clear acrylic panels and white tough resin brackets
- How it goes together
- Screws into nuts held inside each bracket, no glue
What we brought
What we can do
Every panel drawn to size first
We drew each panel to size, fan grilles and cut-outs included, before any acrylic was cut.
How we look after you
Brackets instead of glue
Printed brackets with captive nuts hold the 3 mm panels, so the case screws together and comes apart.
What you get
Clear on every side
Clear acrylic all round shows what sits inside, with round grilles cut into the panels for fans.
Gallery
The whole project at a glance. Drag or swipe to browse; tap a picture to enlarge it.
1 / 10
-
The finished piece
-
Around the finished tall box.
-
Both boxes, finished and side by side.
-
Design & prototypingRenderThe tall box, brackets on every edge.
-
RenderThe wide box with its fan grilles.
-
DrawingThe lower body, dimensioned in five views.
-
DrawingEvery panel laid flat for cutting.
-
ProductionThe printed brackets, ready for their nuts.
-
Build & assemblyA nut pressed into each bracket.
-
Peeling the panels and screwing them together.
The build
How we built it
5 steps, from the brief to the finished piece. Pick a step to jump to it.
The brief
Step 1 of 5
- Panels
- 3 mm clear acrylic
- Brackets
- 3D printed in tough resin
At Additive Inn, our 3D printing studio in Singapore, we designed and built a clear case for a Singapore Institute of Technology student's "Pod" project. It called for fan openings and cut-outs in clear acrylic.
Design & prototyping
Step 2 of 5
We drew every panel to size and modelled both boxes in 3D. Printed brackets along each edge carry nuts, so the panels screw on and can come off again.
Production
Step 3 of 5
The corner and edge brackets were printed in tough resin, which holds a nut and takes a screw. The panels were laser cut from 3 mm clear acrylic, grilles and cut-outs included.
Build & assembly
Step 4 of 5
We pressed a nut into each bracket, peeled the protective paper off the panels and screwed the boxes together, edge by edge.
The final build
Step 5 of 5
Two clear boxes, square and rigid, with fan grilles cut into their sides and every panel held by a printed bracket. The panels unscrew if anything inside needs to change.
More product development
See all product development →-
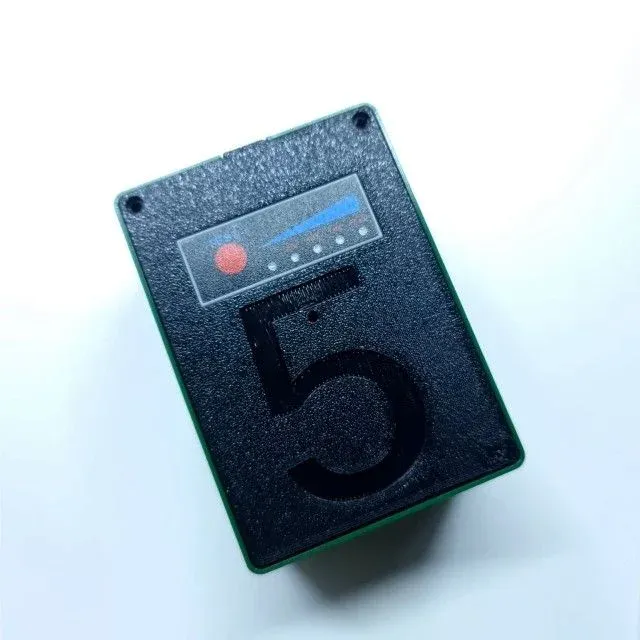 3D Printed Electronics Enclosure (FDM) Our own pocket-sized case for a battery-powered sensor board, designed around its parts and FDM printed in our Singapore studio.
 -
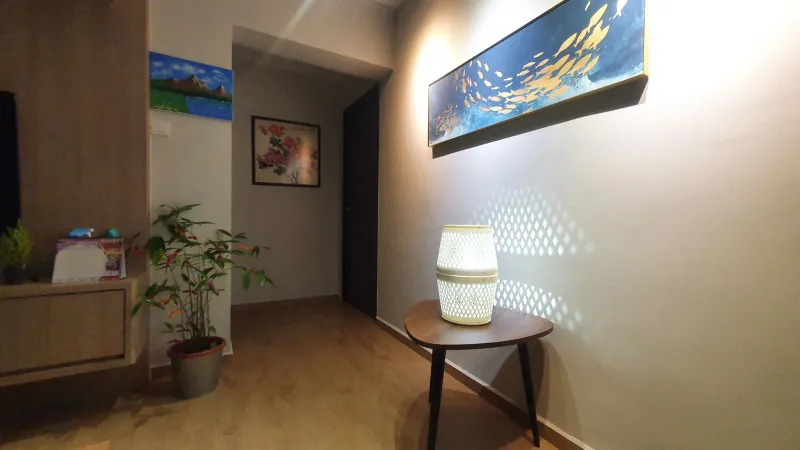 Apollo Envirotec Air Purifier Lamp for Apollo Envirotec An air purifier that doubles as a lamp for Apollo Envirotec: we designed the housing around its electronics and printed each prototype in our studio.
 -
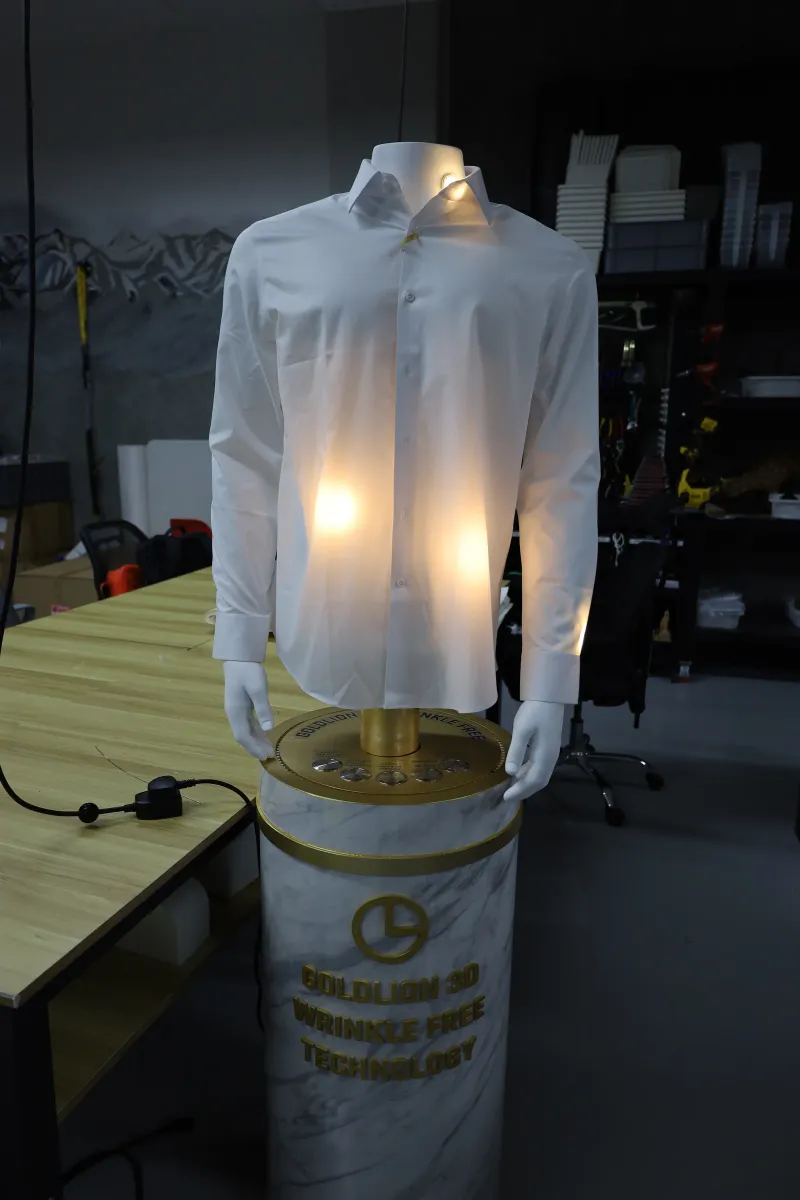 Goldlion Goldlion Interactive Shirt Display A life-size Goldlion shirt display that turns on a marble and gold plinth, with lights inside the torso and a button for each claim.