

3D printed remote control enclosure
A slim enclosure for a six-button remote control, refined through printed test shells and checked with its own circuit board inside.
- What it is
- An enclosure for a six-button remote control
- How it was made
- 3D printed test shells, then the final enclosure
- Checked with
- The remote's own circuit board, every button pressed
What we brought
What we can do
We print test shells first
A green test print and two white shells came before the final enclosure, each one checking the button openings.
How we look after you
Built around the real board
The circuit board and its coin cell sit inside the printed base, closed by a separate back cover.
What you get
Every button checked
With the board inside, we pressed each button in turn to check it worked through the enclosure.
Gallery
The whole project at a glance. Drag or swipe to browse; tap a picture to enlarge it.
1 / 7
-
The finished piece
-
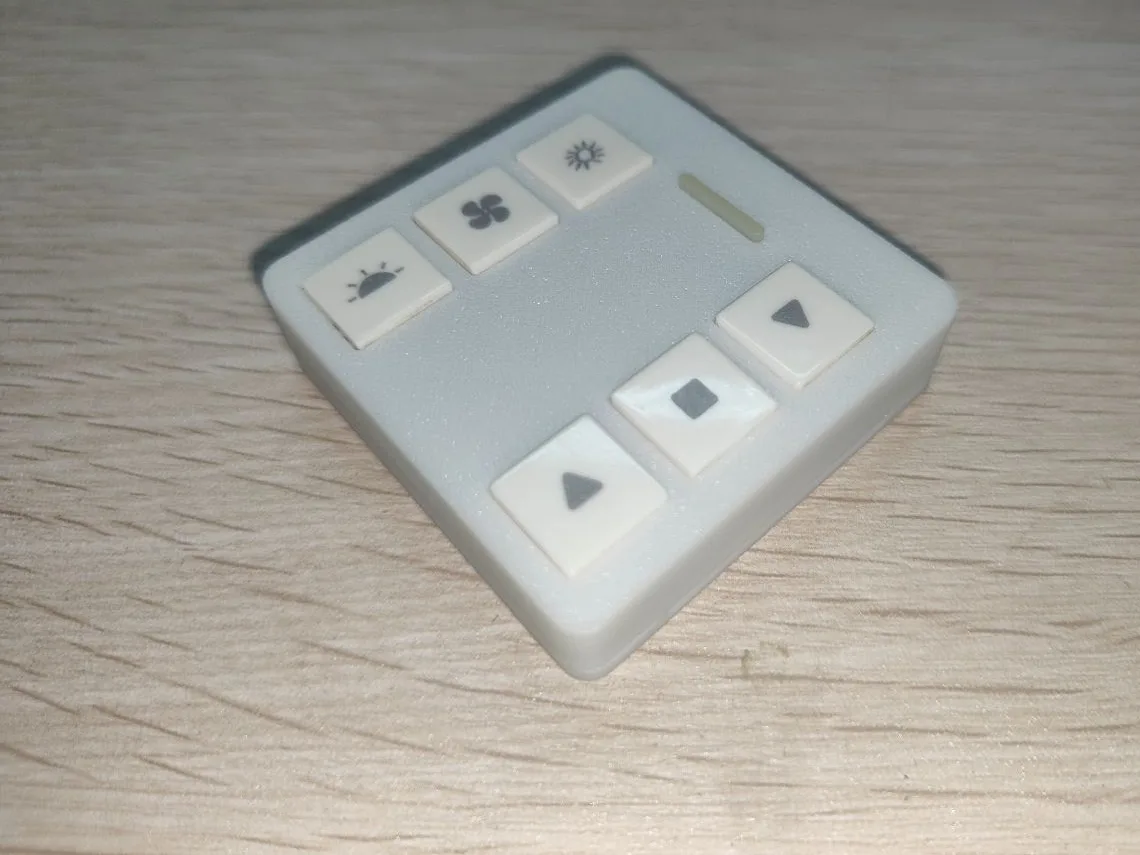
The finished remote control.
-
The button caps, standing proud.
-
ProductionThe test shells beside the finished remote.
-
Button openings, from test print to final.
-
Build and assemblyThe circuit board in the printed base.
-
Button caps going on.
The build
How we built it
4 steps, from the brief to the finished piece. Pick a step to jump to it.
The brief
Step 1 of 4
- Buttons
- Six square buttons, each with its own icon
- Inside
- The remote's circuit board and a coin cell
- Back
- A separate cover that closes the base
At Additive Inn, our 3D printing studio in Singapore, we 3D printed an enclosure for a six-button remote control. It had to hold the remote's circuit board and its coin cell, and carry six press buttons and a slim window.
Production
Step 2 of 4
We printed test shells before the final part: a green test print, then white shells with the button openings refined between them. The final top carries the six button caps and a slim window.
Build and assembly
Step 3 of 4
The circuit board, with its coin cell holder, drops into the printed base, and a separate back cover closes it. We then fitted the button caps and checked each one with the board inside.
The final build
Step 4 of 4
The finished remote is one slim white block: six icon buttons, a slim window and the circuit board closed inside.
More product development
See all product development →-
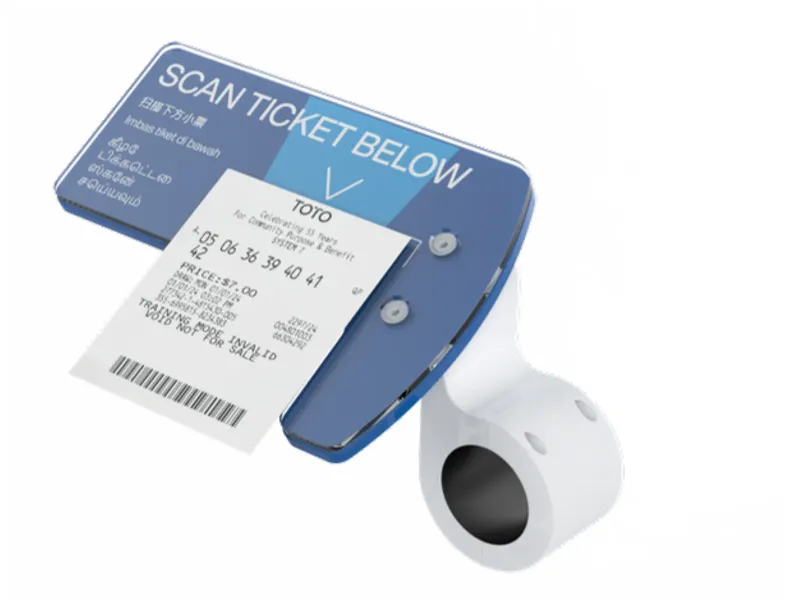 Singapore Pools Ticket holder for Singapore Pools tablet kiosks A ticket holder for Singapore Pools that clips onto a wall-mounted tablet kiosk and shows customers where to place their ticket to be scanned.
-
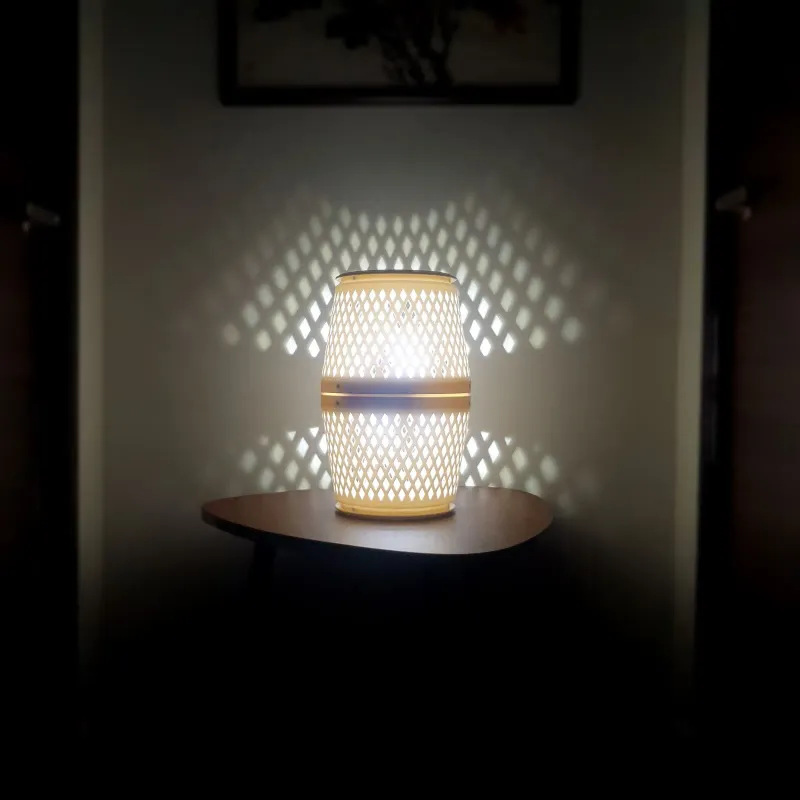 Apollo Envirotec Air purifier lamp for Apollo Envirotec An air purifier that doubles as a lamp for Apollo Envirotec: we designed the housing around its electronics and printed each prototype in our studio.
-
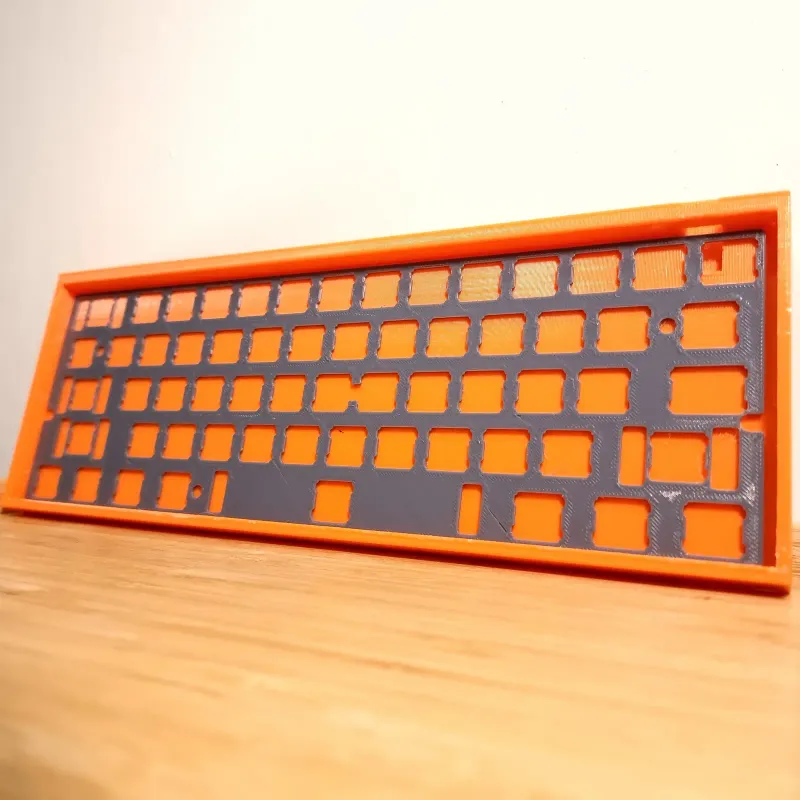 3D printed keyboard case and plate for a private client An orange case and a grey switch plate for a compact mechanical keyboard, 3D printed for a private client in four days.