

3D printing filament rig for recycled PET bottles
Our own 2022 project: a rig that turns used PET drinking bottles into 3D printing filament, from cut strip to small test prints.
- Whose project
- Our own, started in 2022
- Raw material
- Used PET drinking bottles
- What we reached
- A built rig, filament and small test prints
What we brought
What we can do
We build our own machines
We designed and built this rig ourselves: a strip feed, a heated nozzle, a motor-driven spool, speed and heat controls.
How we look after you
We know which plastics print
We chose PET because it is close to PETG, a common printing plastic, then printed small test pieces.
How fast we move
From concept to a built rig in two months
We started the concept build in March 2022 and photographed the finished rig on 03/05/2022.
Gallery
The whole project at a glance. Drag or swipe to browse; tap a picture to enlarge it.
1 / 7
-
The finished piece
-
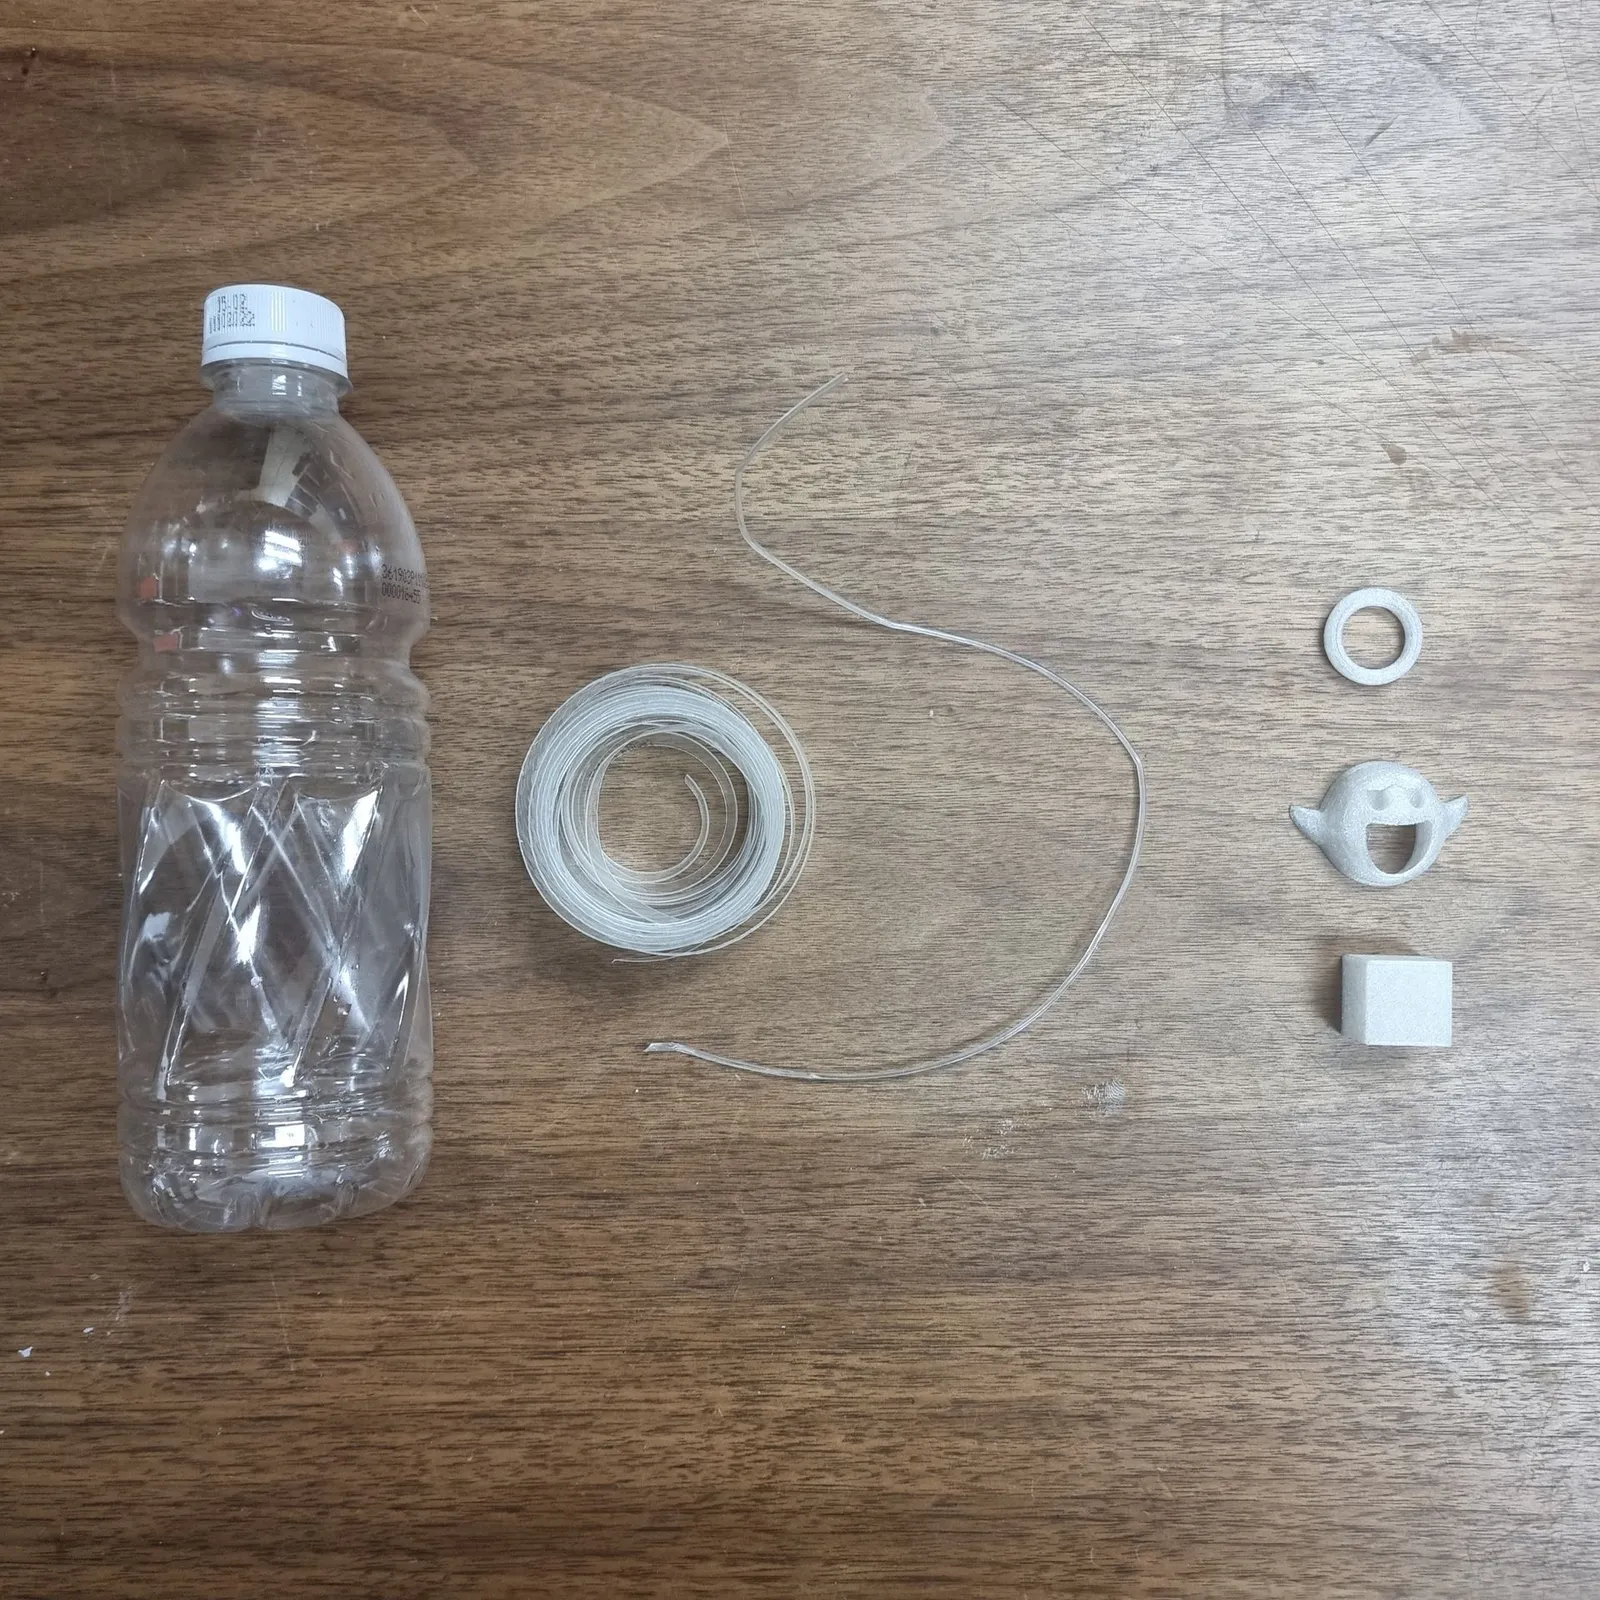
Bottle, strip, filament and test prints.
-
Test prints: a ring, ghost and cube.
-
Proof of conceptA bottle cut into one long strip.
-
The strip drawn through a heated block.
-
Building the rigOne base for feed, nozzle and spool.
-
Controls and housingThe display shows speed and heat.
The build
How we built it
5 steps, from the brief to the finished piece. Pick a step to jump to it.
The brief
Step 1 of 5 · 02/03/2022
- Raw material
- Used PET drinking bottles
- Step 1
- Cut each bottle into one long strip
- Step 2
- Draw the strip down to a usable filament diameter
- Step 3
- 3D print with the new filament
- The plan
- A proof of concept first, then production, then more plastics
At Additive Inn, our 3D printing studio in Singapore, we set out in 2022 to turn used PET drinking bottles into 3D printing filament. The aim was our own: reuse plastic waste as printing material, then take on more kinds of plastic.
Proof of concept
Step 2 of 5 · 18/03/2022
We picked PET because it is close to PETG, a plastic already used in 3D printing. The test had two steps: cut a bottle into one long strip, then draw the strip through a heated block to a usable filament diameter.
Building the rig
Step 3 of 5
We then built the whole process onto one plywood base: the strip feed at one end, a heated nozzle in the middle, and a motor-driven spool at the other that winds up the filament.
Controls and housing
Step 4 of 5 · 03/05/2022
The plywood base doubles as the housing. A front panel carries a display and two dials, and the display shows the spool motor's speed and the nozzle's heat.
The final build
Step 5 of 5 · 03/05/2022
On 03/05/2022 we laid the whole chain out on one table: a drinking bottle, the strip cut from it, the filament drawn from that strip, and three small test prints, a ring, a ghost and a cube.
More product development
See all product development →-
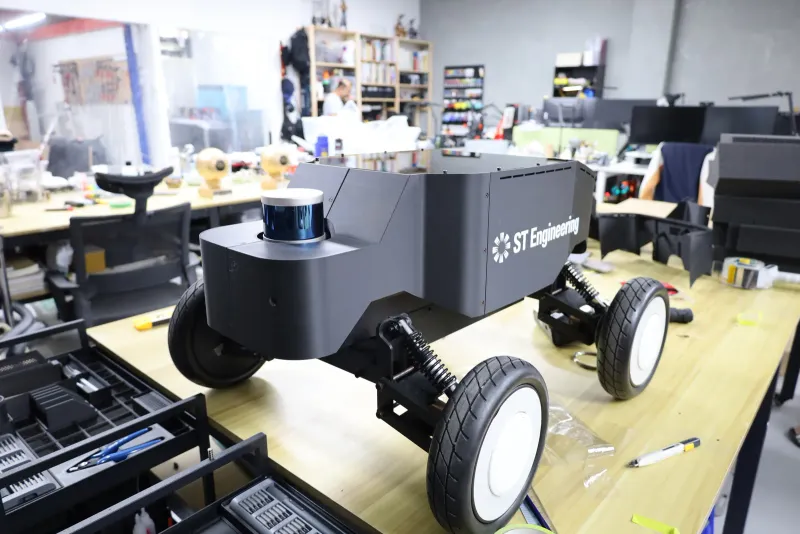 ST Engineering 3D printed robot casing for ST Engineering A matt black shell for ST Engineering's inspection robot, reworked from their own design so its LiDAR and camera see clearly.
-
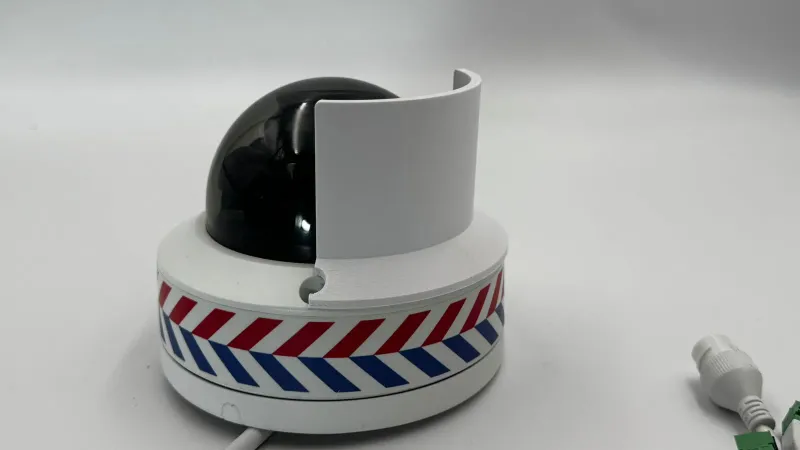 Fonda Global Engineering Privacy shield for a dome security camera A 3D printed shield that blocks part of a dome camera's view, designed for Fonda Global Engineering around the camera itself.
-
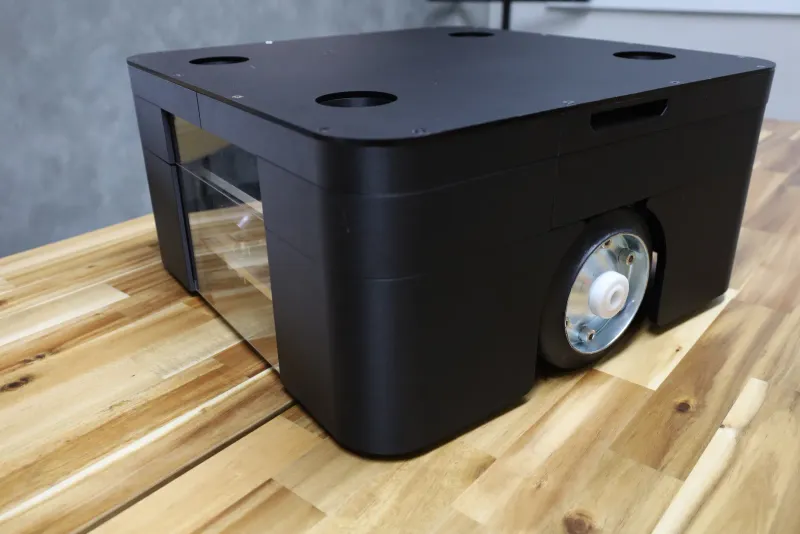 3D printed AGV robot cover for Oriental Motor A cover that protects Oriental Motor's factory robot without changing how it runs, designed on the robot itself and finished in six weeks.