

Drone Electronics Enclosure and Spotlight Mount
Two drone parts designed and 3D printed for Factorem: a housing for motors, boards and lights, and a spotlight that mounts on a small drone.
- Client
- Factorem
- Stage of the project
- Design and working prototypes, before any production run
- Designed from
- Factorem's earlier printed parts and the drone itself
What we brought
What we can do
We design from the parts you already have
We worked from Factorem's earlier printed parts and the drone itself, and redrew both for printing.
How we look after you
You review each design with us
Factorem reviewed the designs with us in booked sessions, with two rounds of changes in the scope.
What you get
Working prototypes, not empty shells
We fitted the housing's motors, boards and lights, tested the lights, and set the spotlight on the drone.
Gallery
The whole project at a glance. Drag or swipe to browse; tap a picture to enlarge it.
1 / 11
-
The finished piece
-
Lit from inside during testing.
-
The closed housing, a shaft each end.
-
A motor shaft through the end plate.
-
The clear window in the ribbed side.
-
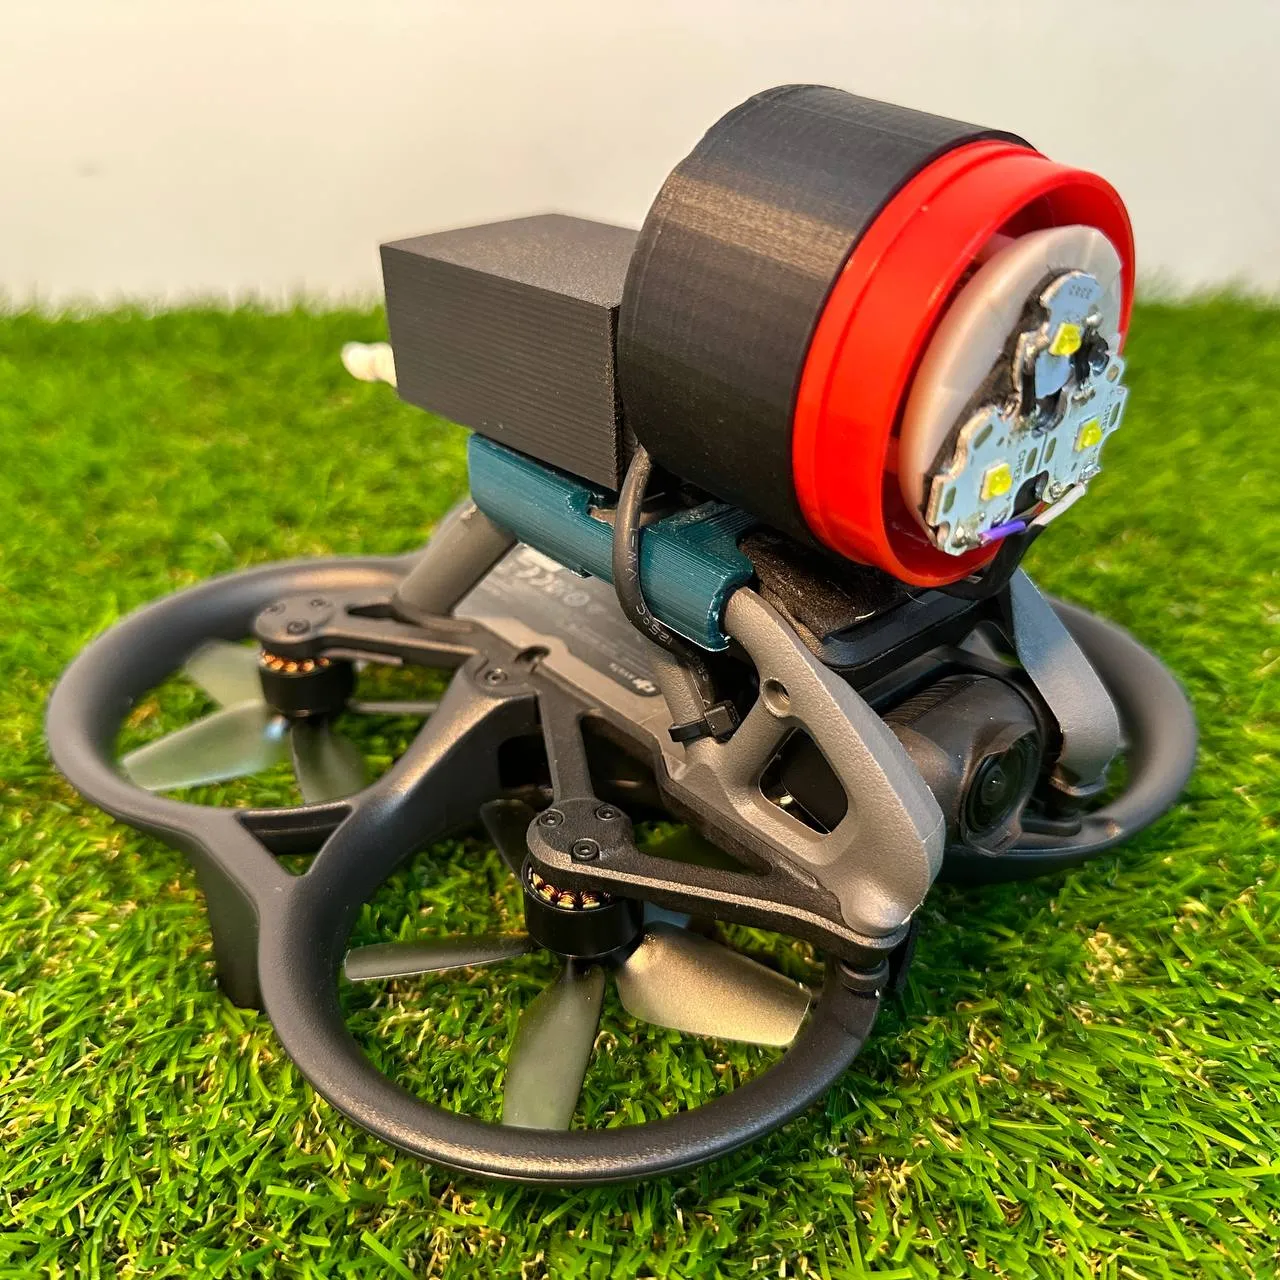
Three LEDs above the drone's camera.
-
The spotlight from the front.
-
The power box behind the light.
-
Build & assemblyMotors, driver board and computer on one frame.
-
Closing the electronics into the housing.
-
The mounting plate fitted to the drone.
The build
How we built it
5 steps, from the brief to the finished piece. Pick a step to jump to it.
The brief
Step 1 of 5
- Starting point
- Earlier printed parts and the drone itself
- Scope
- 3D designs made for manufacturing, with two rounds of minor changes
- Result
- Working prototypes, before any production run
At Additive Inn, our 3D printing studio in Singapore, we designed and 3D printed two parts for Factorem's drone project: a housing for its motors and electronics, and a spotlight mount. Factorem needed working prototypes before deciding on production.
Design & prototyping
Step 2 of 5
We redrew both parts for printing, combining separate pieces into single parts where we could. The housing holds the motors, their driver board and a small computer on one inner frame. Factorem reviewed the designs with us in booked design reviews.
Production
Step 3 of 5
We 3D printed the housing in white, with its inner frame and screw-down lid, and the spotlight's housing, power box and drone mount in black, red and teal.
Build & assembly
Step 4 of 5
We fitted the motors, boards and wiring to the inner frame and closed it into the housing, with a motor shaft out of each end. For the spotlight, we fitted the mounting plate to the drone.
The final build
Step 5 of 5
The housing closes into one ribbed white shell with a motor shaft at each end, and lights up from inside when powered. The spotlight sits above the drone's camera, with its power box behind it.
More product development
See all product development →-
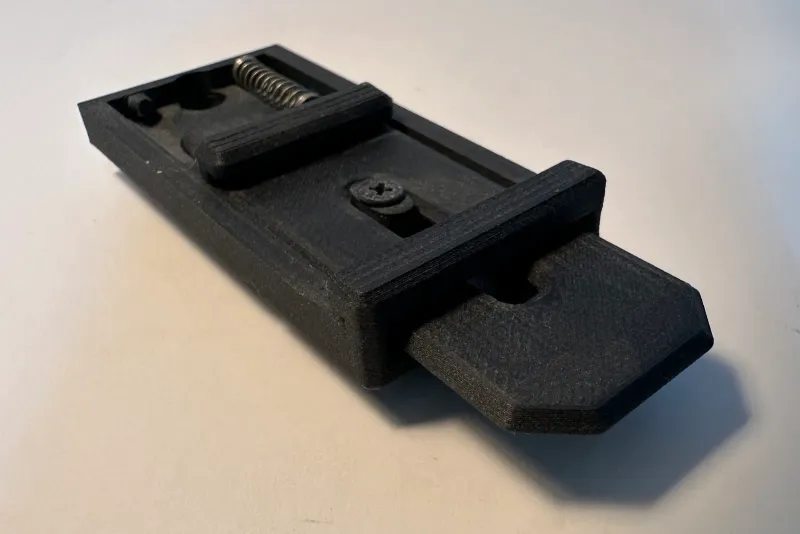 Spring-Loaded Quick-Release Rail Our own quick-release mount: a 3D printed rail with a sprung latch that clicks a part home and lets it go without tools.
 -
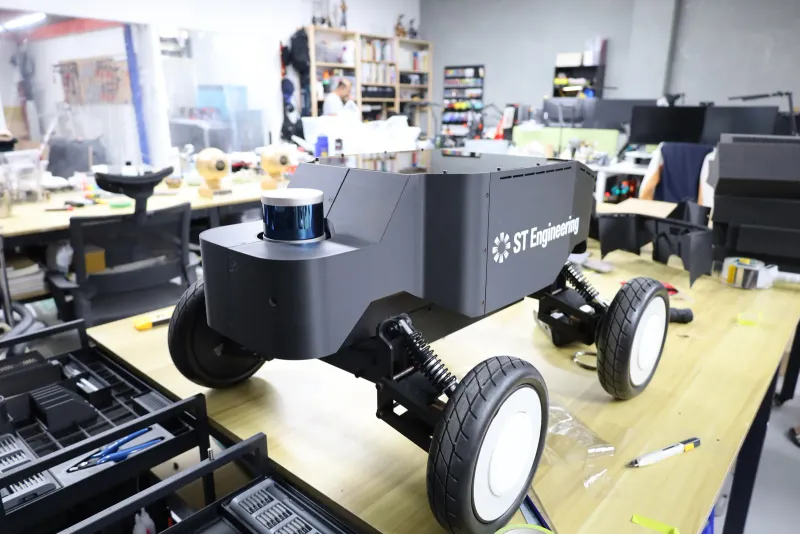 ST Engineering 3D Printed Robot Casing for ST Engineering A matte black shell for ST Engineering's vehicle-inspection robot, reworked from their own design so its LiDAR and camera see clearly.
 -
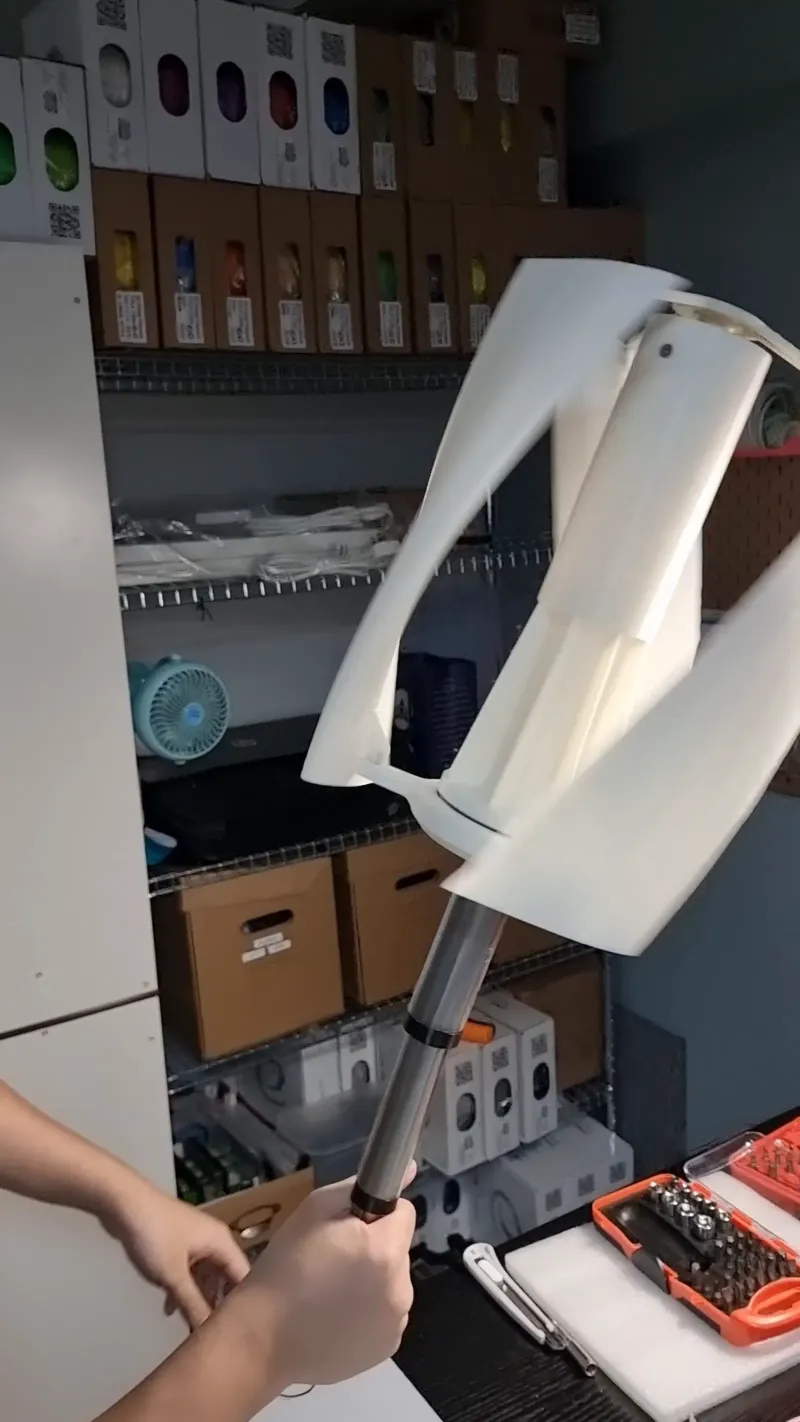 Vitorio Pandinata, NUS 3D Printed Vertical Wind Turbine for an NUS Student A working vertical-axis wind turbine, modelled in 3D from a student's references and 3D printed, with a generator built into the hub.