

What is vacuum casting, and when should you use it?
On this page
- Vacuum casting at a glance
- How vacuum casting works: five steps from one original
- Why the vacuum matters: no trapped air bubbles
- Finish: every cast copies the original
- Designing for vacuum casting: taper the walls, round the corners
- Other routes: print one or two, injection mould thousands
- Frequently asked
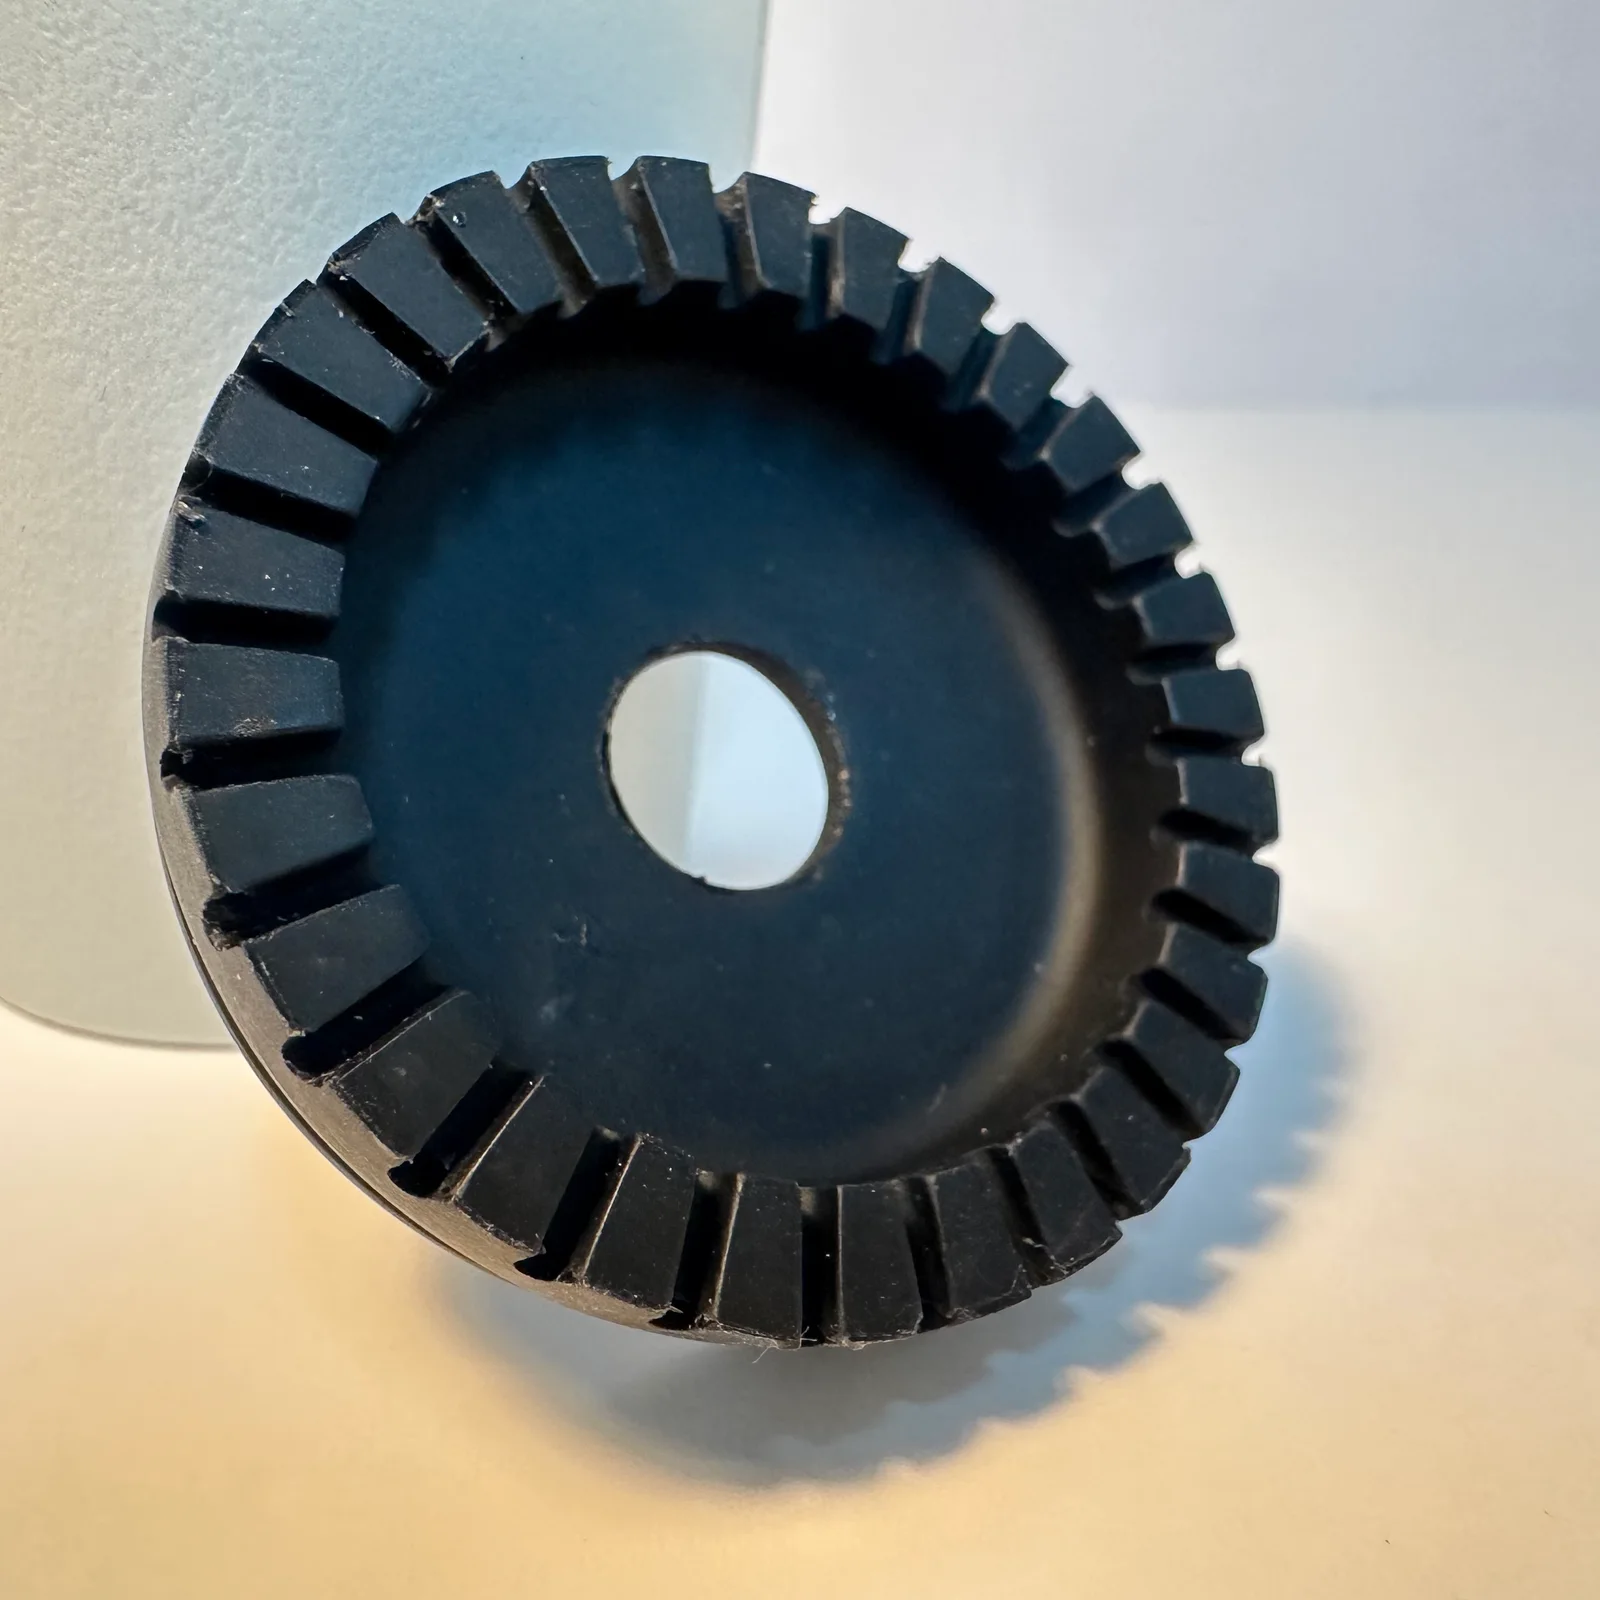
Vacuum casting copies one part many times: we 3D print and finish an original, pour liquid silicone around it to make a soft mould, then draw liquid polyurethane into that mould under vacuum so no air bubbles are trapped. It suits short runs of matching parts in hard, rubbery or clear material, and it is also called silicone moulding.
Vacuum casting at a glance
| What you want to know | Vacuum casting |
|---|---|
| What it does | Copies a 3D printed original in resin, using a soft silicone mould |
| Cast materials | Rigid ABS-like polyurethane, soft rubber-like polyurethane (Shore A 40 to 90), silicone, clear resin |
| Colour | Mixed into the resin to match your colour, or painted after a primer |
| Largest part | No fixed limit published: tell us the size and we confirm |
| Detail and finish | As fine as the original: the mould copies its surface exactly |
| Parts from one mould | 20 to 50, and more moulds from the same original for a few hundred |
| Lead time, as a general guide | About 1 week to design the master, 2 to 3 working days for the mould, then 7 to 10 working days of casting |
| Best for | Pilot runs, short production runs, rubber seals and grips, clear covers |
| Not for | One or two parts (print them) or thousands (injection moulding) |
Shore A is the hardness scale for rubber: 40 is soft and squashy, 90 is firm but still bends.
Lead times depend on the part’s size and design. Smaller parts can be faster, so check with us and tell us your deadline.
How vacuum casting works: five steps from one original
- Print the original. We 3D print the part, then sand and finish it until it is exactly what every cast should look like. Resin printing (stereolithography, SLA) starts smoothest, so it suits fine detail.
- Make the mould. The original sits in a mould box and liquid silicone is poured around it. Making the mould usually takes 2 to 3 working days. The mould opens in two halves, the original comes out, and a hollow the exact shape of the part is left behind.
- Fill it under vacuum. Polyurethane is mixed with its colour, and the closed mould goes into a vacuum chamber. The air is pumped out and the liquid is drawn into every corner of the hollow.
- Open and finish. Once the cast has set, the soft mould bends open and the part lifts out. We trim off the feed and the faint parting line where the halves met, then sand it.
- Repeat. One mould gives 20 to 50 casts before fine detail starts to soften. For a few hundred parts we pour more moulds from the same original, so every batch still matches.
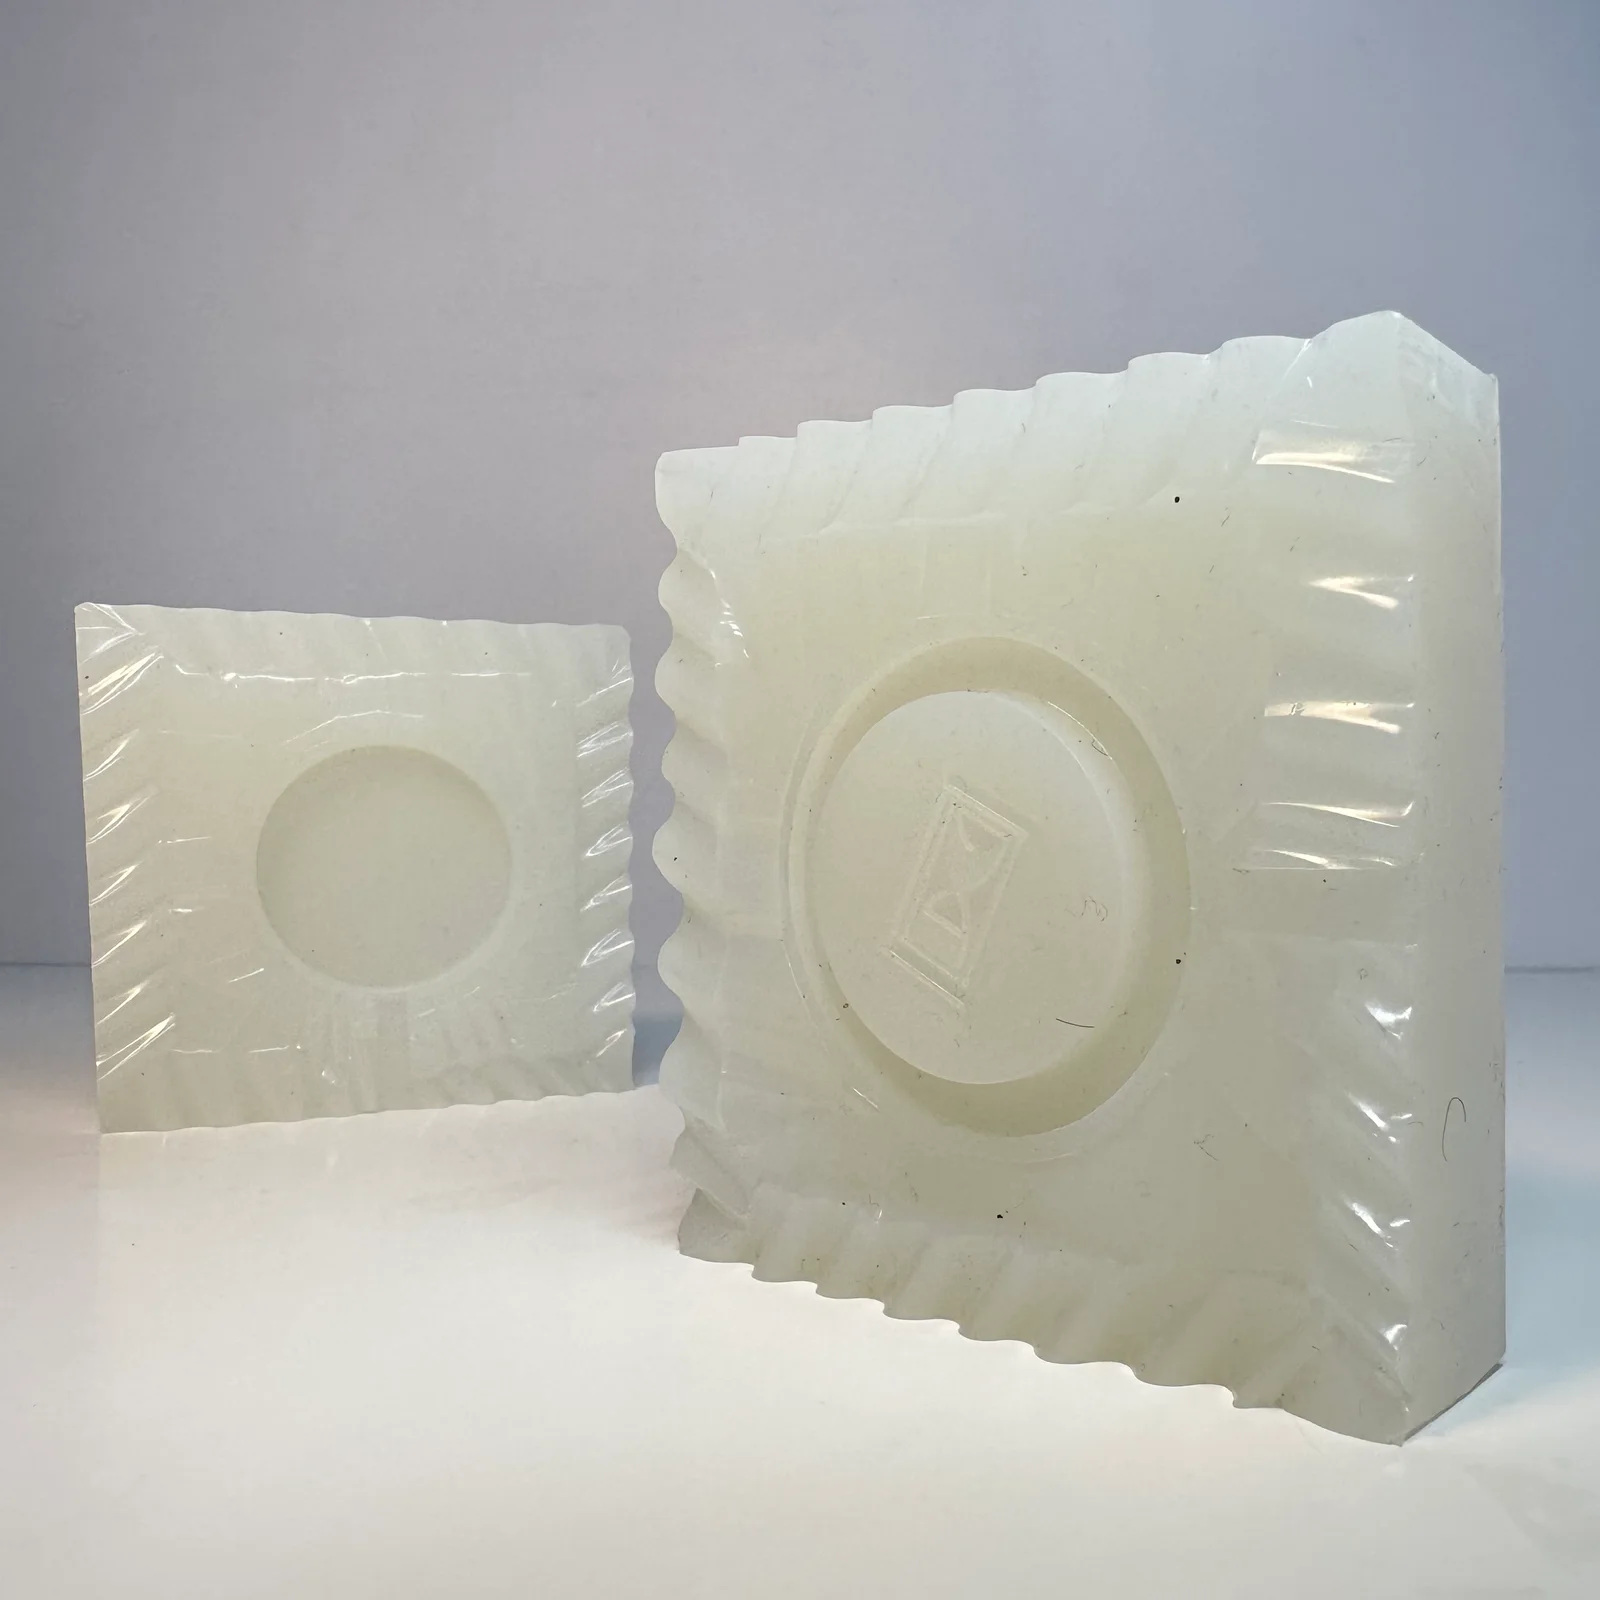
How many parts make vacuum casting worth it, against printing or a steel tool, is a question of its own: see 3D printing vs silicone moulding vs injection moulding.
Why the vacuum matters: no trapped air bubbles
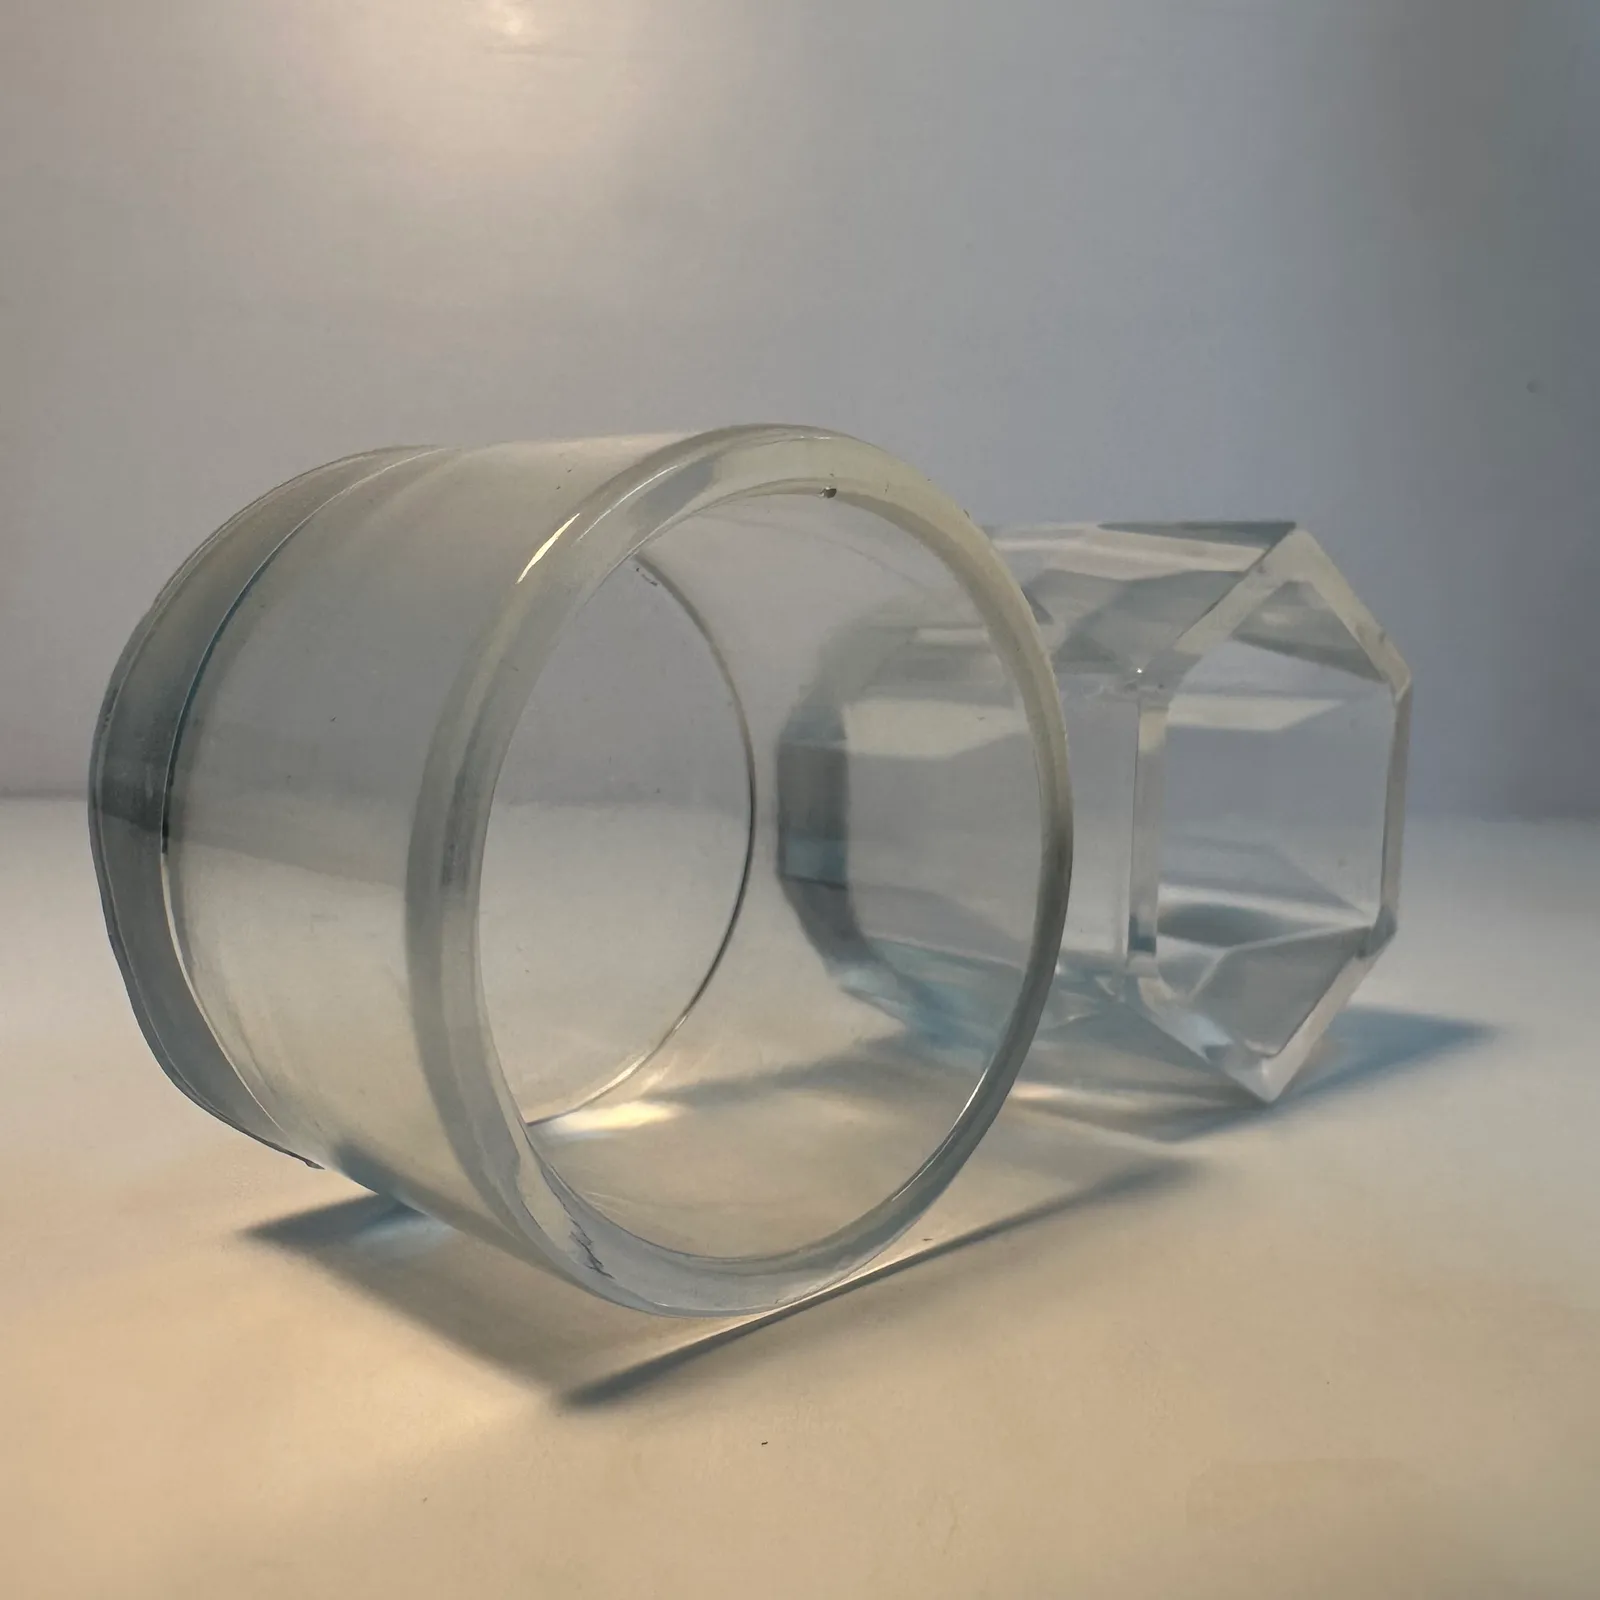
Stirring two liquids together traps air. Poured in open air, those bubbles stay in the resin and set as pinholes on the surface or hollows inside the part. In the vacuum chamber the air is pumped out, so the bubbles rise and burst, and the resin flows into thin walls and fine detail that it would otherwise skip. Formlabs’ casting guide describes the vacuum the same way: it stops air getting into the part.
- Clear parts show it most. In a clear cast every bubble is visible, so the vacuum is what makes a clean, see-through part possible.
- Small detail needs it. Fine teeth, ribs and lettering fill completely instead of ending in a rounded air pocket.
Finish: every cast copies the original
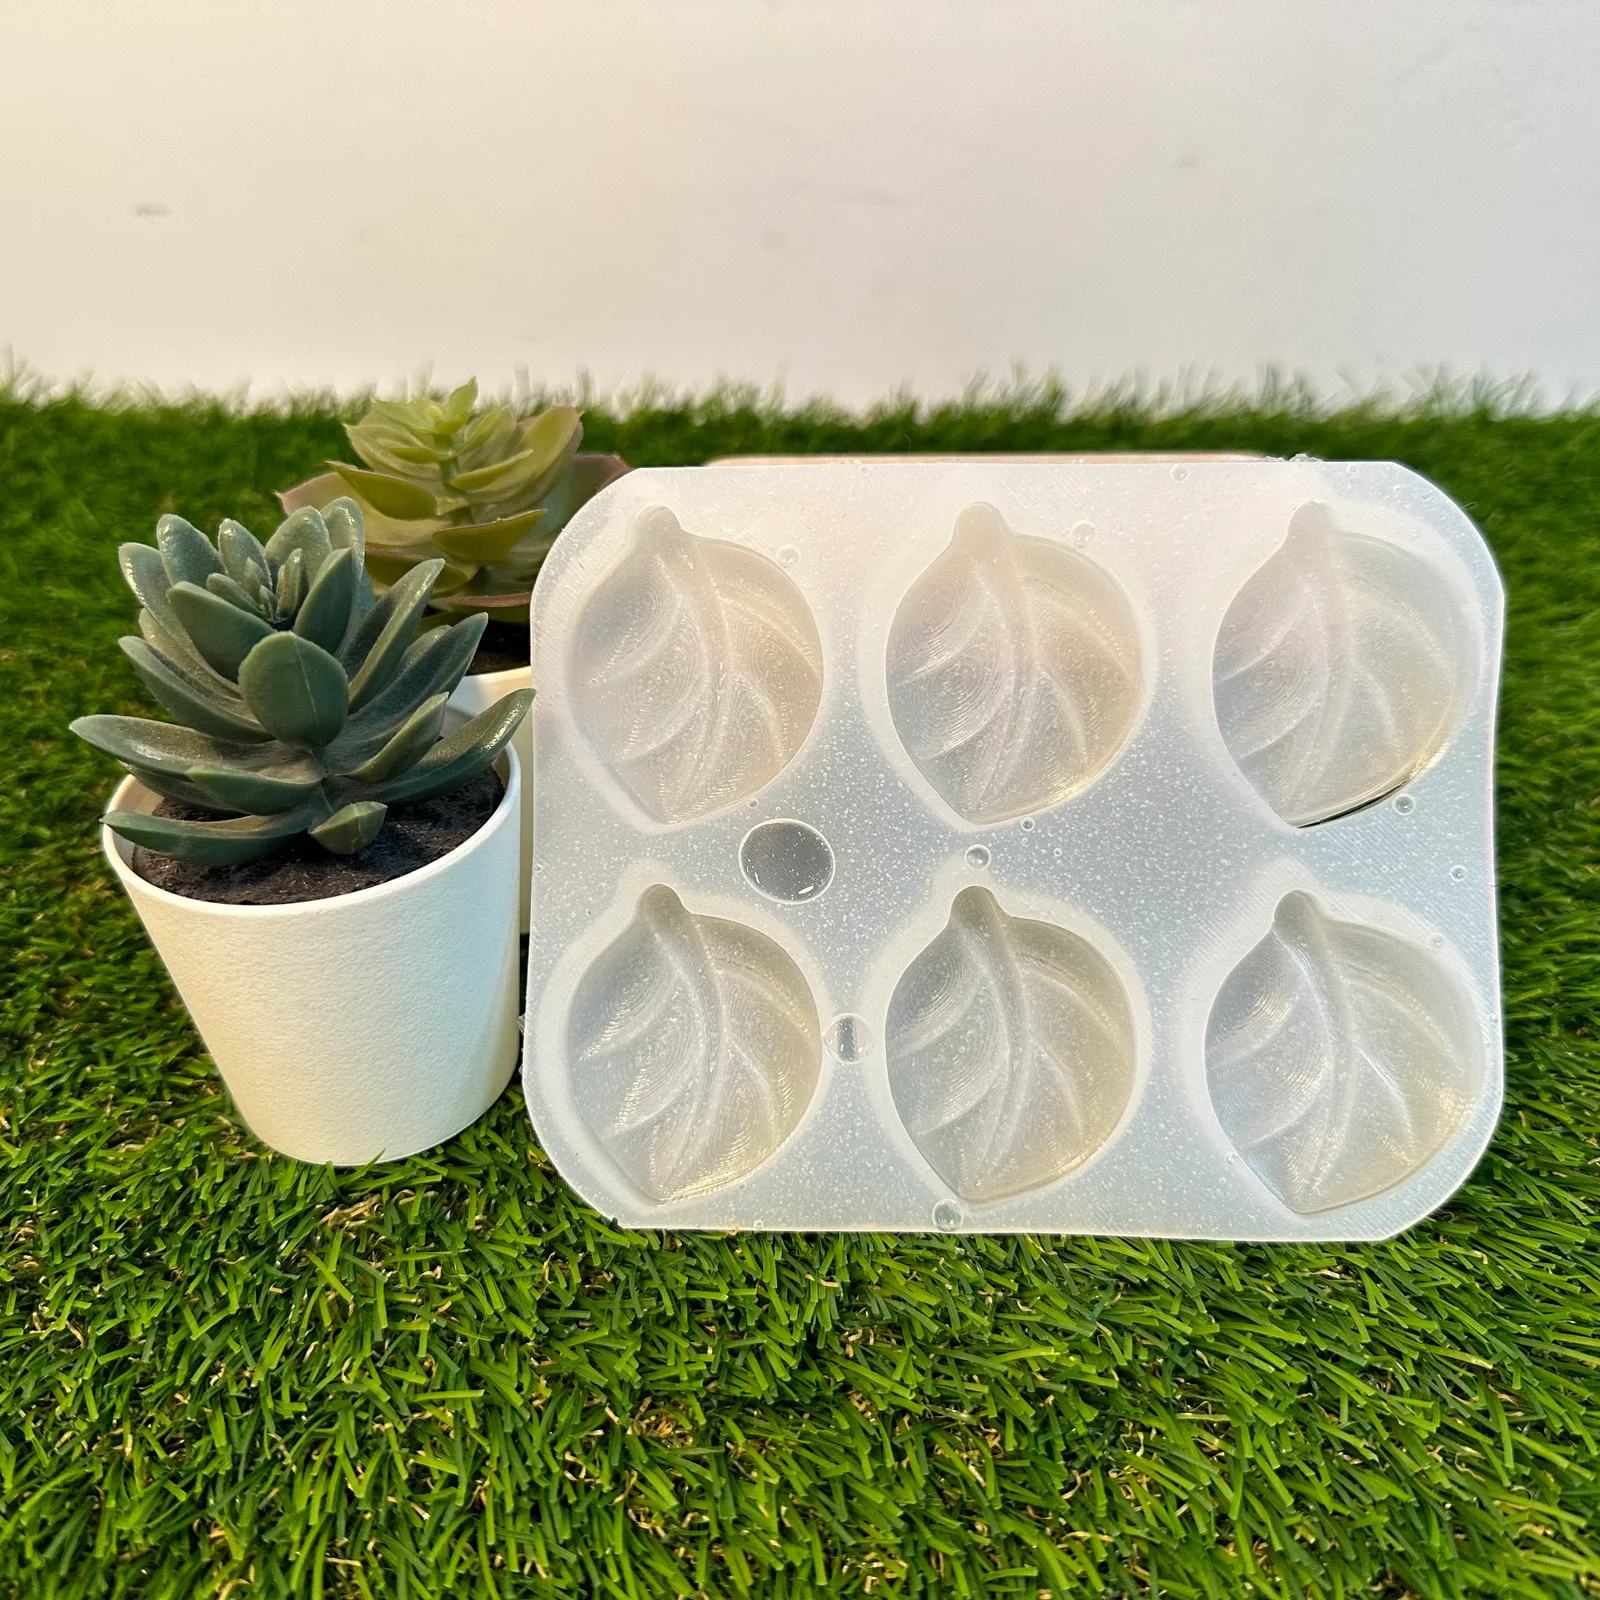
Silicone copies everything on the original: its shape, its texture, and every scratch or layer line. That is why the original is sanded and finished before the mould is made. Fix a flaw once on the original and it is gone from every cast; leave it, and it is on every cast.
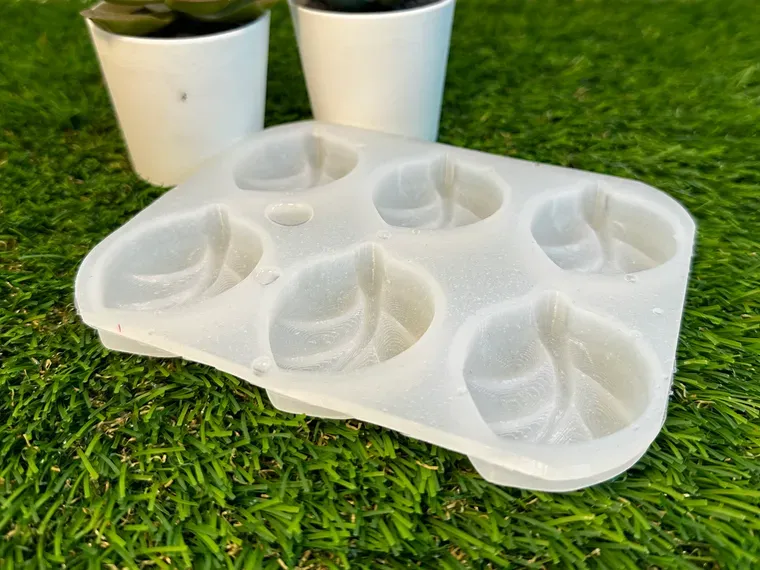
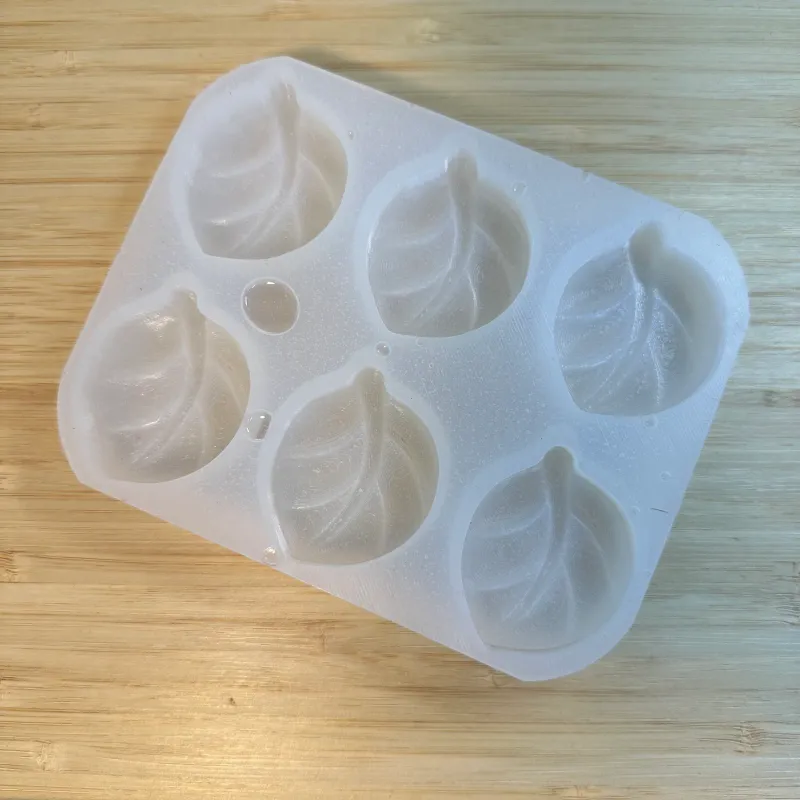
- Smooth or textured. A smooth original gives smooth casts. A texture, like the vein detail below, comes through on every part.
- Parting line. A faint line shows where the mould halves meet. We trim and sand it on every part.
- Colour. It is mixed into the resin, so a scratch shows the same colour underneath. Paint, when you need it, goes on after a primer: see painting and surface finishes.
- Clear casts. A clear cast is only as clear as the original is smooth, so a clear original is polished first.
Designing for vacuum casting: taper the walls, round the corners
A part designed for printing usually casts well too. These four rules make the mould last longer and the casts come out cleaner.
- Give the walls a slight taper. Straight walls with no taper (draft) grip the silicone as the part comes out, which wears or tears the mould. A small taper lets it slide free.
- Undercuts are fine, within reason. An undercut is a lip or groove that would lock a part into a hard mould. Silicone bends, so it peels over most of them. Formlabs notes a silicone mould allows significant undercuts. A very deep one may need the mould made in more pieces.
- Keep walls 1.5 to 4 mm thick. That is the range Formlabs’ guide recommends, with 1 mm as the absolute minimum. Thinner walls may not fill; thicker ones use more resin and take longer to set.
- Round the inside corners. A sharp inside corner becomes a sharp edge of silicone, which is where a mould tears first.
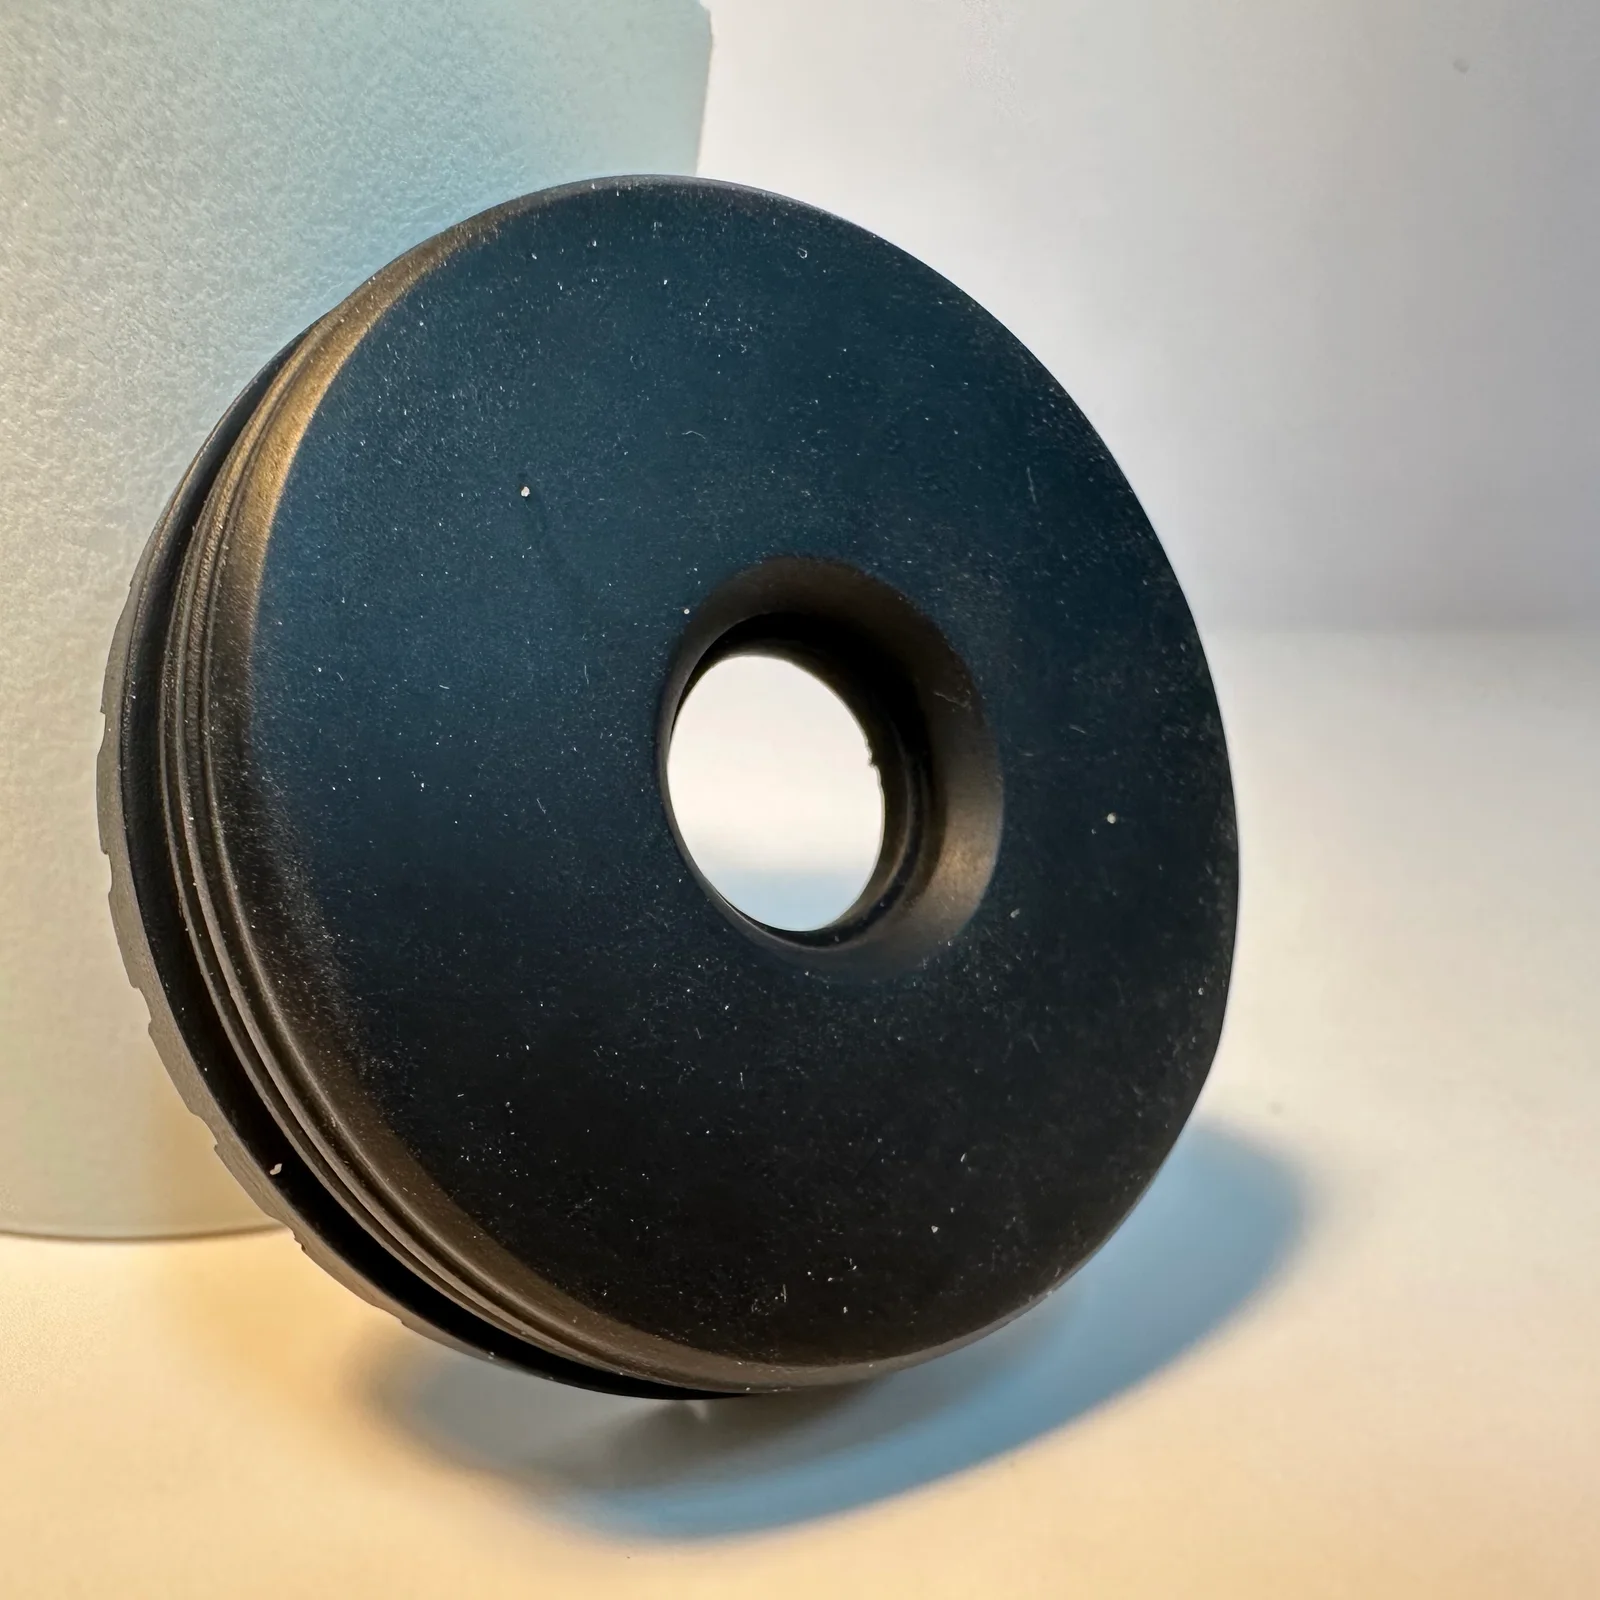
Other routes: print one or two, injection mould thousands
Vacuum casting sits between printing each part and building a steel tool. Pick something else when:
- You need one or two parts. Print them. A resin print can be polished clear, and a flexible print in TPU (a rubbery filament) can stand in for a cast rubber part. See 3D printing.
- You need thousands of a final design. Past about 1,000 identical parts, injection moulding costs less per part. We build and test the design first, then arrange the tool.
- The part must be the real production plastic. Casts are look-alikes, such as ABS-like polyurethane. For genuine ABS, PP or PC, use injection moulding, or CNC machining for a few.
- You need a thin shell, like a tray or a cover. That is vacuum forming: a heated sheet pulled over a shape, not a mould filled with resin.
- The design is still changing. Keep printing until it settles. A new silicone mould is quick to make, but each change means a new original and a new mould.
Many products go from a printed prototype to a vacuum cast pilot run, then to injection moulding once demand is proven. Our product development team in Singapore covers the whole path.
Frequently asked
What is the difference between vacuum casting and vacuum forming?
Vacuum casting fills a silicone mould with liquid resin to make solid parts, while vacuum forming sucks a heated plastic sheet over a shape to make thin shells. Casting suits housings, knobs, seals and clear parts in batches; forming suits trays, covers and packaging inserts. The only thing they share is a vacuum pump.
How long does vacuum casting take?
As a general guide, vacuum casting takes about 1 week to design the master, 2 to 3 working days to make the silicone mould, then 7 to 10 working days of casting. Size and design change it and smaller parts can be faster, so check with us and tell us your deadline.
Do I need to supply the original part for vacuum casting?
You do not need to supply an original part for vacuum casting: a 3D file is enough, and we print and finish the original from it. Send an STL or STEP file. If you only have a physical sample, we can design or reverse-engineer the part first, then print the original from that.
Can vacuum cast parts be made in my colour?
Vacuum cast parts can be made in your colour: the colour is mixed into the resin before it is cast, matched to the one you give us, so it runs right through the part. For a printed logo or a second colour, the casts can also be painted, always after a primer.
Are vacuum cast parts as strong as injection-moulded ones?
Vacuum cast parts are close to injection-moulded ones, but they are not the same plastic. A rigid cast is an ABS-like polyurethane, similar to ABS in look and feel, so if the part must meet a production plastic's data sheet, tell us and we suggest injection moulding or machining.
How big a part can be vacuum cast?
Vacuum casting has no fixed size limit that we publish: tell us the size and we confirm. Large parts need more silicone and more resin, and take longer to cure, so the lead time grows with the part.
Related
-
 GuideOne part, 50 or 5,000: 3D printing, silicone moulding or injection moulding?
 -
 GuideWhat is additive manufacturing, and how is it used?
 -
 Guide3D Printing Painting and Surface Finishes
 -
 ServiceSilicone Molding & Vacuum Casting
 -
 ServiceInjection Molding
 -
 ServiceProduct Development & Prototyping
 -
 ProjectCast Rubber Grommet
 -
 ProjectSilicone Emblem Mould
 -
 ProjectLeaf Casting Mould