

XCam Lite camera housings for SnapX
Housings for SnapX's XCam Lite timelapse cameras: a branded, 3D printed front with a slide-out lens window, then a sealed weatherproof box.
- Client
- SnapX
- Made for
- Timelapse cameras mounted outdoors on poles and railings
- Branding
- XCAM LITE on the front, SnapX on the lid, both in yellow
- Sets of housings printed for the first cameras
- 8
- Rounds of design for the sealed cam box
- 3
- Cam boxes in SnapX's follow-up order
- 24
What we brought
What we can do
Printed parts that make a stock case your product
We printed a front panel, name plates and a mount block to fit a rugged case, in SnapX's colours.
How we look after you
Quick first units, then a proper redesign
The first sets were printed a week after design began. Then we developed a sealed version with SnapX.
What you get
A housing made for outdoor sites
A slide-out lens window, then a sealed design with an O-ring, a gasket and brass threads for mounting.
Gallery
The whole project at a glance. Drag or swipe to browse; tap a picture to enlarge it.
1 / 13
-
The finished piece
-
The front and the lid.
-
One housing, cover raised.
-
The SnapX plate on the lid.
-
On a railing outdoors.
-
Two cameras on a pole at night.
-
Design and prototyping · Sealed versionRenderThe sealed box, closed, open and exploded.
-
Design and prototyping · Second roundRenderThe bigger loop, deeper grooves and decal.
-
Design and prototyping · Final roundDrawingEvery brass insert, with the parts list.
-
ProductionA printed front panel, before fitting.
-
The front panel and the lid plate.
-
Build and assemblyThe clear cover slides out of the panel.
-
The mount block on the housing.
The build
How we built it
5 steps, from the brief to the finished piece. Pick a step to jump to it.
The brief
Step 1 of 5 · 07/02/2024
- Camera
- XCam Lite timelapse camera
- Window
- Clear, in front of the lens
- Branding
- XCAM LITE and SnapX in the brand's yellow
- Mounting
- Poles and railings, outdoors
At Additive Inn, our 3D printing studio in Singapore, we designed housings for SnapX's XCam Lite timelapse cameras. SnapX mounts the cameras outdoors on poles and railings, so each housing needed a clear lens window, the brand on show and a quick way in.
Design and prototyping
Step 2 of 5 · 07/02/2024
We designed printed parts for a rugged case: a front panel with a lens window and a clear acrylic cover that slides out, a SnapX plate for the lid and a mount block. SnapX then asked for a sealed version, developed over three rounds.
-
Sealed version
An O-ring sealed clear plate, a gasket, thumb screws, a padlock loop and room for two batteries.
Render
-
Second round
A bigger padlock and zip-tie loop, deeper grooves on the shell and a work-in-progress decal.
Render
-
Final round
Brass threaded inserts throughout, twelve 1/4 in for mounts plus ten M3 and seven M2.
Drawing
Production
Step 3 of 5 · 14/02/2024
We printed eight sets of front panels, name plates and mount blocks in black and yellow PLA in our studio, with the lettering printed in yellow. SnapX then ordered a run of 24 cam boxes on 29/07/2024.
Build and assembly
Step 4 of 5
Each panel was fitted to its case with the clear acrylic cover slid into place, the SnapX plate on the lid and the mount block fixed to the base.
The final build
Step 5 of 5 · 16/02/2024
SnapX received eight housings with XCAM LITE on the front and SnapX on the lid. The clear cover lifts out of the front panel, and the cameras went up on poles and railings outdoors.

More product development
See all product development →-
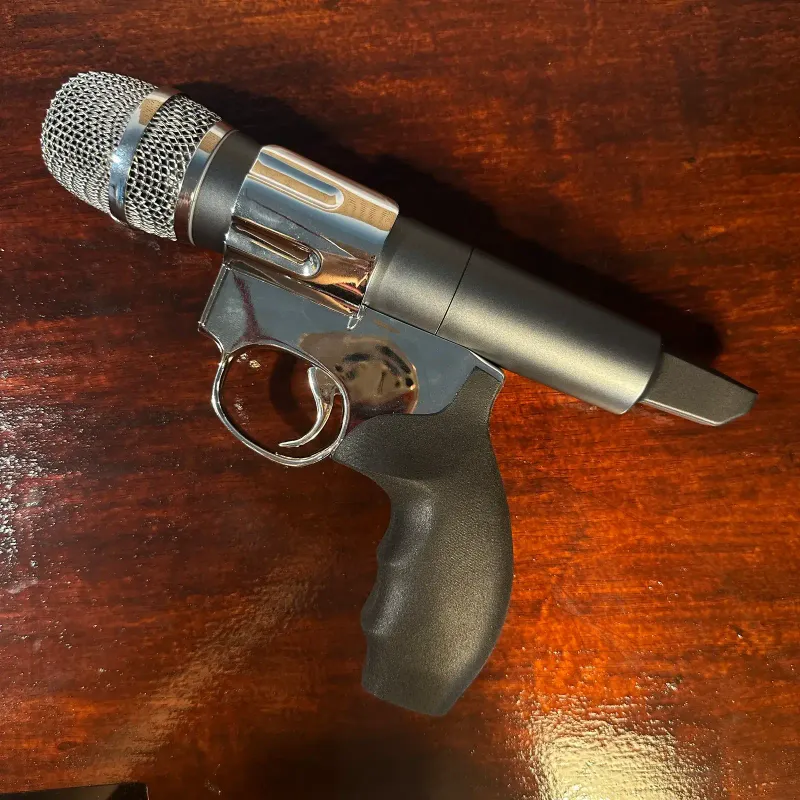 Rezilienz 3D printed revolver mic stand A prop revolver for Rezilienz that holds a wireless microphone in its cylinder, with a chrome-plated frame and a textured grip.
-
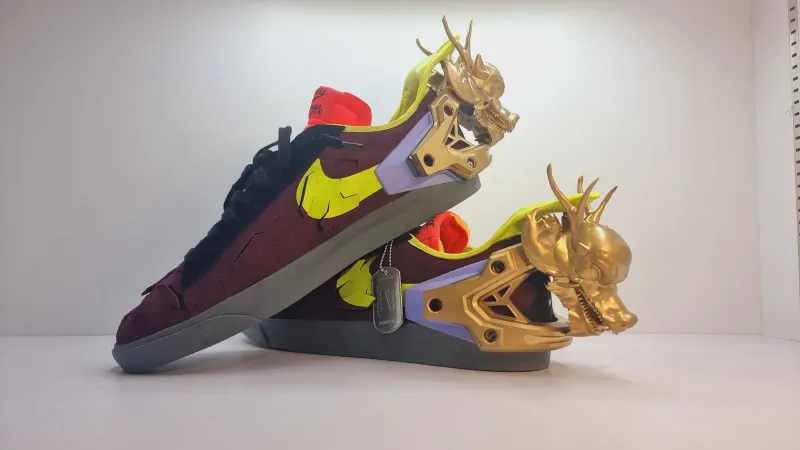 Danial Custom dragon shoe attachments A pair of gold dragon heads for Danial's trainers, sculpted in 3D, test-fitted on the shoe, printed in resin and screwed to each heel.
-
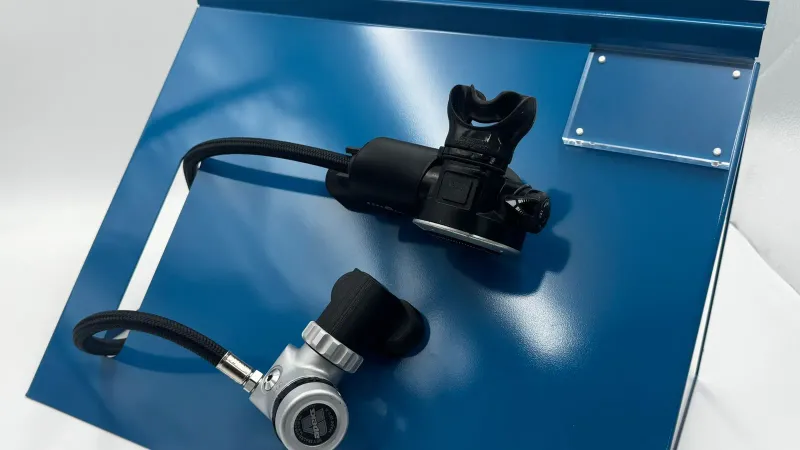 Scuba gear display stands for CMP Technologies Slatwall displays made to fit CMP Technologies' regulators, masks and fins: bent steel stands with 3D printed holders, in place of off-the-shelf hooks.