

3D printed cement planter mould for Vault 7
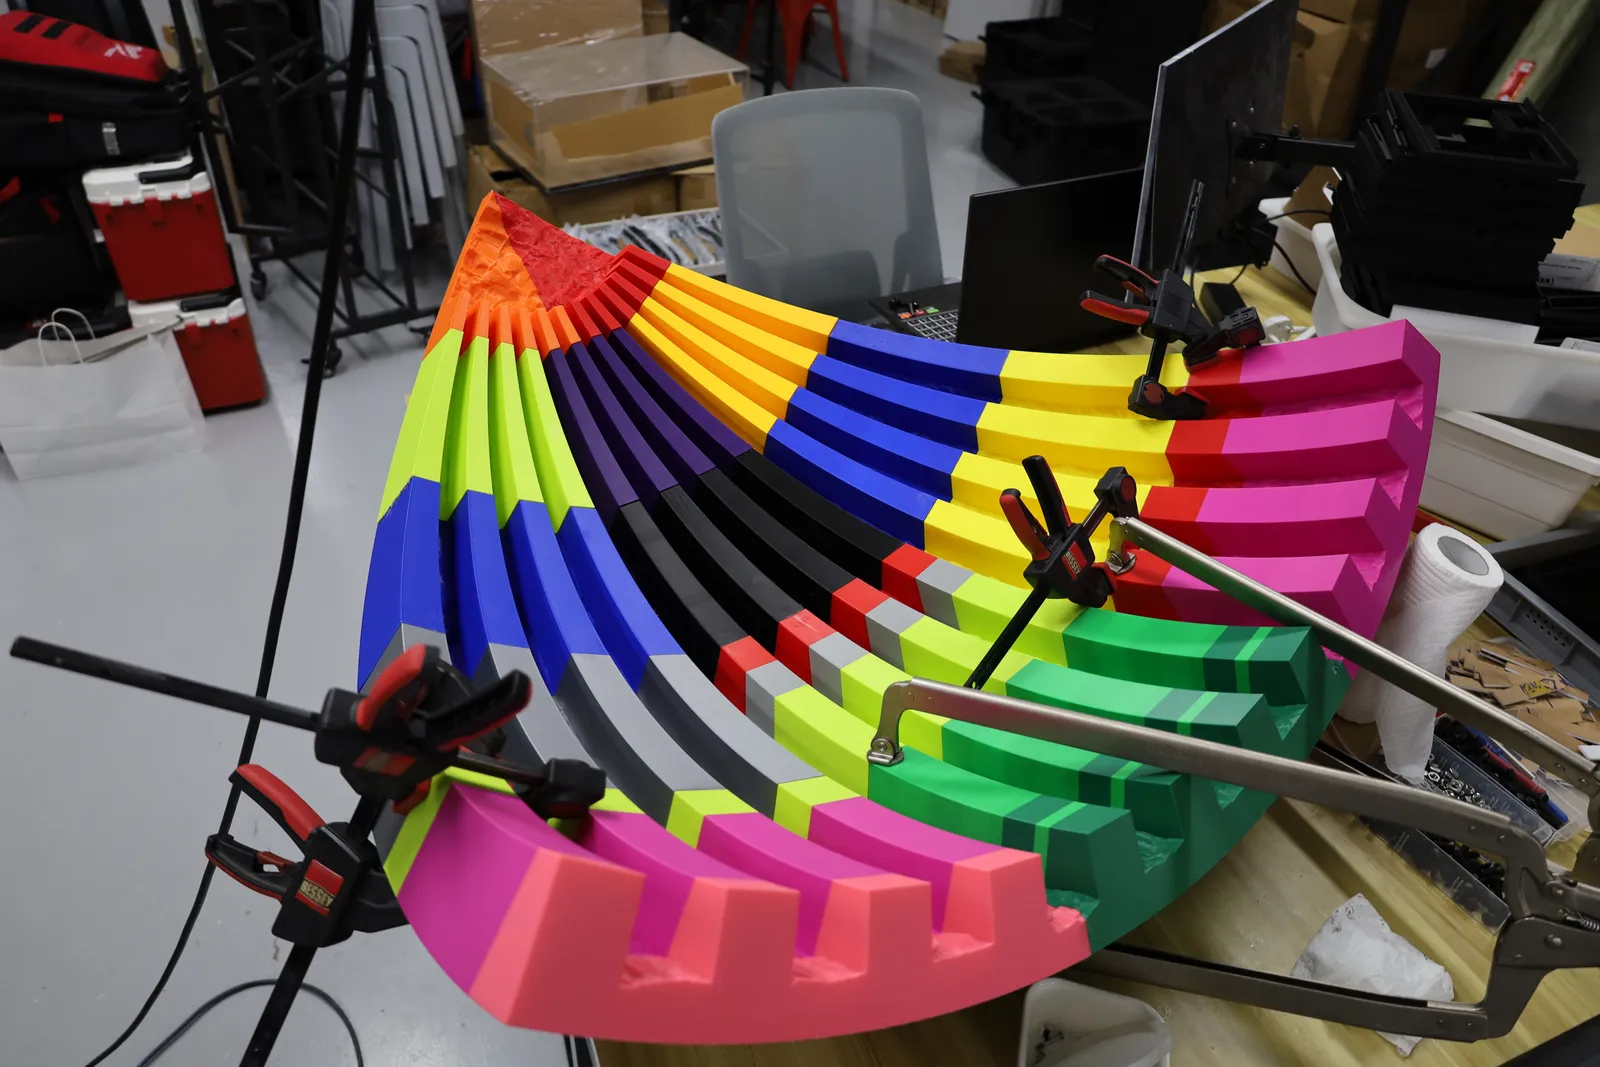
A ribbed, rock-textured corner mould and matching texture strips, 3D printed for Vault 7 to cast a curved cement planter box.
- Client
- Vault 7
- Service
- Industrial 3D Printing
- Made for
- A cement planter box on the balcony of a landed house
- Cast by
- Vault 7's own team, against our mould
- Built from
- Pegged parts, glued into one corner piece
- Sets of texture strips, eight strips to a set, over two orders
- 34
- Outer radius of the corner, agreed at our meeting
- 700 mm
- Height and width of the corner mould, from our deck
- 715 mm
- From the brief on 21/01/2026 to collection on 20/02/2026
- 4 weeks
What we brought
What we can do
The texture was tried before the full order
We printed a swatch and a sample strip first, so Vault 7 could try the texture before the full order.
How we look after you
A large mould printed in pegged parts
We split the 715 mm corner into parts that fit together on pegs, then glued them into one quadrant.
What you get
Printed in batches to keep the job moving
We printed 24 sets of strips in batches to collect as they came, and 10 extra sets overnight.
Gallery
The whole project at a glance. Drag or swipe to browse; tap a picture to enlarge it.
1 / 12
-
The finished piece
-
The rock-textured base, where the ribs meet.
-
The briefDrawingThe agreed rib profile is circled in green.
-
Design and prototyping · Texture swatchRenderThe first swatch, with grooves.
-
Design and prototyping · Texture stripsRenderThe texture strips, modelled to curve.
-
The first printed strip, ready to try.
-
Design and prototyping · Corner designRenderThe first corner design.
-
RenderThe corner design Vault 7 approved.
-
Design and prototyping · Revision 0DrawingMould 715 mm, casting about 690 mm.
-
RenderThe corner split into pegged parts.
-
Design and prototyping · Revision 1RenderSeamless rock texture on the bottom quadrant.
-
Fitting and gluingThe mould is clamped while the glue cures.
The build
How we built it
5 steps, from the brief to the finished piece. Pick a step to jump to it.
The brief
Step 1 of 5 · 21/01/2026
- Ribs
- 50 mm wide, 50 mm apart and 50 mm deep
- Straight runs
- Rock-textured strips 50 mm wide, set between Vault 7's own timber ribs
- Corner
- An outer radius of 700 mm
- Material
- PLA
At Additive Inn, our 3D printing studio in Singapore, we 3D printed a cement mould for Vault 7. Vault 7 needed a ribbed, rock-textured face cast into a curved cement planter box on a landed house balcony, with a printed mould for the rounded corner.
Design and prototyping
Step 2 of 5 · 22/01/2026
We modelled the rock texture as 50 mm strips for the straight runs, and the corner as one ribbed quadrant split into pegged parts. Vault 7 tried a printed swatch and a sample strip, and approved each design round.
-
Texture swatch · 22/01/2026
The grooved first swatch became a flat texture plate, 150 by 50 by 10 mm.
Render
-
Texture strips · 29/01/2026
We modelled the texture as curved strips and printed a first strip for Vault 7 to try.
RenderPhoto +1 more
-
Corner design · 02/02/2026
We reworked the base of the corner after Vault 7's comments, and they approved it.
Render +1 more
-
Revision 0 · 04/02/2026
Our deck split the corner into pegged parts: a 715 mm mould for a casting of about 690 mm.
DrawingRender +1 more
-
Revision 1 · 05/02/2026
Vault 7 asked for texture on the bottom quadrant too, so we added a seamless rock texture there.
Render
Production
Step 3 of 5 · 03/02/2026
We printed 24 sets of texture strips, eight strips to a set, six sets at a time so Vault 7 could collect them as they came. Then we printed the corner parts, in several colours of the same material to finish sooner.
Fitting and gluing
Step 4 of 5 · 11/02/2026
We fitted the corner parts together on their pegs, then glued and clamped the mould layer by layer. The last layer had cured by 16/02/2026.
The final build
Step 5 of 5 · 20/02/2026
Vault 7 collected the corner mould on 20/02/2026 and ordered 10 more sets of texture strips that day. We had them ready for collection overnight.
More vacuum casting & injection moulding
See all vacuum casting & injection moulding →-
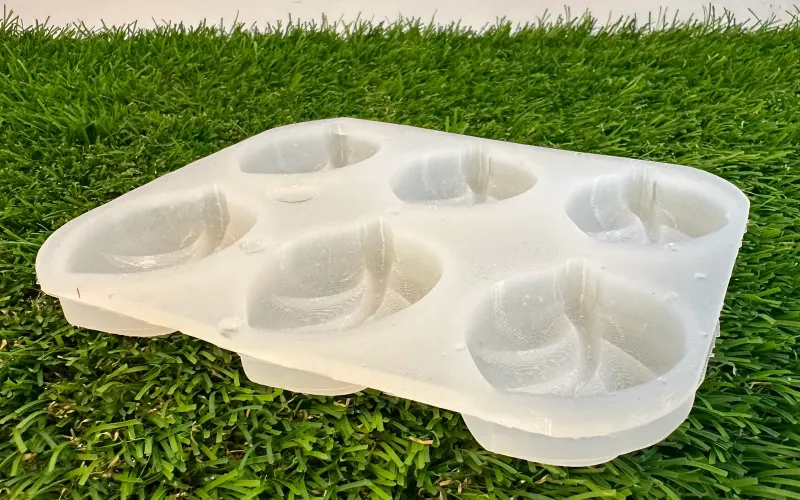 Four One Eleven Six-cavity silicone leaf mould for Four One Eleven A reusable silicone mould with six leaf cavities, so one pour casts six identical leaves, each with its veins and stem.
-
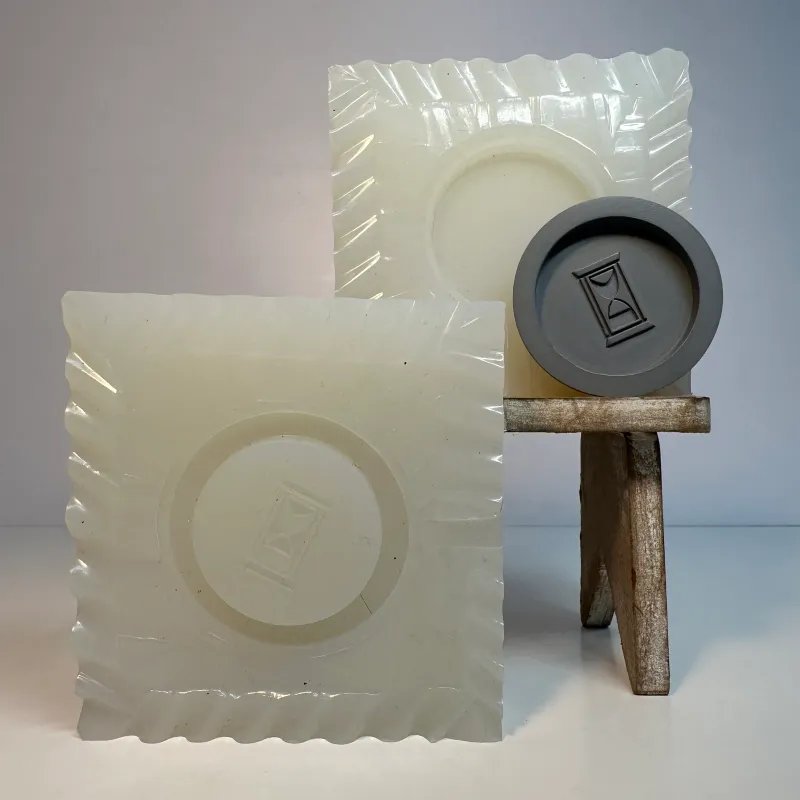 Silicone mould for a round hourglass emblem A translucent silicone mould in two halves, taken from a 3D printed master that carries a round hourglass emblem in fine relief.
-
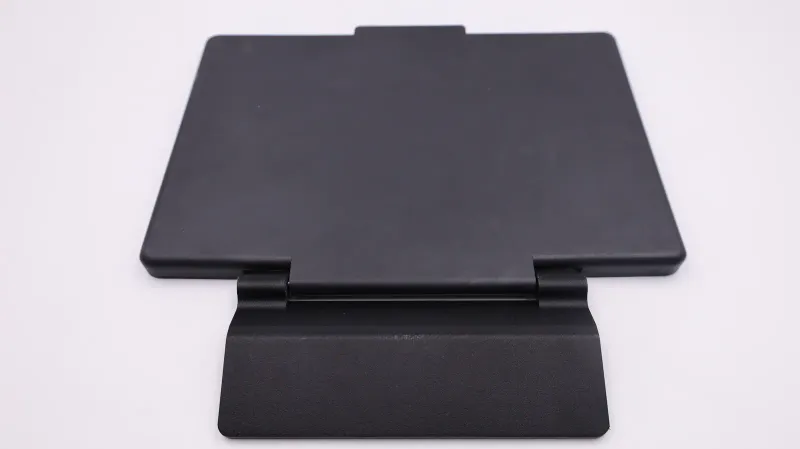 Vacuum-cast TPU screen protector for Acmedial A flip-up screen cover for a Dualto unit, designed in 3D, proved on a printed prototype and vacuum-cast in soft black TPU.