

3D printed car kit installation for Toyota
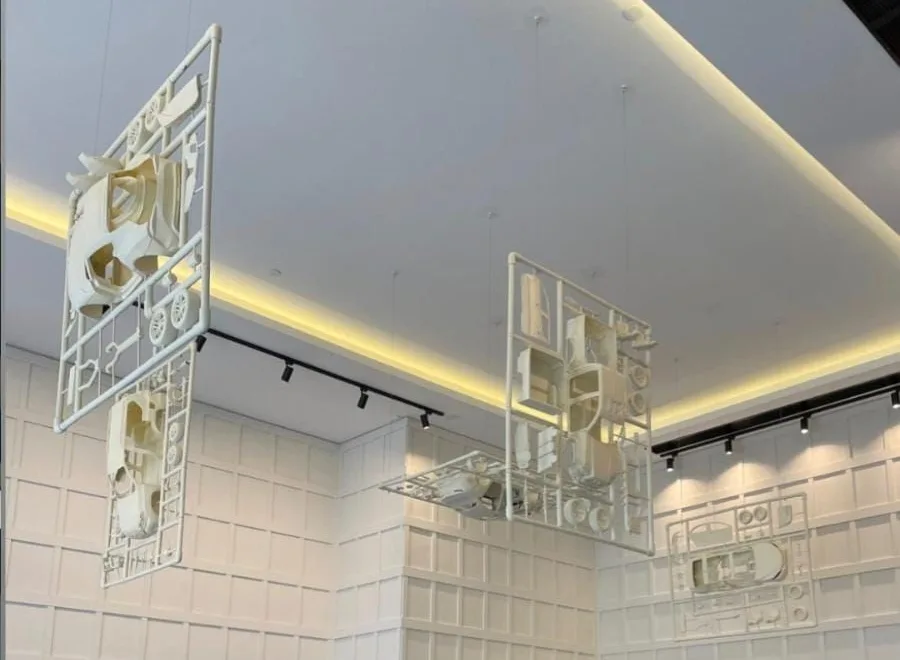
Giant model car kits hung under a Toyota showroom ceiling, with car parts we 3D printed on a rush timeline.
- Client
- Toyota
- Made for
- The ceiling of a Toyota car showroom
- Our part
- 3D printing the car parts, cleaned and ready for primer and paint
- Shown as
- Model car kits, every part still on its frame
- Car kits we 3D printed, of the five in the installation
- 3
- Classic Toyota models broken down into kits
- 5
- For the whole installation, from site visit to hanging
- 4 weeks
What we brought
What we can do
Large parts, printed to a deadline
We printed three full car kits on a rush timeline, with overtime and weekend printing.
How we look after you
Cleaned and ready for primer
Every part left us with its supports cleaned off, ready for the installation team to prime and spray.
What you get
Hung in a Toyota showroom
Our prints hung under the showroom ceiling alongside the other giant Toyota car kits.
Gallery
The whole project at a glance. Drag or swipe to browse; tap a picture to enlarge it.
1 / 20
-
The finished piece
-
An open car body hangs overhead, seen from below.
-
A car body and its wheels sit on the frame.
-
Seats, springs and doors are seen up close.
-
The briefThe showroom ceiling shows its ducts and pipes before the installation.
-
ConceptRenderThe kits are planned to hang at angles under the ceiling.
-
RenderThe kits are seen from below, each car laid out on its frame.
-
RenderOne car is laid out as a kit.
-
Design and prototyping · First designRenderA car's parts are laid out in 3D.
-
Design and prototyping · Kit layoutsRenderParts are marked for changes on the layouts.
-
ProductionA white part prints on an FDM printer.
-
A car body shell is printed in sections.
-
Finishing and installationThe pipe frames are laid out on tables.
-
The frames are built over the printed layouts.
-
Printed parts are coated in grey primer.
-
Sprayed parts are laid out to dry.
-
A kit stands upright after several coats of paint.
-
A car body is mounted on its frame.
-
The kits are wrapped for the trip to site.
-
An installer hangs a kit from a scissor lift.
The build
How we built it
6 steps, from the brief to the finished piece. Pick a step to jump to it.
The brief
Step 1 of 6
- Idea
- Five classic Toyota models as giant model car kits
- Placement
- Hung from the showroom ceiling
- Timeline
- Four weeks for the whole installation
At Additive Inn, our 3D printing studio in Singapore, we printed car parts for a ceiling installation in a Toyota showroom. With four weeks for the whole piece, the installation team needed three of its five car kits printed fast.
Concept
Step 2 of 6
Each Toyota was broken down into its parts and shown as a model kit, the pieces still on the frame. The kits were planned in 3D to hang at angles under the ceiling.
Design and prototyping
Step 3 of 6
Each car was modelled and laid out as a kit, with every part saved as its own file, sized to print. The layouts were marked up and corrected before the files came to us.
-
First design
A car's parts are laid out in 3D.
Render
-
Kit layouts
Parts were circled and highlighted on the kit layouts for changes before printing.
Render
Production
Step 4 of 6
We received the print files on 30/04/2022. We FDM printed three car kits on a rush timeline; some of the finer parts were resin printed. Every part was cleaned of supports before delivery.
Finishing and installation
Step 5 of 6
The installation team built the frames from PVC pipe, primed every part, then sprayed it off-white. The parts were mounted onto the frames, wrapped for transport and hung in the showroom from a scissor lift.
The final build
Step 6 of 6
The five car kits hung under the showroom ceiling, each Toyota and its parts still on the frame, as if waiting to be built.
More art installations
See all art installations →-
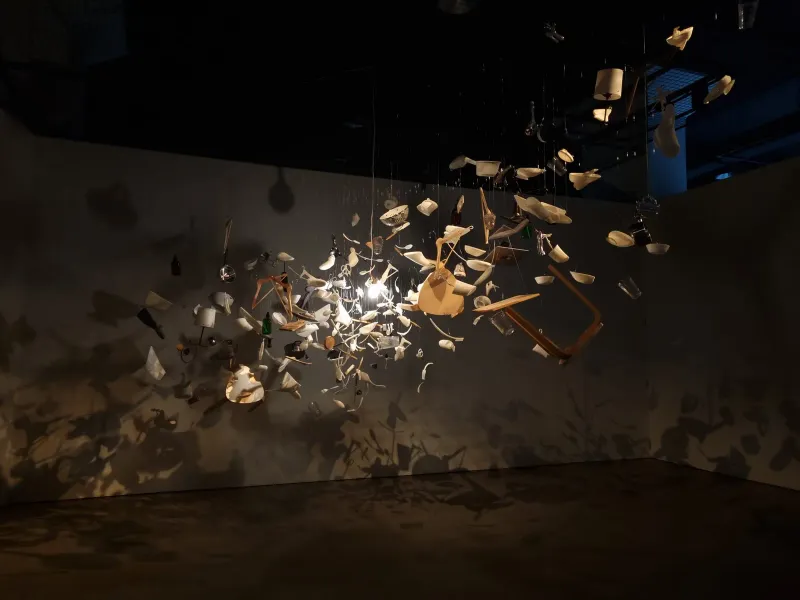 Yeyoon Avis Ann Hanging art installation for Yeyoon Avis Ann Twenty everyday objects, modelled as if caught at speed and printed in white for a hanging installation that bursts from a core of light.
-
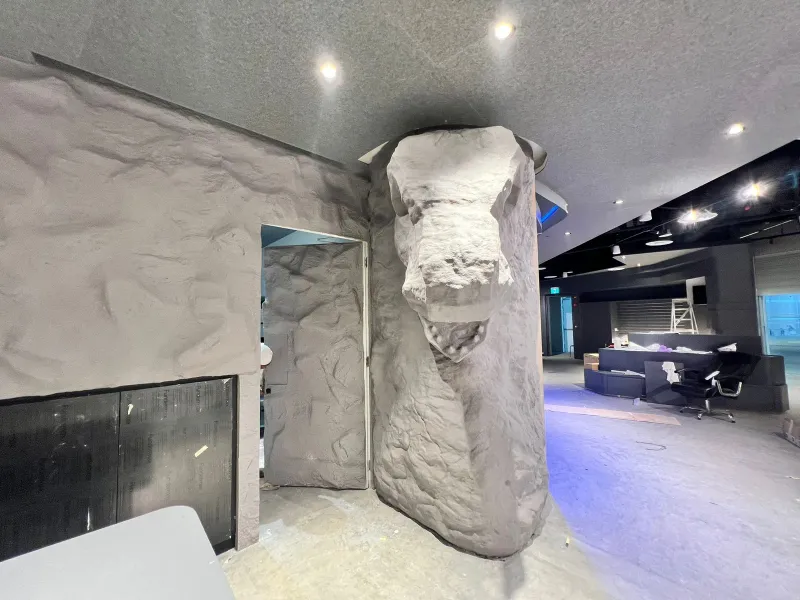 Mandai dinosaur A stone feature wall with a 3D printed dinosaur head, built as a durable focal point for a high-traffic interior.
-
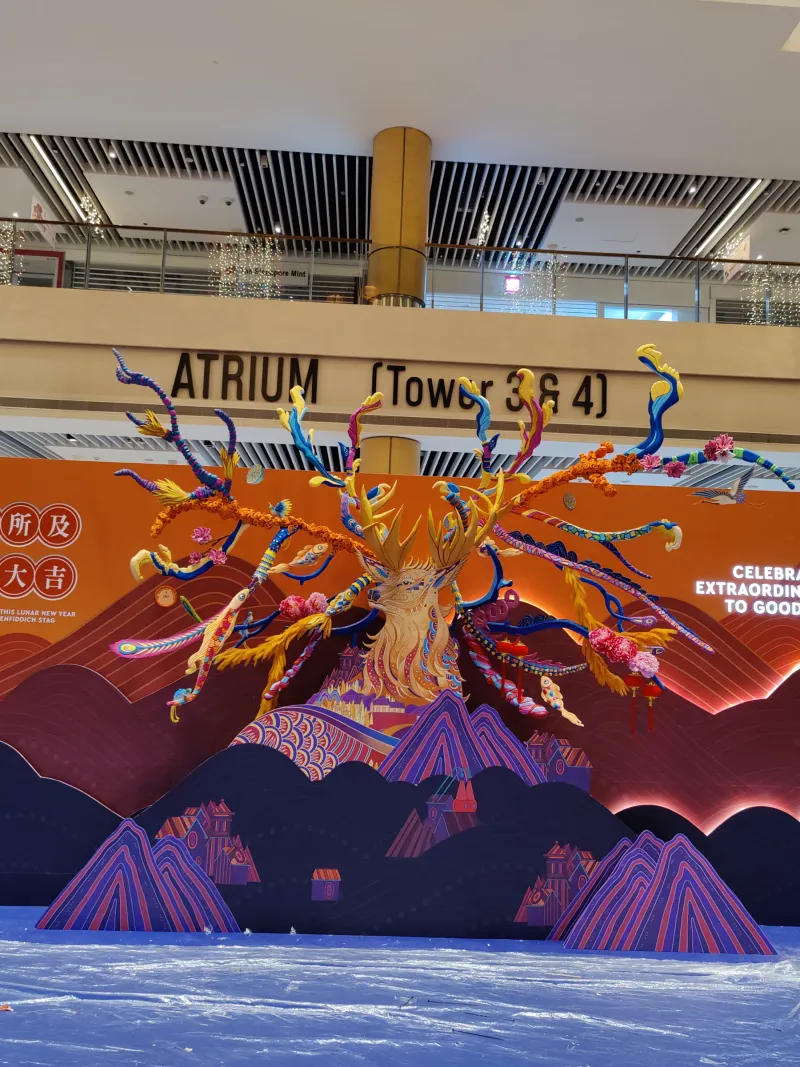 3D printed stag antlers for Glenfiddich A 3.5-metre crown of stag antlers for Glenfiddich's Lunar New Year display, sculpted from the key visual, 3D printed, hand-painted and installed overnight.