

Bambu Lab Consumables & Hand Tools
$4.00 – $40.00 SGD
excl. GST · 9% added at checkout
Made to order
One 21g glue stick for the build plate: PLA, ABS, PETG, PC, PA and TPU, formaldehyde-free. A thin, even layer on a cool or Engineering plate is a release agent, not a permanent bond, so it wipes off with water once the print's out.
Made to order, ships in about 7 days.
SKU · BL-GLUESTICK-1
Bambu Lab
Bambu Lab Consumables & Hand Tools
Small parts that keep a Bambu printer running: adhesion, drying, cleaning and the wear parts inside the purge and wipe stations. Pick the item first, then the size or printer where it actually varies.
Which item, and why
Twelve small parts covering four jobs: sticking a print down, drying filament, general maintenance, and keeping a nozzle clean mid-print.
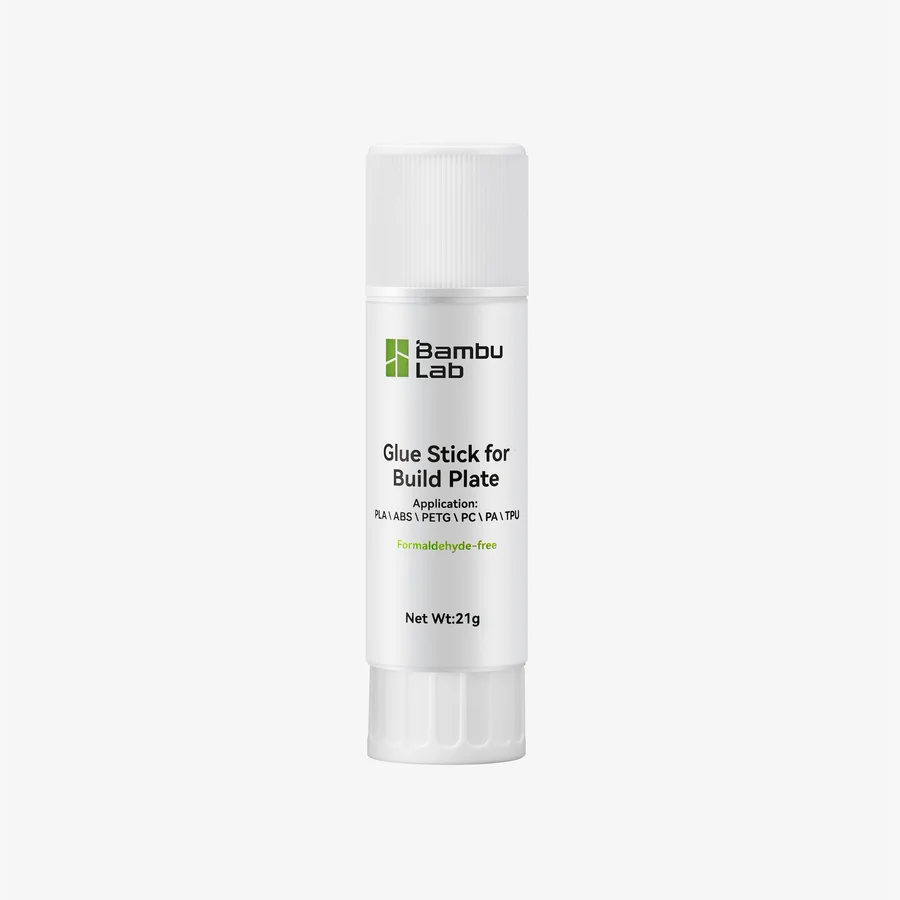
Glue StickFrom S$8
Adhesion on an Engineering plate, protection on a Smooth PEI one. Water-soluble, formaldehyde-free, 24 month shelf life.
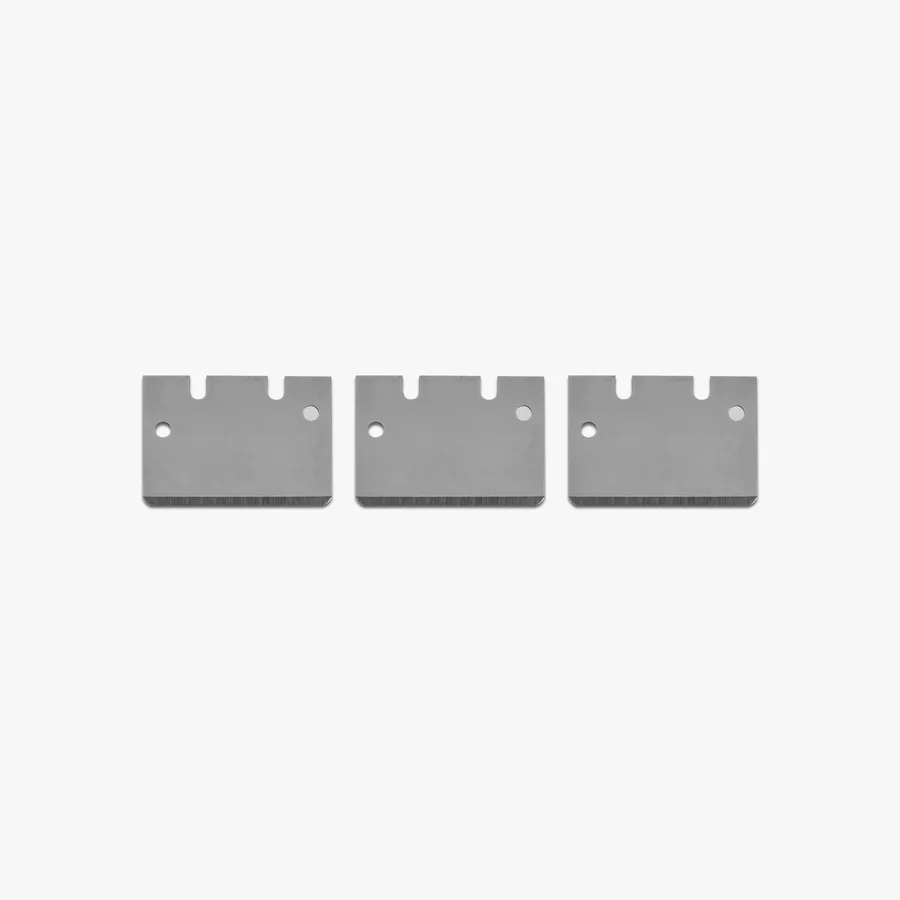
Bambu ScraperS$10
Three thin SK5 tool-steel blades for releasing a cooled print. The grip is a file you print yourself.
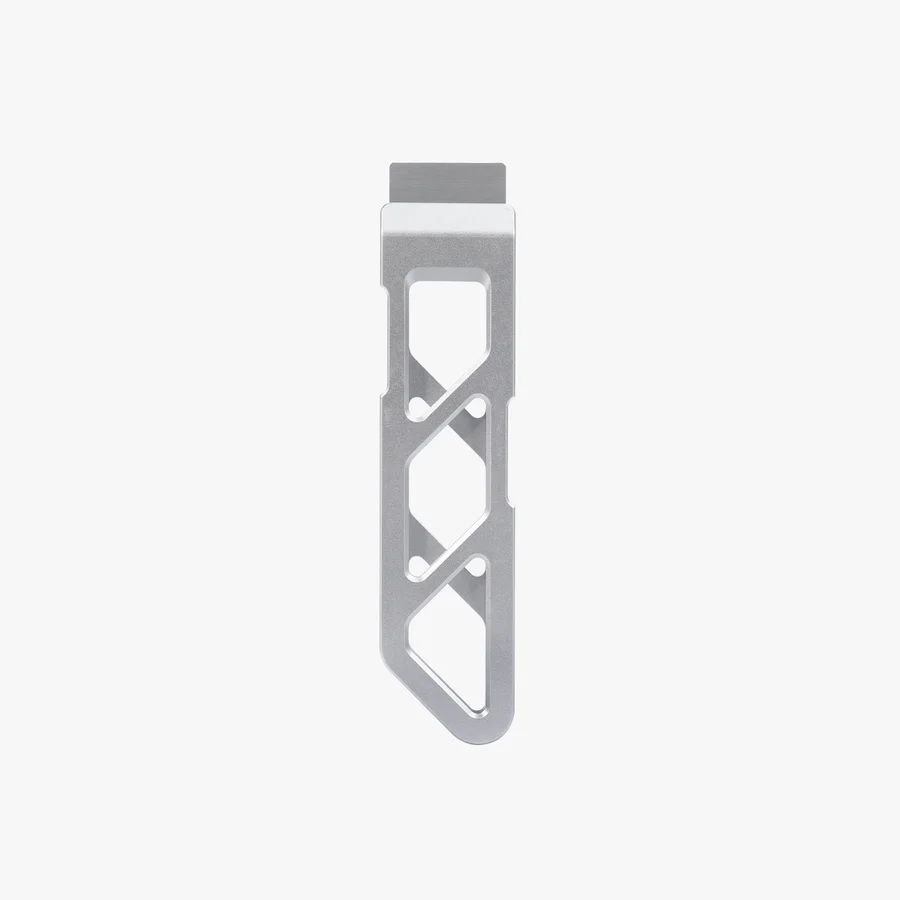
Mag-Alloy ScraperS$38
One wide blade in a handle machined from a single piece of aluminium alloy. Spare blade, silicone guard and a magnetic home included.
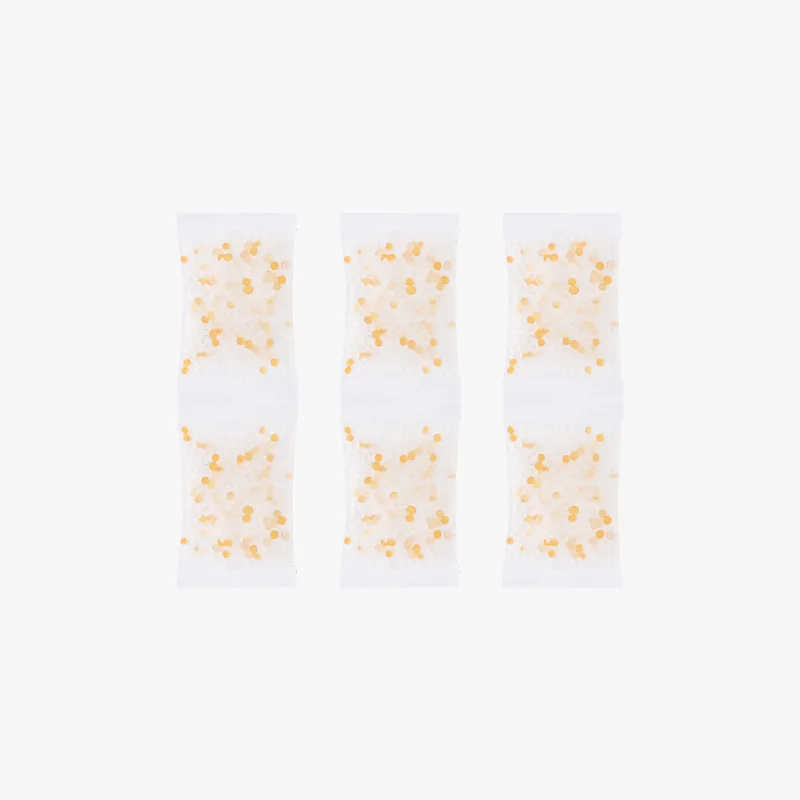
Silicone DesiccantS$8
Six sachets of colour-changing silica gel. Dry them out and they work again, 5 to 15 times over.
Molecular Sieve DesiccantS$8
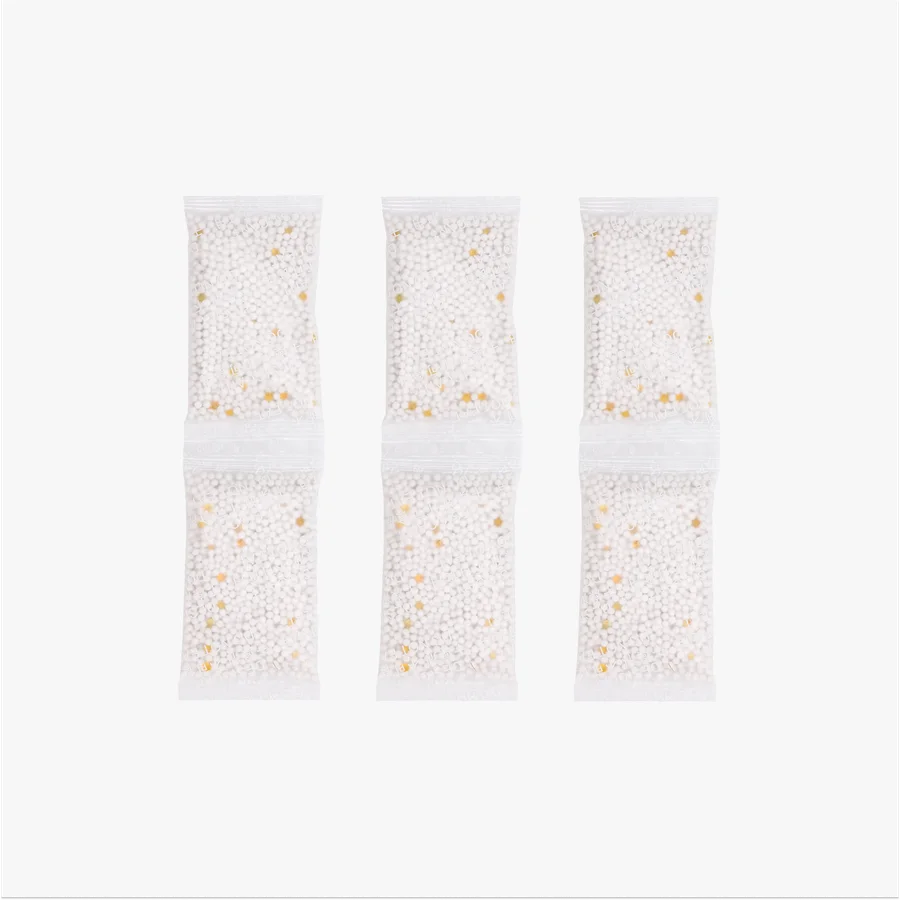
Six sachets of aluminosilicate. Out-absorbs silica gel at room temperature and keeps working while the AMS heater runs.
Lubricant OilS$12
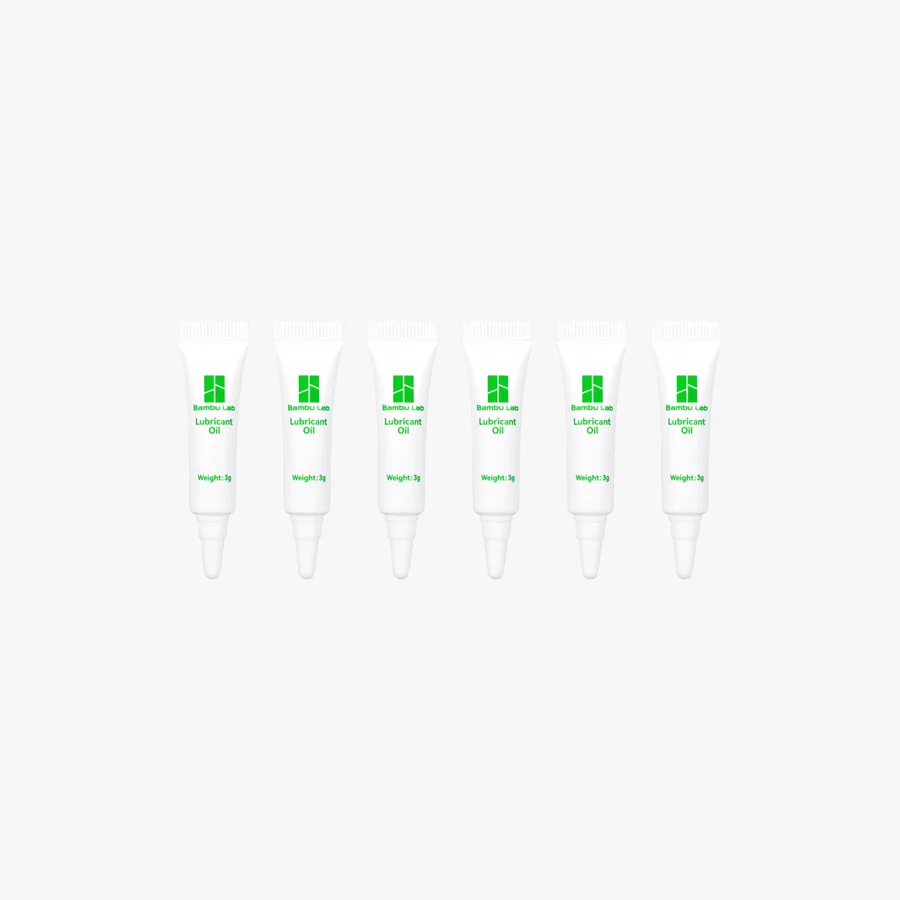
Six 3g tubes for linear rails, slide guides and steel rods. Lead screws want grease instead.
Mini Screwdriver ToolkitS$4
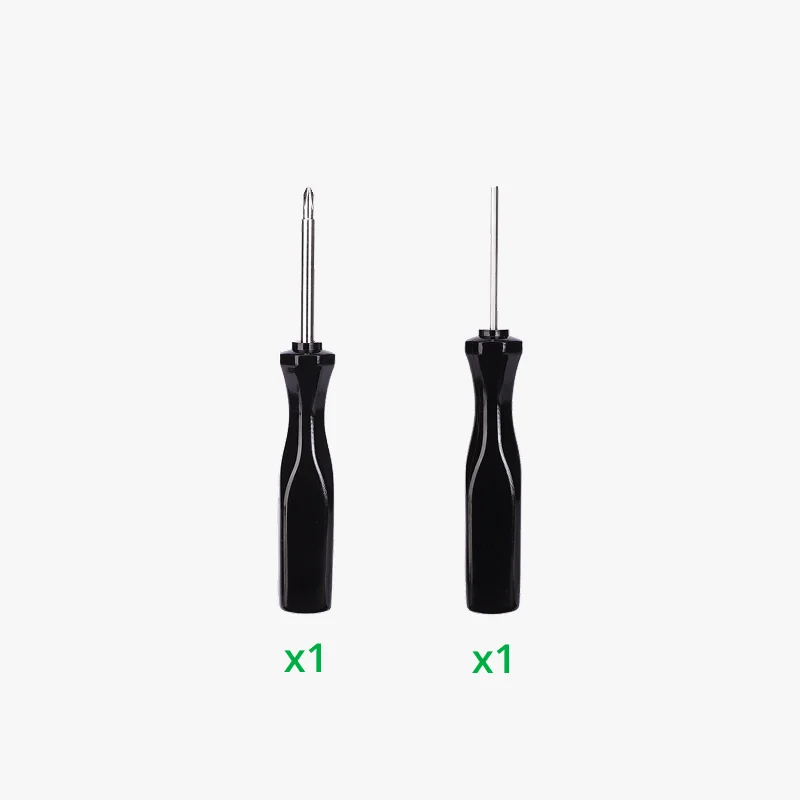
An H1.5 hex driver and a PH0 Phillips. Bambu sells it for CyberBrick, but H1.5 is the size half its maintenance guides ask for.
Nozzle Cleaning SpongeS$4
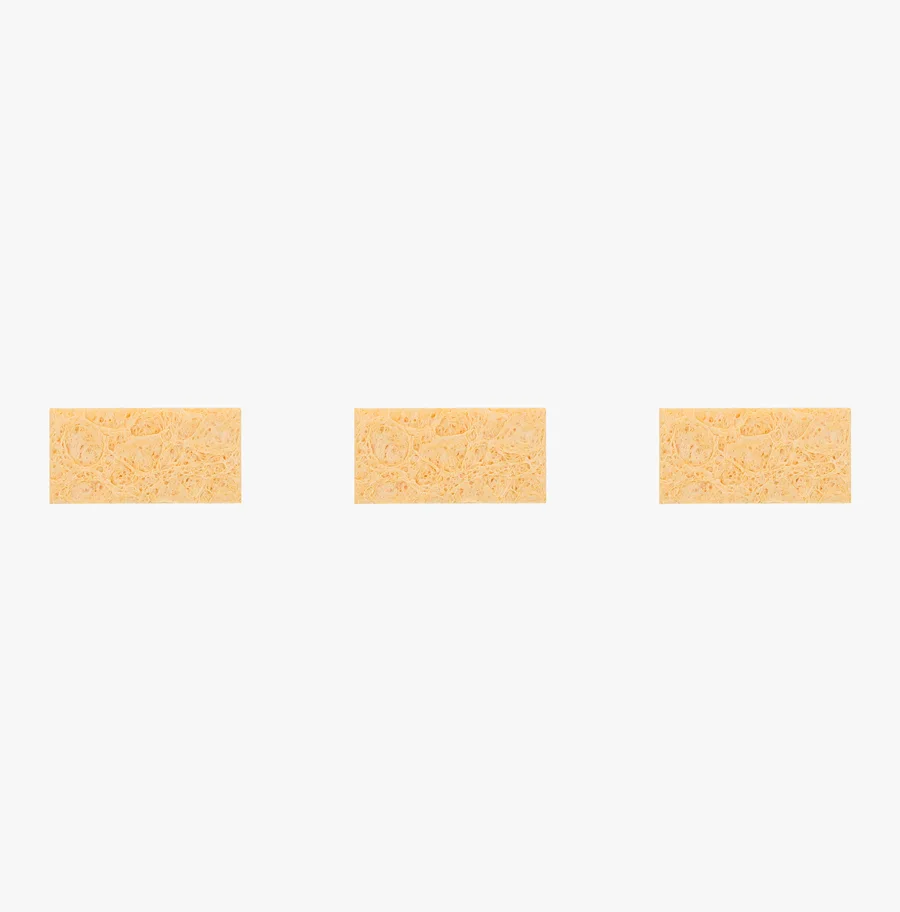
Three heat-resistant pads for scrubbing carbonised residue off a nozzle at working temperature. Wet them first.
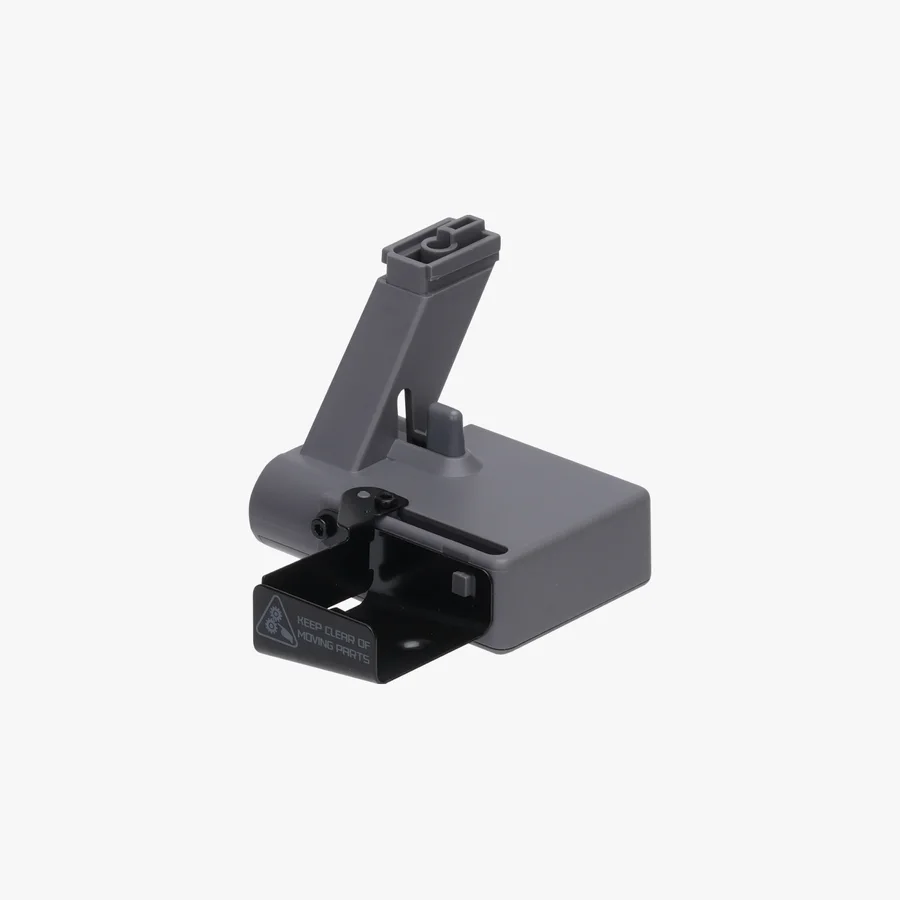
Purge WiperFrom S$10
The station that gathers waste filament and pushes it out of the machine. A different part per printer family.
Nozzle Wiping PadFrom S$10
Replace it when the wiper stops keeping the nozzle tip clean. Soft silicone, and a different pack for each printer family.
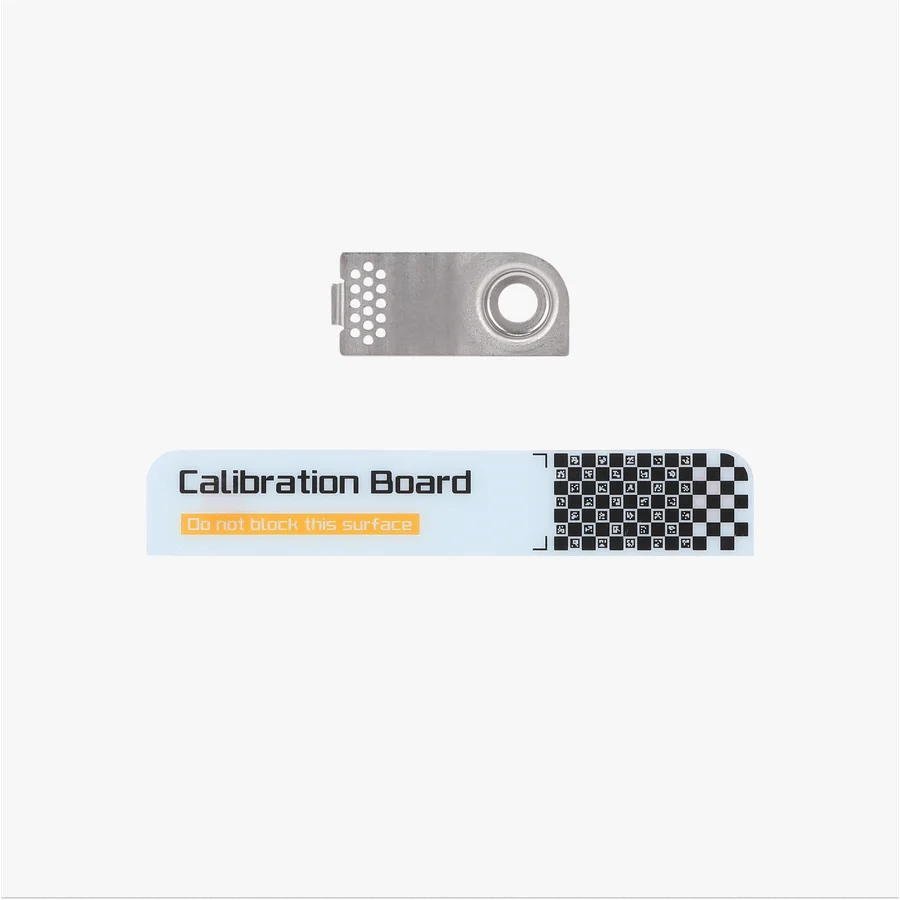
Nozzle Wiping PlateS$8
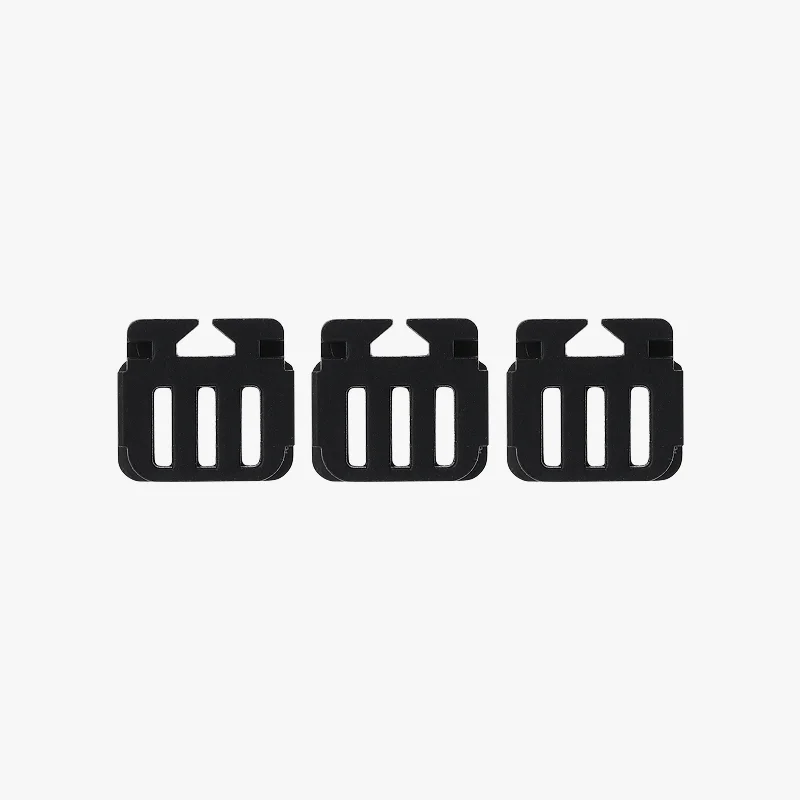
X2D only: three steel wiper sheets plus the calibration sticker for flow and vibration checks.
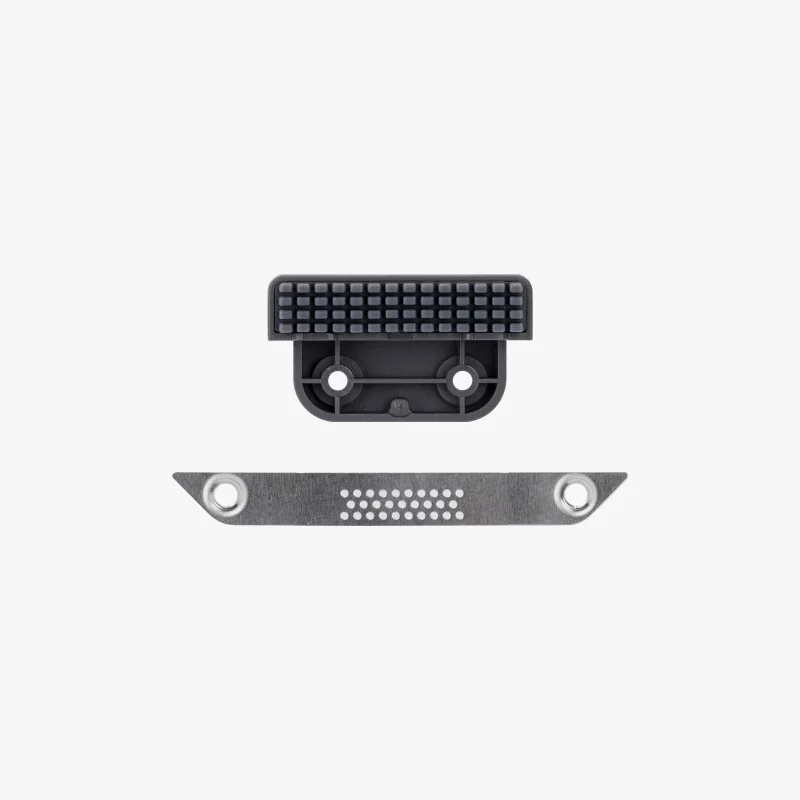
Heatbed Nozzle WiperFrom S$6
The A1 family's wipe kit lives in the bed, not in a station. Metal wipers on the mini, rubber on the A1.
Getting a print to stick, and off again
One holds the first layer down. The other gets the part back off without gouging the plate.
Some materials and some plates need help holding on for the whole print. And some prints need to come off without a fight once they're done. Glue handles the first job, a scraper the second.
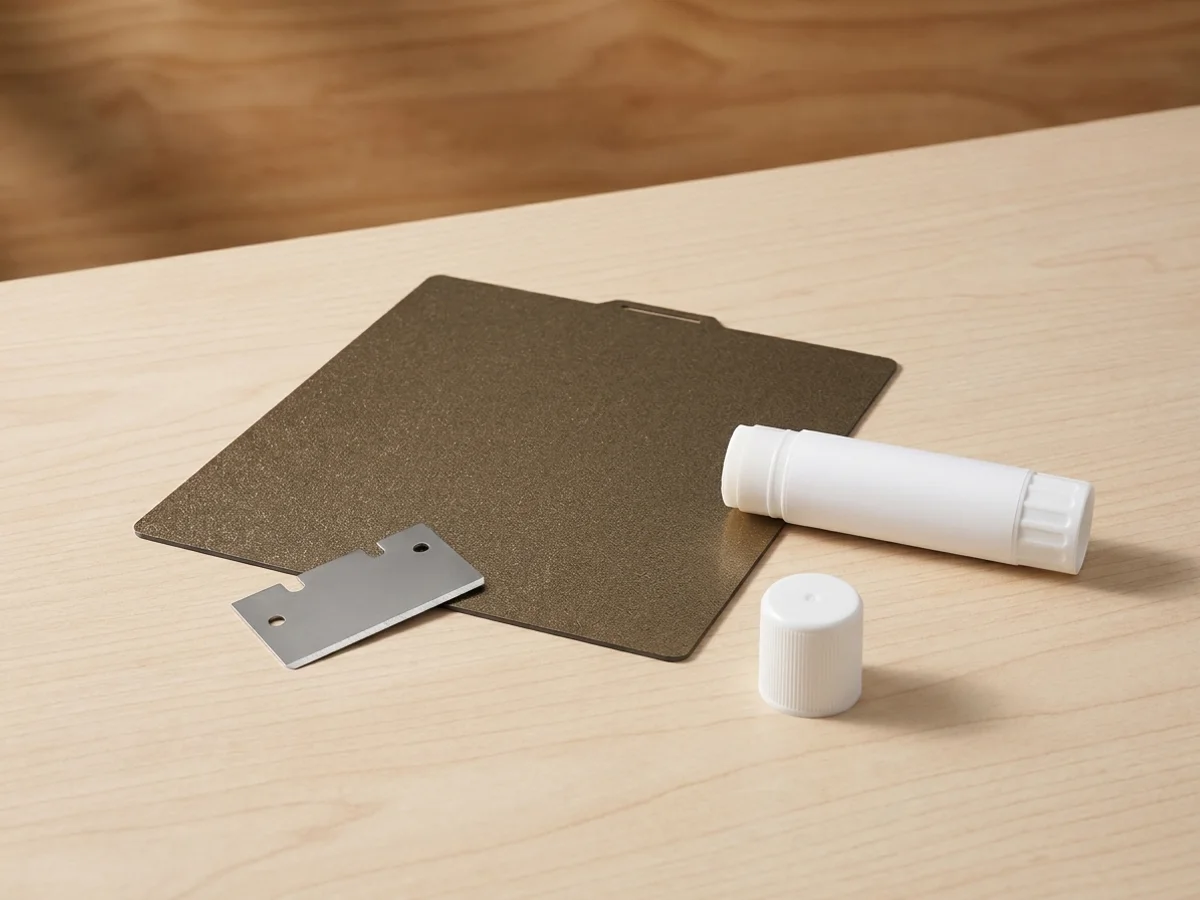
The glue stick is formaldehyde-free and rated for PLA, ABS, PETG, PC, PA and TPU. A thin, even coat is enough. It's a release layer that keeps the first layer down, not a permanent adhesive. It lifts off with water afterwards.
Bambu sells two scrapers here: a 3-pack in SK5 tool steel for most jobs, and a single wider aluminium-alloy scraper that covers more of a big flat print per pass. Either one lets a part off a cooled plate instead of prying it. Prying is what actually damages the surface.
What the glue is actually doing
On one plate it holds the part down. On another it's the only thing keeping the plate alive.
Bambu doesn't publish the chemistry, so we won't invent it. What it does publish is enough to work with: formaldehyde-free, dissolves in water, 24 month shelf life, rated across PLA, ABS, PETG, PC, PA and TPU. Think of it as a thin sacrificial film sitting between the plastic and the plate.
On a Smooth PEI plate that film isn't optional. PETG, ABS, ASA, PC, PA and TPU all bond to bare PEI hard enough that pulling the part off can tear the PEI sheet away from the spring steel underneath. Bambu's rule is blunt: only PLA goes on a Smooth PEI plate bare. Everything else gets a coat first, and on that plate the glue is protecting the plate far more than it's helping the part stick.
On the Engineering plate it's the opposite job. Glue goes on before every print, whatever the filament, because that plate genuinely needs the help. On Textured PEI you normally need nothing at all, and the one time you'd reach for the stick there is the release argument again: PETG grips textured PEI so well that a thin coat to reduce adhesion is what gets the part off in one piece. The Cool Plate SuperTack wants no glue at all.
There's a trade-off. A solid stick makes removal easier, but it's thick and hard to spread evenly, so your first layer usually looks better under liquid glue than under a stick. If the finish on the bottom face matters, that's the reason. Plate-by-plate detail is on the build plate page.
Two scrapers, two different tools
One is a set of thin steel blades. The other is a machined handle you'll still own in ten years.
The 3-pack is SK5, a hardened carbon tool steel, in three thin blades and nothing else. The whole pack weighs 15g. There's no handle in the box because Bambu expects you to print one: the Scraper grip model is already sitting in the printer's built-in files.
The Mag-Alloy Scraper is machined from a single piece of aluminium alloy. The handle angle is set so the blade slides into the gap under a stubborn print without much force, and the body lies flat against the plate to spread the load instead of concentrating it on one corner. It works left- or right-handed. In the box: the scraper, a spare blade, and an adhesive-backed steel plate you stick to a panel so the magnets have somewhere to park. A silicone sleeve covers the edge when it's not in your hand, and it's sharp enough that Bambu prints a warning about children and pets.
Whichever one you buy, the technique is the same and the technique is what saves the plate: let it cool, slide under one corner, then flex the spring steel and let the part pop off. Prying is what gouges a plate, and a gouged plate is a great deal more expensive than a scraper.
Keeping the AMS dry
An AMS lite has no drying of its own, so this is the drying.
Filament that's sat open in Singapore's humidity strings, pits and snaps well below its rated strength. The AMS lite has no active drying of its own to fix that.
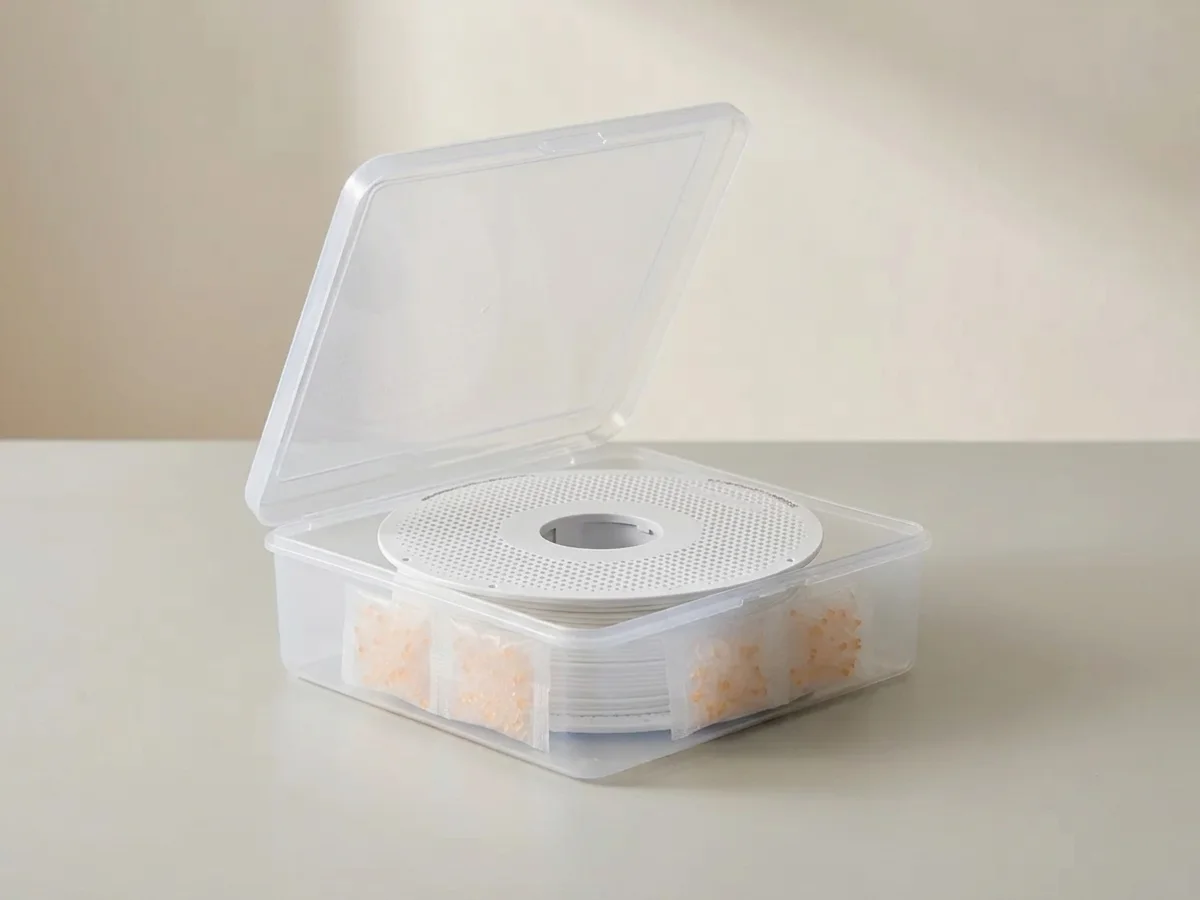
A desiccant sachet in the spool box between prints is the manual answer for that unit. Bambu sells both a silicone (silica) desiccant and a molecular sieve desiccant in the same six-sachet packing. Either one keeps stored filament dry, and a spent silica pack goes back in an oven rather than in the bin. Bambu publishes no way to recharge the sieve, so treat that one as replace-when-spent until it says otherwise.
Silica gel or molecular sieve
Both are six sachets for the same money. The sieve absorbs harder, and it's the one that survives a dry cycle.
The silicone pack is silica gel: beads with a colour indicator that changes as they fill up. The molecular sieve pack is aluminosilicate, white particles with orange indicator beads mixed through. Both fit every AMS Bambu has made, both are six sachets to a box, and both boxes weigh 133g.
Bambu's own comparison is the reason to care which you buy. The molecular sieve holds its performance in a high-temperature drying environment, where ordinary desiccant gives up, and even at room temperature it pulls the humidity down faster than silica gel. So if your AMS has a heater in it, and the AMS 2 Pro and AMS HT both do, the sieve is the one to put inside. In this climate it's the one we'd hand you either way.
Read the colour, not the calendar. Bambu's wording is unit-specific: on the AMS 2 Pro pages the yellow silica beads go purple when saturated, on the AMS HT page they go dark green. Both are Bambu describing its own hardware, so check the pack you actually bought. On the sieve, the orange beads go dark purple and the white particles go brown. In continuous use, plan on four to six weeks.
One thing to avoid outright: third-party calcium chloride sachets. Saturated calcium chloride can turn liquid and leak into the electronics, and Bambu dropped it from new AMS units for exactly that reason. Where the packs sit depends on the unit: between the feeder assemblies on an AMS 2 Pro, or two packs under the roller on an AMS HT.
The rest of the toolbox
Three cheap things to have on the shelf before the day you need one.
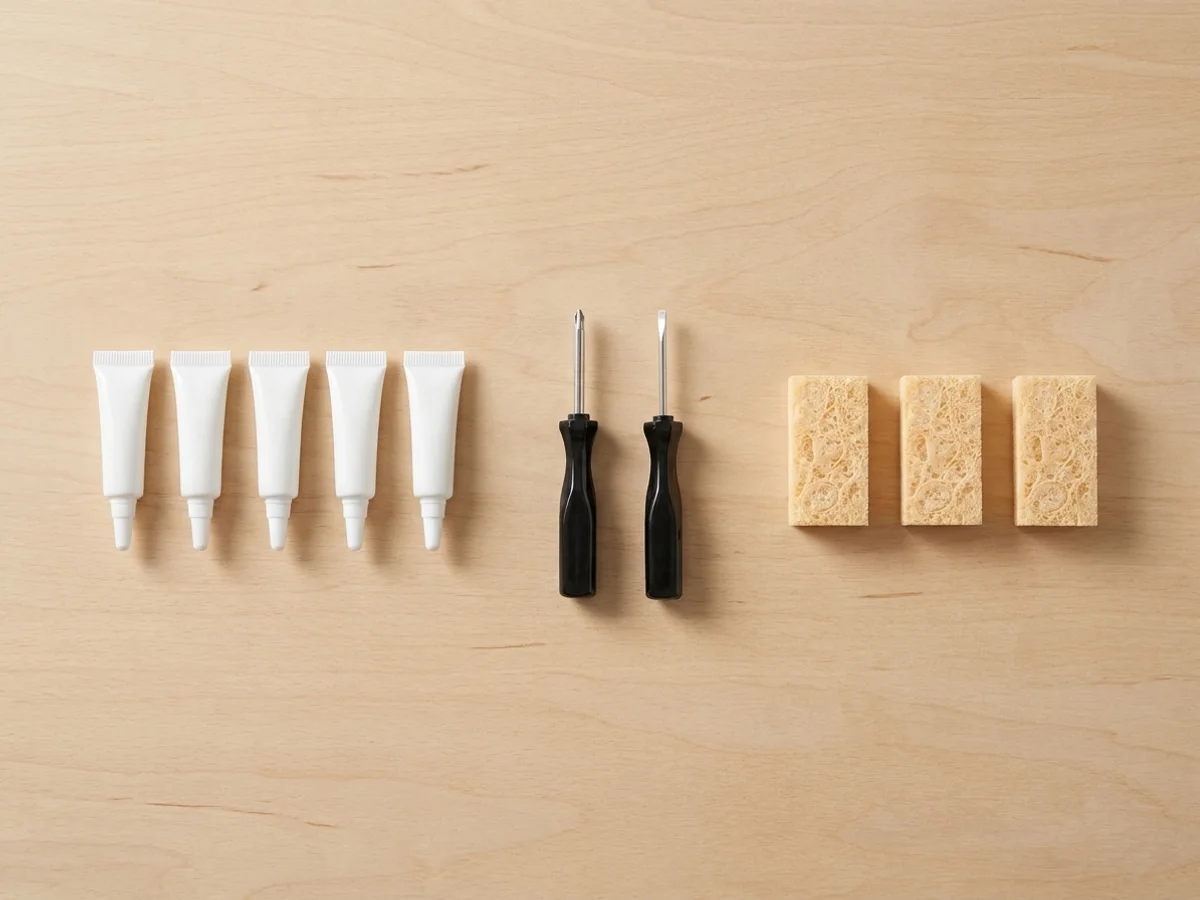
Lubricant oil goes on the linear rails and steel rods, and it comes in six 3g tubes: a drop at a time, not a bottle you'll never finish.
The mini screwdriver toolkit is an H1.5 hex driver and a PH0 Phillips, sized for small electronics and frame screws rather than the printer's structural bolts. The nozzle cleaning sponge scrubs carbonised residue off the nozzle at working temperature, which is a different job from the wipe station doing it mid-print.
Oil goes on rails. Grease goes on lead screws.
They're two products for two jobs, and Bambu is clear about which goes where.
This pack is the oil: transparent, six 3g tubes, and it belongs on linear guides, slide rails and steel shafts. Grease is the white one, and it belongs on lead screws and on a belt that's whining against its idler. You can put oil on a lead screw and it'll work for a while, but Bambu's own note is that it evaporates off faster, so you'll be doing it again sooner.
How often depends on the machine and how hard you run it. The general figure is to inspect and reapply on lead screws and guide rails about every 3 months. On the H2 series the X-axis assembly and the Y and Z rods want it monthly. On a P2S or X2D it scales with hours: five hours a day or more and the XY gets cleaned and lubricated every month, under an hour a day and it stretches to three.
Three rules. Move slowly when you spread oil along the X axis, so the graphite bearing takes it up instead of pushing it onto the middle frame. Never oil or grease the carbon rods on an X1 or P1. And if you've cleaned a rail with alcohol or a cleaning wipe, you have to re-lubricate before you print again, because you just took the old film off.
More isn't better. Over-oiling collects dust and filament debris, and that paste grinds away at the very parts the oil was there to protect. Bambu even gives a dose on the P2S and X2D: one to two drops per 5 cm of shaft, upper and lower.
The screwdriver set, and what it isn't
It's an H1.5 hex and a PH0 Phillips, and Bambu sells it for CyberBrick rather than for the printer.
Two drivers, and neither is a flathead. Bambu's description points them at CyberBrick kits: the PH0 at servo and small electronic-module screws, sized so you don't chew the head out, and the H1.5 at the hex screws running through the structural framework. It isn't marketed as a printer toolkit and we're not going to pretend it is.
Buy it anyway. H1.5 and H2.0 are the two Allen sizes that turn up in nearly every Bambu maintenance guide, from the filament buffer to the spool holder to the nozzle wiper, so the hex driver earns its shelf space. Just don't reach for it on structural bolts. Bambu's caution is the obvious one, and it's still the way most people ruin a screw: using a driver that doesn't match the drive type.
The sponge is a hot-nozzle tool
Wet it, heat the nozzle, then scrub. Cold and dry it does very little.
Filament residue on the outside of a nozzle carbonises over time and turns black, and once there's enough of it, it starts affecting how accurately the machine lays plastic down. That's the job: three yellow pads of heat-resistant sponge, and Bambu says they suit the nozzles on all its printers.
There's no handle in the pack, because the handle is a print. Bambu ships the brush model with the printer, and the sponge slides into a slot in it. Wet the sponge before you fit it, fully saturated but not dripping. It swells against the inside of the handle and grips there, and the water is also what stops it cooking against a 250°C nozzle.
Set the hotend by hand to the working temperature of whatever's loaded, wait for it to settle, then work the outer wall of the nozzle and the area around it until the carbon is gone. Bambu publishes no replacement interval for the sponge itself, but it does publish a cleaning cadence: every 5 spools on PLA and PETG, every 2 spools on carbon-fibre filament.
Purge and wipe: keeping the nozzle clean mid-print
A different physical part on every printer family, so match it to the machine before you order.
Every colour change or purge leaves a bit of ooze on the nozzle. If nothing wipes it off, it ends up on the next layer. The purge wiper is the block the toolhead sweeps against to catch that. It's a different physical part on every printer family Bambu sells, so the A1 series, H2D/H2C, H2S (including the laser combo) and X2D each take their own.
What tells you it's time is the nozzle: the tip stops coming out clean during pre-print prep, and residue starts turning up on the first layer. The pad inside the station is what you replace then, not the station. The X2D also has a separate wiping plate that doubles as a calibration board for flow and vibration checks.
The A1 and A1 mini do it differently again, and the heatbed nozzle wiper listed here is the replacement part for their built-in kit.
Station, insert, plate: which part is which
The purge wiper is the station. The wiping pad is the soft bit inside it that touches the nozzle.
Get that hierarchy right and ordering the correct part gets easy. The purge wiper is the block-and-flap assembly that gathers waste filament and ejects it out of the machine, at setup, after a pause and at every colour change. On an H2D or H2C it sits above the left inner liner. On the X2D it's at the back of the chamber above the liner. On the P2S it's above the inner frame. The A1's is a small plastic-and-metal block, roughly 58 mm square.
The nozzle wiping pad is the wear insert fitted into that station. On the P2S and X2D it's soft silicone, three to a pack, and the softness is the whole point: it keeps contact with a hot nozzle right through the sweep. The H2D and H2C take five pads. The H2S takes three wiping strips plus a silicone block and two screws, because it's a different assembly with a different name in Bambu's docs. The X2D's wiping plate is a third thing again: three steel sheets and a calibration sticker, and the sticker is a surface the machine reads, so don't cover it.
The A1 and A1 mini have no station at all. The wiper is built into the heated bed and runs automatically at the start of every print with nothing for you to do. The A1 mini's replacement is a pair of metal wipers; the A1's is a set of three in rubber. Both jobs take an H1.5 Allen key and about five minutes.
Bambu publishes no hour figure for any of these, and we're not going to make one up. The trigger is what you can see: the nozzle isn't coming out clean during pre-print prep, filament is sticking to the flap, the pad has aged or cracked, or a metal wiper has worn thin or bent. If the wiper starts colliding with something rather than wearing out, that's a calibration job, not a new part.
What a Bambu actually consumes
Six running costs, and only four of them live on this page. The other two are listed anyway, because they're the ones people forget until something goes wrong.
AdhesionPer print
Glue stick where the plate calls for it, and a scraper to get the part back off. Neither wears out on a schedule. The glue has a 24 month shelf life, the blades go when they bend.
Dry filament4 to 6 weeks
Desiccant in the AMS, read by colour rather than by date. Silica gel regenerates in an oven; molecular sieve is the one to buy if your AMS has a heater in it.
Moving parts1 to 3 months
Oil on the rails and rods, grease on the lead screws. Monthly on an H2 or a hard-worked P2S, three-monthly on a light one, never on X1 or P1 carbon rods.
A clean nozzleBy symptom
The wipe station and its insert, plus a sponge for the carbon that builds up outside. Bambu publishes no hours for any of it, only what a worn one looks like.
Air1,440 hours
The activated carbon filter, 60 days of cumulative print time. No saturation indicator, so it's the hour count or nothing. On the air filter page.
The filament path1 to 2 months
PTFE tube is a consumable too: 2 months normally, 1 on carbon-fibre or glow filament. The printer prompts you. On the filament path page.
Buying it here
Genuine Bambu Lab parts, stocked in Singapore, so a S$4 sponge doesn't arrive three weeks after you needed it. Prices exclude GST. We add 9% at checkout. PayNow is free; paying by card adds a flat 4% processing fee. Self-collect free at Bendemeer, or islandwide courier at $15 flat, free once the order passes $250 before GST.
If you're not sure which version of a part your machine takes, tell us the printer and we'll check before it ships. The wipe parts in particular are not interchangeable between families, and a wrong one is a wasted trip either way.
Every item, at a glance
Twelve parts, one page. Pack sizes and printer fit as Bambu sells them.
| Item | Pack | Fits | What it's for |
|---|---|---|---|
| Glue Stick | 1, 2 or 4 x 21g sticks | Any Bambu plate | Adhesion on the Engineering plate, protection on Smooth PEI, release on Textured PEI |
| Bambu Scraper | 3 pcs, SK5 tool steel | Any Bambu plate | Releasing a cooled print from the plate |
| Mag-Alloy Scraper | 1 pc + spare blade + steel plate, aluminium alloy | Any Bambu plate | Same job as the scraper, one wider blade |
| Silicone Desiccant | 6 sachets, silica gel | All AMS series | Keeping stored filament dry, regenerates |
| Molecular Sieve Desiccant | 6 sachets, aluminosilicate | All AMS series | Keeping filament dry, including while the heater runs |
| Lubricant Oil | 6 x 3g tubes, transparent | Any printer except X1/P1 carbon rods | Linear rails, slide guides and steel rods |
| Mini Screwdriver Toolkit | 2 pcs: H1.5 hex + PH0 Phillips | CyberBrick kits, and any H1.5 screw on a printer | Small electronics and frame screws |
| Nozzle Cleaning Sponge | 3 pcs, heat-resistant sponge | All printer models | Scrubbing carbonised residue off a hot nozzle |
| Purge Wiper | 1 pc, plastic and metal | A1 series, H2D/H2C, H2S/H2S Laser, X2D | Clearing waste filament during purges and colour changes |
| Nozzle Wiping Pad | 5 pcs (H2D/H2C), 3 strips + block (H2S), 3 pcs (P2S/X2D) | H2D/H2C, H2S, P2S/X2D | Soft silicone wear insert inside the wipe station |
| Nozzle Wiping Plate | 3 steel sheets + calibration sticker + 3 screws | X2D | Nozzle wipe and flow/vibration calibration |
| Heatbed Nozzle Wiper | 2 pcs metal (A1 mini), 3 pcs rubber (A1) | A1 mini, A1 | Automatic nozzle clean built into the bed |
Swipe the table sideways for every column
The P2S has no purge wiper of its own listed here. Bambu's part for it was out of stock at every check, and we don't sell it until it's back.
How often each part gets replaced
Bambu's published interval where there is one, and the symptom to watch where there isn't. Rows stay in place rather than disappearing, so you can see what else is due while you're here.
| Part | What it does | How often | Which machines |
|---|---|---|---|
| Glue stick | Sacrificial film between the plastic and the plate | Per print, on the plates that need it. 24 month shelf life unopened | All. Mandatory on Smooth PEI for everything but PLA, and on the Engineering plate for everything |
| Scraper | Releases a cooled part without gouging the plate | When the edge is bent or blunt. The Mag-Alloy carries a spare blade in the box | All |
| Desiccant | Pulls moisture out of the AMS cabin | Read the colour. Roughly 4 to 6 weeks in continuous use. Silica gel regenerates 5 to 15 times before the beads crumble | All AMS series |
| Lubricant oil | Linear rails, slide guides, steel rods | About every 3 months. Monthly on H2 rods and rails, and monthly on a P2S or X2D run 5 h a day or more | All except X1 and P1 carbon rods, which are never lubricated |
| Nozzle cleaning sponge | Scrubs carbonised residue off the nozzle | No published life. Clean the nozzle every 5 spools on PLA and PETG, every 2 on carbon fibre | All printer models |
| Purge wiper, wiping pad, heatbed wiper | Cleans the nozzle and ejects purge waste | No hour figure published. Replace on damage, deformation, ageing or filament sticking to the flap | A1 series, H2 series, P2S, X2D |
| Air filter | Adsorbs VOCs from the chamber | 1,440 hours (60 days) of cumulative printing. Laser use is not covered by that number | X1, P1S, H2 series, P2S, X2D. On the air filter page |
| PTFE tube | Guides filament from the AMS to the toolhead | Every 2 months normally, every month on carbon-fibre or glow filament. The printer prompts you | All. On the filament path page |
| Air filter cover | Mesh guard stopping chamber debris reaching the exhaust fan | No replacement interval. Clean every 3 months, replace if damaged or deformed | H2 series |
Swipe the table sideways for every column
One rule cuts across the lot: print high-temperature or engineering materials often and every interval halves. Three months becomes one month, one month becomes a fortnight.
Glue, plate by plate
Bambu's rule for each build plate it sells. Watch the reason change as you go down: sometimes the glue is holding the part on, sometimes it's keeping the plate alive, and once it's there to let go.
| Plate | Glue? | Why |
|---|---|---|
| Cool Plate SuperTack | None | Bambu says no glue required, and the coating is softer than PEI, so leave it bare |
| Textured PEI | Usually none | The exception is PETG, which grips hard. A thin coat reduces adhesion so the part comes off undamaged |
| Smooth PEI | Everything except PLA | PETG, ABS, ASA, PC, PA and TPU bond to bare PEI hard enough to tear the sheet off the spring steel |
| Dual-texture PEI, smooth face | Everything except PLA | Same plate chemistry, same rule |
| Dual-texture PEI, textured face | Only TPU, PC and the PA family | Everything else releases on its own |
| Engineering | Every filament, every time | That plate needs the help. Stick is thicker and harder to spread than liquid glue, so first layers pay a small price |
Swipe the table sideways for every column
Clean it off before it builds up: dish soap and warm water, and if it's dried hard, soak the plate about 30 seconds first. Skip the alcohol. Heavy residue costs you adhesion on the next print.
Silica gel against molecular sieve
Same price, same pack size, same fit. Everything that separates them is in this table.
| Silicone | Molecular Sieve | |
|---|---|---|
| Material | Silica gel | Aluminosilicate |
| In the pack | 6 sachets | 6 sachets |
| Box | 100 × 135 × 45 mm, 133 g | 100 × 135 × 45 mm, 133 g |
| Spent when | Beads go purple, or dark green on the AMS HT | Orange beads go dark purple, white particles go brown |
| At room temperature | Works | Bambu rates it stronger, and quicker to bring humidity down |
| While the AMS heater runs | Loses performance | Holds performance. Bambu's own pick for the AMS 2 Pro and AMS HT |
| Regenerates | Yes, 5 to 15 times | Bambu publishes no procedure, so we won't promise one |
| Fits | All AMS series | All AMS series |
Swipe the table sideways for every column
Take the sealed outer bag off before a sachet goes into an AMS, and leave the inner breathable bag on. Never substitute third-party calcium chloride: saturated, it can liquefy and reach the electronics.
Lubrication schedule
Bambu's published intervals, per machine. Oil the rails and rods, grease the lead screws.
| Machine and usage | Oil: rails, guides, rods | Grease: lead screws |
|---|---|---|
| General figure, any printer | Inspect and reapply every 3 months | Inspect and reapply every 3 months |
| H2 series | X-axis assembly and Y-axis rods, monthly | Z-axis rods and lead screws, monthly |
| P2S / X2D, 5 h a day or more | Full XY clean and lubricate, monthly | Deep Z service every 3 months |
| P2S / X2D, 1 to 5 h a day | XY every 2 months | Z every 4 months |
| P2S / X2D, under 1 h a day | XY every 3 months | Z every 5 months |
| X1 / P1 carbon rods | Never | Never |
Swipe the table sideways for every column
Dose on a P2S or X2D is 1 to 2 drops per 5 cm of shaft, upper and lower. Move slowly along the X axis so the graphite bearing absorbs the oil instead of shoving it onto the frame. Clean a rail with alcohol or a wipe and you have to re-lubricate before the next print. Then run a full calibration.
Which wipe part fits which machine
The station and the insert are separate parts and they are not interchangeable between families. Check the machine before you order.
| Machine | The station | The wear insert | Made of |
|---|---|---|---|
| A1 / A1 mini | Purge Wiper, A1 Series | None. The wiper is built into the bed: 2 pcs for the mini, 3 for the A1 | Plastic and metal station, metal wipers on the mini, rubber on the A1 |
| H2D / H2C | Purge Wiper, H2 Series | Nozzle Wiping Pad, 5 pcs | Silicone insert |
| H2S and H2S Laser | Purge Wiper, H2 Series, H2S version | Wiping strips, 3 pcs, plus a silicone block and 2 screws | Silicone |
| X2D | Purge Wiper, X2D | Nozzle Wiping Pad 3 pcs, plus the separate Wiping Plate: 3 steel sheets and a calibration sticker | Silicone pads, steel plate |
| P2S | Bambu lists one, out of stock at every check | Nozzle Wiping Pad, 3 pcs, the same part as the X2D | Silicone |
Swipe the table sideways for every column
The A1 and A1 mini job takes an H1.5 Allen key and about 5 minutes. If a wiper is colliding rather than wearing out, that's a position calibration, not a new part.
Getting a print off without hurting the plate
Bambu's own sequence, and the point of every step in it is that the plate outlives the print.
Let it cool
Take the plate out of the machine and wait. Plastic shrinks as it cools, and a lot of parts release on their own by the time the plate is at room temperature. That's the cheapest removal there is.
Start at a corner
Slide the blade gently under one corner of the model, kept flat against the plate. Not into the middle of the part, and not at an angle that lets the tip dig in.
Flex the sheet
Once the corner is lifted, bend the spring steel and let the part pop off. This is the step people skip and it's the one that saves the surface. Bambu gives exactly this reason: it prolongs the life of the build plate.
Clean up before the next print
Wash off glue residue with dish soap and warm water, and if it's dried hard, soak the plate about 30 seconds first. Skip the alcohol: in our shop it leaves a bed less sticky, not more. Let it dry fully before it goes back in.
Laying down a coat of glue
Thin and even beats thick. A stick is harder to spread flat than liquid glue, and an uneven coat shows up in the first layer.
Check whether this plate wants it
Engineering plate: yes, before every print, whatever the filament. Smooth PEI: yes for everything except PLA. Textured PEI: usually not, unless you're printing PETG and want it to release. Cool Plate SuperTack: no.
Start with a clean plate
Old glue that's built up costs you adhesion rather than adding it. Dish soap and warm water, soak 30 seconds if it's dried on, then dry it fully.
Coat only where the part lands
A thin, even film over the footprint of the print. You're after a continuous layer, not a thick one. Ridges from the stick end up as texture on the bottom face.
Print, then let it cool
The glue does its job as the part cools and shrinks. Take the plate out, wait, then lift a corner and flex the sheet.
Wash it off
It dissolves in water, so soap and warm water clears it. Do it before the next print rather than after the one that fails.
Recharging a spent silica gel pack
Bambu publishes three ways to do it. Pick whichever kit you already own.
Check the colour first
Only dry a pack the indicator says is saturated. Bambu's wording is unit-specific: purple on the AMS 2 Pro pages, dark green on the AMS HT page.
Oven, 80 to 90°C
Spread the beads flat on ceramic, glass or foil, never plastic. Slightly moist takes 1 to 2 hours, fully saturated 2 to 3. Do not go past 100°C or you wreck the silica structure itself. Use a tray you don't cook on, and clean the oven afterwards.
Or the printer's heated bed, 80°C
Enclosed printers only. Preheat 10 minutes, sit the pack on the bed under a heat-resistant container or box lid, leave it 3 to 4 hours and turn it every half hour.
Or an AMS HT, 85°C
Run the drying function for 3 to 4 hours, turning the pack every half hour.
Cool it, then seal it
Check the beads have gone back to orange and let them cool. Then either put the pack straight into the AMS or bag it. Left out on the bench it just starts absorbing the room.
Cleaning a nozzle with the sponge
Bambu's procedure. It's done hot and wet, which is the opposite of what most people try first.
Print the handle
The pack is sponges only. The brush handle is one of the printer's built-in model files, so print that before you need it.
Wet the sponge
Fully saturated, not dripping. It swells against the inside of the handle and locks itself in, and the water is also what stops it cooking on the nozzle.
Heat the nozzle
Set the hotend by hand to the working temperature of whatever material is loaded, and wait for it to settle there. Cold residue doesn't come off.
Wipe it down
Work the outer wall of the nozzle and the area around it until the black carbon is gone. Cadence from Bambu's own schedule: every 5 spools on PLA and PETG, every 2 on carbon fibre.