
3D Printing Starter’s Guide
3D Printing Methods
Choosing the right method of 3D printing is the foundation of a successful project. At Additive Inn we offer the following methods:
FDM (Fused Deposition Modeling): This process melts thermoplastic filament and extrudes it through a nozzle to build parts layer-by-layer. It is the most robust and cost-effective choice for functional prototypes, jigs, fixtures, and large-scale architectural models.


SLA (Stereolithography): A VAT polymerization process that uses a UV laser to cure liquid resin into solid plastic. SLA is chosen for its isotropic properties, high resolution, and smooth surface finish, making it ideal for small and detailed parts, as well as transparent parts.

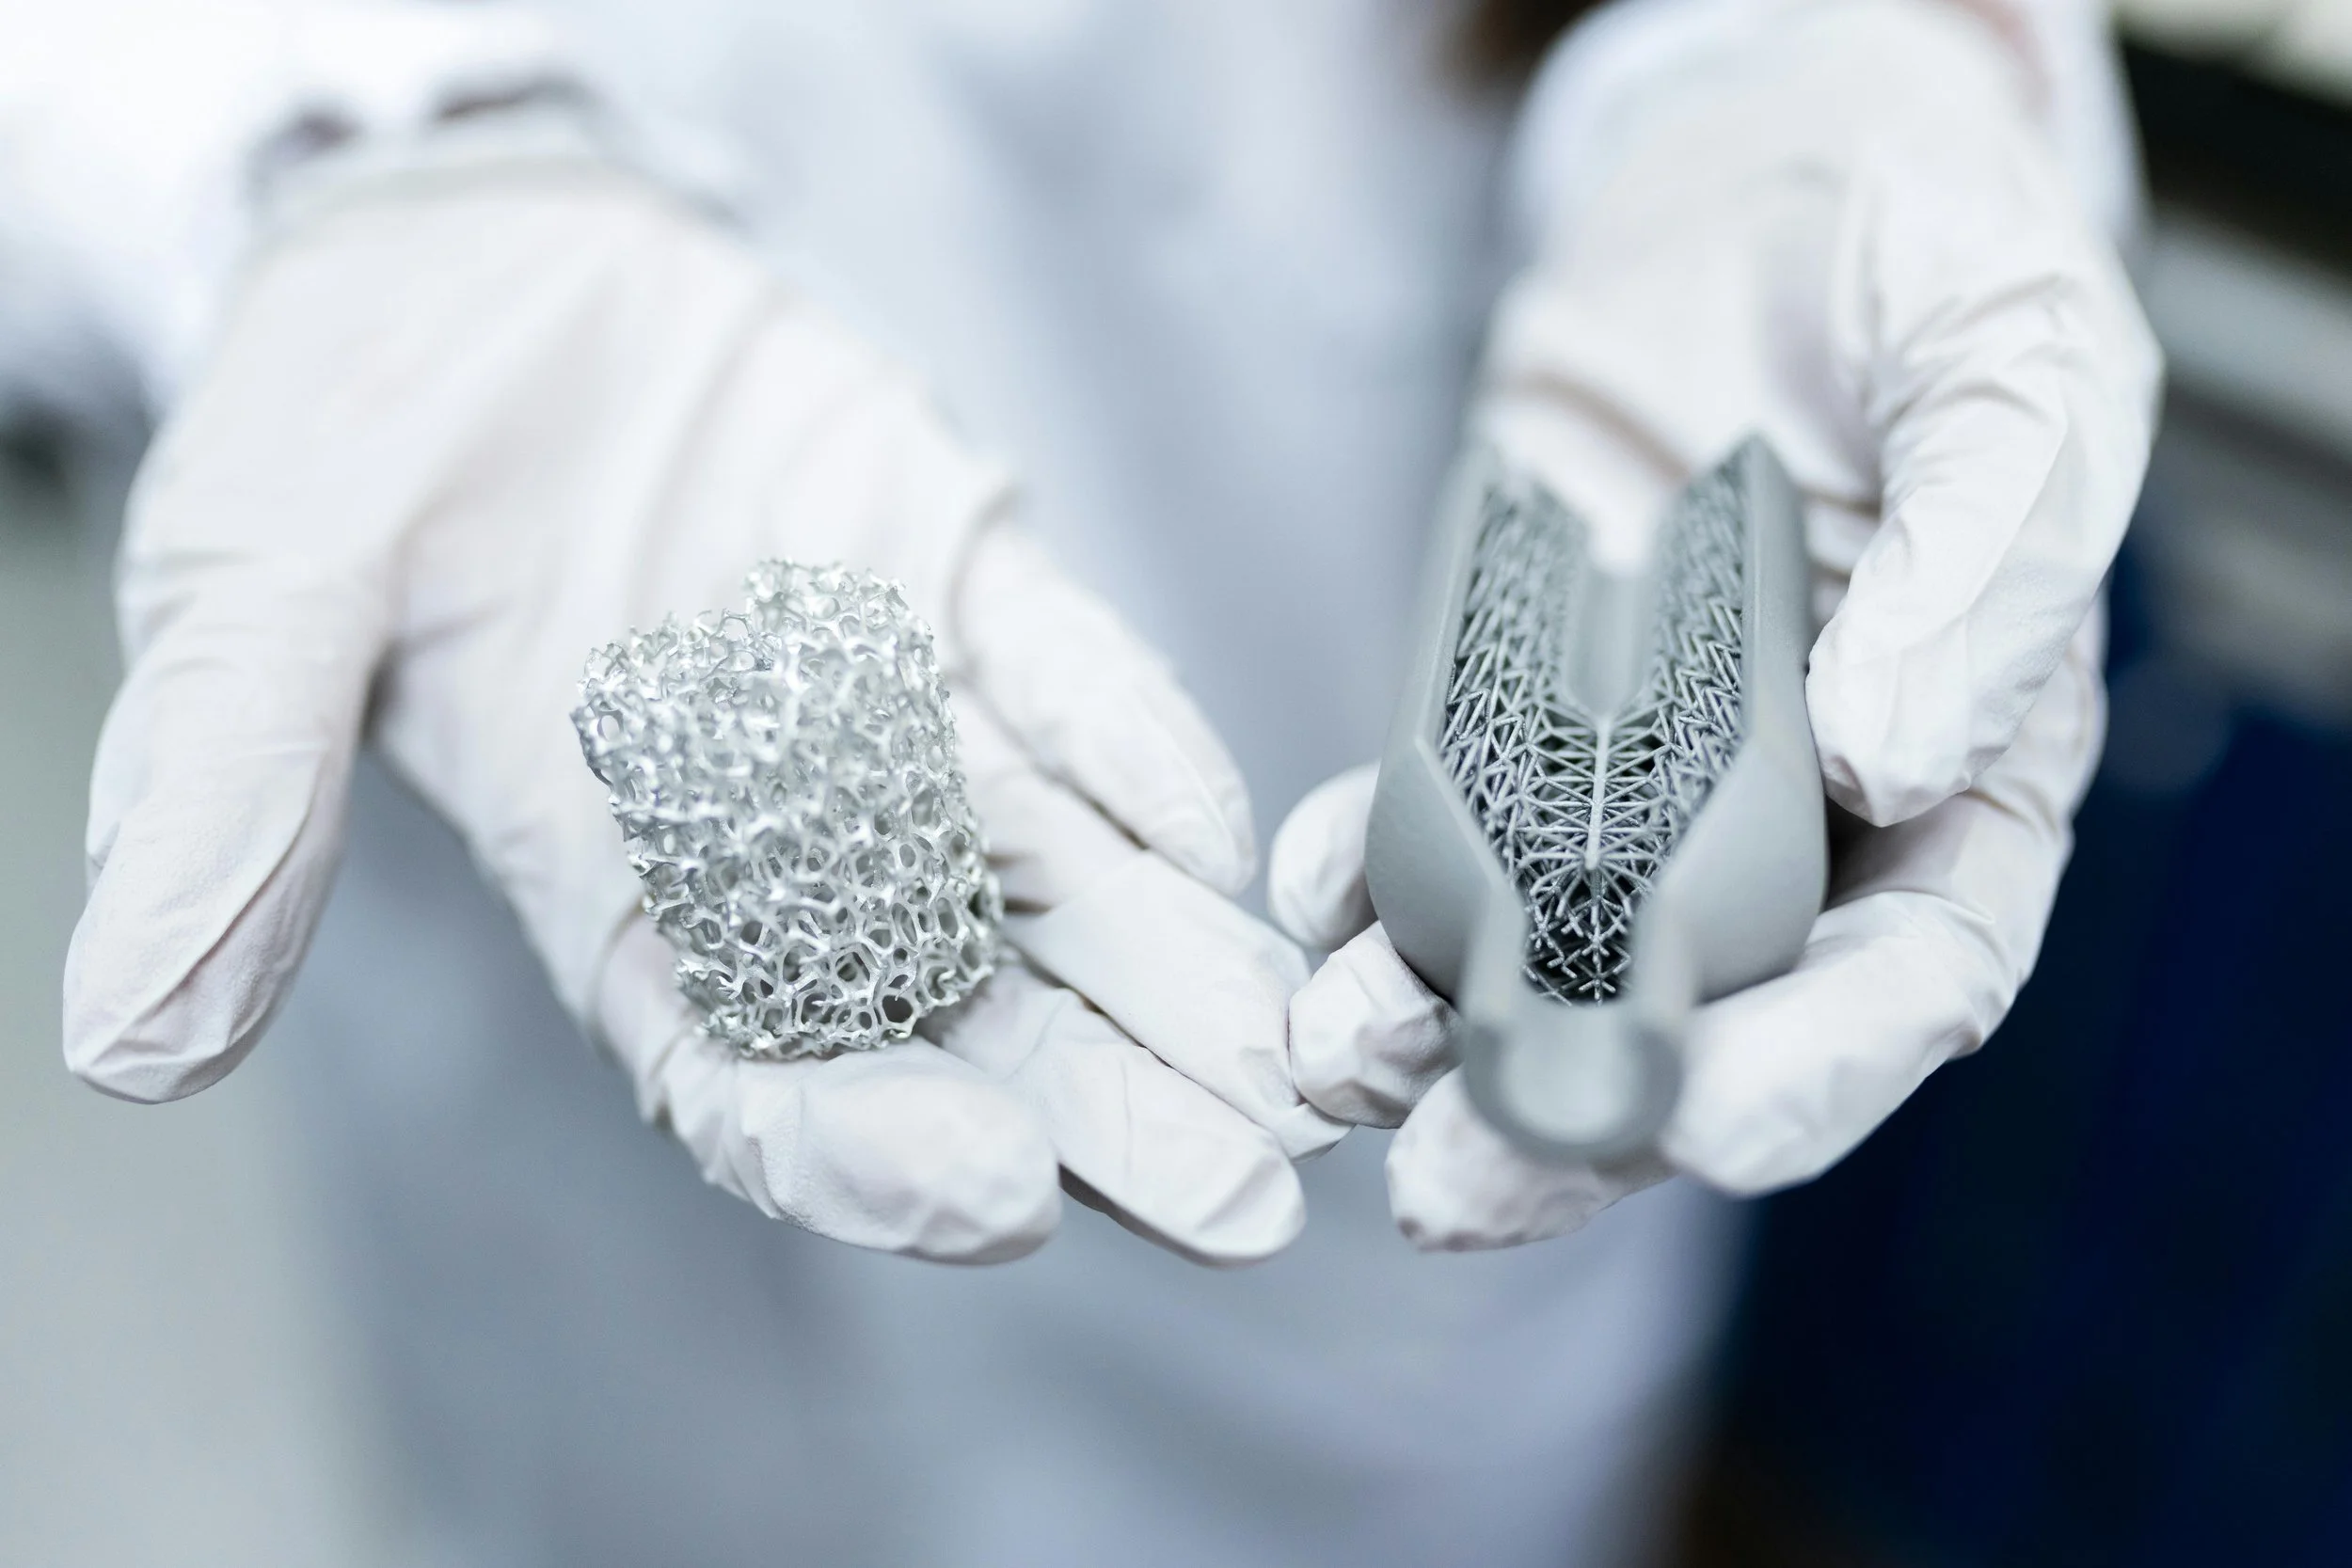
SLS/MJF (Powder Bed Fusion): These technologies use a heat source (laser or lamps) to fuse polymer powder. Because the powder bed acts as its own support, this method allows for extreme geometric complexity and high-strength end-use parts without the need for traditional support structures.

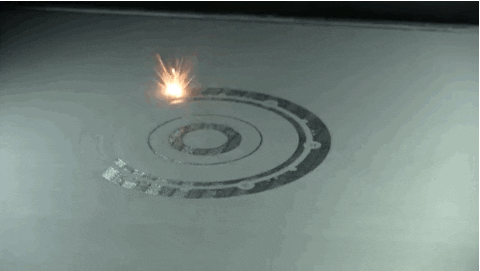
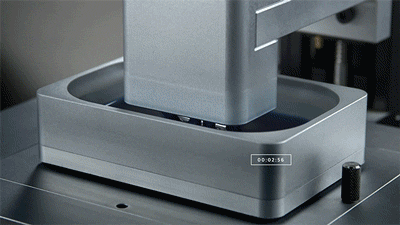
SLM (Selective Laser Melting): This technology uses a laser to fuse fine metal powder. Because the powder bed acts as its own support, this method allows for extreme geometric complexity and high-strength end-use parts without the need for traditional support structures, similar to SLS or MJF.

2. Designing for FDM 3D Printing
Designing for 3D printing requires a different mindset than traditional manufacturing. Success is determined by how well the digital geometry accounts for the physical limitations of the machine.
Master the "Watertight" Mesh
For a 3D printer to understand your model, it must be a closed volume, also known as manifold geometry. If you were to "pour water" into your 3D model, it should not leak. Architectural software like SketchUp or Rhino often creates "paper-thin" walls or overlapping internal faces. Ensure every wall has a thickness (min. 0.8mm to 1.2mm) and use Boolean Union commands to merge overlapping volumes into a single continuous "skin."

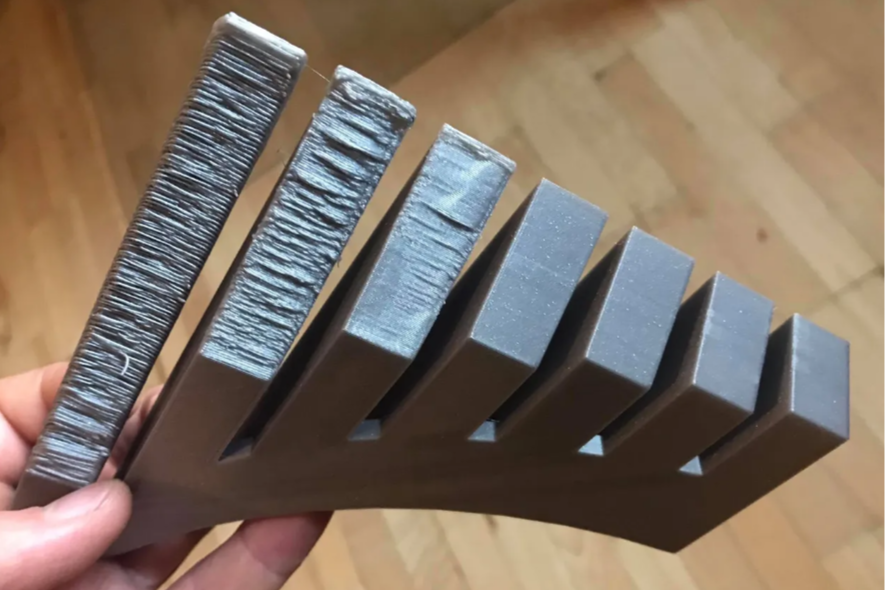
Thin walled structures has a high chance for printing defects.

Design for the 45-Degree Rule
FDM printers cannot print in mid-air. They need a layer underneath to support the next one. Any angle greater than 45° from the vertical will likely require support material, which can leave a messy surface finish when removed. Use chamfers or 45° angled supports under balconies and eaves. This allows the printer to "self-support" the structure, resulting in a cleaner look without wasted plastic.
Long, thin rods or railings may cause Z-wobble issues during printing. This can result in the part breaking off mid-print or printing with blobs and imperfections along the railings.

When the overhang angel exceeds 45°, there will be significant filament drooping defects. Support must then be used.
Thin walled structures are not strong especially in the direction parallel to the layer lines.
Opt for SLA (resin) printing for Small or Highly Detailed Components
If your model isn’t suited for FDM printing and includes:
- Fine details <1mm
- Intricate façades or complex design like ornaments
- Small scale structures (e.g., railings, grills)
We recommend switching to SLA printing, which provides higher resolution and better surface detail as compared to FDM. However do keep in mind that SLA printing may be more costly.
Bottom is not flat and requires support.
Excessive support is generated which will be difficult to remove and lead to poor surface quality on the supported surface.
Scaling and Minimum Feature Size
When you scale a building down to 1:50 or 1:100, fine details like window mullions or railings often become too thin to print. If a printer has a 0.4mm nozzle, it cannot physically print a railing that scales down to 0.1mm. You must exaggerate small details. Thicken railings, door frames, and window dividers until they are at least two nozzle widths wide (roughly 0.8mm to 1mm) to ensure structural integrity and print quality.
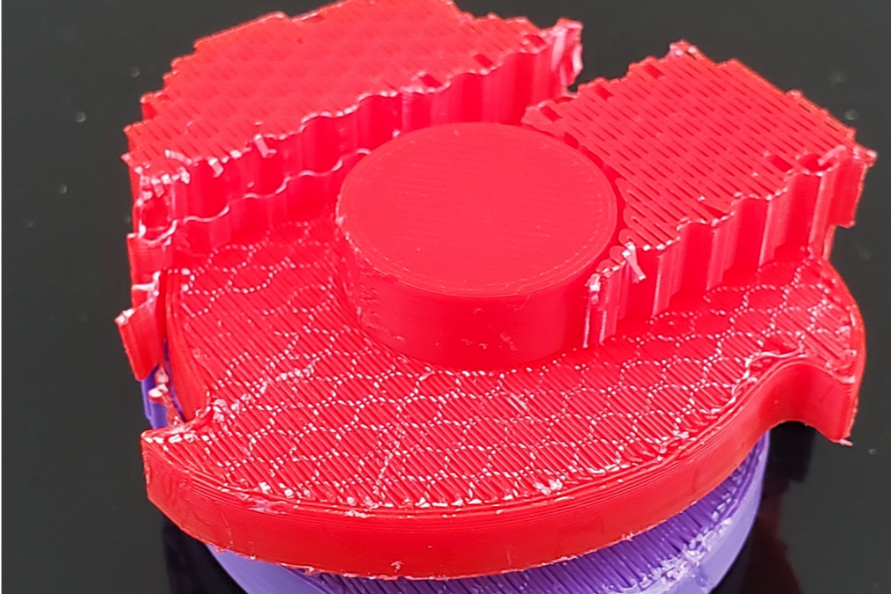

Poor surface finish after support removal.
Thin walls can cause holes and pits to form at the Z-seamline.
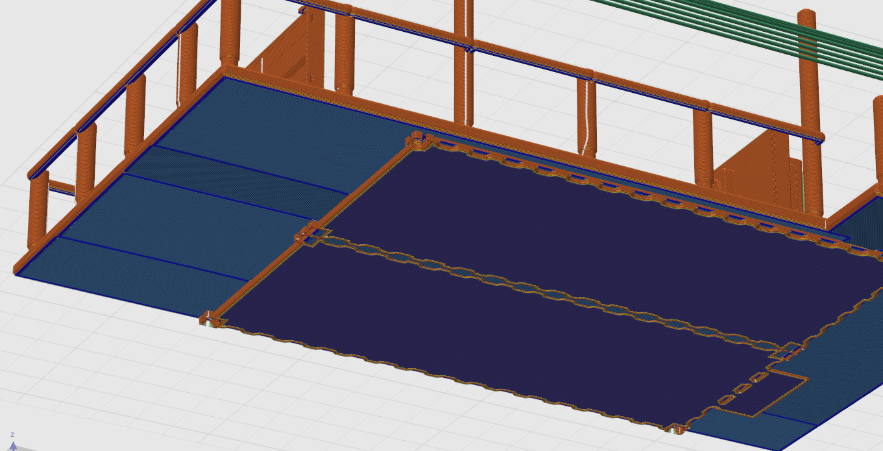
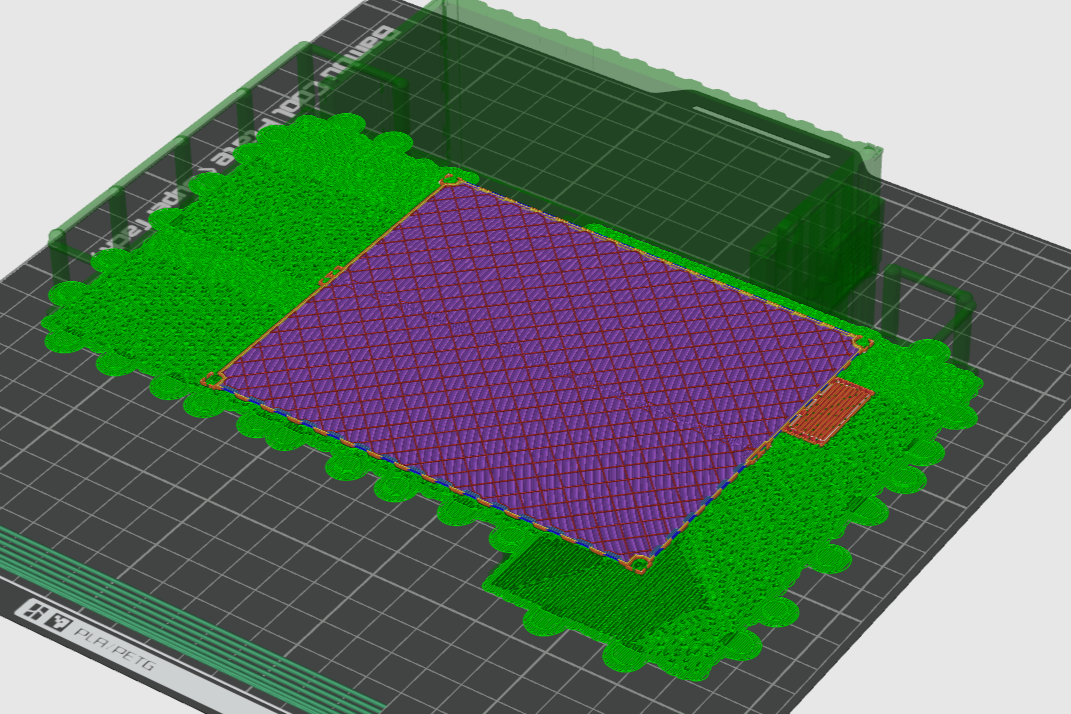
Modular Assembly: Don't Print Everything at Once
For complex buildings, printing the entire structure as a single piece is risky. If the print fails at 90%, you lose everything. Break the building down by floor levels or wings which can be printed individually, preferably without support, and can be assembled afterwards. This gives better print quality if there are less supports and allows you to show interior floor plans to clients and makes it easier to clean out support material from deep interior rooms.
Our FDM printers have a maximum print bed capacity of 350mm x 350mm x 350mm (X × Y × Z), ensure your model fits inside that volume. Any component exceeding this size must be split and reassembled post-print using connectors or adhesives. Always consider the orientation of parts to best fit within these bounds.
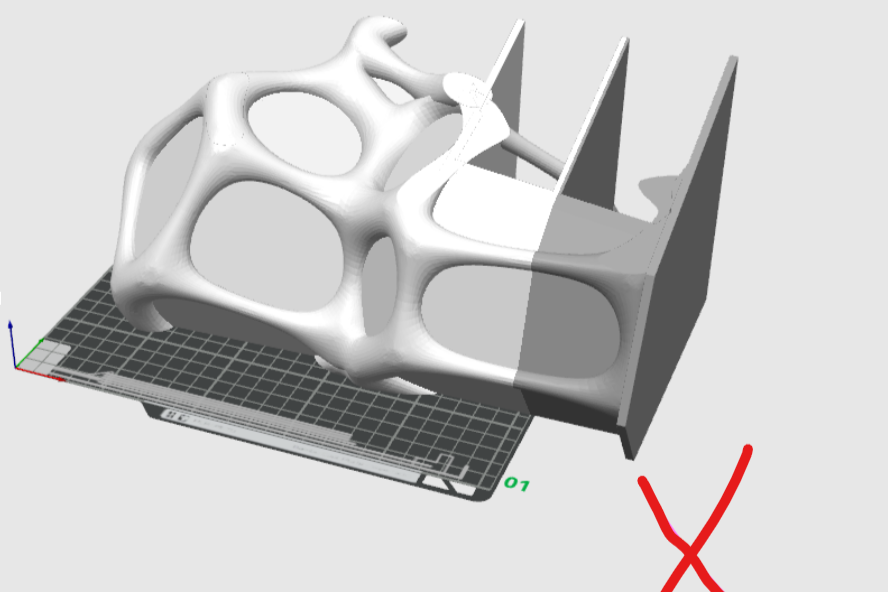
Model is too large for the printer and cannot be printed without slicing it into parts.

Model split into parts which fit the printer size.
Final Checklist before submitting for a quote.
✅ Are your walls ≥ 1 mm thick?
✅ Is every level, furniture piece, or structure a separate part?
✅ Have you simplified any complex geometries like mesh or grill?
✅ Does your design avoid severe overhangs (>45°)?
✅ Is your file manifold and error-free?
✅ Have you checked if SLA would better suit intricate components?
✅ Is your model within the 350x350x350mm build volume?
✅ Have you exported your file in an accepted format (.STL, .OBJ, .STEP, .3MF)?
✅ Are your files scaled correctly?
We offer free printability analysis for all submissions. Upload your files to our instant quotation software for a quote and our team will evaluate them for FDM compatibility!
Alternately, contact us directly.
3. Post Processing Options
Aesthetics and Post-Processing
A 3D print is just the beginning. Various techniques can be used to achieve a "consumer-grade" look.
Logos and Branding
Embossed/Debossed: Adding text or a logo directly onto the 3D model’s surface. For best results, use a depth/height of at least 0.5mm and avoid fonts with very thin lines.
UV Printing: Imagine taking your 3D-printed model to the next level with vibrant images or intricate designs directly printed onto its surface. UV printing allows for this precise level of customization. Whether it's a logo, a piece of art, or detailed patterns, UV printing can add a unique touch to your 3D-printed items, making them truly one-of-a-kind.
Laser Engraving: Laser engraving offers a permanent, precise, and the ability to achieve intricate details. It serves as an excellent post-processing method for 3D-printed objects crafted from diverse materials such as plastics, metals, and even glass. Controlled by computer software, this technique enables the precise replication of intricate designs, text, logos, and images on the surface of your 3D printed creations.
Surface Finishes
Sanding & Priming: Essential for removing "layer lines" on FDM parts before painting. Each part is cleaned, sanded, and primed to remove print lines and residues. This it to ensure proper paint adhesion and finish.
Painting: Once primed, 3D prints can be painted with acrylics, automotive paints, or spray paints to match specific brand colors. At Additive Inn we offer Color Application services, feel free to reach out with any inquires.
Electroplating: Electroplating is a process used to coat the surface of a metal or other conductive material with a thin layer another metal. This is achieved through an electrochemical process. It's ideal for SLA 3D prints due to the smooth or finely textured surfaces of these prints, which make the transition between plastic and metal seamless. You can reach out to us if you wish to look into Electroplating further.

Example of an electroplated 3D print.

Example of a spray painted 3D Print.
4. Getting a quote
Understanding our quotation process
We understand that transparency is key when it comes to providing our clients with accurate and fair quotes for their 3D printing needs. Our commitment to quality and customer satisfaction begins with a comprehensive assessment of various factors that influence the overall pricing structure. Here’s a breakdown of how we determine the quotes for your projects:
Common Quotation Factors:
Material Costs: The choice of materials significantly impacts the final cost of the project. Different materials come with varying price points, and we ensure that our clients are informed about the options available and their respective implications on the overall budget. Click here to find out more about the different materials that 3D printing has to offer.
Labor Costs: Skilled professionals handle every stage of the 3D printing process, from design preparation to post-processing. Our labor costs are reflective of the expertise and dedication invested in bringing your project to life.
Printer Depreciation/Electricity Costs: Our advanced 3D printers are essential assets in delivering high-quality results. We factor in the depreciation of our equipment and the associated electricity costs to ensure that our pricing remains competitive without compromising on the quality of our services.
Post-Processing Costs: While the initial printing process is crucial, post-processing plays an equally vital role in delivering a refined and polished end product. Whether it's smoothing, painting, or assembling, we consider the resources and time invested in perfecting the final product.
Other possible Factors:
Difficulty of the Print/Project: Some projects require specialized attention due to their complexity or specific requirements. We carefully evaluate the level of intricacy and technical demands of each project, ensuring that our pricing reflects the dedication and resources needed to achieve the desired results.
Design Costs: The complexity and intricacy of the design play a crucial role in the overall pricing. Our team considers the time and effort required to refine and prepare the design for the printing process. Click here to understand more about our designing process.
Add-on Services (e.g., IoT Integration, Customization): We also provide add-on services based on your specific requirements. Whether you need IoT integration, customized features, or any other ad hoc services, we tailor our quotes to accommodate these additional enhancements, ensuring that your project meets all your technological and functional needs.
For further inquiries or to get a personalized quote for your next 3D printing project, don't hesitate to reach out to us. We look forward to partnering with you to bring your ideas to life.